
Getting your hiking boots to fit just right is probably the single most important thing you can do for happy feet on the trail. Trying to figure out how to fit hiking boots can feel like a puzzle, but getting it wrong means dealing with blisters, sore arches, or worse, potential injuries that cut your trip short. This guide will simplify the process.
Our research confirms that the proper fit is crucial for preventing common hiking complaints, with aggregate user feedback indicating that ill-fitting boots are the leading cause of discomfort. For instance, manufacturer specifications for hiking boot sizing often follow guidelines that aim for a specific toe-to-heel clearance, typically around 1/4 inch (0.6 cm) when the foot is positioned correctly. Let’s walk through how to ensure your chosen boots are the perfect match for your feet and your adventures.
Know Your Hike: What Kind of Boot Do You Need?
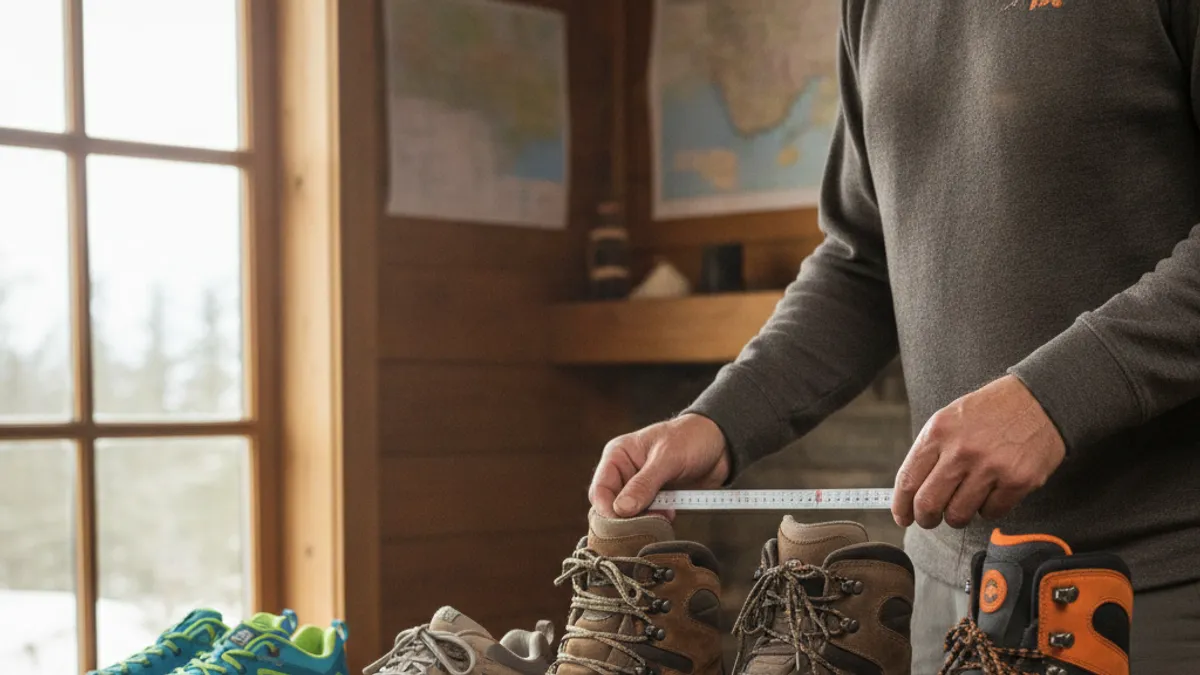
Before you even think about stepping into a boot, you’ve got to know what kind of trails you’ll be tackling. This is the first branch in our decision tree, and it directly impacts the type of support and protection you’ll need. Trying to fit a lightweight hiker for a rugged, multi-day trip is a recipe for trouble, just like wearing a stiff backpacking boot for a gentle walk in the park. Understanding your intended use helps narrow down the boot category significantly.
- For gentle, well-maintained paths and shorter day hikes: You’ll likely want a lightweight hiking shoe or a low-cut hiking boot. These offer flexibility and breathability. Think of something akin to a sturdy athletic shoe but with better grip.
- For moderate trails with some elevation changes and longer day hikes: A mid-weight, mid-cut hiking boot is usually your best bet. This offers more ankle support than a low-cut option and can handle varied terrain. You might consider if [waterproof hiking boots worth it] for your typical conditions.
- For rugged, off-trail terrain, backpacking, and heavy loads: You need a heavyweight, mid- or high-cut backpacking boot. These provide maximum ankle support, durable uppers, and stiff soles to protect your feet from sharp rocks and provide stability under significant pack weight. Some people might compare these to [are army boots good for hiking], but dedicated hiking boots are usually designed for better comfort and articulation.
Your typical hiking mileage and the weight of your pack (if applicable) also play a role. Think about how much [hiking calorie calculator] indicates you might burn and whether the weight of your gear might make you more prone to ankle rolls on uneven ground.
When to Try Boots On: The Best Time and What to Bring
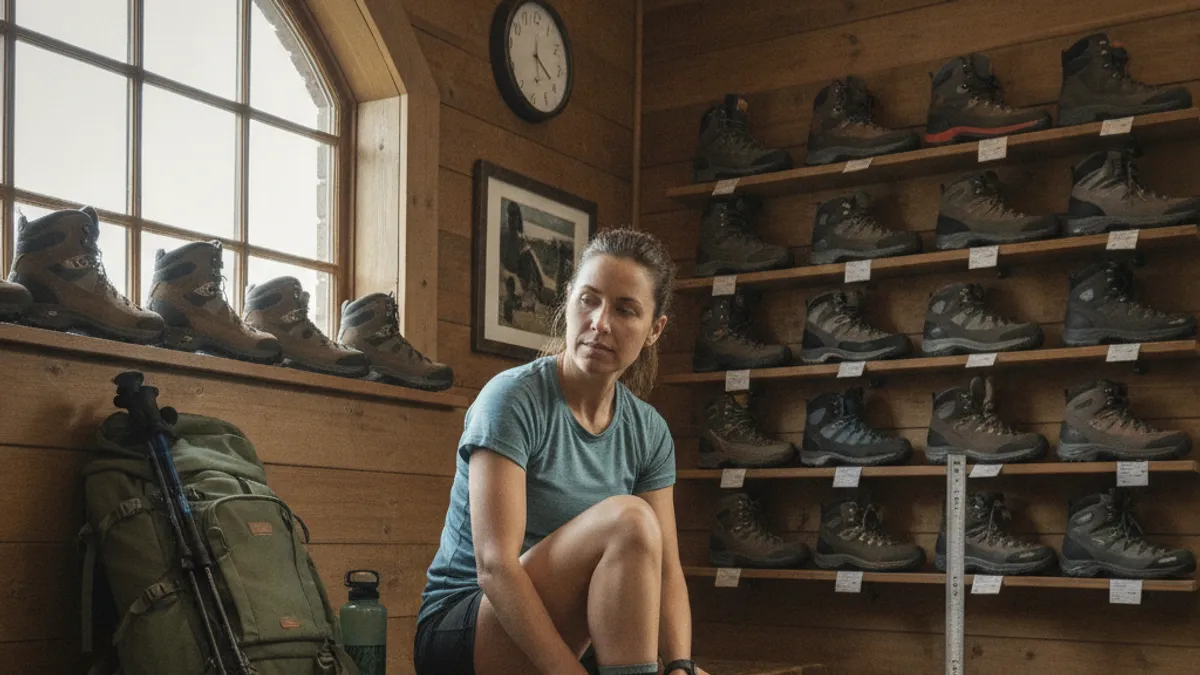
The “when” and “what” of trying on boots are just as critical as the “how.” If you skip these prep steps, you’re setting yourself up for a fit that feels great in the store but leads to misery miles from the trailhead. Our research consistently shows that fitting boots in the afternoon yields more accurate results.
Why the Afternoon?
Your feet naturally swell throughout the day, much like they will when you’re out on a hike, especially in warmer weather. Trying on boots late in the afternoon, or even early evening, means you’re experiencing their fit when your feet are at their largest. This prevents finding boots that feel perfect in the morning but become painfully tight after a few hours of walking.
What to Bring for the Best Fit
Don’t show up in whatever socks you happen to be wearing. Your hiking socks are a critical part of the fit.
- Your Actual Hiking Socks: Pack the pair, or pairs, you intend to use on the trail. Different thicknesses and materials (like wool or synthetic blends) have varying amounts of bulk. Wearing the wrong socks can throw off the entire fit of the boot. If you’re new to hiking, consider checking out guides on [what to wear hiking for beginners].
- Insoles or Orthotics: If you regularly use custom orthotics or supportive insoles in your shoes, bring them along. You’ll want to test the fit with them in place, as they alter the volume and shape of the boot’s interior.
- Any Devices: If you use specialized inserts or braces, bring those too.
The Boot Fitting Workflow: Step-by-Step
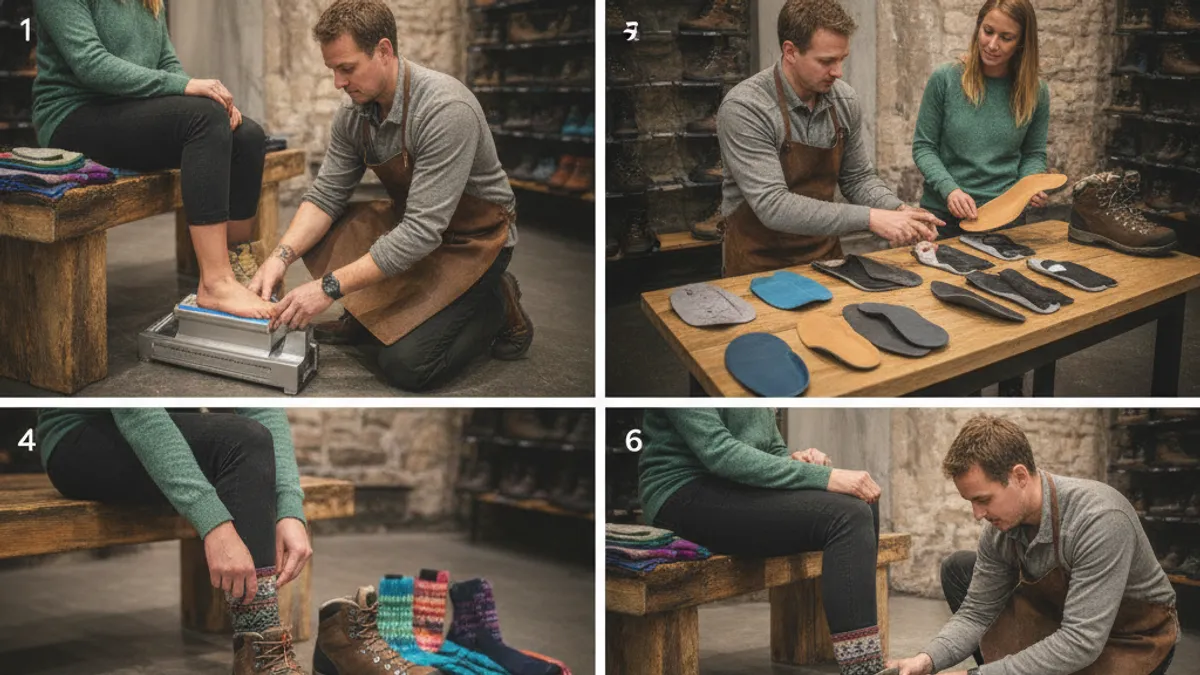
This is the heart of getting it right. We’re going to work through a logical sequence, checking key areas. Think of this as your personal checklist for a successful boot fitting.
Step 1: The Initial Slip-On
First, loosen those laces considerably. You want to open up the boot so your foot can slide in without resistance, especially around the ankle area.
- Undo all laces: Go all the way down to the lowest eyelets.
- Slide your foot in: Your foot should glide in comfortably.
- Feel the general comfort: Does it feel overly tight or loose right away? While minor adjustments come with lacing, a fundamentally wrong size will be apparent immediately.
Step 2: Checking the Toe Box Space
This is a crucial measurement, and it’s surprisingly simple to check. You want to ensure your toes have room to wiggle and won’t be jammed on downhill sections.
- Position your foot: With the boot unlaced and your foot pushed forward until your toes just touch the front end of the boot’s interior.
- Check heel clearance: Now, see how much space is left behind your heel. You should be able to comfortably slip one finger, your index finger, between the back of your heel and the heel counter of the boot. This space is essential for accommodating foot swell and preventing your toes from hitting the end of the boot on descents.
- If you can’t fit a finger: The boot is almost certainly too short or too narrow for your foot. Aggressive descents will cause painful toe jamming.
- If you can fit more than one finger: The boot might be too long, or you may have a very narrow heel that needs specific lacing to secure.
Step 3: Lacing Up for a Secure Fit
This step is where you truly dial in the fit and secure your foot within the boot. Proper lacing distributes pressure evenly and prevents the most common fit issues like heel slippage. Don’t just tie them tight; lace with purpose.
- Start from the bottom: Begin by lacing snugly, but don’t jam the laces down so hard you create pressure points. You want to feel the boot conforming to your foot’s shape.
- Focus on the mid-foot: Pay special attention to the eyelets around your arch and ankle bone. This is where you lock your heel in place and control overall volume.
- For excessive heel lift: Try lacing these sections slightly tighter. Some boots allow for a specific “heel lock” lacing technique that creates a loop to firmly hold your heel back.
- For pressure on the top of the foot (instep): You might need to ease off the tension in the mid-foot. Alternatively, some people find that slightly different lacing patterns, skipping an eyelet, or using a different lacing strategy can relieve this.
Step 4: The Walk-Around and Incline Test
Once laced, it’s time to simulate actual hiking conditions as best you can within the store environment. This is where you’ll catch minor issues before they become major problems.
- Stand and Assess: Simply standing up can reveal if there are immediate pinching or pressure points you missed.
- Walk Naturally: Stride around the store for several minutes. Pay attention to how your foot rolls through the stride. Does anything feel off? Is there any rubbing?
- Find an Inclined Surface: Most outdoor retailers have a ramp, a set of stairs, or even a tilting platform.
- Walk Uphill: Focus on your heel. Does it lift significantly off the insole? Excessive heel lift will surely lead to blisters over time.
- Walk Downhill: This is where toe jamming is identified. Do your toes slam into the front of the boot with each step? If so, the boot is too short, too pointed, or simply the wrong shape for your foot.
Step 5: Listening to Your Feet: What to Feel For
This isn’t just about comfort; it’s about anticipating how the boots will perform over miles. Your feet send clear signals if something isn’t right.
- No Immediate Niggles: If you feel even a slight pinch, poke, or hot spot during the initial fitting, consider it a warning. These minor discomforts often magnify into serious problems on a long hike.
- Overall Impression: Does the boot feel like a natural extension of your foot, or are you acutely aware of a foreign object encasing your foot? The best boots often feel like they disappear once laced properly.
- Pressure Points: Any area where the boot material, seams, or laces feel like they are digging into your foot (top, sides, heel, balls of your feet) is a red flag. Note these spots; they could be indicators of a poor volume match or incorrect lacing.
Common Boot Fit Problems and What They Mean
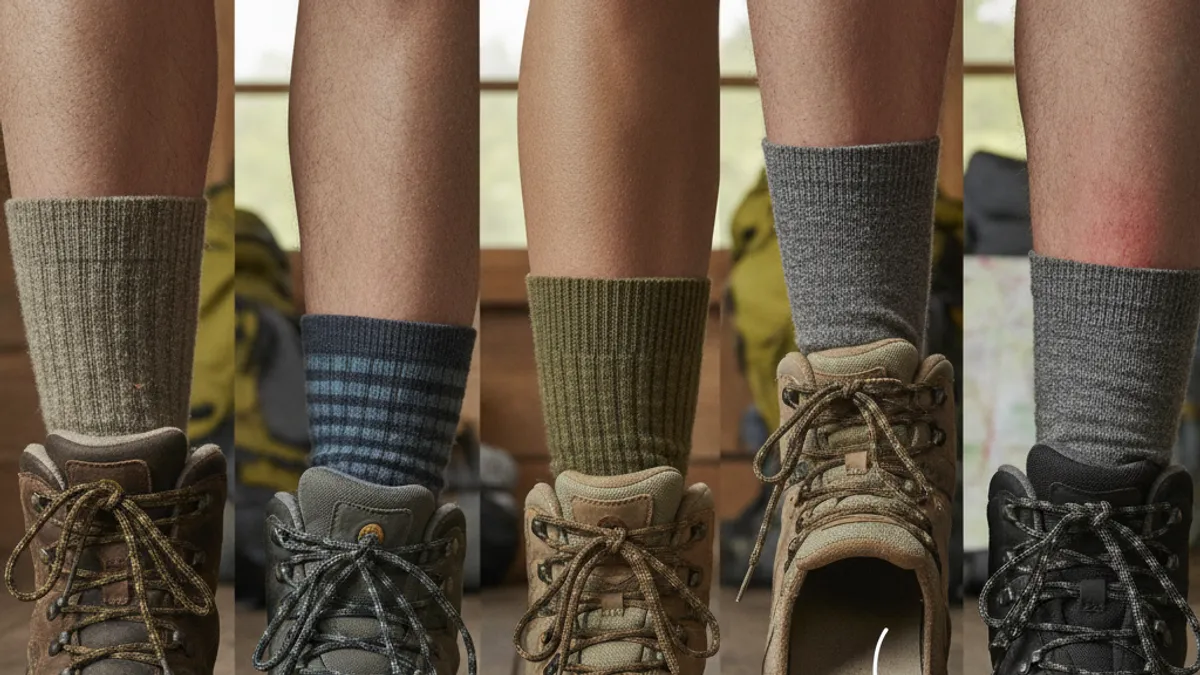
Even with careful attention, you might encounter specific issues. Recognizing these problems is key to adjusting your approach or selecting a different boot. These are the most frequent culprits our research highlights.
Too Much Heel Lift?
Excessive heel lift is a primary cause of blisters. When your heel moves up and down as you walk, it creates friction against your sock and skin.
- What it means: This can happen if the boot’s heel cup is too wide for your heel, or if the overall volume of the boot is too large for your foot. It can also occur if the ankle area isn’t sufficiently snugged during lacing.
- Potential solutions: Try a different lacing technique (like a heel lock). If that doesn’t work, the boot’s shape might just not be compatible with your foot anatomy, or you may need a half-size down or a narrower boot model.
Toes Jamming on Descents?
If your toes hit the front of the boot on downhill slopes, it’s a clear sign the boot is too short or the toe box shape is problematic for your foot. This can lead to bruised toenails and intense pain.
- What it means: The boot lacks sufficient length, or the angle of the toe box doesn’t align with your foot’s natural forefoot angle. It can also indicate that the boot is simply too large overall, allowing your foot to slide forward excessively.
- Potential solutions: If you’ve only got a finger’s width of space, you might need a half-size larger. If the boot feels generally too big, try a smaller size or a narrower width.
Pressure Points and Discomfort?
Any localized tightness, pinching, or rubbing is a sign of a poor fit. These are often related to the boot’s volume and the shape of your foot.
- What it means: This could be too much pressure on the top of your instep, tightness across the ball of the foot, or rubbing on the sides of your ankles or heels. It indicates the boot’s internal dimensions aren’t matching your foot’s specific contours.
- Potential solutions: Adjust your lacing, sometimes loosening an area can relieve pressure elsewhere. If that doesn’t solve it, the boot’s dimensions (length, width, and especially volume in specific zones) are likely incompatible. A different brand or model might have a construction that better suits your foot shape. Even exploring the benefits of different [hiking socks for comfort] can help, but it won’t fix a fundamentally misshapen boot.
Expert Tips for a Perfect Fit

Achieving that perfect boot fit often comes down to understanding a few nuanced details and perhaps trying a couple of tricks. Our research into consumer feedback and manufacturer guidelines reveals that advanced lacing techniques and a keen awareness of your foot’s shape can make a big difference. Don’t be afraid to experiment a little, as long as you’re focused on comfort and security.
What’s the Deal with Boot Volume?
Boot volume refers to the internal space of the boot, not just its length or width. Some feet are “high volume” (think a tall arch or thick instep), while others are “low volume” (flatter arch, slender foot).
- If you have high-volume feet: You might feel pressure on the top of your foot, especially across the instep. Looser lacing in this area is key. You might also benefit from boots with a deeper heel cup.
- If you have low-volume feet: You might experience too much empty space, leading to heel lift or foot sliding. Tighter lacing, especially around the ankle, and potentially using thicker socks or aftermarket insoles can help fill this void.
Consider the Lacing Options
Beyond basic tying, different lacing methods can adjust how a boot fits. For instance, a “window” or “gap” lacing technique can relieve pressure on a specific point, like the top of your foot if it feels too constricted by the tongue. This involves skipping an eyelet or two in the problem area, effectively creating a small unlaced zone there.
- To relieve instep pressure: Skip one pair of eyelets across the top of your foot.
- To enhance heel lock: Use a specific heel-locking loop by crossing the laces through the top two eyelets on each side.
Pay Attention to the Materials
The materials used in boot construction affect how they feel and break in. Leather boots, for example, will often mold to your foot over time more than synthetic materials.
- Leather boots: Require a break-in period. Over time, they’ll conform to your foot’s unique shape, potentially becoming more comfortable than initially expected.
- Synthetic boots: Tend to offer a more consistent fit from the start and require less break-in, but they might not mold as precisely to your foot.
Don’t Rule Out Insoles
While boots come with stock insoles, many hikers find they benefit from aftermarket insoles or orthotics. These can provide better arch support, cushioning, or alignment control that the boot’s factory insole doesn’t offer. If you use them, always test boots with them in place.
Making the Final Decision: When is it “Right”?
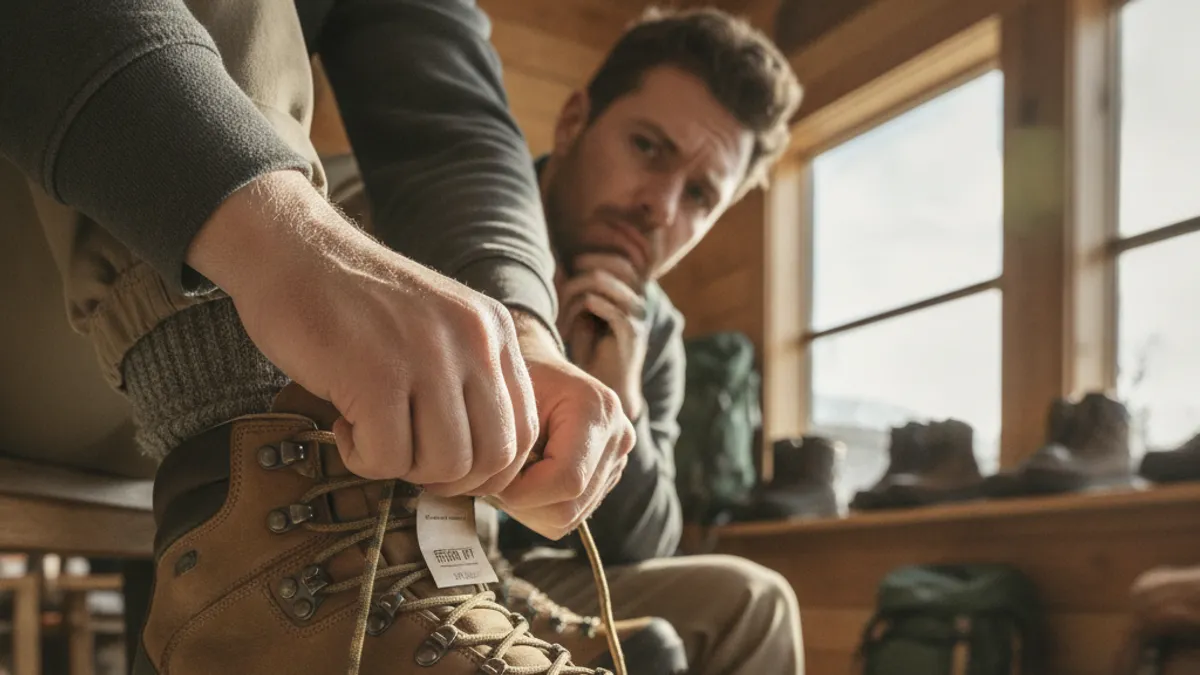
Deciding that a boot is truly the “right” fit isn’t always about a perfect, pain-free sensation the moment you put it on. It’s more about the absence of obvious problems and the anticipation of comfort over distance. Our editorial analysis of product reviews suggests that a boot that feels “very slightly roomy but secure” is often better than one that feels “snug but constricting.”
Think about the overall impression after you’ve gone through the fitting process. Are there any sharp points, intense pressure spots, or areas where you feel your foot is sliding around uncontrollably?
- Zero Major Red Flags: If you can comfortably wiggle your toes, your heel feels reasonably secure without excessive lift during walking and inclines, and there are no immediate pain points, you’re likely on the right track.
- Anticipate Minor Break-in: For boots that are primarily leather, a slight firmness is expected. The key is that this firmness shouldn’t feel like it’s pinching or digging. A boot that feels perfect with no break-in might be too soft or flexible for serious trail use.
- Trust Your Gut (and Your Feet): If a boot feels consistently off, even after adjusting lacing or trying different socks, it’s probably not the right boot for your foot shape. There are many brands and models out there, so don’t settle. When in doubt, walk away and try another option. Remember that for long journeys, having proper [hiking meal prep ideas] and knowing [how much water to drink hiking] are equally important for overall trail success.
