
When you load up your pack for a hike, the last thing you want is for it to feel like a sack of bricks on your shoulders. Learning how to fit a hiking backpack properly isn’t just about comfort; it’s about saving your energy and preventing injuries over miles. Getting this right transforms your experience from a struggle to a stride.
Our research and analysis of manufacturer specifications confirm that a correctly adjusted backpack should feel like a natural extension of your body, with roughly 80% of the weight resting on your hips. This ensures optimal weight distribution and reduces strain. Let’s get that pack dialed in so you can focus on the trail ahead.
The Big Picture: Why Backpack Fit Is Non-Negotiable

Think of your backpack as your mobile base camp. Everything you need for a successful and enjoyable hike, from water and snacks Best Food To Bring On A Long Hike to safety gear and extra layers, goes inside. If that load isn’t balanced and supported correctly, it’ll fight against you every step of the way. We’ve all felt the discomfort that comes from an ill-fitting pack: constant adjustments, sore shoulders, and a nagging ache in the lower back.
This isn’t just annoying; it can lead to fatigue, reduced mobility, and even injuries that cut trips short. A well-fitted pack, on the other hand, distributes that burden effectively, making you feel lighter and more capable on the trail.
Step 1: Pre-Fit Prep – Setting the Foundation (Empty Pack)
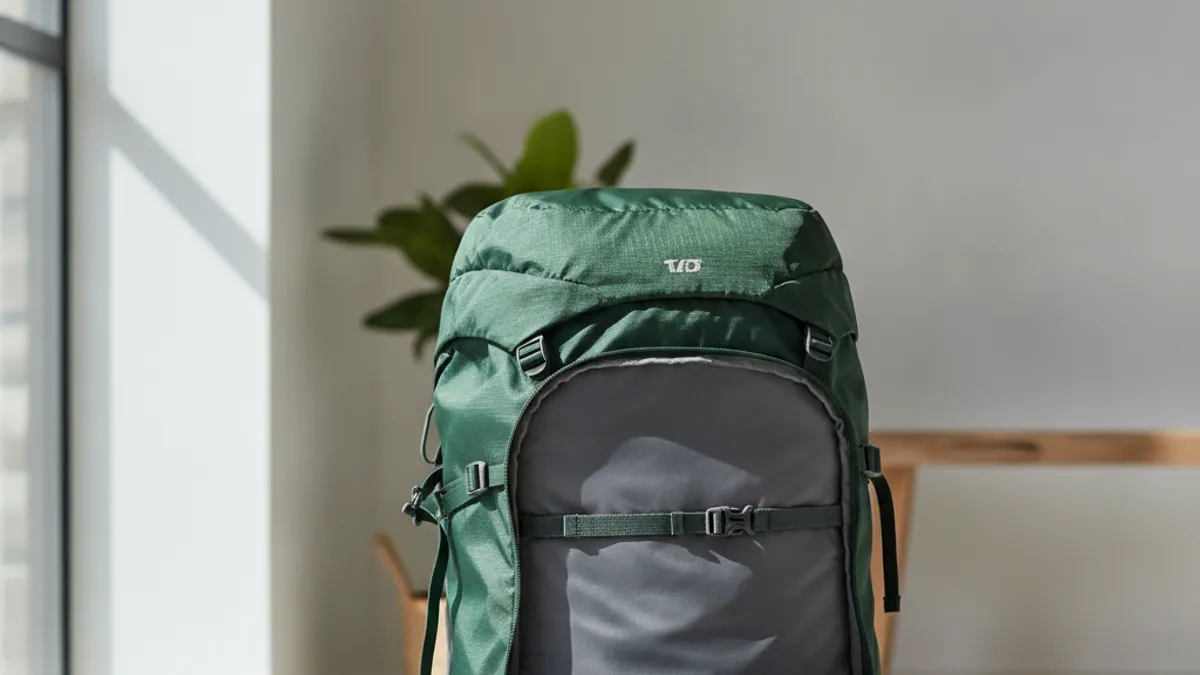
Before you load your pack with gear, make a few crucial adjustments with it empty or very lightly loaded. These primarily match the pack’s structure to your body’s dimensions, establishing the bedrock of a good fit. Getting this right now means less fussing later when the pack is heavy and you’re on the move. Manufacturer specifications for most modern packs highlight these foundational adjustments as the starting point for any fitting process.
Torso Length: The Crucial First Step
The torso length of your backpack is the single most important measurement for achieving a proper fit, and it’s one many people overlook. This adjustment dictates how the pack’s suspension system rests on your body, ensuring weight transfers correctly to your hips rather than your shoulders. Getting this wrong means the hip belt won’t sit where it’s supposed to, and the shoulder straps will either dig in or leave a gap. Most reputable pack manufacturers offer adjustable torso lengths, designed to accommodate a wide range of body types.
Here’s how to set it:
- Locate the Adjustment: Find the system on the back where the shoulder straps attach to the main bag or frame. This is often a Velcro-based system, sliding buckles, or a rail system.
- Find Your Landmarks: You need the distance between your C7 vertebra (the large, knobby bone at the base of your neck that protrudes when you look down) and your iliac crest (the top of your hip bone).
- Perform the Measurement: It’s easiest with a friend or a mirror. Loosen the pack’s torso adjustment straps completely. Slide the shoulder harness up or down until the top of it sits just below your C7 vertebra. The shoulder straps should then naturally curve down from your shoulders toward the hip belt without significant gap or uncomfortable pressure. Aggregate reviews indicate this single adjustment solves most fit-related comfort issues.
Step 2: The Loaded Fit – Dialing It In on the Trail
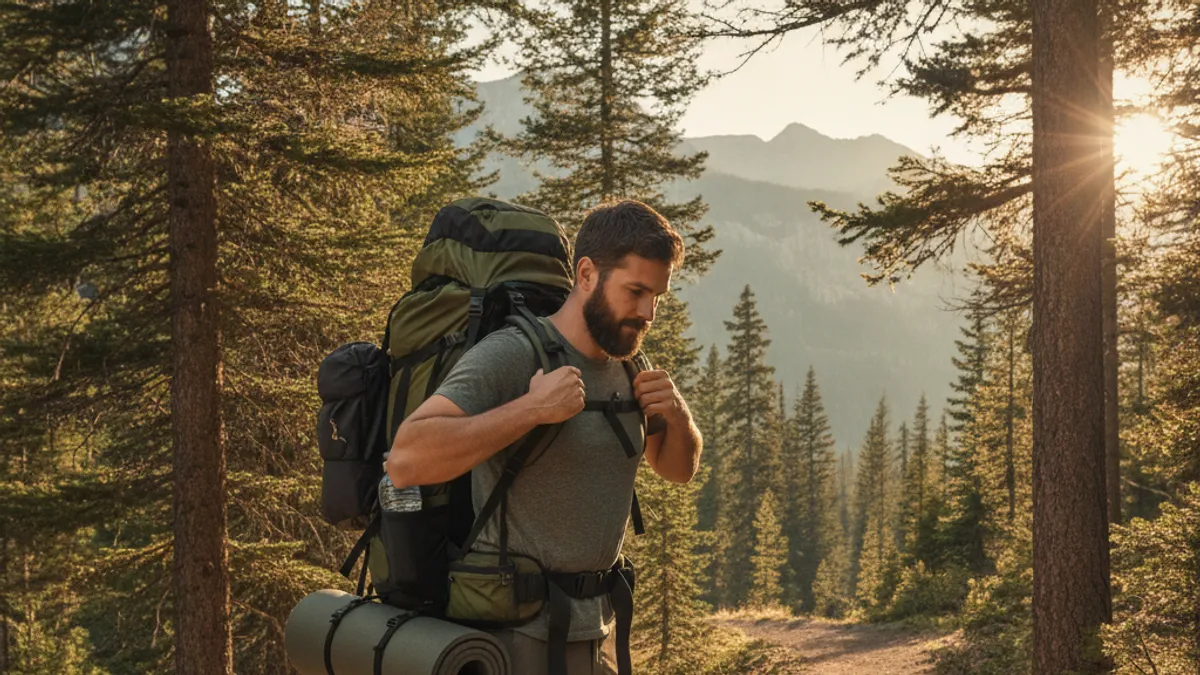
Once your pack’s torso length is set, it’s time to load it up. You can’t truly test a backpack’s fit when it’s empty; the weight engages the suspension system and reveals how it sits on your body. For this step, load the pack with weight representative of a typical outing, think a few days’ worth of gear, food Hiking Meal Prep Ideas, and water. This simulation is key to understanding how the pack will perform under real-world conditions.
Loading Your Pack for a Real Test
Putting weight into your pack is essential for an accurate fit check. Without adequate load, the hip belt won’t cinch down properly onto your hips, and the shoulder straps won’t settle into their intended position. For a multi-day pack, aim for a load of at least 15-20 pounds (about 7-9 kg). If testing a larger expedition pack, aim for 30-40 pounds (around 13-18 kg).
Distribute heavier items closer to your back and towards the middle of the pack to maintain balance and prevent the load from pulling backward.
Hip Belt: The Weight-Bearing Backbone
The hip belt is the most crucial component for carrying comfort because it supports 80% of your pack’s weight. When adjusted correctly, it rests squarely on your iliac crest, those bony points at the top of your hips. This alignment allows the pack’s weight to transfer from your shoulders down through your hips and legs, your body’s strongest load-bearing structures. If the hip belt is too high, it will dig into your ribs; too low, and it won’t engage your hips, leading to shoulder strain.
Here’s the process:
- Positioning: With the loaded pack on your back, pull the hip belt around your waist. Place the padded sections directly over the top of your hip bones.
- Buckling and Tightening: Buckle the hip belt. Pull the tensioning straps firmly. You want it snug enough to support your hips and not slide down, but not so tight that it’s uncomfortable or restricts breathing. A good hip belt feels like it’s hugging your hip bones securely.
Shoulder Straps: Snug, Not Straining
After the hip belt is secured, address the shoulder straps. Their main job is stabilizing the pack and keeping it close to your back, not carrying the bulk of the weight. They should curve smoothly from your shoulders down towards the hip belt. If they dig into your shoulders, or if there’s a significant gap, it signals that the torso length is incorrect or you’re relying too heavily on them, meaning the hip belt needs adjustment.
How to adjust them:
- Pull Down and Back: Gently pull the shoulder straps down and back.
- Find the Sweet Spot: Tighten them until the pack feels snug against your upper back, stopping before you feel pressure on your shoulders or notice the hip belt being pulled upward. You should comfortably draw your arms forward.
Load Lifters: Achieving Balance
Load lifters are the small straps connecting the top of the shoulder straps to the top of the backpack frame. Their function is to gently pull the top of the pack closer to your body, improving balance and preventing the pack from feeling like it’s pulling away from your upper back. When adjusted correctly, they create a slight angle, typically around 45 degrees, between the shoulder strap and the pack. Over-tightening can stress your shoulders, so they should provide only a subtle adjustment.
Sternum Strap: Adding Stability
The sternum strap connects the two shoulder straps across your chest. Its purpose is to add stability and prevent shoulder straps from sliding off, especially during dynamic movements. It also helps take some load off your shoulders by keeping the pack closer to your center of gravity. Tighten it just enough for security, but not so much that it restricts breathing or feels constricting.
It should allow comfortable arm movement.
