
Introduction
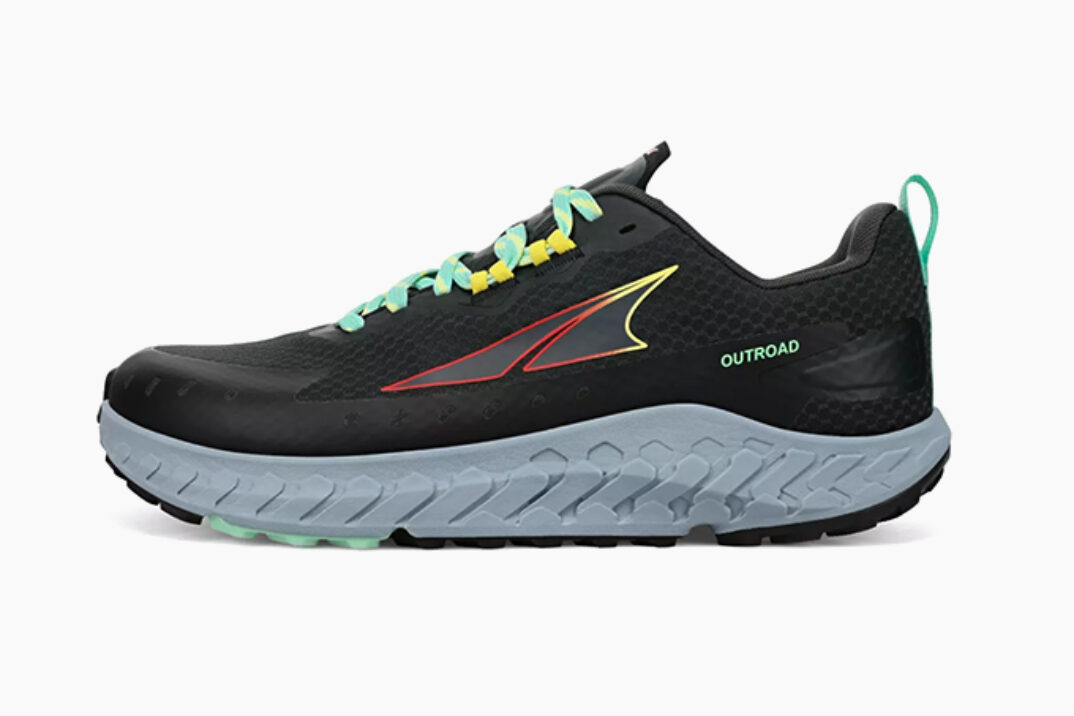
Road-to-trail hybrid running shoes are made for runners in the United States who move between pavement, bike paths, gravel roads, and light dirt trails. They aim to feel smooth on roads while giving you more grip and protection than a standard road shoe.
The best pair depends on your route, pace, foot shape, weather, and trail type. For mostly paved runs with short trail sections, choose a light shoe with a flexible sole and modest lugs. For rougher trails, choose deeper lugs, a firmer platform, and more protection.
No shoe works best for every runner. Fit, grip, and comfort matter more than a long feature list.

Source: youtube.com
What Are Road-to-Trail Hybrid Running Shoes?
Road-to-trail shoes are running shoes built for mixed surfaces. They sit between road shoes and trail shoes.
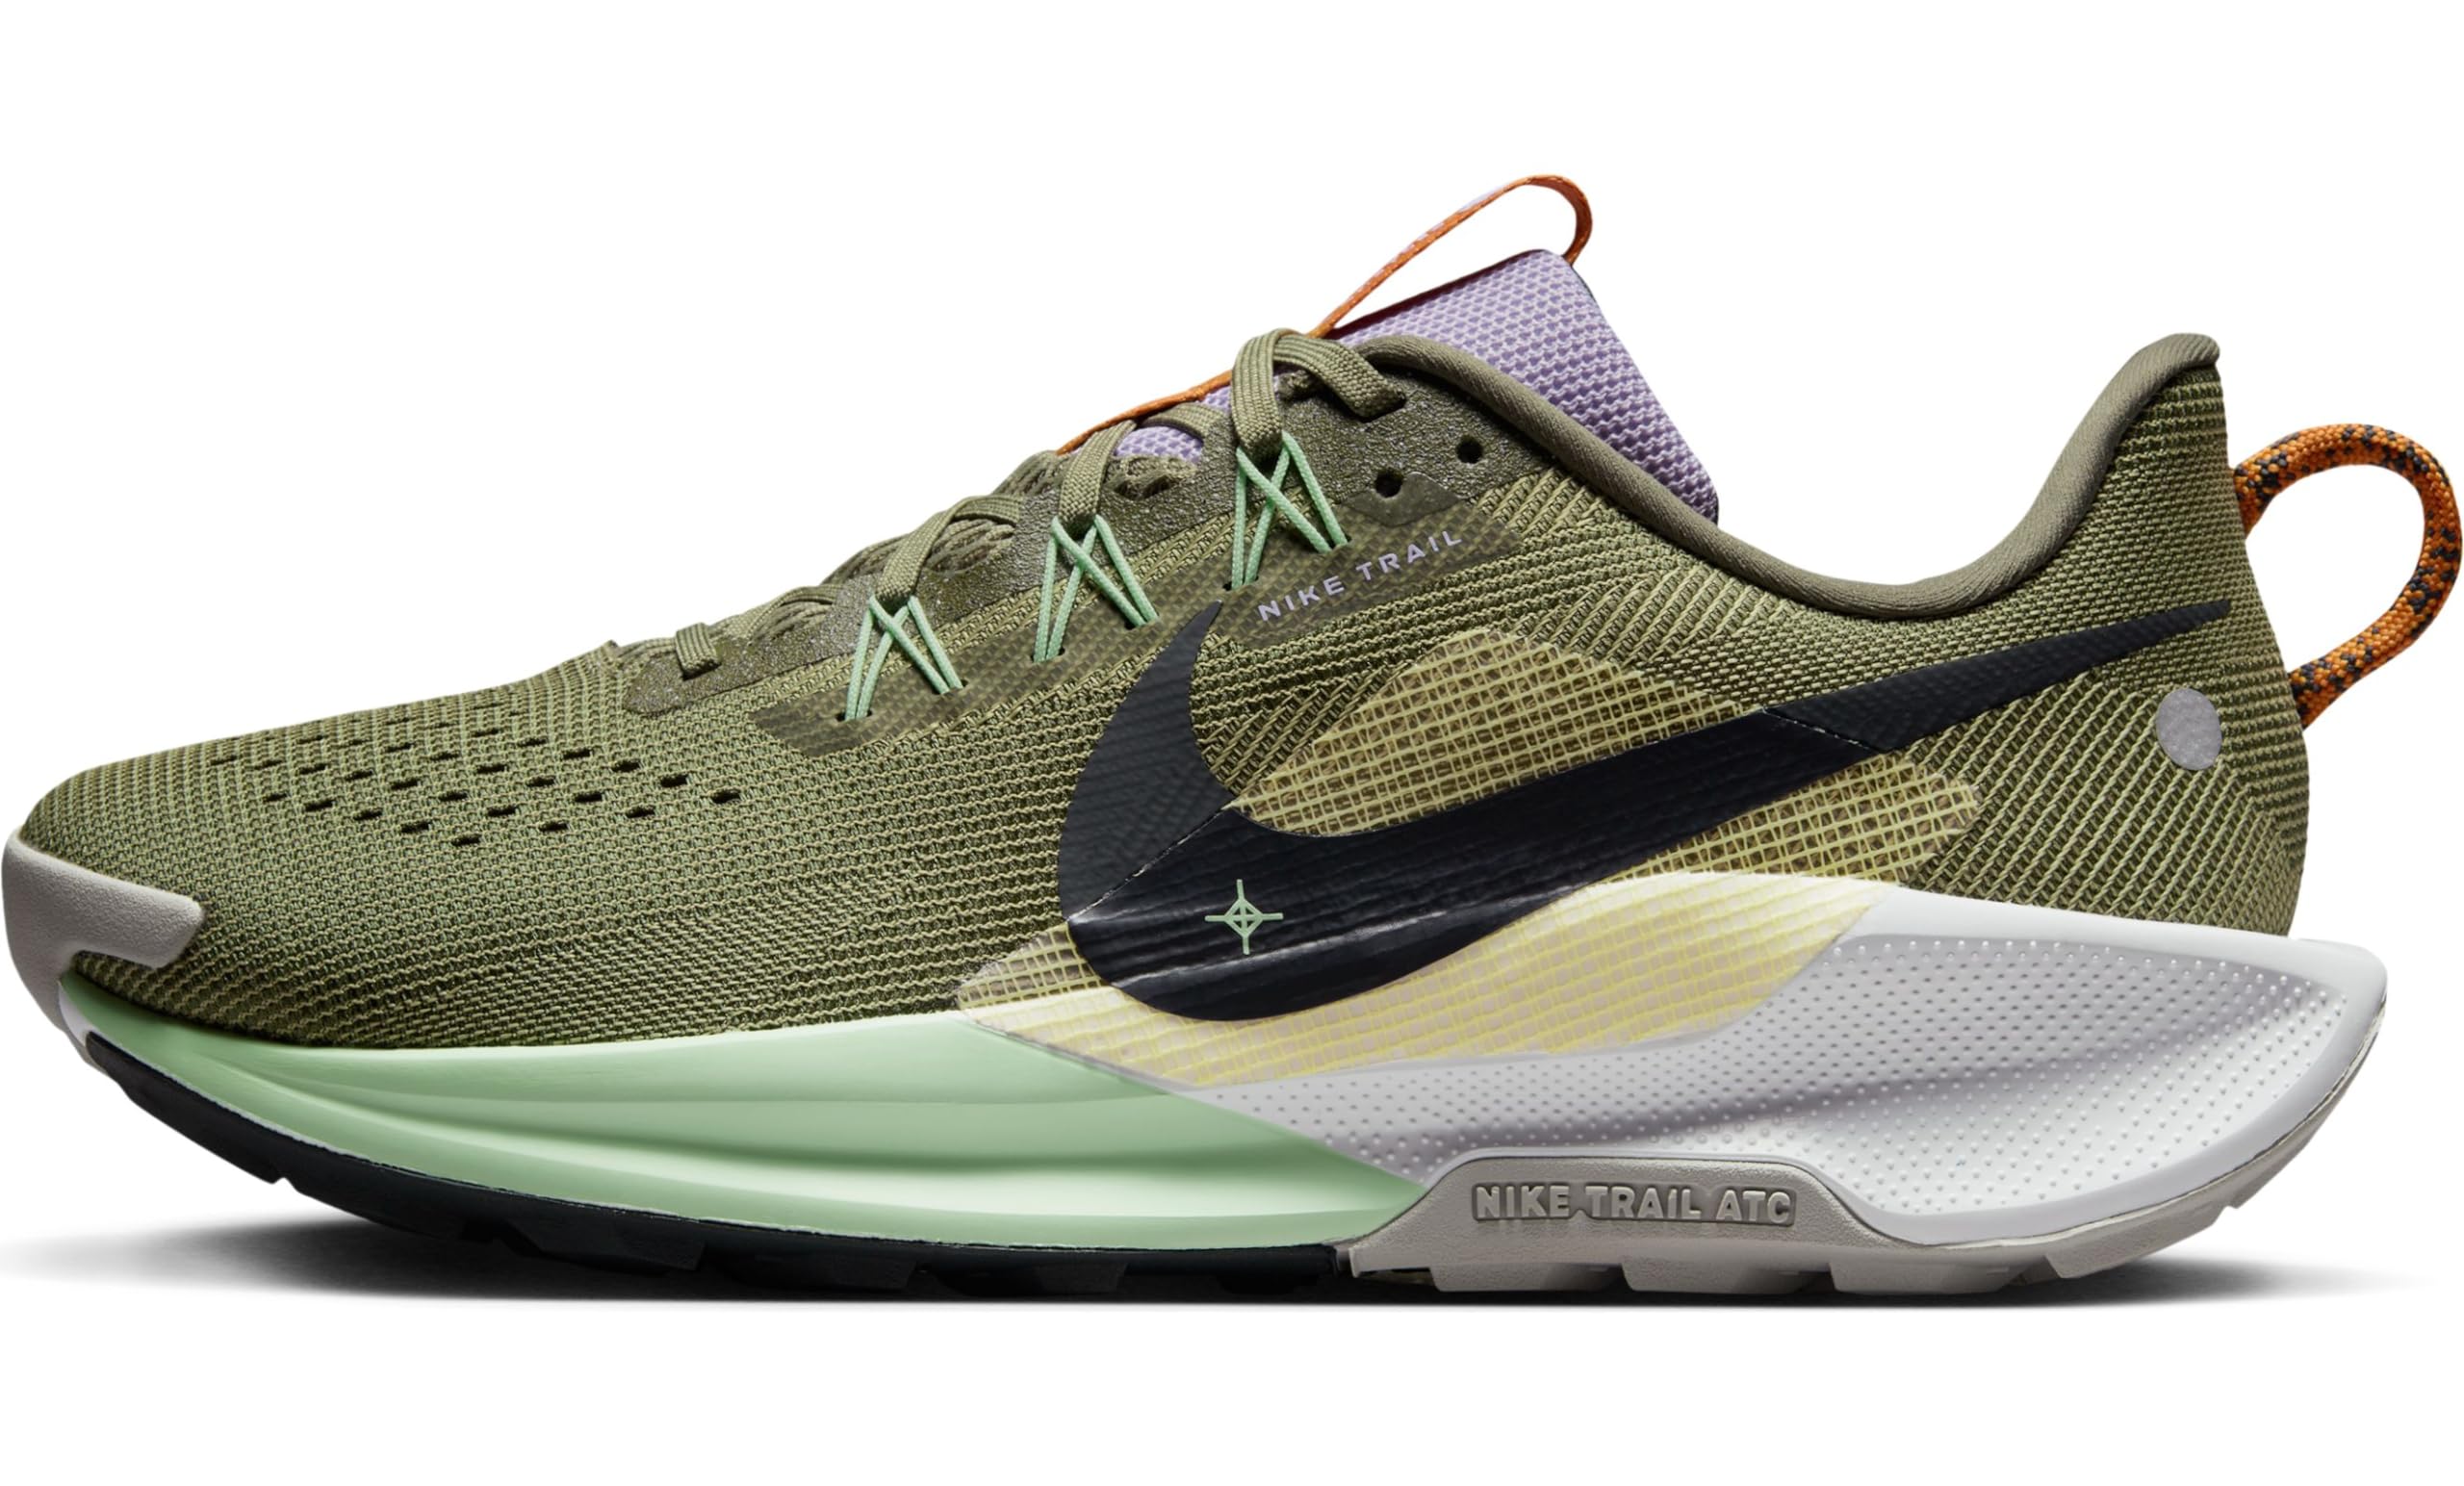
A road shoe often has a smooth outsole and a soft, flexible feel. A trail shoe usually has deeper lugs, stronger upper fabric, and more protection under the foot. A hybrid shoe borrows useful traits from both.
The category has no single industry standard. One brand may call a shoe “road-to-trail.” Another may use “door-to-trail,” “all-terrain,” or “light trail.” Read the shoe’s actual design, not only the label.
Typical features
Most road-to-trail shoes include:
- Moderate rubber lugs for grip on dirt and gravel
- A foam midsole that feels smooth on hard ground
- A secure upper for uneven paths
- A flexible or semi-flexible forefoot
- More underfoot protection than a basic road shoe
- Less weight and less stiffness than a technical trail shoe
These shoes are usually best for:
- Paved roads
- Sidewalks
- Greenways
- Rail trails
- Packed dirt
- Gravel paths
- Dry park trails
- Easy forest roads
They are less suited to:
- Deep mud
- Wet rock
- Steep loose slopes
- Snow and ice
- Sharp, rocky trails
- Routes that need strong ankle support
- Off-trail travel
A hybrid shoe can handle many surfaces, but it does not remove the trade-off. A smoother outsole rolls well on pavement but may slide on mud. A deep outsole grips loose dirt but can feel harsh or slow on asphalt.
Road-to-Trail vs. Road and Trail Shoes
The main difference is the balance between speed, grip, weight, and protection.
| Shoe type | Best surface | Outsole | Ride on pavement | Trail protection |
|---|---|---|---|---|
| Road running shoe | Asphalt and concrete | Smooth or shallow rubber | Usually best | Low |
| Road-to-trail hybrid | Pavement, gravel, and easy trails | Moderate lugs | Usually smooth | Moderate |
| Light trail shoe | Dirt and firm trails | Medium to deep lugs | Acceptable | Moderate to high |
| Technical trail shoe | Rocky, steep, or wet trails | Deep, aggressive lugs | Often less smooth | High |
A road-to-trail shoe is a compromise. That is its strength and its limit.
Choose a hybrid if you want one pair for a mixed route. Choose separate road and trail shoes if you run often on very different surfaces. Two specialized pairs may feel better and last longer than one pair forced to do every job.
What “hybrid” does not mean
A hybrid shoe is not automatically waterproof. It is not automatically stable. It is not a hiking shoe, and it may not provide enough grip for dangerous terrain.
Water-resistant fabric can help in light rain. It may also hold heat and dry slowly after soaking. For warm, wet runs, a breathable mesh upper may be more useful than a water-resistant one.
Source: thewearify.com
How to Choose Road-to-Trail Running Shoes
Start with your route. Then check grip, fit, cushioning, protection, and weather needs.
1. Match the shoe to your surface mix
Estimate how much of your usual run is paved and how much is unpaved.
| Typical route | Useful shoe design |
|---|---|
| 80–100% pavement | Road shoe or very light hybrid |
| About half pavement and half firm trail | Balanced road-to-trail shoe |
| Mostly gravel and packed dirt | Hybrid with stronger lugs |
| Rocky, steep, or muddy trail | Trail shoe |
| Snow, ice, or severe mud | Specialized traction shoe |
These are practical starting points, not strict rules. A smooth park trail may feel easier than a rough gravel road. Surface condition matters as much as surface type.
If you run from your front door to a nearby trail, look for a shoe that does not feel clumsy on pavement. If you drive to the trail and rarely use roads, a trail shoe may serve you better.
2. Check the outsole and lug pattern
The outsole controls much of the shoe’s grip and road feel.
Shallow lugs can roll quietly on asphalt. They work well on packed dirt and fine gravel. Medium lugs offer a better balance for mixed routes. Deep, widely spaced lugs can shed mud, but they may feel rough on pavement.
Look for:
- Rubber under the high-wear areas
- A pattern that bends with your foot
- Enough exposed foam for flexibility, if road comfort matters
- Firm edges around the heel and forefoot
- Lugs that are not worn flat
Lug depth alone does not tell the full story. Rubber compound, spacing, shape, and the ground beneath you also affect traction.
A shoe with a broad, flat contact area may feel stable on roads. A shoe with tall, narrow lugs may bite better into soft ground. That same design can feel less steady on hard, uneven surfaces.
3. Get the fit right
A good fit should feel secure without pressure.
Try shoes later in the day, when feet may be slightly larger. Wear the socks you use for running. Leave enough room to wiggle your toes. Your heel should stay in place when you walk or jog.
Check these areas:
- Toe box: Toes should not hit the front during downhill steps.
- Midfoot: The laces should hold your foot without sharp pressure.
- Heel: The heel should not lift with each step.
- Width: Your little toe should not press against the side wall.
- Length: A thumb-width of space is not a rule for everyone, but extra room can help on long descents.
Do not buy a shoe only because the listed size matches another brand. Shoe shapes differ. A wide version may solve pressure at the forefoot, but it cannot fix a shoe that is too short.
If you use custom orthotics, bring them when you try shoes. Check that they sit flat and do not raise your heel too much.
4. Choose cushioning based on comfort and control
Cushioning changes how the shoe feels. It does not guarantee fewer injuries or better performance.
Soft foam can feel pleasant on long road sections. It may also feel less stable on uneven ground. Firmer foam can give a more direct feel and better control, but some runners may find it less comfortable.
Consider:
- Your usual run length
- Your body size and running style
- How hard the road feels
- How uneven the trail is
- Whether you prefer a soft or firm ride
- Whether the shoe feels stable when you turn
A higher stack can provide more foam underfoot. It can also make the shoe feel less close to the ground. A lower shoe may offer better ground feel but less protection from sharp stones.
There is no universal “best” level of cushioning. Comfort during your actual run is the better guide.
5. Look for protection where you need it
Protection is useful when the trail has loose stones, roots, or rough gravel.
Common protective features include:
- A toe bumper
- A tougher mesh or woven upper
- A rock plate
- More rubber under the forefoot
- Side overlays that limit foot movement
A rock plate is a layer that helps reduce pressure from sharp objects. It may make a shoe feel stiffer. It can also reduce flexibility and road comfort.
For smooth gravel, you may not need a rock plate. For rocky trails, it can be helpful. Do not assume that a visible toe cap protects the whole foot. It mainly shields the front of the shoe from bumps and abrasion.

Source: pinterest.com
How Much Grip Do You Need?
Choose the least aggressive grip that safely handles your route.
For dry pavement and firm dirt, shallow or moderate lugs are often enough. For loose soil, look for more open spacing and deeper edges. For mud, widely spaced lugs can release mud more easily than tightly packed tread.
Wet rock is difficult for many shoes. Even an aggressive outsole may slip on smooth stone, roots, painted surfaces, or metal bridges. Slow down when the surface is slick.
Snow and ice need special care. Standard road-to-trail shoes are not a replacement for traction devices made for icy conditions. If your route includes ice, check local conditions and use gear designed for that surface.
A simple grip test
Before a long run:
- Walk on dry pavement.
- Walk on the dirt or gravel you plan to use.
- Test a mild slope.
- Turn slowly on loose ground.
- Stop if the shoe slides or your foot moves inside it.
This test cannot predict every condition. It can reveal a poor match before you are far from help.
Heel-to-Toe Drop and Stability
Heel-to-toe drop is the height difference between the heel and forefoot of a shoe. It is usually measured in millimeters.
A higher drop may feel familiar to runners who prefer more heel underfoot. A lower drop may feel more natural to runners who like a flatter platform. Neither is automatically safer or better.
Change drop with care. A sudden move to a much lower-drop shoe can place new demands on the calves and Achilles tendon. A sudden change in cushioning, stiffness, or shoe weight can also alter how your legs work.
Stability comes from more than drop. It can come from:
- A broad base
- A secure upper
- A firm midsole
- A steady heel counter
- A sole that does not twist too easily
- A fit that keeps the foot centered
If you have ongoing pain, numbness, repeated ankle rolls, or a known medical condition, ask a qualified health professional for personal advice. Shoe choice cannot diagnose or treat an injury.

Source: proteinjug.com
How to Test a New Pair
Test new road-to-trail shoes in short, easy sessions first. Do not use an untested pair for a race, long trip, or remote trail.
Use this step-by-step plan:
- Walk indoors or on a clean surface. Check for pressure, rubbing, and heel movement.
- Run for 20 to 30 minutes on pavement. Notice whether the shoe feels smooth and secure.
- Add a short dirt section. Check grip, control, and debris inside the shoe.
- Try a longer mixed-surface run. Increase time only if your feet and legs feel normal.
- Inspect your feet afterward. Look for hot spots, blisters, bruising, or nail pressure.
Stop and reassess if you feel sharp pain, numbness, burning, or a new pain that changes your stride. A shoe may need a different size, a different lacing method, or a return.
Signs the shoe is working
A suitable shoe should let you:
- Keep a natural stride on pavement
- Feel secure on firm dirt
- Turn without your foot sliding inside
- Descend without your toes hitting the front
- Finish without unusual pain or hot spots
- Clean the shoe without damage to its structure
Comfort is not the only test, but it is a key one. A shoe that looks ideal on paper may still be wrong for your foot.
Common Mistakes to Avoid
Buying for the trail you wish you had
If most of your miles are on roads, a heavy technical shoe may feel slow and stiff. Buy for your regular route, not a rare adventure.
Choosing deep lugs for every surface
More tread is not always better. Aggressive lugs can reduce smoothness on pavement and may wear faster on hard ground.
Ignoring width
Many fit problems come from a narrow toe box, not from the wrong length. Try another width or shape before changing to a much larger size.
Expecting a break-in period to fix pain
A small amount of upper stiffness may improve. Sharp pain, numbness, or strong pressure should not be ignored.
Changing several variables at once
Do not move from a familiar road shoe to a low-drop, highly cushioned, stiff trail shoe and double your distance in the same week. Change one factor at a time when possible.
Treating marketing terms as proof
Words such as “grip,” “stability,” and “all-terrain” describe a design goal. They do not prove performance on your exact route. A brand’s test claims may use conditions that differ from yours.

Source: roadtrailrun.com
Care and Replacement
Clean road-to-trail shoes after muddy runs. Remove loose dirt with a soft brush and rinse with cool water when needed. Let them dry at room temperature.
Avoid a clothes dryer, radiator, or strong direct heat. Heat can damage adhesives and change the shape of the upper.
Remove the insoles if they are wet. Keep the shoes in a ventilated place. If the outsole is packed with mud, clear the tread before the next run.
Replace shoes when the fit, grip, structure, or comfort has clearly declined. Mileage can help you track use, but it is not a fixed replacement rule. Terrain, body weight, gait, weather, and shoe design all affect wear.
Inspect:
- Flattened or missing lugs
- Cracks in the midsole
- Uneven foam compression
- Torn upper fabric
- A loose heel counter
- New slipping on familiar ground
- Pain that began after the shoe became worn
If the outsole is worn smooth in key areas, grip may be the reason to replace the shoe even when the upper still looks fine.
Are Road-to-Trail Shoes Good for Walking and Hiking?
They can work well for day walks, travel, and easy hikes. Their light weight and running comfort may suit people who do not want a heavy boot.
They may not suit:
- Heavy backpacks
- Long rocky hikes
- Cold or wet conditions
- Routes that need ankle protection
- Poorly marked terrain
- Trips where repair or replacement is difficult
For hiking, assess the full load and route. A running shoe can be a good choice for a light pack and a clear trail. It is not a universal substitute for hiking footwear.
Key Takeaways
- Road-to-trail hybrid running shoes balance road comfort with light-trail grip.
- Match the shoe to your most common surface, not its marketing label.
- Use shallow lugs for pavement and firm dirt; choose stronger tread for loose or rough ground.
- Fit, width, and heel security matter more than brand claims.
- Test new shoes on short runs before using them on long or remote routes.
- Replace shoes when grip, structure, or comfort has clearly declined.
- Use specialized footwear for ice, deep mud, steep technical trails, or heavy hiking loads.
FAQs
Can I use road-to-trail shoes for daily running?
Yes, if they feel comfortable on your usual roads and the outsole is not too aggressive. A light hybrid may work well for daily mixed-surface training. If all your miles are on pavement, a road shoe may feel smoother and last better.
Are road-to-trail shoes good for beginners?
They can be a useful choice for beginners who run on roads, parks, and gravel paths. Start with a secure fit and a moderate outsole. Avoid buying a very stiff or aggressive trail shoe unless your routes require it.
Should road-to-trail shoes fit differently from road shoes?
The fit should still be secure and comfortable. Some runners prefer a little more toe room for descents and longer trail runs. Do not make the shoe so loose that your foot slides inside it.
Can I wear road-to-trail shoes in the rain?
You can, but grip depends on the surface and outsole. Wet asphalt, painted paths, roots, and smooth rocks can all be slippery. Waterproof materials may keep out some water, but they do not make the shoe fully waterproof.
Do road-to-trail shoes prevent injuries?
No shoe can promise injury prevention. Research on running shoes does not support a single design as the safest choice for every runner. A gradual training plan, suitable fit, recovery, and attention to pain also matter.
Should I buy one pair or separate road and trail shoes?
Buy one hybrid pair if your routes are mixed and conditions are moderate. Buy separate shoes if you run often on both smooth roads and technical trails. Separate pairs let each shoe do one job better.
Conclusion
The best road-to-trail hybrid running shoes make mixed routes feel simple. They should roll well on pavement, grip firm dirt, protect your feet from common trail debris, and stay secure through turns and descents.
Start with your route. Then choose the outsole, fit, cushioning, and protection that match it. Test the shoes in small steps, and switch plans when the terrain becomes too wet, steep, rocky, or icy for a hybrid design.
