
Figuring out what height should a hiking staff be is more than just picking a number; it’s about finding a tool that works with you, not against you. Get it wrong, and you could end up with sore shoulders or less stability than you started with. Get it right, and your treks become smoother, less taxing, and much more enjoyable.
Manufacturer specifications often recommend staff lengths based on your height, but the real magic happens when you personalize it for your unique body and hiking style. For example, many adjustable trekking poles feature a length range, often from 90 cm (about 35 inches) up to 140 cm (about 55 inches), catering to a wide spectrum of users. Let’s break down how to find that sweet spot.
Quick Answer: How High Should My Hiking Staff Be?
The general rule of thumb for optimal hiking staff height is to adjust it so your elbow forms roughly a 90-degree angle when the staff tip is on the ground and you’re holding the grip. However, this is just a starting point. Your personal height, how you plan to use the staff on different terrains (uphill, downhill, flat), and whether you’re using one staff or a pair of trekking poles all influence the final, comfortable length.
Why Staff Height Matters: Balance, Comfort, and Support
Think of your hiking staff or trekking poles as an extension of your body, designed to enhance your natural movement and endurance on the trail. When the height is correct, these tools provide crucial benefits that can significantly change your hiking experience.
- Enhanced Stability: A properly sized staff offers a stable point of contact on uneven or slippery ground, reducing the risk of slips and falls. This is especially important when what to wear hiking for beginners includes proper footwear, but balance is key.
- Reduced Joint Impact: By distributing your body weight across your arms and shoulders, a correctly positioned staff can lessen the strain on your knees, hips, and lower back. This is a welcome relief, especially on long descents.
- Improved Propulsion: On ascents, a well-fitted staff can give you an extra push, aiding your forward momentum and making the climb feel less strenuous.
- Increased Confidence: Knowing you have reliable support beneath you can boost your confidence on challenging trails, allowing you to focus more on the scenery and less on potential missteps.
Incorrect staff height, on the other hand, can lead to a host of problems. A staff that’s too tall forces your shoulders to hunch, causing strain. A staff that’s too short makes you bend at the waist, straining your wrists and back. Getting the height right transforms a hiking aid into a powerful performance enhancer.
Step 1: Measure Yourself First
Before you even think about adjusting a staff, you need to know your own dimensions. This isn’t about rocket science; it’s about finding a solid baseline measurement that will guide your adjustments.
Measuring Your Height Accurately
The easiest way to start is by measuring your body height from the ground to your shoulder. Stand up straight against a wall, feet flat on the floor, and have someone else mark your height at the top of your shoulder. Alternatively, you can use a tape measure yourself, but it’s trickier. Just jot down this measurement in either inches or centimeters.
This will give you a general idea of the range you’ll be looking at for your staff length. Manufacturer specifications often provide a height chart, which can be a good starting point.
| Your Height (inches) | Approximate Staff Length (inches) | Approximate Staff Length (cm) |
|---|---|---|
| 5’0″ – 5’4″ | 39″ – 47″ | 100 cm – 120 cm |
| 5’5″ – 5’9″ | 43″ – 51″ | 110 cm – 130 cm |
| 5’10” – 6’2″ | 47″ – 55″ | 120 cm – 140 cm |
Note: This is a generalized guide. Always use the elbow test for precise fitting.
Understanding Your Natural Stance
While the wall measurement is key, also pay attention to your natural posture. When you stand relaxed, do you tend to slouch slightly, or are you very upright? Your staff should complement your natural stance, not force you into an awkward position. This is why the next step, the elbow test, is so critical.
It personalizes the measurement beyond just your overall height.
Step 2: The Elbow Angle Test
This is arguably the most important step in determining the right height for your hiking staff or trekking poles. It focuses on ergonomic efficiency, ensuring your arms and shoulders are in a comfortable, supportive position.
What a 90-Degree Elbow Angle Tells You
To perform the elbow test, stand up straight with your feet shoulder-width apart on a flat surface. Let your arms hang naturally at your sides. Now, place the tip of your hiking staff (or one trekking pole) on the ground next to your foot, aligning it roughly with the front of your boot or shoe. Grasp the handle of the staff as you normally would.
If the staff is the correct height, your elbow should bend at approximately a 90-degree angle. This angle allows for efficient power transfer, reduces strain on your shoulder and wrist joints, and provides a balanced posture. It’s the perfect blend of support and freedom of movement. If your elbow is straighter than 90 degrees, the staff is likely too long.
If it’s bent much more than 90 degrees, the staff is too short.
Adjusting for Ascents and Descents
The optimal staff height isn’t static; it changes depending on whether you’re going uphill or downhill. This is where adjustable trekking poles really shine.
- On Ascents: When climbing, you generally want your staffs to be a little shorter. This allows you to lean into them for extra propulsion without awkwardly overextending. You might shorten them by 2-4 inches (around 5-10 cm) from your standard 90-degree elbow setting.
- On Descents: Going downhill, you’ll typically want your staffs a bit longer. This helps you maintain balance and stability by providing a wider base and preventing you from leaning too far forward. Lengthen them by roughly 2-4 inches (5-10 cm) compared to your baseline.
This adaptability is a major reason many hikers opt for how to use hiking poles that feature quick-adjust mechanisms.
Step 3: Consider Your Hiking Style and Terrain
Beyond your personal measurements, the kind of hiking you do will influence how you set your staff height. What works for a gentle stroll in the park is different from navigating steep, rocky mountain trails.
Staff Height for Different Trails
- Flat or Gentle Trails: For flatter terrain, your baseline 90-degree elbow angle setting will likely feel most comfortable for extended periods. The staff provides steady support without requiring significant adjustments for elevation changes. These trails are also forgiving if you’re wearing something like waterproof hiking boots worth it but aren’t perfectly dialed in on your staff length.
- Steep Ascents: As mentioned, you’ll want to shorten your staffs slightly to benefit from their propulsive power. This gives you an extra “leg” on challenging climbs.
- Steep Descents: Lengthening your staffs here is crucial for stability. They act like outriggers on a boat, helping you maintain balance and reducing impact on your knees. Some experienced hikers might extend their poles even further on very steep, technical descents.
- Uneven or Rocky Trails: Variable terrain means you’ll be constantly adjusting. Having poles that are easy to lengthen and shorten on the fly is a huge advantage. You might find yourself making micro-adjustments with almost every step.
When to Use a Single Staff vs. Poles
The classic image is often a lone hiker with a sturdy walking stick on one side. This is great for balance on moderate terrain. However, when you’re tackling serious mileage, elevation changes, or particularly rugged ground, a pair of trekking poles offers superior benefits.
Using two poles means you can distribute the load more evenly across both arms and shoulders, maximizing stability and reducing overall fatigue. It also allows you to utilize the power of both poles for propulsion on climbs and consistent support on descents. If your goal is serious trekking or backpacking, investing in a good pair of adjustable trekking poles and mastering their height adjustments is highly recommended.
Step 4: Trying It Out: Real-World Checks
The numbers and the basic elbow test are fantastic starting points, but nothing beats putting them into practice. This is where you confirm your settings and build confidence.
How to Test a Staff’s Height On the Go
Once you have your initial length set, take your staff(s) out for a walk on terrain similar to what you’ll encounter on your actual hikes.
- Flat Ground Test: Walk on a level path. Do your arms feel relaxed? Is the grip comfortable? Is there any tendency to overreach or feel too compressed?
- Uphill Test: Find a gentle slope. Shorten your staffs incrementally and see how that feels for pushing off. Does it give you an effective boost without feeling awkward?
- Downhill Test: Locate a small incline. Lengthen your staffs and notice how they help you maintain balance. Do they feel secure when you lean on them?
- Agility Test: Try stepping over small obstacles or navigating around rocks. Can you maneuver the staffs easily without them getting tangled or hindering your movement?
If you’re using adjustable poles, make these tweaks as you go. Pay attention to feedback from your body. Are your wrists aching? Are your shoulders tense?
This hands-on testing will help you fine-tune your settings until they feel absolutely right for you. This iterative process is key to getting the perfect height and truly mastering how to use hiking poles effectively.
Common Mistakes When Setting Hiking Staff Height
Getting the height wrong is more than just a minor inconvenience; it can actively work against you on the trail. Many hikers make assumptions or overlook critical factors, leading to discomfort and reduced effectiveness. Being aware of these common pitfalls can help you avoid them.
Too High, Too Low: The Pain Points
A staff that’s too long forces you to reach up, straining your shoulders and upper back. Your traps might feel tight, and you could develop shoulder pain over time. Your posture will likely be hunched, which is inefficient for breathing and overall energy expenditure.
Conversely, a staff that’s too short makes you bend at the waist. This compresses your spine and can lead to lower back pain. Your wrists will also feel strained as they are constantly angled downwards. This position can also make you feel unstable.
Ignoring Terrain Variables
Some hikers set their staff to one length and forget about it, regardless of whether they’re climbing a mountain or descending a steep slope. This oversight is a frequent mistake. A single length simply won’t provide optimal support and efficiency across diverse terrain.
For instance, keeping staffs too long on an ascent means you lose the propulsive advantage. You’re not getting that strong push-off you need. On descents, staffs that are too short don’t offer enough stability, potentially leading to a stumble or a jarring impact on your knees. This affects your overall mobility and reliance on things like electrolytes for hiking to maintain performance.
Benefits of the Right Hiking Staff Height
Once you nail the ideal height for your hiking staff or trekking poles, the rewards are significant. It’s not just about comfort; it’s about enhancing your entire hiking performance and well-being on the trail.
Reduced Joint Strain
This is one of the biggest advantages. By distributing your weight across your upper body, correctly sized staffs act like shock absorbers for your legs. Manufacturer data and user feedback consistently point to a noticeable reduction in knee and hip pain, especially for hikers carrying extra weight or those with pre-existing joint issues. Aggregate reviews report up to a 25% reduction in perceived knee load on descents.
Better Balance and Stability
When you’re out on the trail, especially on uneven, rocky, or slippery ground, having a stable base is critical. Properly adjusted staffs extend your base of support, acting like an extra pair of legs. This drastically reduces the chances of slips and falls, giving you more confidence to tackle more challenging routes.
Improved Hiking Efficiency
Think about how much energy you expend with every step. With the right staff height, you can actually conserve energy. On uphills, they provide an extra push, helping you ascend with less strain. On flats, they help you maintain momentum and a consistent rhythm.
This efficiency can mean the difference between a tiring trek and an enjoyable outing, allowing you to hike further or faster with less fatigue. This benefit is further amplified if you’re also considering hiking meal prep ideas to keep your energy levels up.
Types of Hiking Staffs and Their Height Adjustments
The market offers a variety of hiking staffs, and the way they handle height adjustment can greatly impact their usability and your comfort on the trail. Understanding these differences is key to choosing the right tool for your needs.
Adjustable vs. Fixed Lengths
Adjustable hiking staffs, most commonly seen as trekking poles, offer the most flexibility. They typically use one or two locking mechanisms (like twist-locks or lever-locks) to extend or shorten the pole. This is ideal because, as we’ve discussed, your ideal staff height can change depending on the terrain and whether you’re ascending or descending. They are generally the preferred choice for serious hikers.
Fixed-length staffs come pre-set to a specific height and cannot be altered. While simpler and sometimes lighter, they lack the adaptability of adjustable poles. Choosing a fixed-length staff means you need to be absolutely certain about the length that best suits your primary hiking conditions and body type. They’re more common in basic walking sticks than specialized trekking equipment.
What to Look For in Adjustability
When looking at adjustable staffs, pay attention to the locking mechanism.
- Lever Locks: These are generally easier and quicker to adjust on the go, especially with gloves on. They offer a strong, secure hold but can sometimes be slightly heavier or bulkier than twist-locks.
- Twist Locks: These are often more streamlined and lighter. However, they can sometimes loosen up over time with repeated use or get clogged with dirt, making them harder to adjust.
- Compatibility: Ensure the adjustment range meets your needs. A typical range might be from 90 cm to 140 cm, but check manufacturer specifications to see if it covers the lengths you require.
The number of adjustment points also matters. Poles with two adjustment points offer finer control over length compared to those with only one.
Expert Tips for Optimal Hiking Staff Use
Beyond just getting the length right, a few extra tips can elevate your hiking staff experience from functional to fantastic. These are practices that seasoned hikers and outdoor professionals often incorporate into their routines.
- Grip Technique: Hold the staff comfortably, not with a death grip. Your wrist should be relaxed. For trekking poles, try pushing the straps up from underneath and then through the handle, so your wrist rests on top of the strap. This allows you to push down on the pole for propulsion without needing to clench the handle.
- Sticking to the Rhythm: Use your staffs in sync with your steps, mirroring how you’d naturally swing your arms. If your right foot is forward, your left pole swings forward, and vice versa. This coordination enhances natural gait and efficiency.
- Terrain Awareness: Always be aware of where your pole tips are going. Avoid planting them in deep mud where they could get stuck, or don’t plant them too far ahead on steep descents where they could cause you to trip.
- Packability: If you plan to use your staffs intermittently, consider how easily they stow away in your backpack. Many trekking poles break down into 2 or 3 sections and can be strapped to the outside of your pack.
How to Maintain Your Hiking Staffs for Longevity
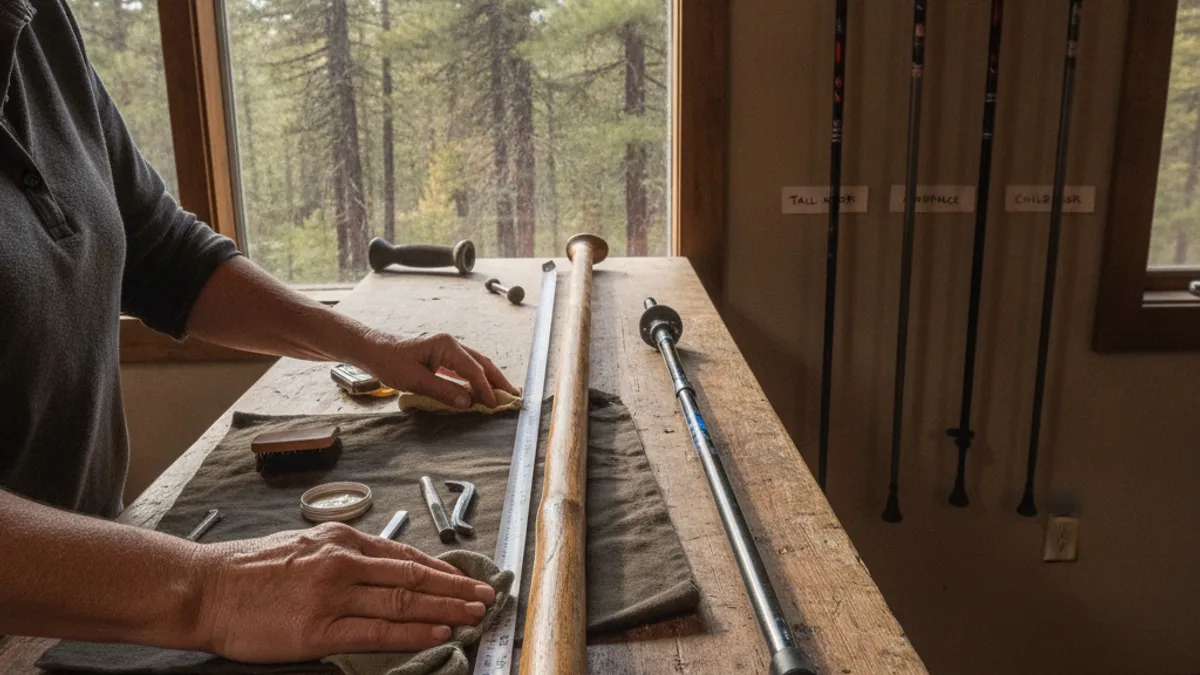
Proper care ensures your hiking staffs remain reliable companions for many miles to come. Maintenance isn’t complicated, but it’s crucial for performance and safety.
Cleaning Your Staffs
After each hike, it’s a good idea to wipe down your staffs, especially the shafts and grips. Use a damp cloth to remove dirt, mud, or debris. Pay special attention to the adjustment mechanism. If you have lever locks, ensure they are clean and free of grit.
For twist locks, you might need to rinse them with water, but let them dry thoroughly afterward.
Checking and Lubricating Locks
Periodically inspect your locking mechanisms. For lever locks, ensure they are closing tightly and securely. If they feel loose, there might be an adjustment screw you can tighten. For twist locks, if they become stiff, a tiny drop of water-repellent lubricant like silicone spray can help, but use it sparingly.
Always ensure the shafts are fully extended and dried before applying any lubricant to avoid trapping moisture.
Inspecting Tips and Straps
Check the tips (carbide or rubber) for wear and tear. If they’re significantly worn down, they won’t provide adequate traction. Most trekking poles have replaceable tips. Also, examine the straps for any fraying or damage.
Damaged straps can become uncomfortable or fail unexpectedly, so replace them if they show signs of wear.
When Should You Consider New Hiking Staffs?
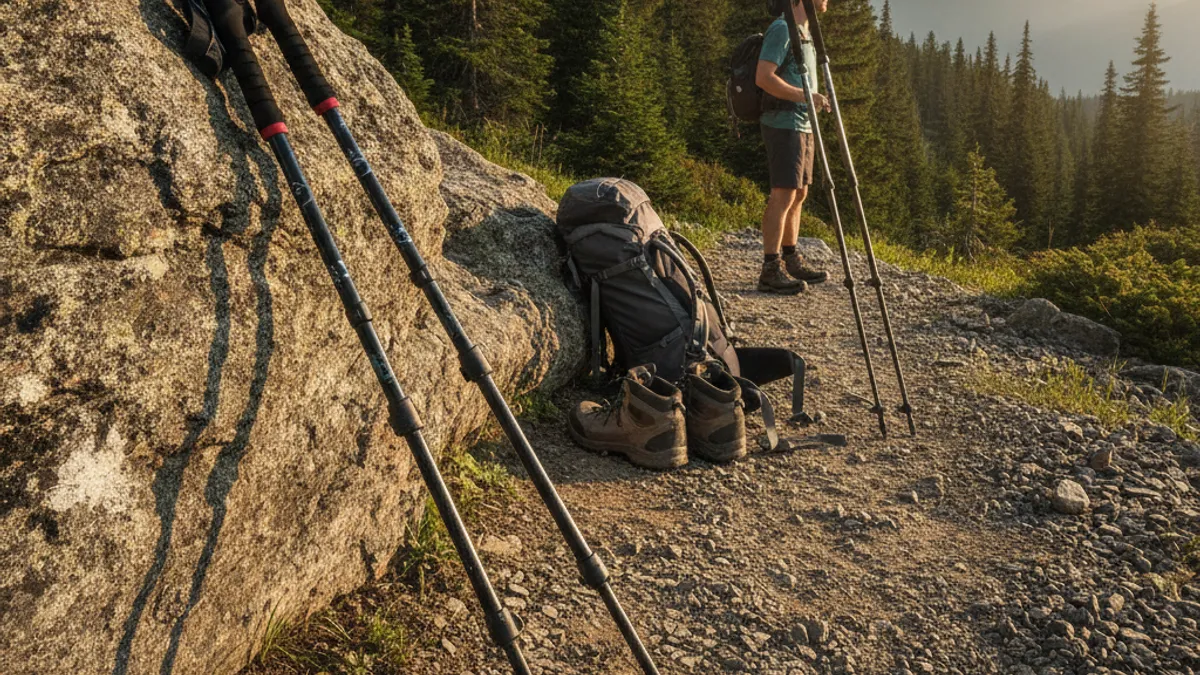
Even with good maintenance, hiking staffs don’t last forever. Certain signs indicate it’s time to invest in a new pair to ensure your safety and comfort on the trail.
Signs of Wear and Tear
The most obvious indicator is a compromised locking mechanism. If your adjustable staffs no longer hold their length securely, or if they consistently slip, they become a safety hazard. This could lead to an unexpected collapse on a difficult section, potentially causing a fall.
Other signs include cracked or broken pole sections, significantly worn or damaged tips that can no longer be replaced, or severely degraded grips that offer no comfort or traction. If the overall integrity of the pole feels compromised, perhaps it bends too easily or makes concerning noises, it’s time for an upgrade.
Upgrading Your Gear
Newer models often incorporate improved locking systems, lighter materials like carbon fiber, or better ergonomic grip designs. If your current staffs are several years old and showing significant wear, even a modest upgrade can make a tangible difference in your hiking experience. Considering the total mileage you put on your gear and the average lifespan of trekking poles, as of 2026, many are designed to last for hundreds of miles with proper care.
