
You’ve got your hiking poles, ready to tackle that next trail, but now you’re looking at your backpack and wondering, “How exactly do I attach these things?” It’s a super practical question, and getting it right makes a huge difference on the hike.
Properly securing your hiking poles to your backpack means they stay put, don’t dig into your back, and are easily accessible when you need them for ascents or tricky terrain. Manufacturer specifications for many modern packs often include integrated systems designed to handle this task efficiently.
Why Visuals Matter: Seeing Pole Attachment in Action
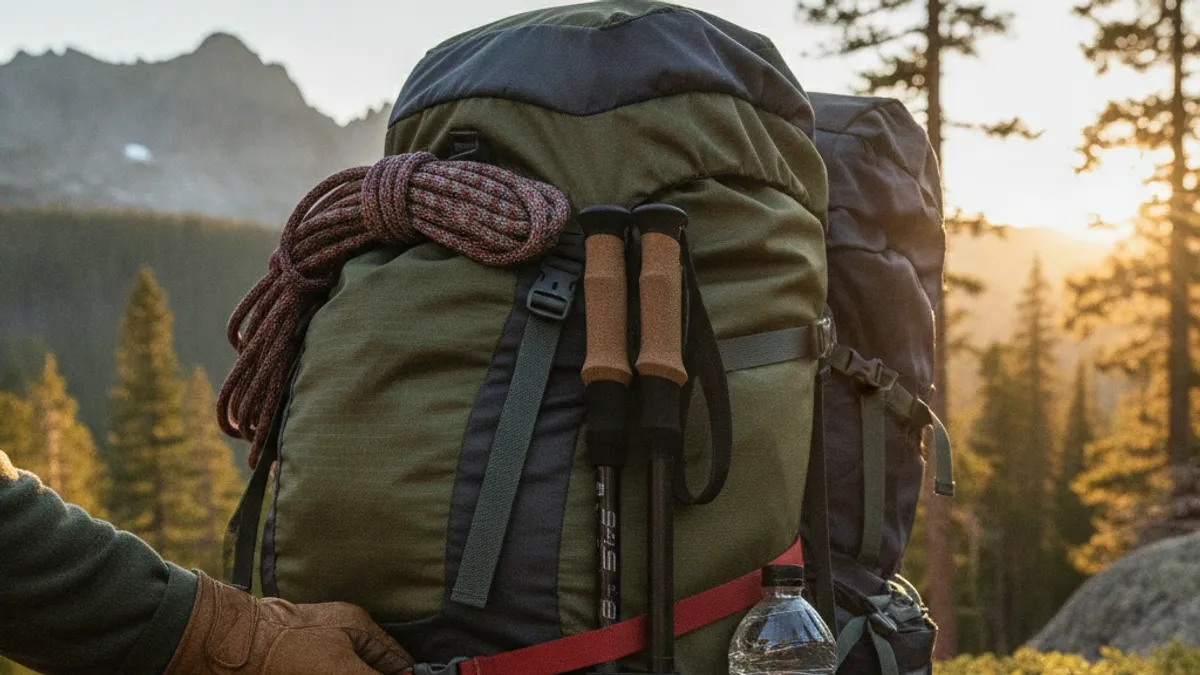
Sometimes, reading instructions just doesn’t cut it. Attaching hiking poles to your backpack is one of those things that clicks so much faster when you can see it. Think of it like learning to tie a knot, a picture or a quick demonstration makes all the difference, right?
What you’re looking for are the specific attachment points on your pack. Are they vertical straps on the side? Maybe dedicated pockets at the bottom and a loop at the top? These visual cues are crucial because not all backpacks are designed the same.
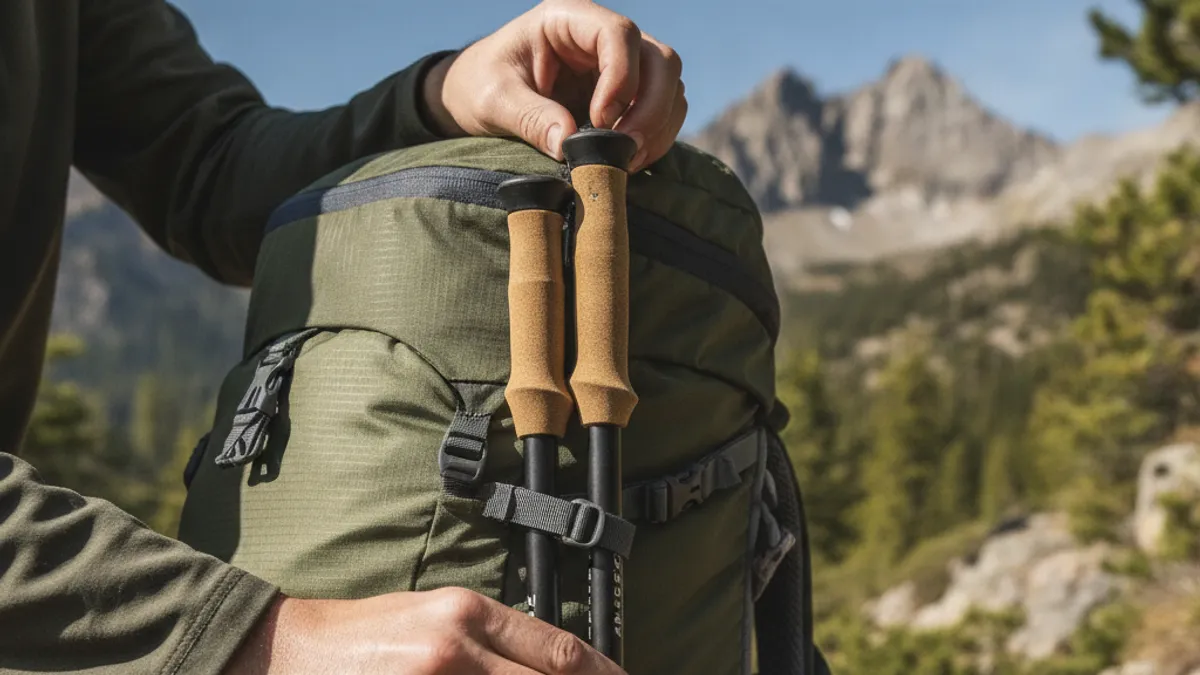
A quick glance at a well-designed pack will reveal these features, showing you exactly where the rubber tip of your pole should go and how a strap will cinch down around the handle. As of 2026, current pack designs are increasingly intuitive, but knowing what to spot is still key.
Finding the Right Spots: Pole Attachment Features on Your Pack
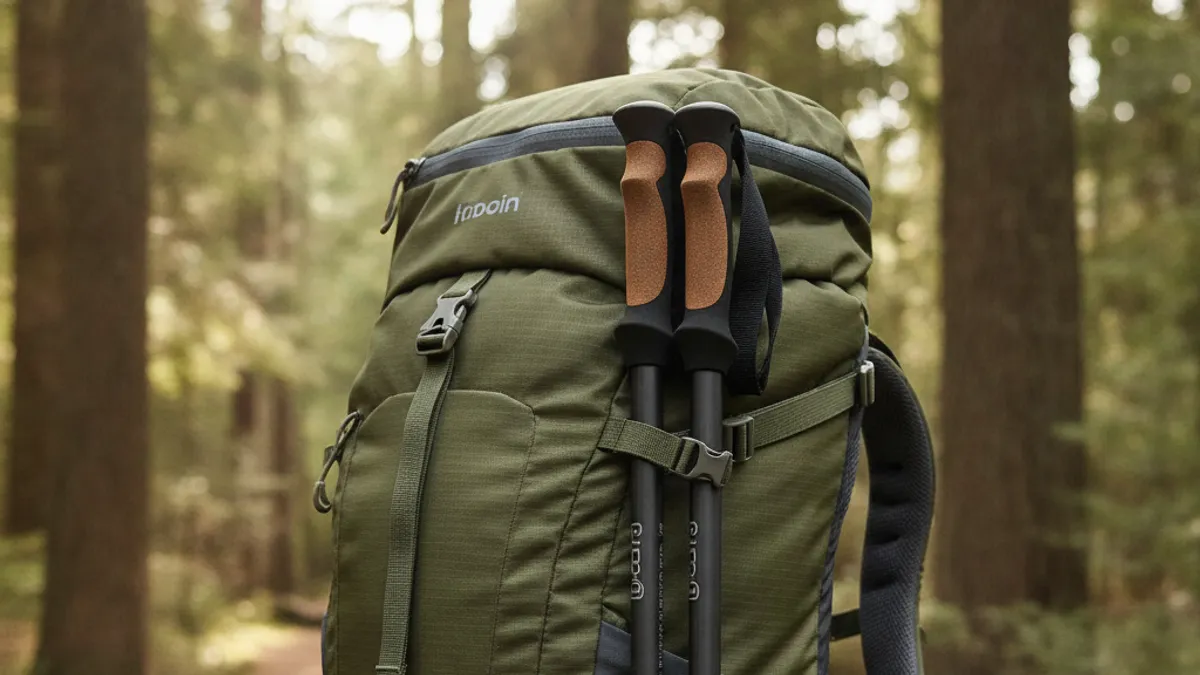
Most backpacks built for trekking and longer hikes come equipped with specific features to make carrying your poles a breeze. You just need to identify them. These aren’t random additions; they’re thoughtfully placed to keep your gear secure and balanced.
Dedicated Holders and Loops Explained
Many packs feature dedicated bottom holders, often sturdy pockets or rings, designed to grip the rubber tip of your pole. This prevents the tip from sliding and keeps the pole oriented correctly. Higher up, you’ll typically find a corresponding strap or loop that secures the pole’s handle. This two-point system creates a stable connection.
Some packs also include smaller “tool loops” that, while perhaps originally intended for ice axes, can be creatively used for pole handles or tips if primary attachment points are unavailable.
Using Straps and Compression Systems
Beyond dedicated pockets, external straps are your next best friend for pole attachment. You’ll often find vertical straps along the sides or front of a pack. You can slide the shaft of your pole into these and then tighten them down to keep the pole snug against the pack. Side compression straps, commonly used to cinch down the volume of your pack, can also be leveraged.
By loosening them slightly, you can slide a pole shaft underneath and then re-tighten, effectively clamping it in place. This is a versatile method when dedicated holders are limited.
Step-by-Step Guide: How to Secure Your Hiking Poles
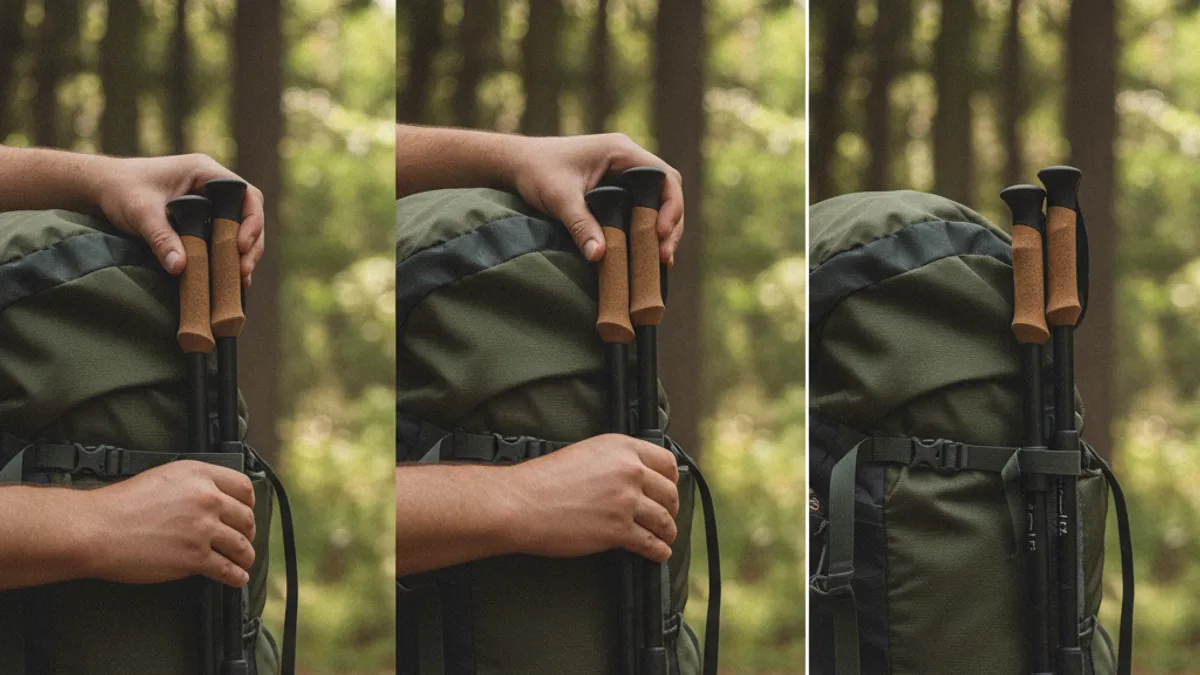
Getting your poles attached securely is a straightforward process, but doing it right prevents frustration on the trail. Follow these steps for a stable carry.
Step 1: Anchor the Pole Tips
If your backpack has a bottom holder or pocket specifically for pole tips, this is where you start. Gently insert the rubber tip of your pole into this designated spot. This acts as your primary anchor and stops the pole from sliding downwards. If your pack lacks a specific tip holder, you might use the lowest available strap or loop as a starting point, though this is less ideal for stability.
Step 2: Bring Poles Up the Pack
Once the tip is anchored, bring the shaft of the pole vertically upwards along the side or front of your backpack. Position it so it lies as flat against the pack as possible. Avoid letting it stick out too far, as this can cause it to snag on branches or get in your way. Aim for a natural resting position alongside the pack’s main compartments.
Step 3: Secure the Pole Handles
Now, focus on the top end. Use the corresponding strap or loop located higher up on your pack to secure the pole’s handle. Thread the strap through or around the handle and then buckle, velcro, or cinch it down. The goal is to create tension that holds the pole firmly against the pack.
Step 4: Check for Stability
With both the tip and handle secured, give the pole a gentle tug and a mild shake. It shouldn’t wobble excessively or feel loose. If it shifts significantly, readjust the securing straps. You want it tight enough to stay put during dynamic movement, but not so constrictive that it’s a hassle to remove when you need your poles again.
This quick check ensures they won’t be a nuisance during your hike.
What to Do If Your Pack Lacks Dedicated Spots
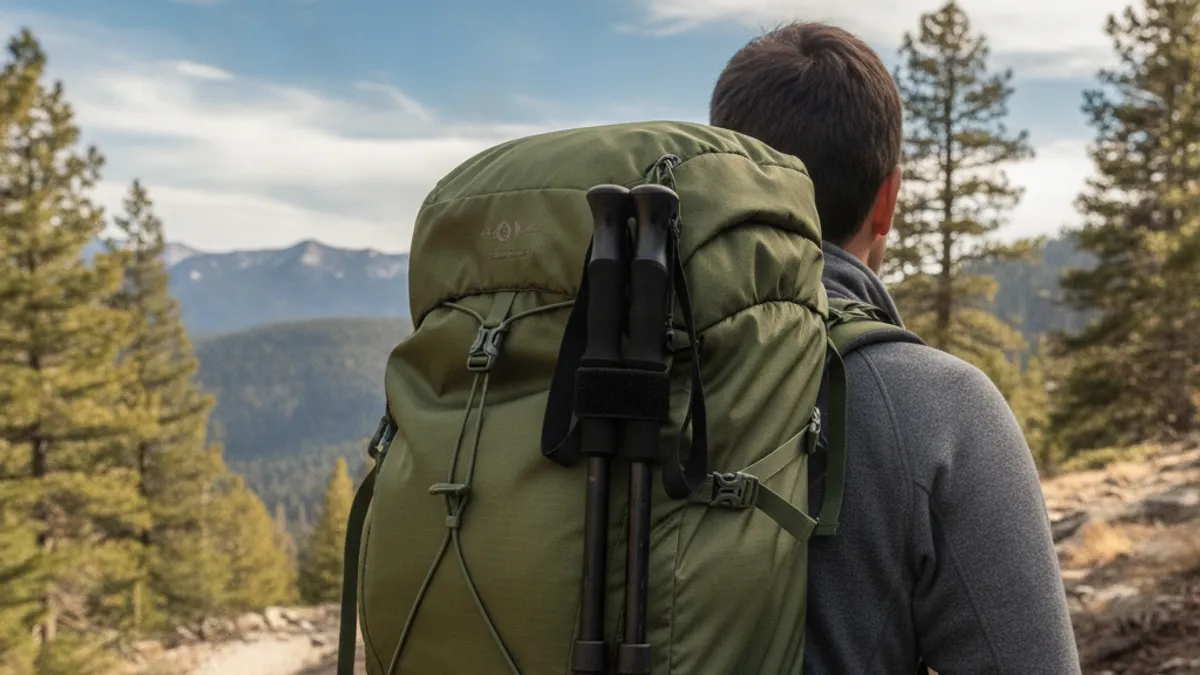
Not every backpack is built with obvious poles holders. This is common on very minimalist packs or some daypacks. Don’t let that stop you; there are always ways to improvise and carry your poles effectively. The key is to utilize the available attachment points creatively.
Creative Solutions with Existing Straps
Many backpacks, even those without specific pole holders, come with a system of external straps. Look for side compression straps, adjustable load lifters, or even general-purpose webbing loops. You can often slide the shaft of your poles underneath these straps. Loosen the strap just enough to slip the pole in, then re-tighten it firmly.
Ensure the pole is positioned so it lies as flat against the pack as possible and doesn’t impede your movement. This method might require a bit of experimentation to find the best balance and security.
Using Bungee Cords as a Backup
For a truly versatile solution across various pack types, a couple of short bungee cords can be a hiker’s best friend. These elastic cords offer flexibility and can secure poles to almost any pack that has at least a few D-rings, loops, or even sturdy seam points. Loop one end of the bungee around the pole shaft or handle, then stretch and hook the other end to an attachment point on your pack. You might use one bungee for the tip and another for the handle, or a single bungee strategically placed to hold the entire pole.
This method is especially useful if your pack has smooth surfaces with few built-in attachment options.
Common Mistakes When Attaching Hiking Poles
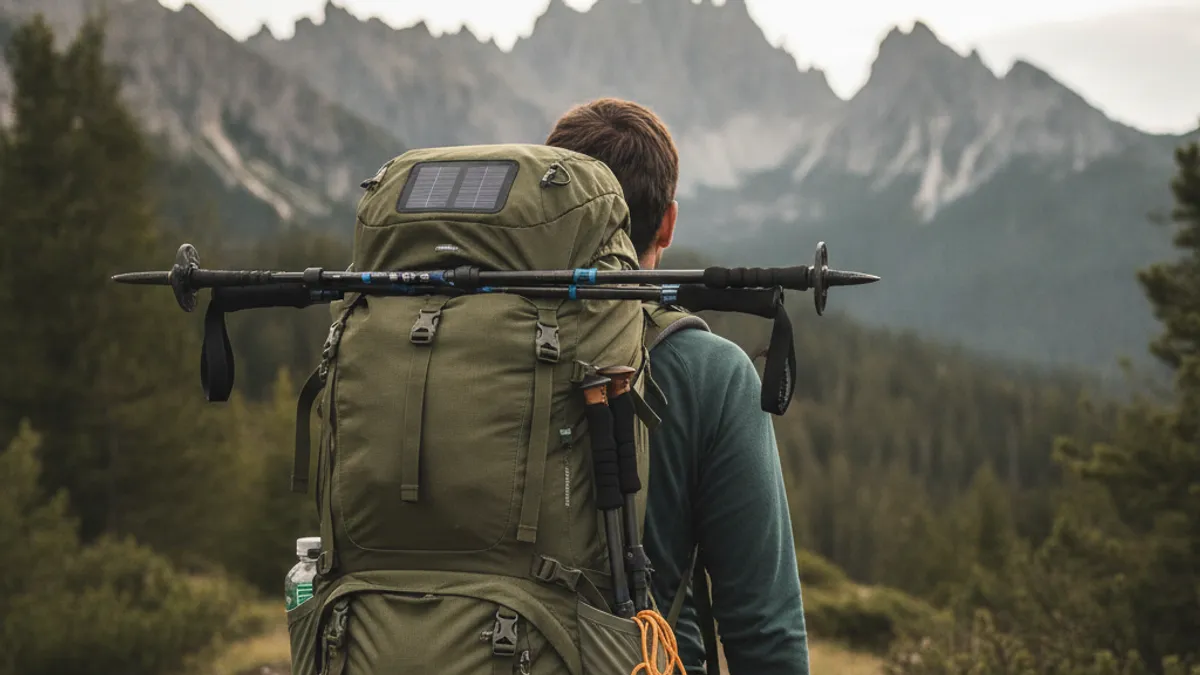
While attaching poles seems simple, there are a few common missteps that can turn a convenience into a nuisance. Avoiding these will make your hiking experience smoother.
Poles Too Loose or Too Tight
The most frequent error is not properly tensioning the securing straps. If poles are too loose, they’ll rattle, swing, and potentially snag on branches or even fall off. On the other hand, cinching them down excessively can make them incredibly difficult to remove when you need them, interrupting your rhythm. The sweet spot is secure but accessible.
Impact on Pack Balance
Attaching poles haphazardly, especially to just one side or in a way that makes the pack asymmetrical, can throw off your balance. This is particularly noticeable on uneven terrain or during steep climbs and descents. Our research indicates that an uneven load distribution can increase fatigue and the risk of falls. Always aim for balanced attachment.
Forgetting Accessibility
Sometimes, the most secure spot is also the most inconvenient. If you find yourself constantly struggling to get your poles out or put them away, that attachment method isn’t ideal. Frequent use of poles means you need quick access. When choosing where to attach them, consider how often you’ll be transitioning between using them and stowing them.
Pro Tips for Secure and Easy Pole Carrying
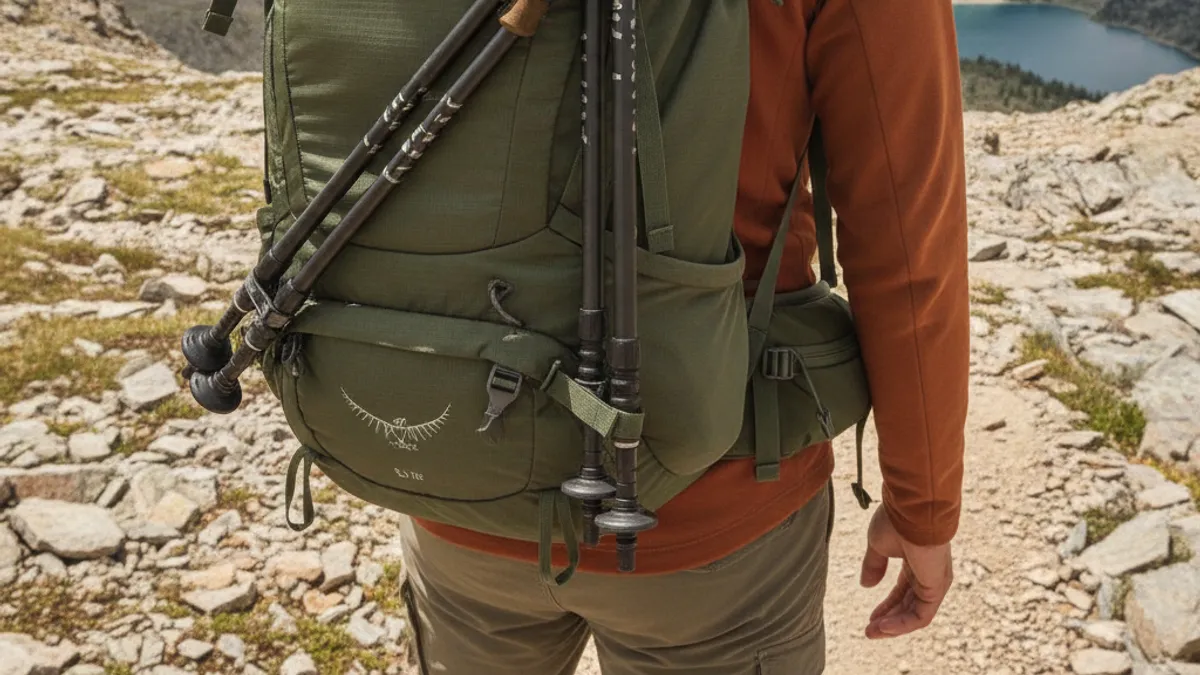
Getting your poles attached securely might seem basic, but a few pro tips can elevate your comfort and efficiency on the trail. It’s all about making that attachment work for you, not against you. Consider how often you need to deploy your poles, if it’s frequently, easy access is as important as a secure hold.
Think about weight distribution. When you attach poles to one side, it can create a slight imbalance. To counter this, some hikers might attach poles to opposite sides, or even use a single, longer strap to secure both poles together against the front or back of their pack. Many hiking backpack essentials guides also recommend ensuring the poles don’t extend too far above your head, which can cause them to snag on overhead branches or low-hanging debris, especially on overgrown trails.
When to Reconsider Your Pole Attachment Method
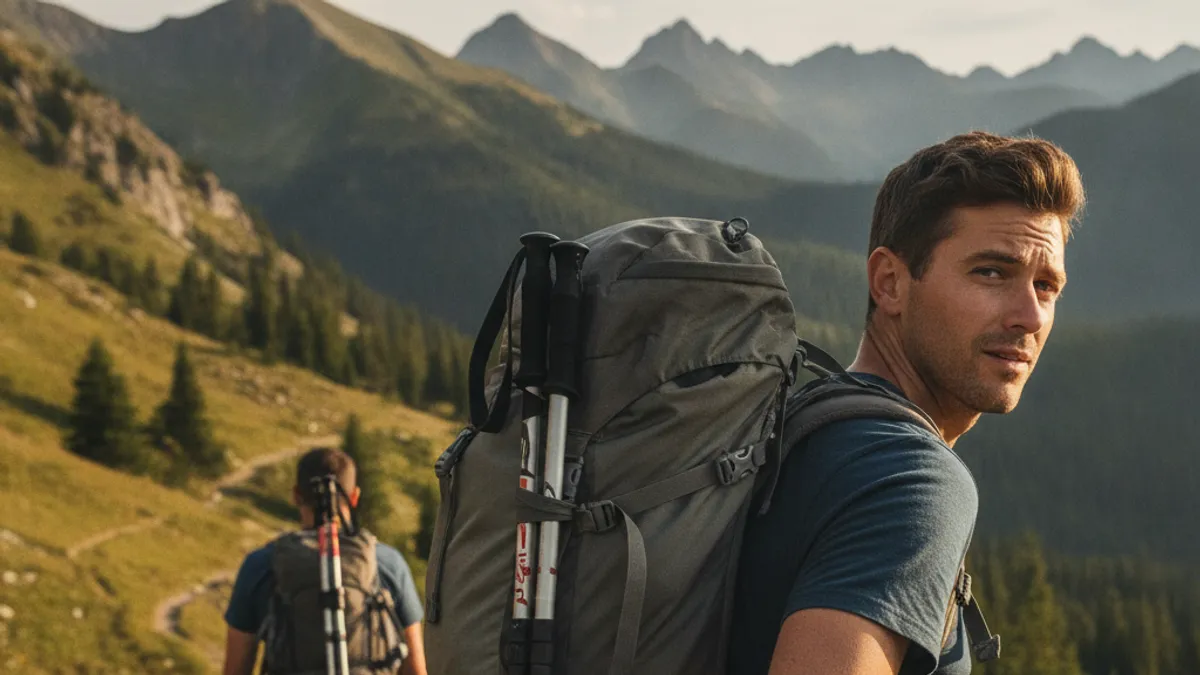
Sometimes, you might realize an attachment method isn’t working for you, and that’s perfectly okay. The crucial part is recognizing when to change things. If your poles are constantly digging into your shoulders, swinging wildly, or making it difficult to reach for water or snacks, it’s time for a rethink.
Aggregated user feedback often highlights pain points like straps that lose their grip over time or attachment loops that are too small for certain pole handles. If you’ve tried adjusting straps and still feel instability, or if the location interferes with your natural gait, it’s a sign you need to explore alternative methods. This might mean looking for a different way to use your current pack’s features or even considering a pack designed with more robust pole-carrying capabilities if this is a persistent issue.
Gear Spotlight: Features to Look For in Your Next Pack
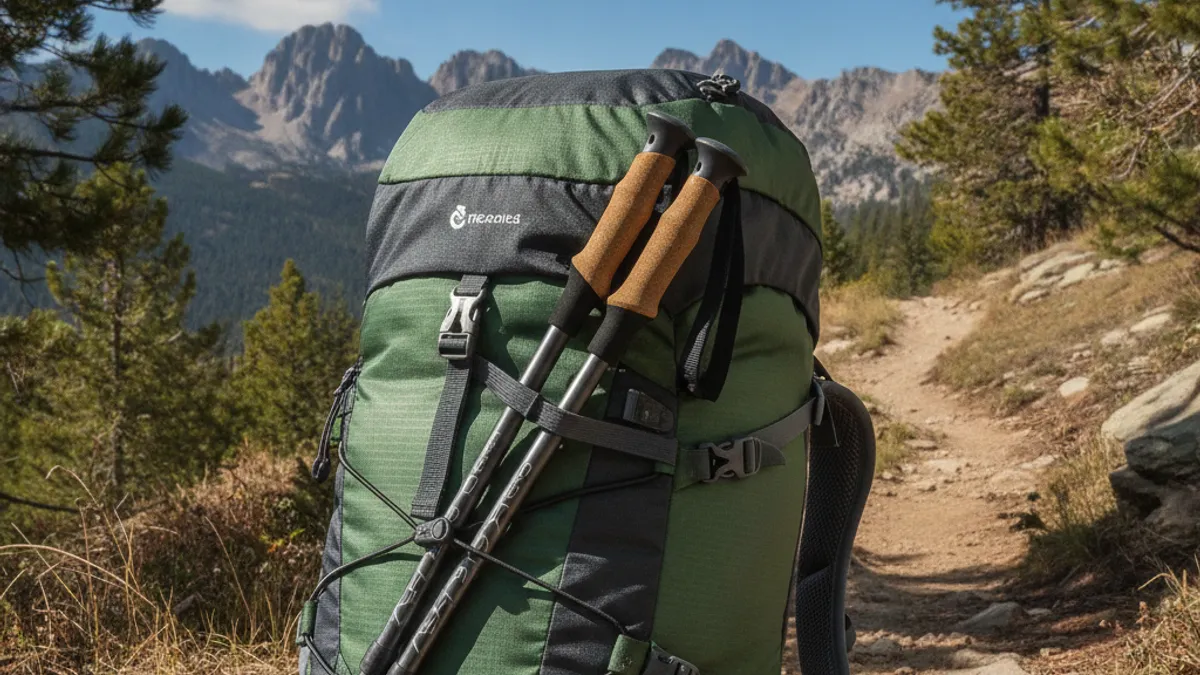
If you’re in the market for a new backpack and know pole attachment is a priority, here are key features to seek out. These design elements directly address the need for secure and accessible pole storage.
- Dual Tip Holders: Look for packs with a sturdy pocket or ring at the bottom and a corresponding adjustable strap or loop at the top. This is arguably the most secure method as it keeps the pole firmly in place from both ends.
- Reinforced Webbing Loops: Multi-purpose loops, often found on the front of the pack, can be surprisingly effective. Ensure they are made of durable webbing and securely stitched to the pack’s body.
- Integrated Pole Sheaths: Some higher-end packs feature dedicated, often mesh, pockets designed specifically to hold a collapsed pole. These can offer excellent accessibility and ventilation.
- Adjustable Compression Straps: While not dedicated holders, well-placed and robust compression straps provide flexibility for securing poles when other options are limited.
Next Steps: Mastering Your Pole Attachment
Once you understand the basics of how to attach hiking poles to your backpack, the real mastery comes with practice and adaptation. What works perfectly for one person might need a tweak for another, depending on their pack, their poles, and their hiking style.
The goal is to find a setup that feels natural and unobtrusive. This means ensuring poles don’t shift, they don’t jab you when you bend over, and you can easily remove and stow them without breaking your stride. Experiment with different strap tensions and positions. If you’re finding consistent issues, don’t hesitate to explore the creative solutions mentioned, like using bungee cords or adjusting your pack’s existing strap configurations.
This attention to detail significantly enhances your comfort and efficiency on any hike.
