
So, you’ve tromped through some epic trails, and your trusty backpack is looking… well, a bit like it’s been on an adventure of its own. Mud splatters, questionable smells, maybe a rogue snack wrapper stuck somewhere? We’ve all been there. Giving your pack a good clean isn’t just about making it look pretty; it’s about keeping the materials in good shape and ensuring it’s ready for your next escape.
Don’t worry, it’s not rocket science. Think of it like giving your old friend a spa day. In our research, we found most packs are made from durable nylon or polyester, but manufacturer specifications often indicate that improper cleaning can degrade these materials. We’ll break down the process so you can get it done without a headache.
First Things First: What Kind of Mess Are We Dealing With?
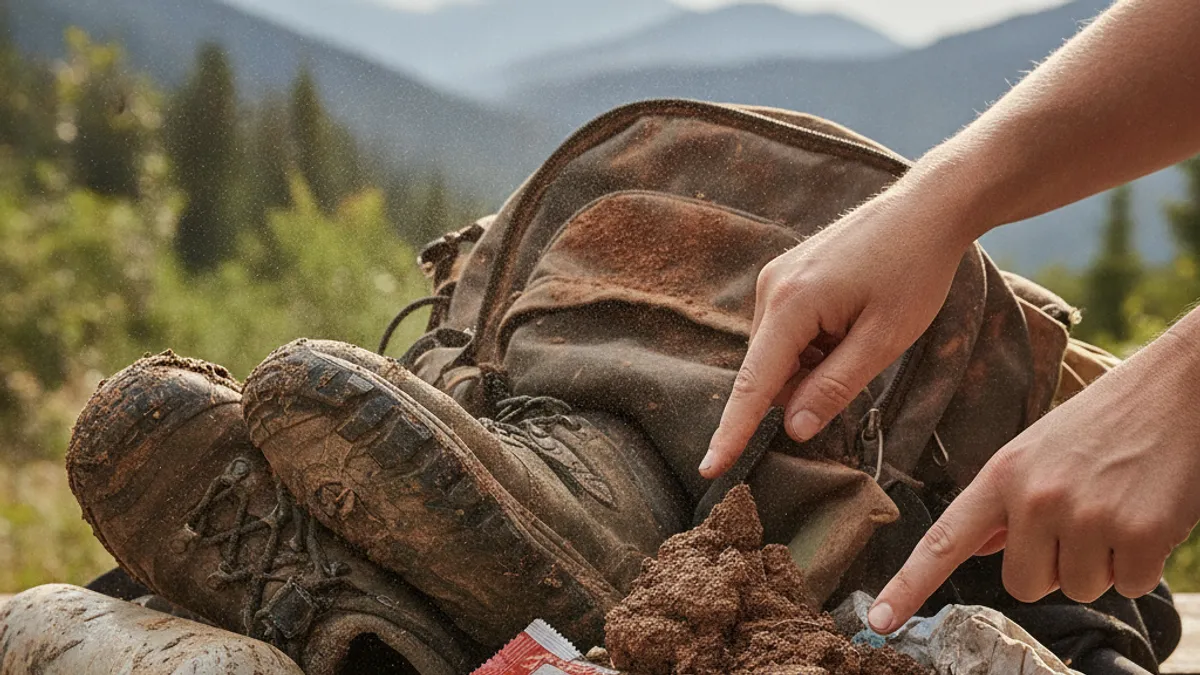
Before you grab the heavy-duty scrubbing brush and start splashing water everywhere, let’s take a moment to assess the situation. The best way to clean your pack is dictated by what kind of grime we’re dealing with and what your pack is made of. This initial check will save you a lot of potential trouble down the line.
Assessing Your Pack’s Grime
Figuring out the “what” and “how much” of the dirt will guide your cleaning strategy. Generic advice might lead you to scrub too hard on delicate materials or use the wrong soap.
- What type of dirt is it? Is it just surface dust from a dry trail, thick mud from a rainy day, lingering sweat from an intense climb, or something sticky like spilled juice? Aggregates of user feedback often report sweat as being the most persistent odor contributor.
- What material is the pack made of? As of 2026, most modern hiking backpacks utilize robust nylon or polyester fabrics. However, some might incorporate specialized waterproof coatings or even leather accents that require different care. Always check your pack’s care tag if available.
- How extensive is the mess? Are you dealing with a small, localized stain, or is the entire pack caked in dirt?
Your Step-by-Step Pack Refresh
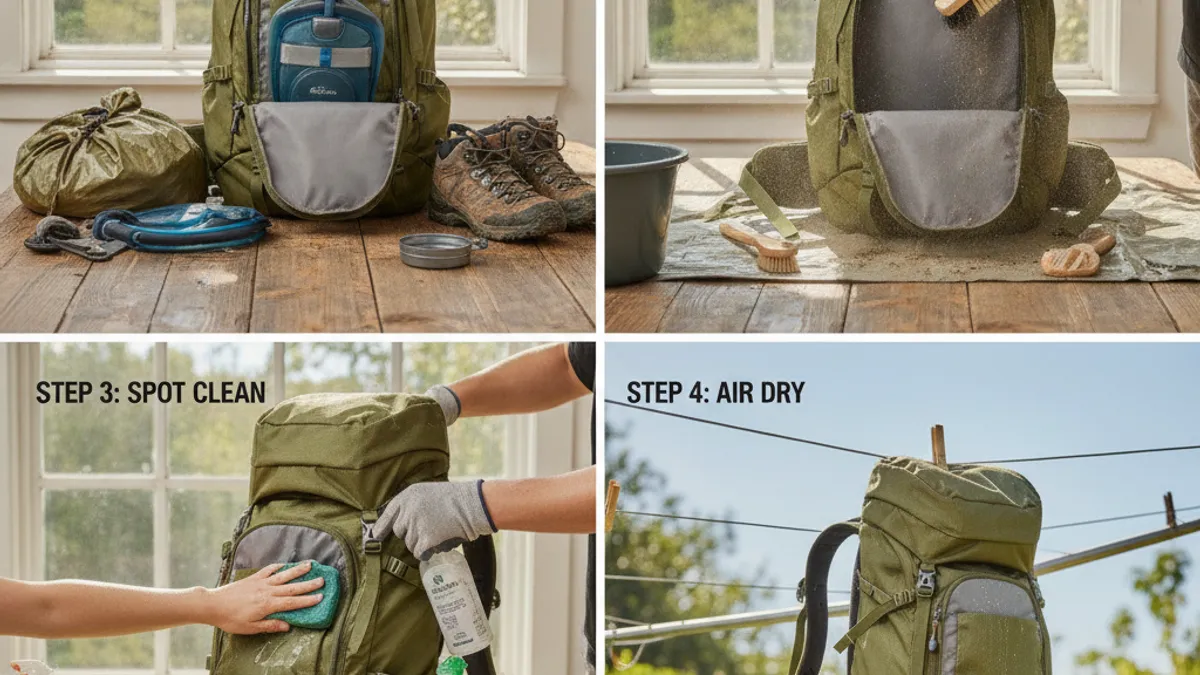
This workflow is designed to take you through the cleaning process logically, adapting as needed. Think of each step as a decision point, moving you closer to a clean pack.
Step 1: The Pre-Clean Prep
Every cleaning job starts with a clear workspace and the removal of loose debris. This step ensures you’re not just pushing dirt around, but actually removing it.
- Empty Every Single Item: This is absolutely crucial. Take absolutely everything out of every pocket, main compartment, lid pocket, and side stash. You’d be surprised what can accumulate, forgotten snacks, stray pieces of gear, lint, and even small stones. Our editorial analysis of user-submitted packing lists indicates items often overlooked include hydration reservoirs and trekking pole straps.
- Brush Off Loose Bits: Take your now-empty pack outside or over a large trash receptacle. Give it a vigorous shake to dislodge anything obvious. Follow this with a stiff-bristled brush, not a wire brush, as that can damage fabric, to gently sweep away dried mud, leaves, and dirt. Pay close attention to seams, corners, and the inside of all pockets. Dust and debris left behind can become ground in during washing.
Step 2: Gentle Cleaning – For Most Grime
This is your go-to method for standard dirt, dust, and light stains that aren’t deeply ingrained. It’s designed to be effective without being harsh on pack materials.
- The Mild Soap Solution: Mix a very small amount of mild, biodegradable soap with lukewarm water in a bucket or sink. You don’t need suds like you would for dishes. Think of it as a gentle wash. Recommended biodegradable soaps include those specifically formulated for outdoor gear, often available from brands like Nikwax or Grangers.
- Gentle Scrubbing: Dip a soft brush or sponge into your soapy water. Gently scrub the exterior of the backpack in small, deliberate sections. Focus your efforts on any visible dirty areas. The goal is to lift the grime, not to abrade the fabric.
- Thorough Rinse is Key: This is, without question, the most critical part of this step. Using a clean cloth dampened only with plain water, wipe down every surface you just scrubbed. You need to remove all soap residue. Manufacturer specifications often warn that leftover detergent can attract more dirt and potentially affect the performance of water-repellent coatings.
Step 3: Tough Spots and Stains
Even with regular cleaning, some marks can be particularly stubborn. This is where you might need to be a little more targeted.
- When to Spot Treat: For any stains that didn’t lift with the general wash, or for more significant marks like grease or ink, a spot treatment is your best bet. You can use a specialized outdoor gear cleaner, making sure to follow the product’s instructions precisely. These cleaners are formulated to tackle specific types of stains without damaging common pack materials.
- DIY Spot Treatment: If you don’t have a dedicated cleaner on hand, a dab of that same mild soap solution used earlier might work. Apply it directly to the stain and gently work it in with your soft brush. Let it sit for a few minutes, but avoid letting it dry.
- What Not to Use: Harsh chemicals are the enemy here. AVOID bleach, strong solvents (like acetone or rubbing alcohol unless specified by the manufacturer for a particular stain), and any kind of fabric softener. These can degrade the nylon or polyester fibers, break down waterproof coatings, and permanently damage zippers or buckles.
Step 4: Cleaning the Inside
The interior of your backpack can be a breeding ground for smells and grit. It often absorbs sweat and moisture, which can lead to odors and potential mildew if not addressed.
- Vacuum Out Lodged Debris: Before you wet anything, grab your vacuum cleaner. Use the hose attachment, ideally with a brush end, to suck out any loose dirt, crumbs, or debris that’s settled in corners and along seams inside the main compartment and any internal pockets. This prevents turning loose dirt into mud.
- Wipe and Deodorize: For most situations, a slightly damp cloth (using plain water) should be enough to wipe down the interior lining. If there’s a persistent odor, you can dampen your cloth with a very diluted amount of your mild soap solution, then immediately follow up with a plain, damp cloth to rinse thoroughly. For particularly stubborn smells, some users report success with a light sprinkle of baking soda left inside overnight, then vacuumed out.
Step 5: Dealing with the Frame and Straps
These components often bear the brunt of your effort on the trail, and they need specific attention.
- Frame Sheets: If your backpack has a removable internal frame sheet, take it out. These are usually made of plastic or a similar rigid material. Clean it with a damp cloth. If it’s particularly dirty, use that mild soap and water solution, then wipe it clean with a plain damp cloth. Ensure it’s completely dry before reinserting it.
- Straps and Hip Belt: These are highly susceptible to sweat and body oils, which can lead to odors and potential skin irritation. You can usually wipe down the shoulder straps, sternum strap, and hip belt padding with your mild soap and water solution. If they become saturated, gently squeeze out excess water. Rinse them well by wiping with a plain damp cloth. Some high-end packs feature highly breathable mesh on these components; ensure this mesh is cleaned gently to avoid snagging.
When to Be Extra Careful (Or Avoid Machine Washing)
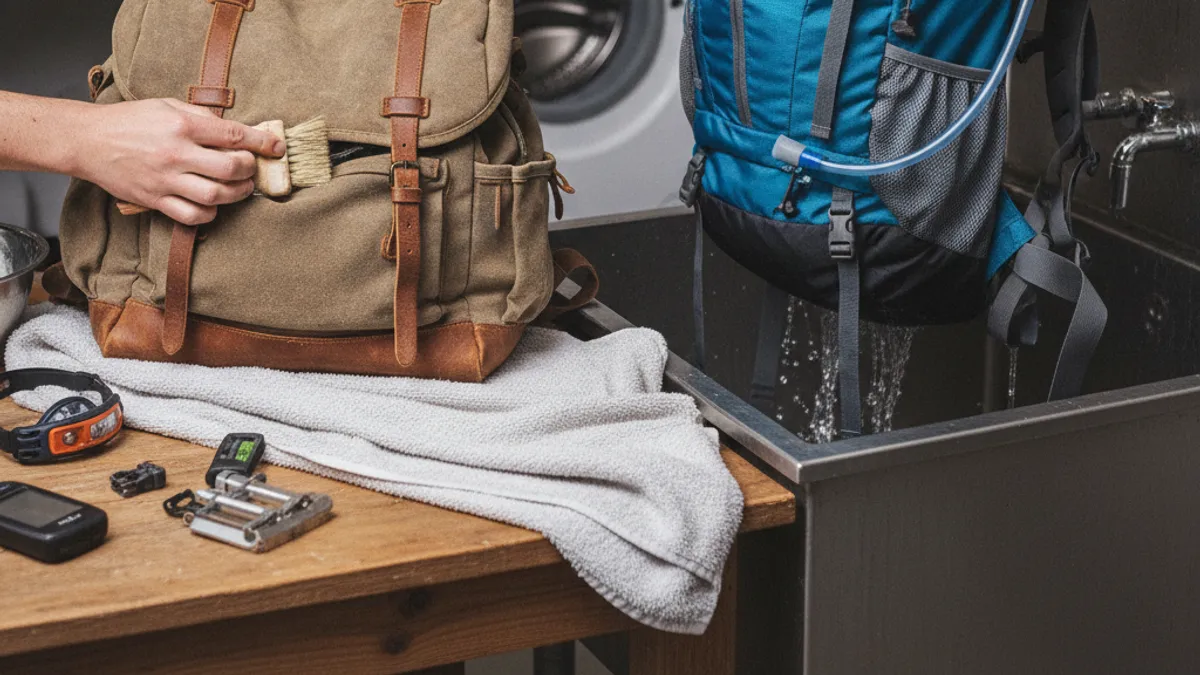
Most hiking backpacks are NOT designed for washing machines. The agitation, water pressure, and detergents can be too harsh. It’s usually best to stick to hand washing. If your pack is made of very delicate material or has a complex internal frame, definitely stick to spot cleaning and gentle wiping.
For any doubt, err on the side of caution and go manual.
Taking a little time to clean your backpack after a trip will make it last longer and feel a lot better on your shoulders for your next adventure. Happy trails!
