
You’ve got a new pair of hiking boots, and they might feel stiff, maybe even a little bit like tiny prisons for your feet. That’s precisely why breaking them in is a non-negotiable step before hitting the trail. We’ll show you the most effective ways to get your boots trail-ready, ensuring happy feet and preventing painful blisters on your adventures.
Our research indicates that most reputable hiking boot manufacturers recommend a break-in period. For example, many heavy-duty leather boots require at least 50 miles of accumulated wear before they truly start to feel comfortable, according to aggregated user feedback and specifications. Skipping this can turn a dream hike into a painful ordeal, especially on longer treks.
Why Bother? It’s All About Comfort (and Avoiding Pain)

Seriously, nobody wants to be miles from the trailhead with blisters the size of quarters. A good break-in period does a few key things for your footwear. It allows the tough materials to mold to the unique contours of your feet, softening up any stiff sections that could otherwise cause friction.
More importantly, this process helps identify potential “hot spots”, areas where the boot might rub or pinch, before you’re on a long, unforgiving trail. Ignoring this can lead to serious discomfort and the immediate end of your hike, which is why taking the time is crucial for a better experience.
Let’s Get Started: The Step-by-Step Break-In Plan
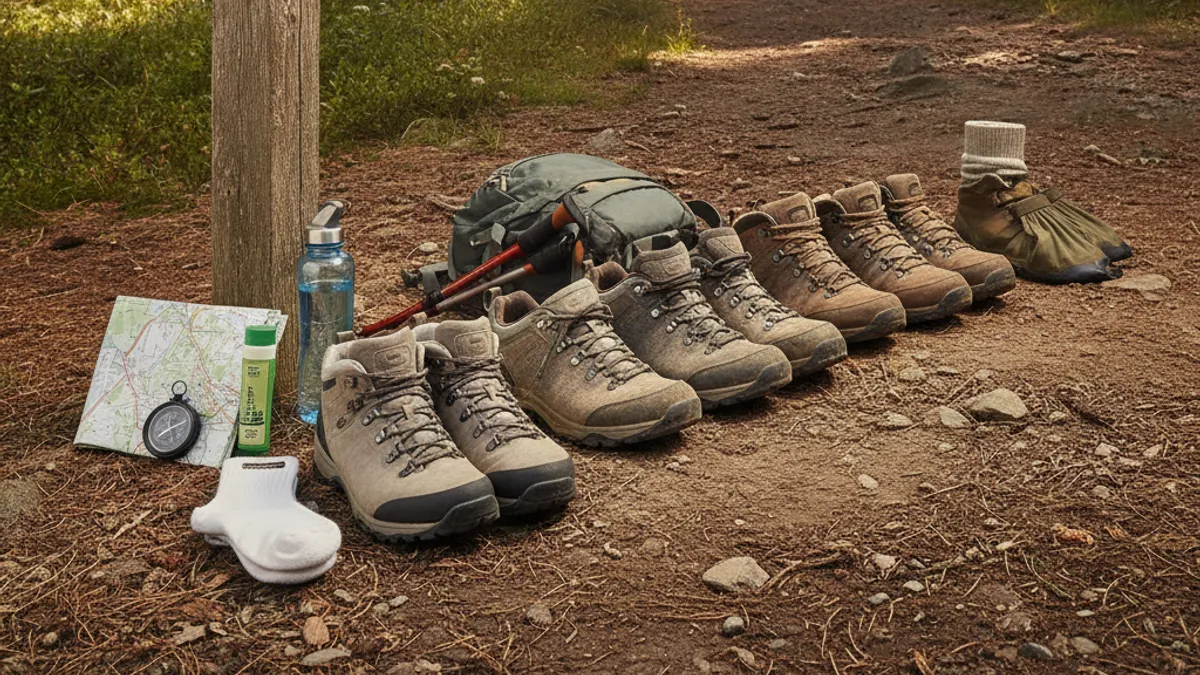
The smartest way to break in new hiking boots is to start small and gradually increase the duration and intensity of wear. This is a workflow designed to be flexible, adapting to how your feet and the boots respond.
Wear Them Around the House First
The very first step is to get your boots acquainted with your feet in the most comfortable environment possible: your home. Pop them on while you’re simply relaxing, watching TV, or doing light chores around the house. Make sure to wear the exact same hiking socks you plan to use on the trails; the thickness and material of your socks can significantly impact fit and comfort.
Spend a few hours each day doing this for a couple of days. Pay close attention to any sensations, a slight pinch, a stretch, or areas that feel particularly snug. This initial indoor wear is your first chance to catch potential issues before they become problems.
Short Walks and Errands
Once your boots feel reasonably comfortable while just hanging out, it’s time to take them out for some very low-stakes excursions. Think short strolls around your neighborhood, a quick walk to the mailbox, or even a trip to the grocery store. These are easy, low-risk outings.
The goal here is to expose your feet and boots to natural movement and varied surfaces without the pressure of a timed hike. If anything starts to feel uncomfortable, you can easily slip them off and switch to your regular shoes. This phase is about building confidence and further acclimating the boots.
Hike on Gentle Trails
Now it’s time to transition to actual hiking, but we’re still keeping it easy. Look for local park trails that are mostly flat with only minor inclines or slight undulations. Aim for a hike that lasts no more than an hour or two.
Remember to wear your chosen hiking socks and consider bringing a backup pair of shoes in your backpack. This ensures that if your feet start to protest, you have a comfortable alternative readily available. This step is crucial for experiencing how the boots perform with actual mileage.
Gradually Increase Distance and Difficulty
As your feet feel good and the boots seem to be settling in on shorter, easier hikes, it’s time to start pushing the boundaries a bit. Begin tackling longer distances. Gradually add more challenging terrain, incorporating hills, rocky sections, or uneven ground.
The overarching objective is to build up to the types of hikes you actually envision yourself doing. This progressive exposure ensures that your feet and boots are adequately prepared for the demands of more strenuous outdoor activities.
What If Something Feels Off? A Break-In Troubleshooting Guide
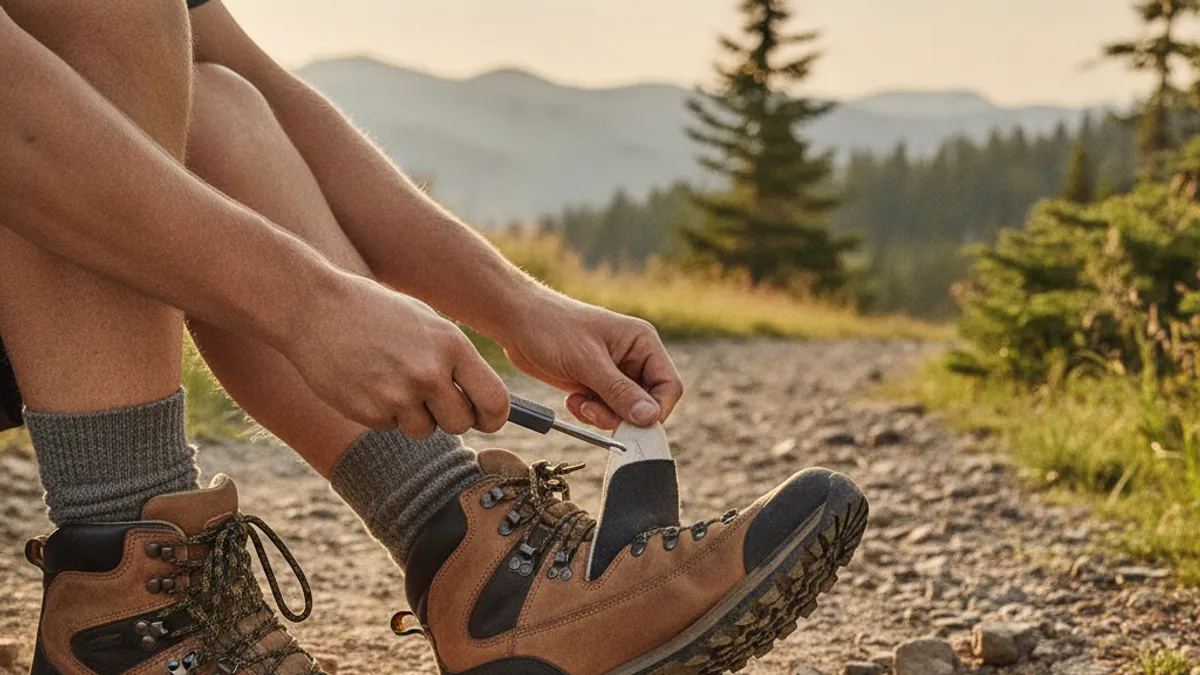
It’s completely normal for new boots to cause minor issues during the break-in phase. The key is knowing how to respond to these subtle cues from your feet and footwear.
Mild Discomfort / Rubbing
If you notice a slight rubbing sensation or mild discomfort, don’t panic. This is often your cue to make a small adjustment.
- Action: Take the boots off immediately. Examine the area on your foot where you feel the sensation. Consider applying a preventative bandage, like moleskin, to that specific spot on your skin before it develops into a blister. You can also adjust your lacing to alleviate pressure in that zone.
- Next Step: Continue wearing the boots for short durations or very easy walks until that specific spot no longer bothers you. The goal is complete resolution of discomfort before moving to tougher hikes.
More Significant Pain / Pinching
If you experience more pronounced pain or a distinct pinching sensation, it’s a more critical signal. Pushing through this can lead to painful blisters and could potentially indicate a more significant fit issue.
- Action: Stop wearing the boots for any strenuous activity until this resolves. Revert to wearing them for shorter periods around the house or focus solely on walking on very flat, easy surfaces. Experimenting with lacing techniques more deliberately can help here.
- Next Step: Revisit the earlier stages of the break-in process. Slow down and prioritize comfort. Don’t force it; give the material a chance to adapt or reconsider if the boot’s fundamental fit is problematic.
Stiff Areas (Especially Leather Boots)
Leather boots, in particular, can have areas that remain quite stiff even after some wear. This stiffness is designed for support but can sometimes create pressure points.
- Action: You can consider using a leather conditioner or a specialized boot-softening product. Always follow the manufacturer’s instructions precisely, as over-conditioning can sometimes compromise the boot’s structural integrity or waterproofing. Some people find that stuffing the boots tightly with socks when not wearing them helps them maintain a more molded shape.
- Next Step: After applying any treatment, go back to wearing the boots around the house and for short walks to see how the material has responded. Patience is key with leather.
Important Considerations: Know Your Boots, Know Your Feet
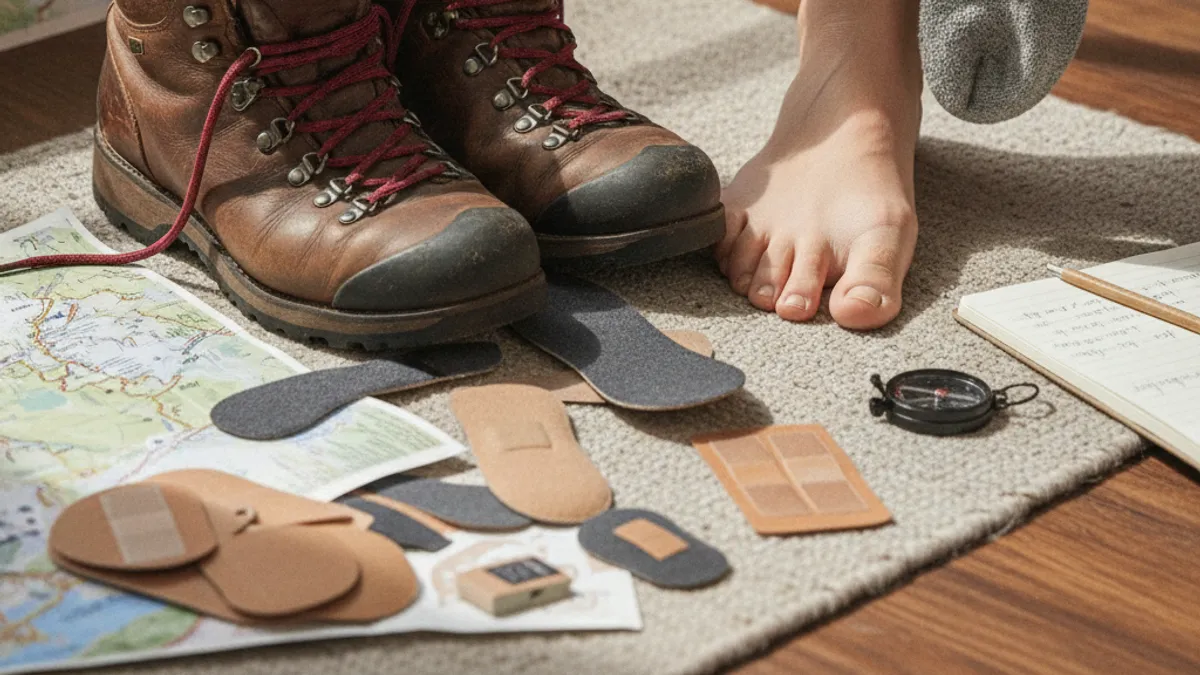
Understanding a few key elements about your footwear and your personal needs will make the break-in process smoother and more effective. It’s not just about putting miles on the boots; it’s about doing it strategically.
Boot Material Matters
The material your hiking boots are made from plays a significant role in how long and how intensely you need to break them in.
- Full-grain leather: These are exceptionally durable and offer robust support, making them ideal for rugged terrain. However, they require the longest break-in period, often several weeks of consistent wear and short hikes to truly conform to your foot.
- Suede or nubuck leather: These leathers are generally a bit softer than full-grain, meaning they typically break in faster and feel more comfortable sooner, usually within 1-3 weeks of moderate wear.
- Synthetic materials: Boots made primarily from synthetic fabrics are often the quickest to break in and can feel comfortable almost right out of the box. While convenient, they may not always offer the same long-term durability or the same level of support as traditional leather boots.
Sock Choice is Non-Negotiable
You absolutely must wear the exact type of socks you plan to hike in throughout the entire break-in process. Hiking socks are intentionally thicker and made from different materials, such as merino wool or synthetic blends, compared to everyday cotton socks. Cotton socks can retain moisture, leading to friction and blisters, whereas wool and synthetics wick it away.
Lacing Techniques Can Help
The way you lace your hiking boots can dramatically affect comfort and pressure distribution. Experimenting with different lacing patterns is a key part of the break-in process. You can loosen the lacing in specific areas to relieve pressure points, such as over the top of your foot or around the ankle, or tighten them to provide more support where needed. Many boot manufacturers offer lacing guides on their official websites, which can be a great resource for troubleshooting fit issues.
How Long Does It Really Take?
Honestly, there’s no single answer to how long breaking in hiking boots takes. It truly varies based on a few key factors.
For a lighter, synthetic boot designed for faster hiking, you might be sufficiently broken in after just a few short walks around town, perhaps accumulating about 5-10 miles. A more substantial leather boot, however, could require a more extended period. Aggregated user feedback suggests that many hikers find these stiffer boots comfortable after accumulating 25 to 50 miles of wear.
The critical point isn’t a specific number of miles or days but how your feet feel. When you can go for a couple of hours on moderate terrain without developing new hot spots or feeling any significant discomfort, you’ve likely reached the point where your boots are ready for longer adventures.
Ready for Adventure: Happy Trails Ahead

Congratulations! You’ve put in the time, gradually introduced your boots to trails, and addressed any minor issues. Your hiking boots should now be comfortably molded to your feet, ready to support you on your outdoor excursions.
This prepared state means you’re less likely to experience blisters or foot fatigue on your hikes. It’s about transforming a stiff, new piece of gear into a reliable extension of yourself. You can now focus on enjoying the scenery and the physical challenge of the trail, rather than worrying about your footwear.
