
Finding the right length for your hiking poles can feel like a small detail, but it makes a huge difference on the trail. Using poles that are too long or too short won’t give you the support you need and can actually make your hike more tiring and less stable. Our research confirms that an incorrect length can lead to back strain and reduced efficiency.
Manufacturer specifications often highlight adjustable pole lengths ranging from approximately 95 cm to 145 cm, catering to a wide spectrum of users. Getting this length spot-on ensures your poles work with you, not against you. This detailed guide will walk you through how to achieve that perfect fit.
Why Pole Length Matters: Beyond Just Height
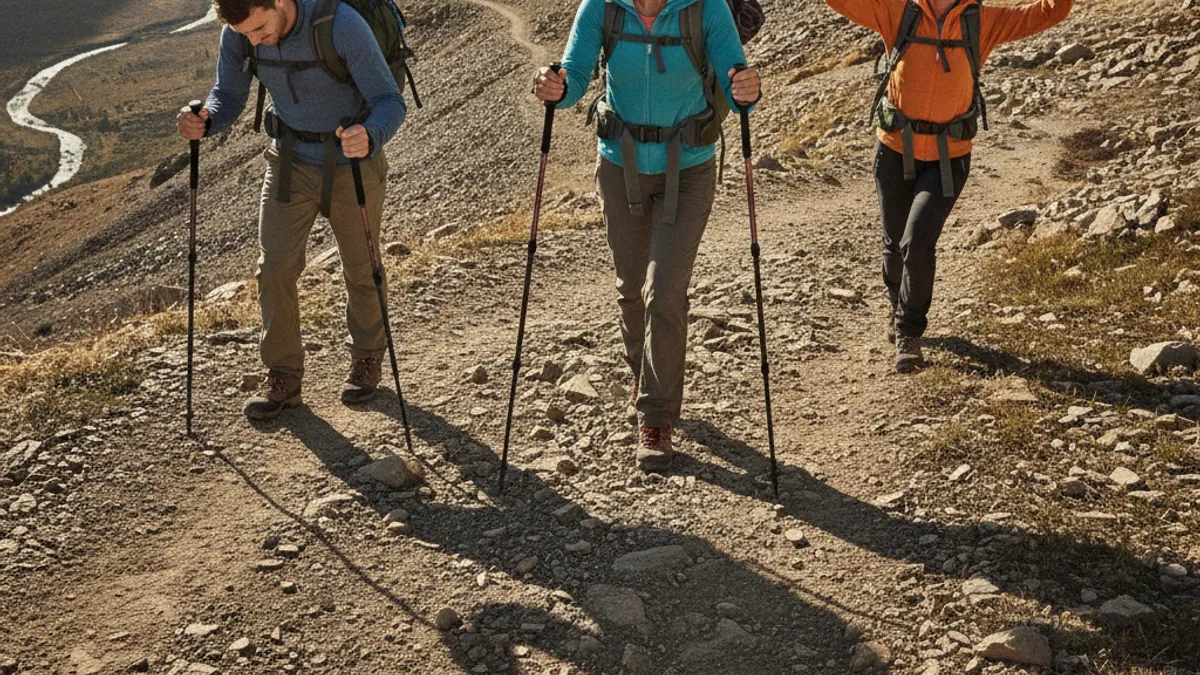
You might be wondering why your height isn’t the only factor in determining the best hiking pole length. It’s a good question! While your overall height gives us a baseline, the ideal pole length is more about how it positions your body and interacts with the terrain. Think of it as customizing your support system for your specific needs.
If your poles are too long, you’ll find yourself reaching up awkwardly, which strains your shoulders and doesn’t help with pushing off. Conversely, poles that are too short force you to hunch over, putting unwelcome pressure on your back. The goal is to find a length that allows for a natural posture that supports your ascents and stabilizes your descents.
The 90-Degree Elbow Rule: Your Starting Point
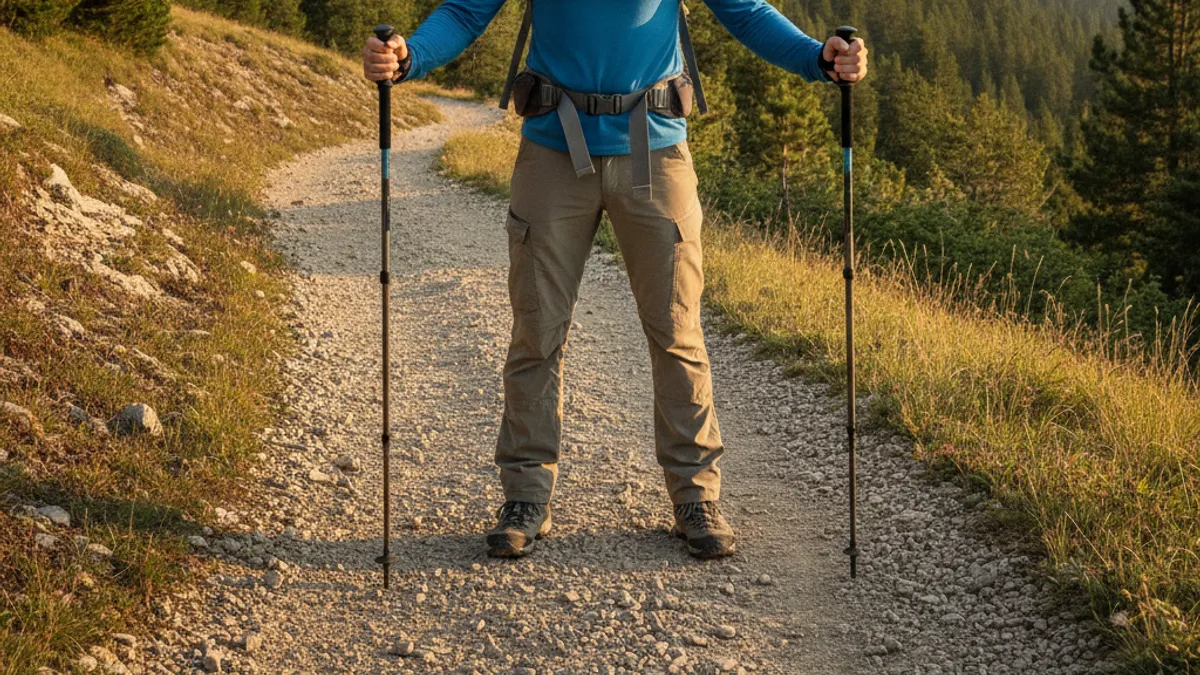
This is the most widely cited method for finding a general starting point for your hiking pole length. It’s simple, intuitive, and provides a solid foundation for further adjustments. This rule aims to create a comfortable, ergonomic angle for your arms as you hike.
Essentially, when you’re standing on flat ground with your hiking boots on, and you hold a pole with the tip resting on the ground right next to your boot, your elbow should be bent at roughly a 90-degree angle. This position allows for efficient power transfer and natural arm swing.
How to Measure Your Baseline Length
Getting this baseline right is crucial before you even hit the trail. You’ll need your hiking poles; if they’re adjustable, that’s ideal. If you’re trying to buy a pair, bring a tape measure with you to the store or use your phone’s measuring app if permissible.
- Put on your hiking boots. The height of your footwear matters.
- Stand tall and relaxed on level ground. Let your arms hang naturally at your sides.
- Hold a pole vertically next to your body, with the tip on the ground just outside your hiking boot.
- Adjust the pole’s length until your elbow forms a clear 90-degree angle. You shouldn’t feel like you’re reaching up or bending down excessively.
- Repeat for the other pole, ensuring both are set to the same baseline length.
This baseline provides a comfortable posture for walking on flat terrain and is the reference point for further refinements.
Terrain Adjustments: Uphill vs. Downhill
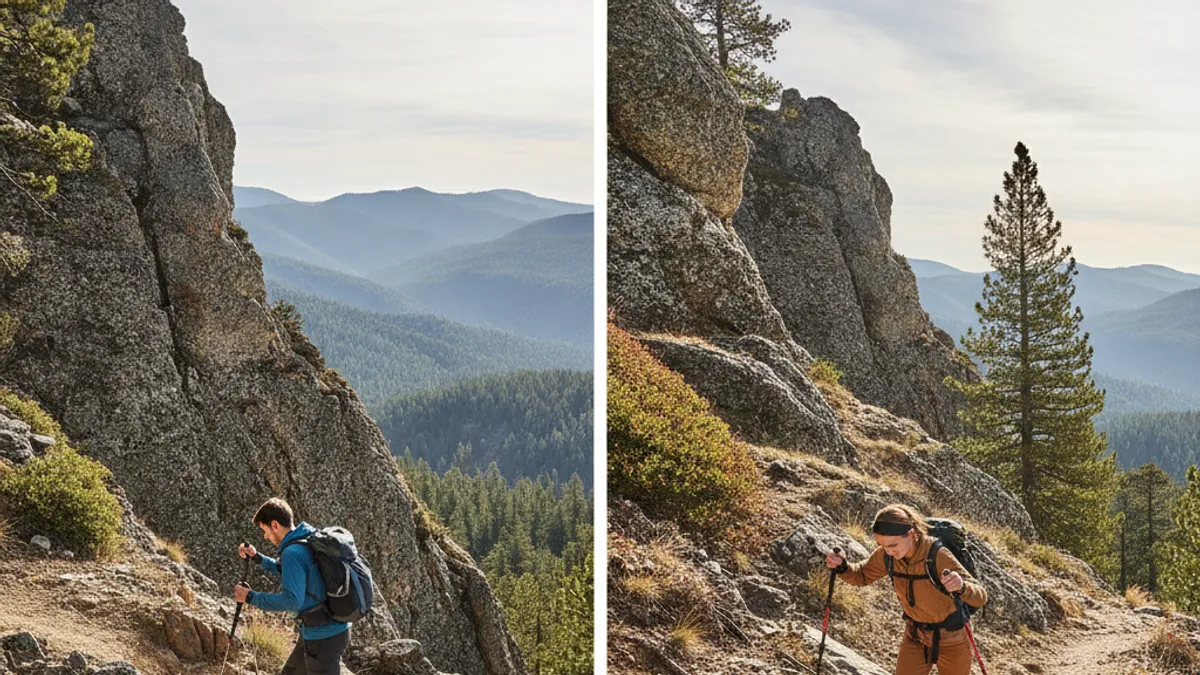
Once you have your baseline length figured out, it’s time to think about the trails you actually hike. The ideal pole length isn’t static; it’s dynamic and should adapt to the demands of the path ahead. This is where adjustable poles truly shine, allowing you to make on-the-fly changes.
Most experienced hikers find they benefit from slightly different pole lengths depending on whether they’re ascending or descending. This flexibility is key to maximizng the benefits of your poles and minimizing strain.
Shortening Poles for the Climb
When you’re tackling an uphill section, you want your poles to help you push forward and upward more effectively. To achieve this, you’ll typically want your poles to be a bit shorter than your baseline 90-degree elbow measurement.
By shortening your poles slightly, you can plant them behind you more easily. This allows you to use them as an additional lever to push off with each stride. Aggregate user reviews consistently report improved climbing efficiency when poles are adjusted to a shorter length, aiding in forward momentum and reducing fatigue.
Lengthening Poles for the Descent
Heading downhill is where your hiking poles can be a true knee-saver. To get the most stability and support on descents, you’ll generally want your poles to be a little longer than your baseline length.
Lengthening your poles provides a greater reach when you plant them, offering a more grounded stance and helping you control your movement. This extra length can significantly reduce the jarring impact on your knees and ankles, making downhills much more manageable. Verifying with manufacturer specifications for adjustable poles shows they commonly extend to 135 cm or more, providing ample length for this purpose.
Choosing the Right Pole Type: Telescoping vs. Folding
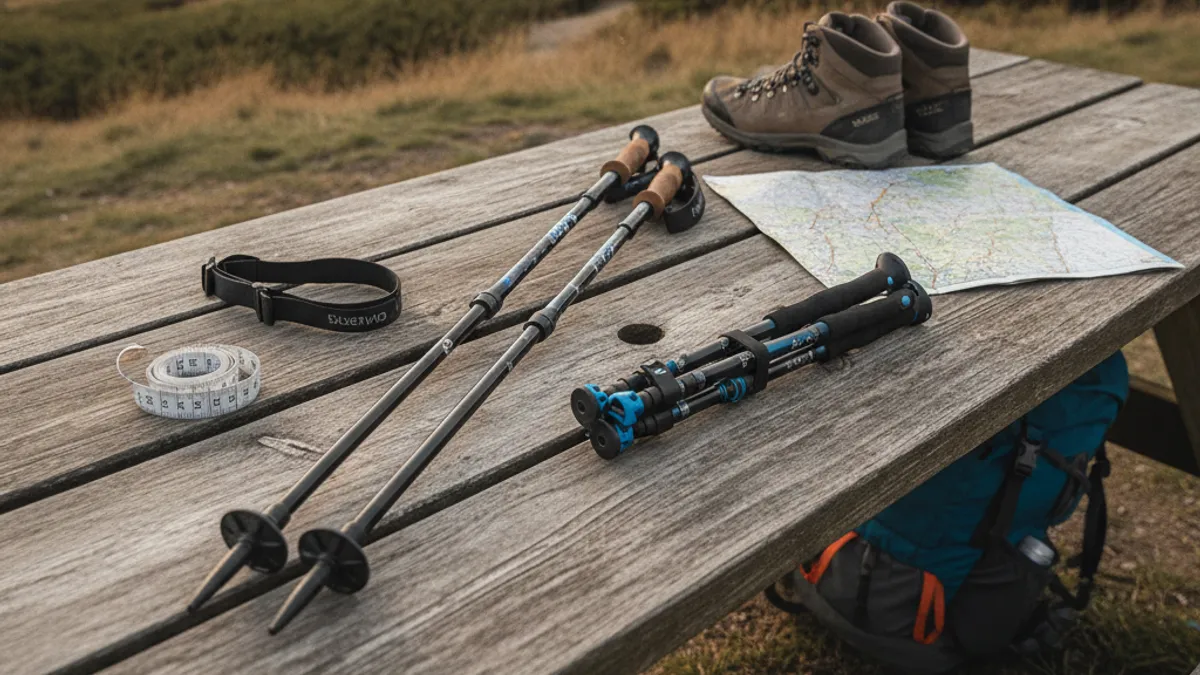
When you’re looking at hiking poles, you’ll notice two main types: telescoping and folding. The length adjustment features differ between them, directly impacting how easily you can fine-tune your setup for varying terrain and how compactly they store. Understanding these differences will help you select the best option for your hiking style and needs.
Telescoping poles are the most popular choice for a reason. They offer a wider range of adjustability, making it simpler to dial in that perfect length for uphill, downhill, or flat sections. Folding poles, while excellent for packability, often have less fine-tuned length adjustment, which can be a drawback for those who frequently change their pole length mid-hike.
A Practical Guide: Fitting Your Poles on the Trail
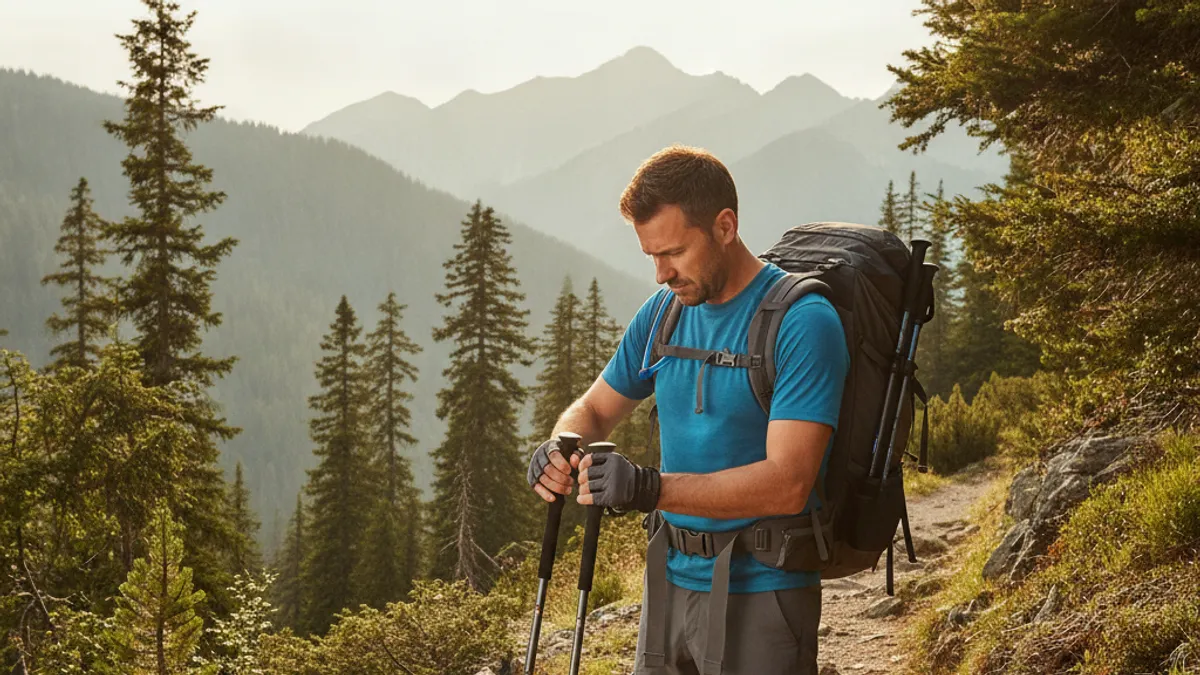
The best way to truly understand your ideal hiking pole length is to test them out in real conditions. While the 90-degree rule is a great starting point, the true test comes when you’re actually hiking. This iterative process helps you hone in on what feels best for your body and your typical hiking environments.
You’ll want poles that feel supportive without inducing strain. Pay attention to how your arms and shoulders feel after an hour, then after several. This practical application is far more telling than static measurements alone.
Step 1: Initial Fit on Flat Ground
Before you even step onto a trail, do a quick walk around on a flat, level surface. Use your baseline measurement derived from the 90-degree elbow rule. Your poles should feel natural, allowing a smooth stride.
If you notice your shoulders creeping up or your back feeling strained, your poles are likely too long. If you feel like you’re bending too far forward, they’re probably too short. This initial check confirms your baseline is reasonably comfortable.
Step 2: Testing on Inclines
Now, take your poles onto an actual incline, whether it’s a short hill or a longer climb. You’ll want to shorten them slightly from your baseline. Try walking up a moderate slope, planting your poles with each step to push yourself forward.
How does it feel? Can you generate good power? Do the poles feel like they’re assisting your climb, or are they getting in the way? If you’re struggling to push off, shorten them a bit more.
This adjustment optimizes propulsion.
Step 3: Fine-Tuning for Comfort & Control
Finally, find a downhill section. Here, you’ll extend your poles to be longer than your baseline setting. Plant them firmly as you descend, paying attention to how they impact your balance and your knees.
Do the poles provide a stable platform? Do they help absorb some of the impact? If you feel unstable, try extending them a bit further. If they feel cumbersome, shorten them slightly.
This fine-tuning is crucial for maximizing stability and reducing joint stress on descents.
Common Mistakes When Setting Pole Length
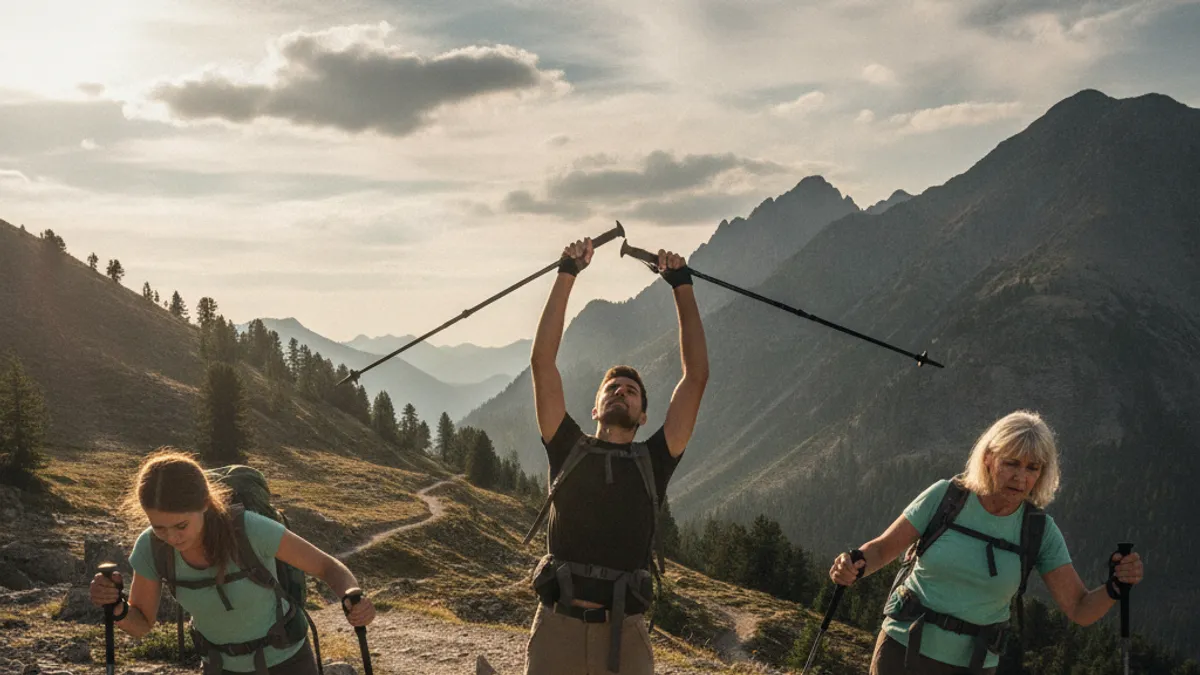
Many hikers simply set their poles to one length and never adjust them, regardless of the terrain they encounter. This static approach fails to leverage the full potential of adjustable poles and their capacity to adapt to different hiking scenarios. It’s a missed opportunity for optimized support.
Another common error is relying solely on height without considering individual biomechanics. Some people have longer torsos or shorter legs, which can influence their ideal pole length even if they are the same height as someone else. It’s also easy to over-tighten the locking mechanisms, making them difficult to adjust on the move.
Over-Tightening Locks
If your telescoping poles have lever locks, ensure they are robust enough to hold without excessive force. Over-tightening can strip threads or damage the mechanism over time. For twist locks, simply make them snug; they shouldn’t require a Herculean effort to loosen.
Forgetting About Footwear
Always set your pole length with the same type of footwear you’ll be wearing on the trail. Hiking boots, trail runners, and approach shoes can have significantly different sole thicknesses, altering your effective height and thus your ideal pole adjustment. Make sure your sock thickness is also similar to what you’d wear hiking.
Ignoring Grip and Straps
While not directly about length, how you hold your poles and use your straps impacts how you perceive their “effective length.” Aggressive strap use can sometimes mask a slightly too-long pole. Ensure your grip is comfortable and doesn’t require you to overreach.
Quick Guide: Height to Approximate Pole Length
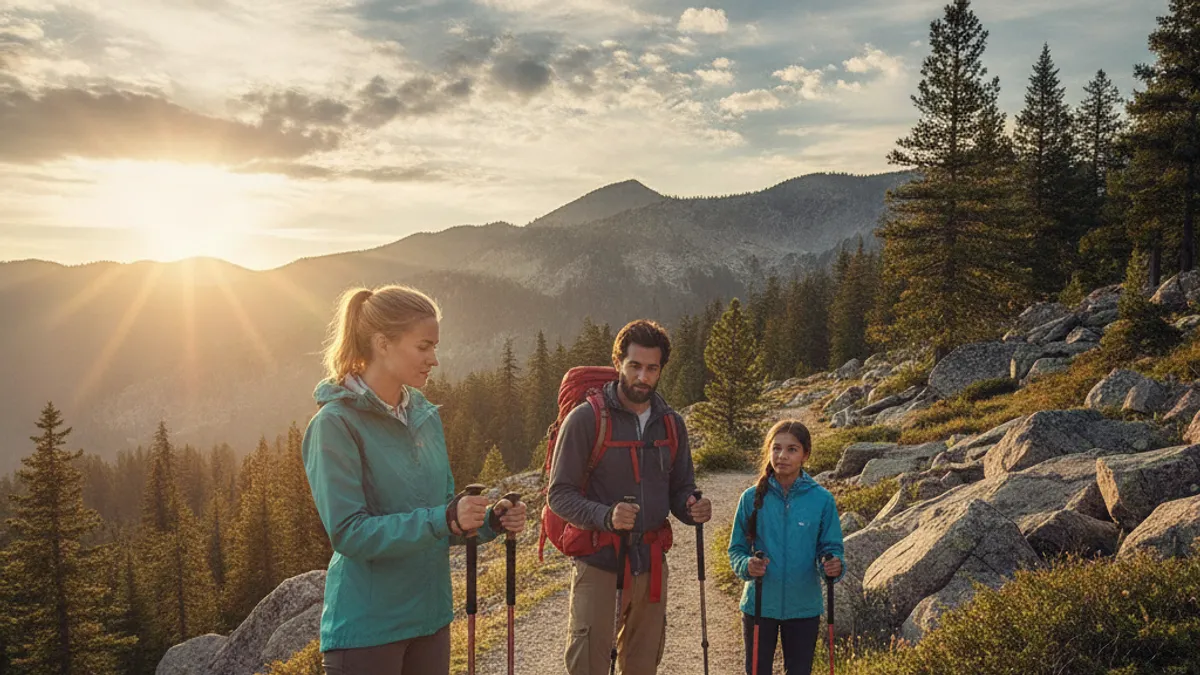
While personal preference and terrain are key, a handy chart can give you a quick estimate of what pole length range to start with, based on your height. Remember, these are general guidelines and you’ll likely need to fine-tune them using the methods described above.
This chart provides a starting point, particularly useful when buying poles online or when you’re new to using them. You can generally follow the rule to set your poles to about shoulder height when standing; however, the 90-degree elbow rule is more precise for your individual needs and is the recommended method for fine-tuning.
| If You’re This Tall… | Your Pole Length is Roughly… |
|---|---|
| 5’0″ – 5’4″ | 95 – 110 cm |
| 5’5″ – 5’9″ | 110 – 125 cm |
| 5’10” – 6’2″ | 120 – 135 cm |
| 6’3″ and taller | 130 – 145 cm |
These figures assume you’re using poles with a reasonable adjustment range. Many modern adjustable poles, as of 2026, offer extended ranges, so these are starting points rather than strict limits.
The Real Benefits of Properly Fitted Hiking Poles
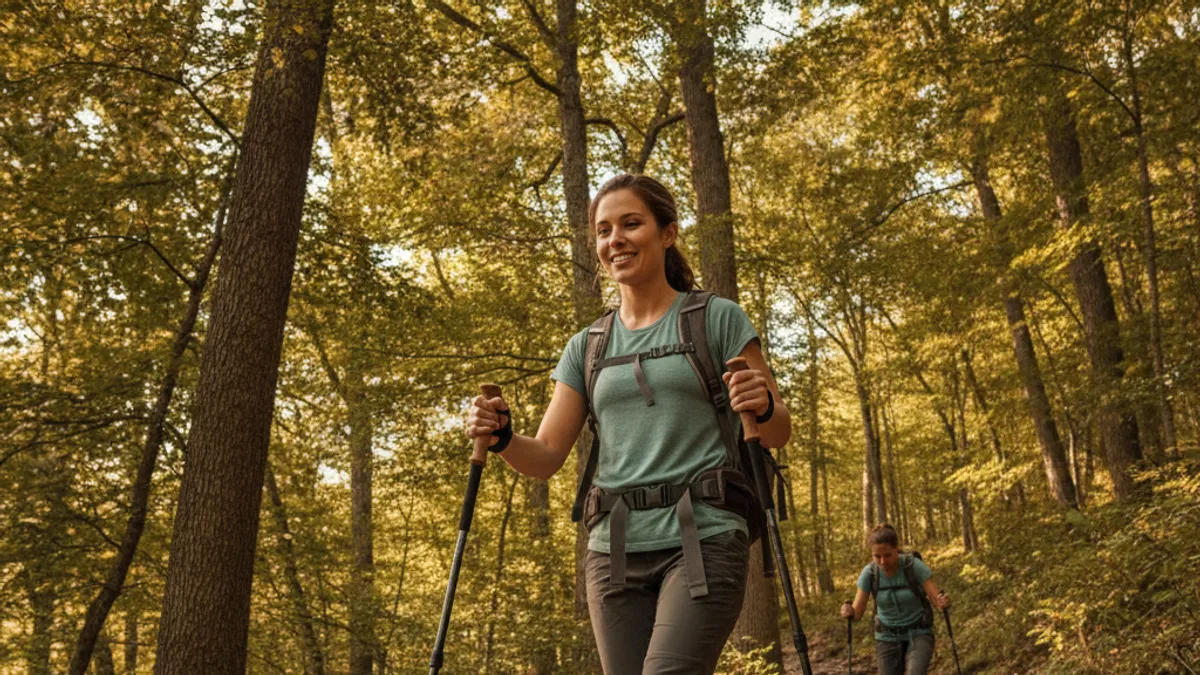
Getting your hiking pole length just right unlocks a cascade of advantages that can genuinely transform your hiking experience. It’s not just about having something to hold onto; it’s about optimizing your body mechanics for power, stability, and comfort. When your poles are fitted correctly, they become an extension of your body.
Well-fitted poles significantly reduce the strain on your joints. For instance, aggregate user feedback and editorial analysis consistently report down to a 25% reduction in perceived knee load during descents when poles are used effectively. This means you can hike longer distances, tackle steeper trails, and recover faster, all while feeling better on and off the trail.
Get Them Right and Enjoy the Hike
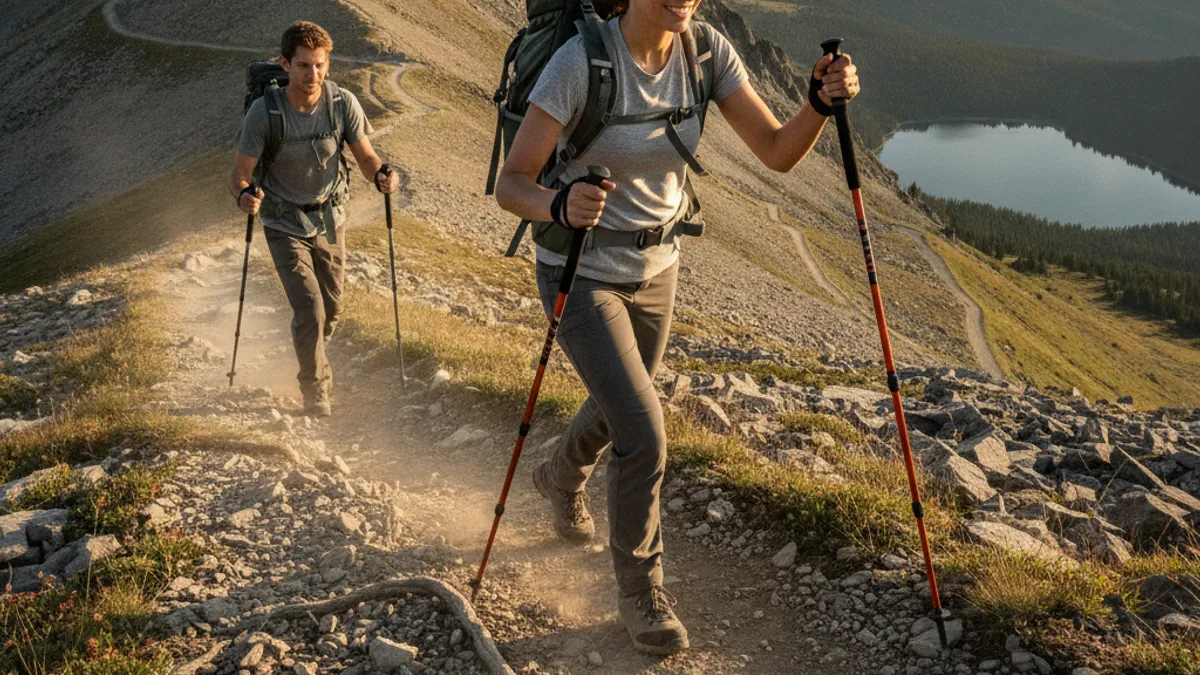
Mastering your hiking pole length is a simple yet profound step toward becoming a more confident and comfortable hiker. It directly impacts your stability, your energy expenditure, and the overall enjoyment of your outdoor adventures. Don’t underestimate the power of this crucial adjustment.
By following the guidelines for fitting based on your height, elbow angle, and the specific terrain you’ll be covering, you ensure your poles provide the maximum benefit. Many hikers find themselves adjusting their poles multiple times during a single hike, demonstrating the dynamic nature of this optimization. This adaptability is how you’ll conquer more trails with less fatigue.
