Hi, I’m Oscar. We have all been there. You pack your favorite hiking backpack, lace up your hiking boots, and drive two hours to the trailhead. But when you arrive, a giant “Trail Closed” sign ruins your day. Or worse, you hike three miles in and find a washed-out bridge you can’t cross safely.
Here’s the thing. Nature changes constantly. Rain, snow, wildfires, and fallen trees can turn an easy day hiking trip into a dangerous situation. Knowing what to expect before you leave your house is one of the most important parts of trail safety.
So, how do you get the most accurate, up-to-date information? Let me explain the exact steps I use to check trail conditions so you can hike with confidence and avoid nasty surprises.
Quick Answer
To find current trail conditions, always check multiple sources. Start by reading recent hiker reviews on apps like AllTrails or FarOut for real-time updates. Then, verify official closures and alerts by visiting the managing agency’s website, such as the National Park Service or the US Forest Service. Finally, if you are heading into the remote backcountry, call the local ranger station directly for the most accurate and specific trail information.
Why Checking Trail Conditions is So Important
You might think checking the weather is enough. But the weather report only tells you what is happening in the sky, not what is happening on the dirt.
A sunny day in the valley does not mean the mountain peak is clear of snow. A week after a big storm, the skies might be blue, but the trail could still be a knee-deep mud pit. Checking conditions helps you pack the right outdoor gear and keeps you out of trouble.
- Safety: Avoid dangerous river crossings, avalanche zones, and aggressive wildlife closures.
- Gear planning: Know if you need to pack microspikes, extra trekking poles, or bug spray.
- Protecting the trail: Hiking on muddy trails causes deep ruts and erosion. Knowing it’s muddy lets you pick a drier trail and protect nature.
- Saving time: You won’t waste gas driving to a closed trailhead.
How to Find Trail Conditions Step by Step
Finding accurate trail reports is like putting together a puzzle. You shouldn’t rely on just one piece of information. Here is the step-by-step process you should use before any major hike or backpacking trip.
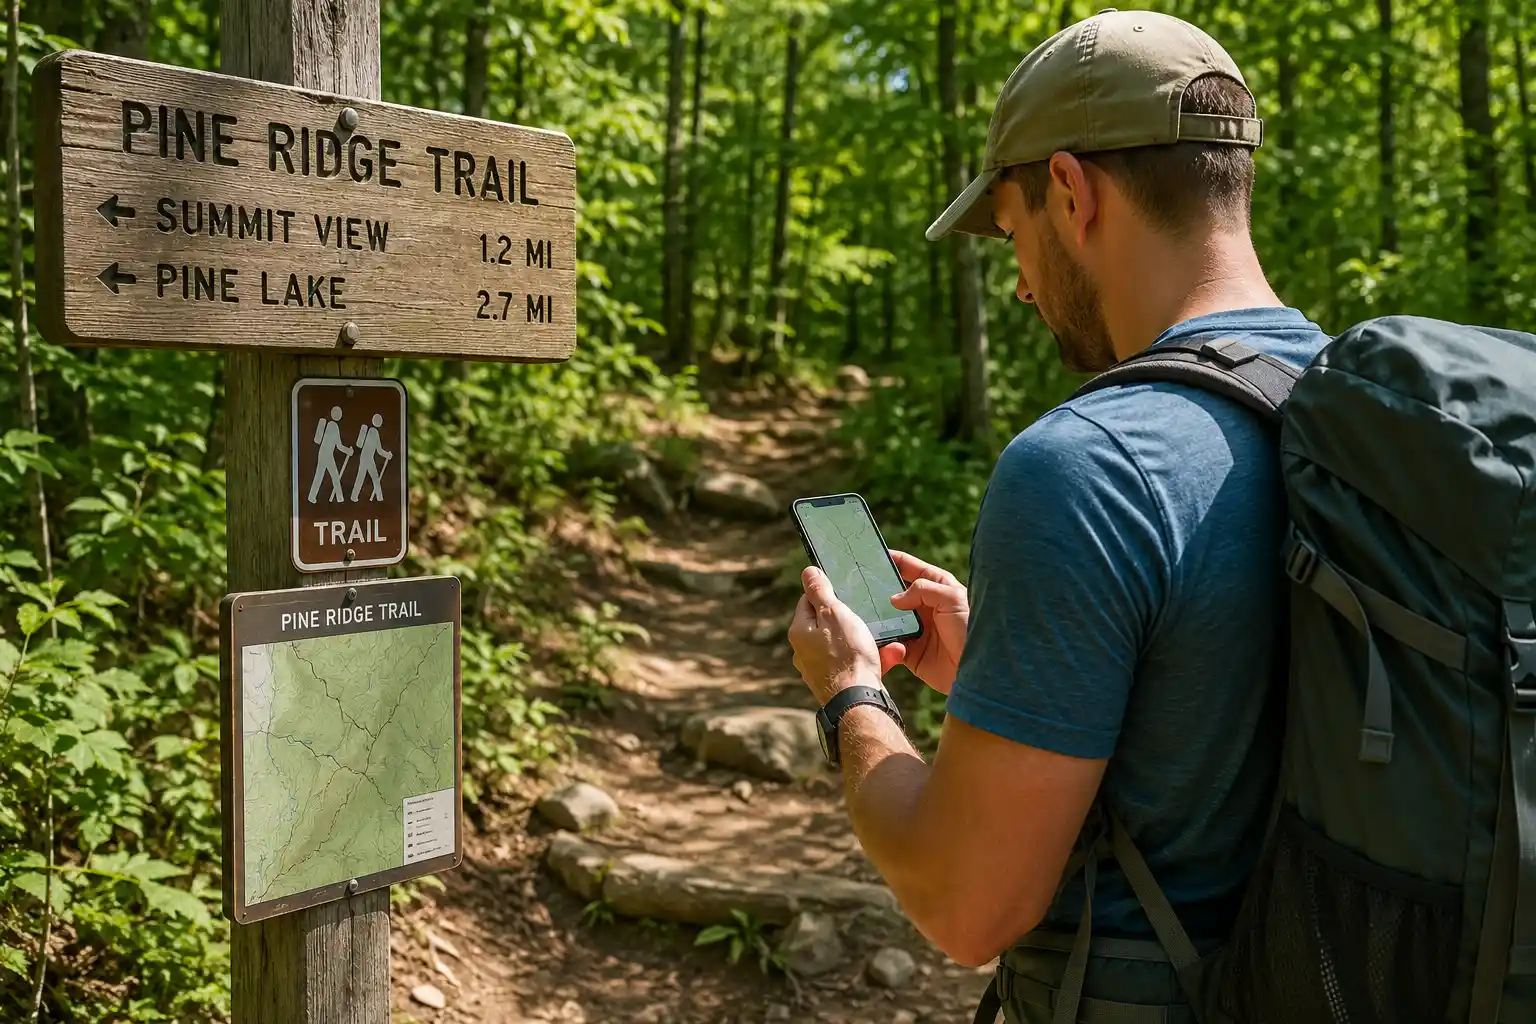
Step 1: Read Recent Reviews on Hiking Apps
Crowdsourced apps are often the fastest way to get updates. When hikers finish a trail, they often leave comments about what they saw. Look up your hike and sort the reviews by “Newest.” Look for mentions of blowdowns (fallen trees), mud, snow, or overgrown brush. If the last review was from six months ago, you cannot trust the data.
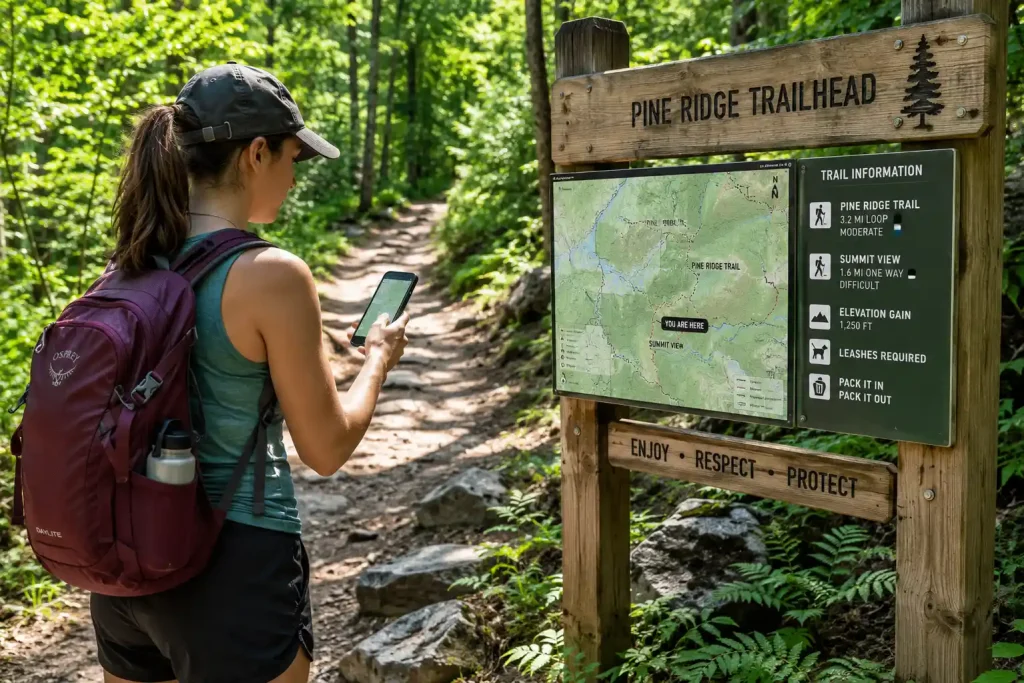
Step 2: Check Official Government Websites
Apps are great, but they don’t always show official closures. You need to check the website of the agency that manages the land. For national parks, visit the National Park Service (NPS) website and look for the “Alerts and Conditions” page. If you are hiking in a national forest, check the US Forest Service site. These official sites are the best source for fire bans, road closures, and bridge washouts.
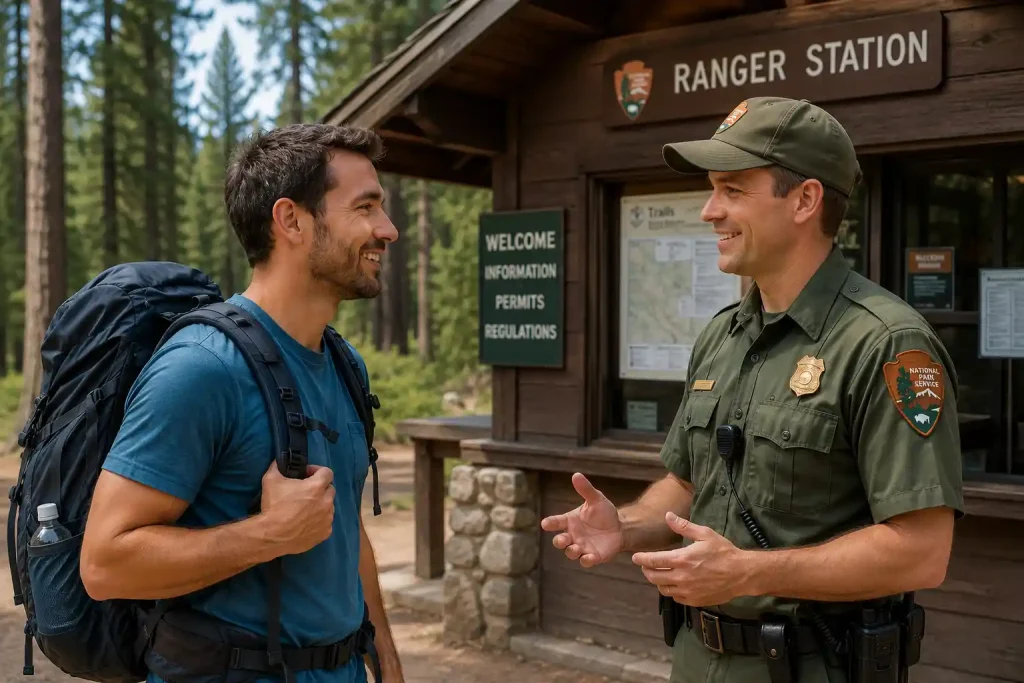
Step 3: Call the Local Ranger Station
If the online info is old or confusing, just pick up the phone. Park rangers are there to help you. Ask them specific questions like, “Is the snow melted out on the north side of the pass?” or “Are the streams safe to cross right now?” They have the most reliable, on-the-ground knowledge.
Step 4: Check Local Facebook Groups and Forums
Local hiking groups on social media are goldmines for trail beta. Search for groups specific to the mountain range or state you are visiting. You can often see photos posted just hours ago, which is incredibly helpful for judging snow levels or fall foliage.
| Information Source | Best For | Drawbacks |
|---|---|---|
| Hiking Apps (AllTrails, FarOut) | Recent photos, mud, snow, and bug reports. | Can be subjective; reviews might be outdated. |
| Official Websites (NPS, USFS) | Legal trail closures, fire bans, road access. | Sometimes slow to update minor trail damage. |
| Ranger Stations | Highly specific, accurate backcountry info. | Only available during business hours. |
| Social Media Groups | Real-time photos, local community advice. | Information can be unverified or exaggerated. |
Understanding Microclimates and Elevation
One of the hardest things for beginners to grasp is how elevation changes everything. You might leave a trailhead in a t-shirt, but as you climb higher, the temperature drops and the trail changes.
As a general rule, the temperature drops about 3 to 5 degrees Fahrenheit for every 1,000 feet you climb. This means it can be raining at the parking lot but snowing on the ridge. When reading a trail report, pay attention to the elevation the reviewer is talking about. A report that says “mostly clear” might only apply to the first two miles.
Common Mistakes to Avoid
It is easy to make a mistake when planning a hike. Avoid these common traps so you don’t end up in a bad spot.
- Ignoring the date of the review: A trail report from three weeks ago is completely useless in the spring or fall when weather changes rapidly.
- Trusting a city weather app: The weather in the nearest town is not the weather on the mountain. Use point-forecast tools designed for mountains.
- Forgetting about the drive: The trail might be fine, but the dirt road to get there might be washed out. Always check road conditions.
- Overestimating your gear: If a report mentions icy patches and you don’t have traction devices for your hiking shoes, pick a different trail.
Expert Tips from Oscar
Oscar’s Tip on Trail Etiquette: If you use crowdsourced apps to find conditions, give back! When you finish your hike, take two minutes to write a quick review. Mention the water sources, any downed trees, and the bug situation. Your quick update helps keep the whole community safe.
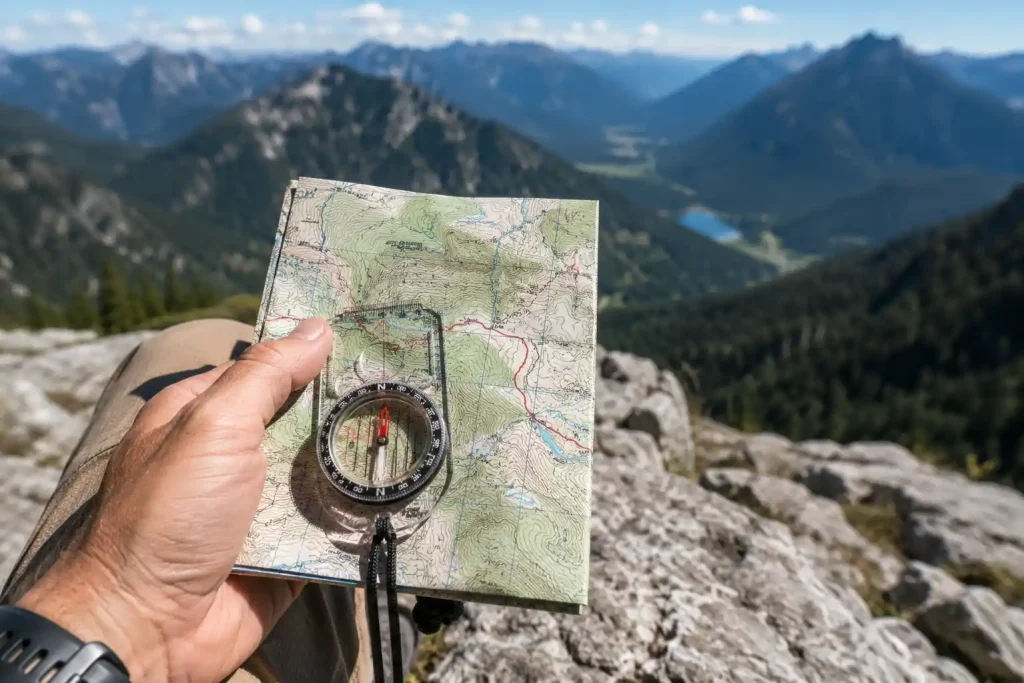
Oscar’s Tip on Navigation: Always download your maps for offline use before you leave home. You will almost certainly lose cell service at the trailhead. I always carry a paper map and a reliable navigation tool as a backup. You can read more about my favorite navigation tools here.
Oscar’s Tip on Mud: If you find unexpected mud on the trail, walk straight through it. Do not walk on the edges to keep your boots clean. Walking around mud widens the trail, destroys vegetation, and creates worse mud pits. This is why waterproof hiking boots are camping essentials!
Key Takeaways
- Never rely on a single source of information; combine app reviews, official alerts, and ranger advice.
- Look closely at the dates of trail reviews to ensure the data is fresh.
- Remember that elevation changes everything—what is dry at the bottom could be covered in snow at the top.
- Always check the condition of the access roads leading to the trailhead, not just the trail itself.
- Pay it forward by leaving your own accurate trail reviews when you finish your hike.
Frequently Asked Questions
What is the best app for checking trail conditions?
AllTrails and FarOut are currently the most popular apps for checking trail conditions. Because they have large user bases, you can usually find very recent reviews and photos uploaded by hikers who were on the trail just days or hours ago.
How do I know if a hiking trail is closed?
The most reliable way to find out if a trail is closed is to check the official website of the land manager, such as the National Park Service or the local State Parks website. Look for an “Alerts” or “Current Conditions” page for legal closure notices.
Can I call a ranger station to ask about a trail?
Yes, calling a ranger station is highly recommended. Park rangers have up-to-date, on-the-ground knowledge of trail conditions, water availability, and safety hazards that might not be posted online yet.
What should I do if the trail is unexpectedly washed out?
If you encounter a washed-out trail or a dangerous water crossing, turn around. It is never worth risking your safety. Use your map to find an alternate route, or simply head back to the trailhead and hike a different day.
Why is it important to report trail conditions after a hike?
Reporting conditions helps other hikers prepare properly, pack the right safety gear, and avoid dangerous situations. It also helps park maintenance teams know where to clear fallen trees or fix broken bridges.
Final Thoughts on Trail Safety
The good news is that finding trail conditions is easier today than it has ever been. With a mix of official websites, active hiking communities, and a quick phone call, you can head out into the wilderness knowing exactly what you are walking into.
Remember, a little bit of research from your couch can save you from a massive headache on the mountain. Pack your hiking essentials, double-check those recent reviews, and make smart choices out there.
If you are looking to upgrade your setup before your next adventure, be sure to check out my guide on the best hiking backpacks to carry all your gear comfortably. Stay safe out there, and happy hiking!