
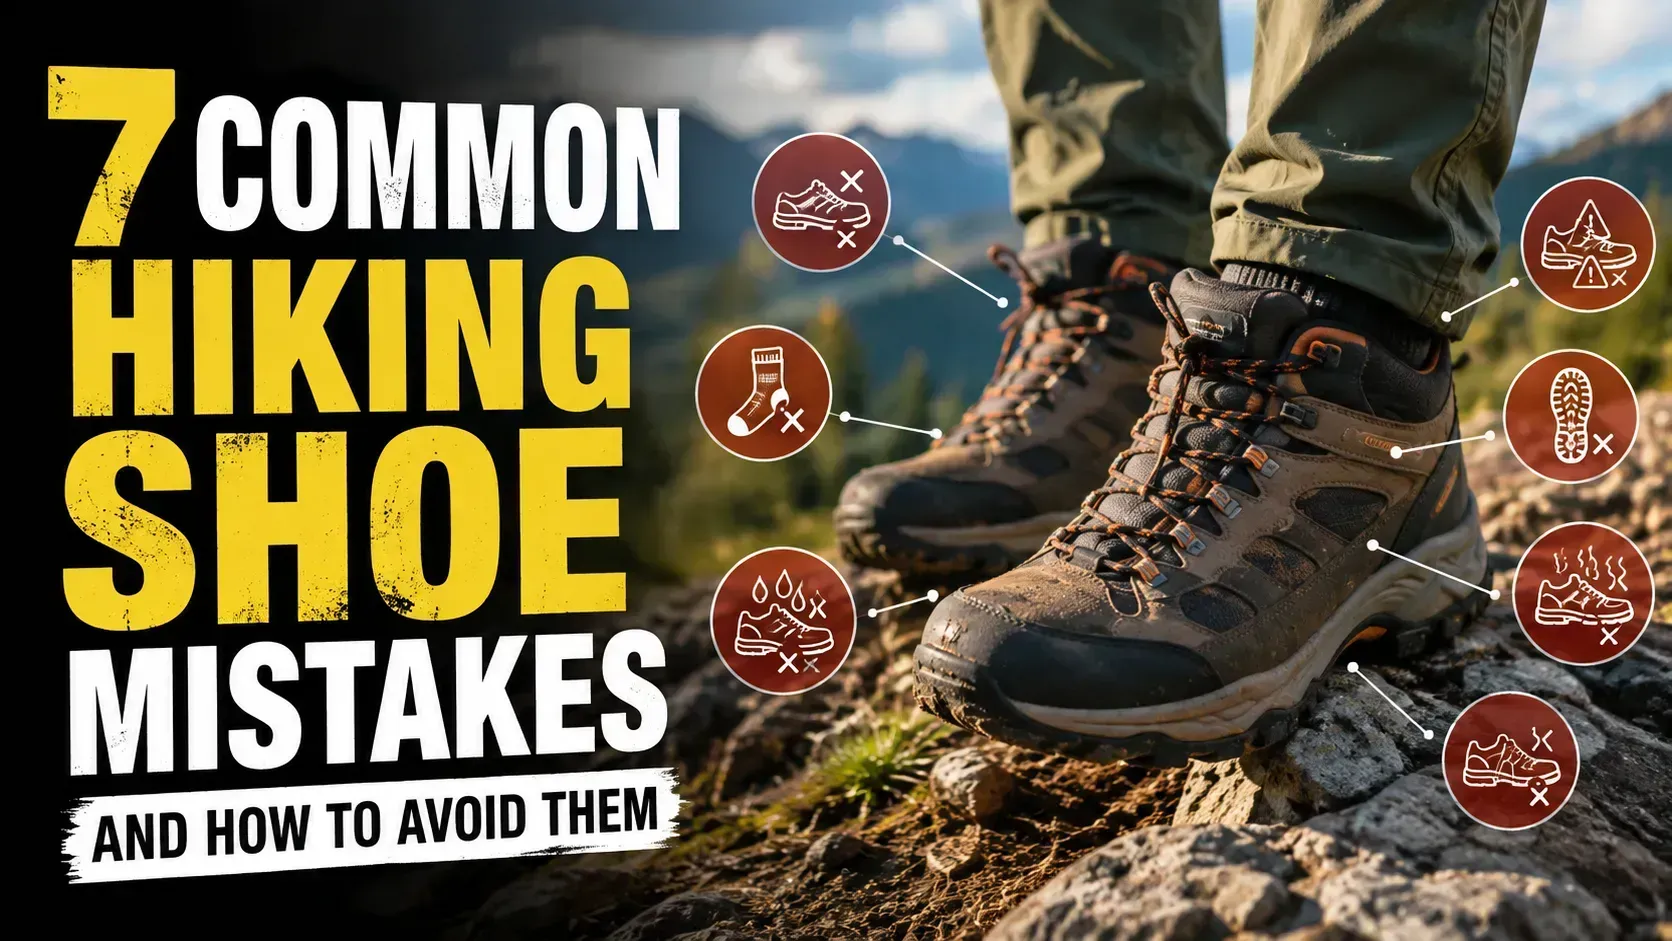
Hi, I’m Oscar. A few years ago, I planned what was supposed to be a beautiful six-mile day hike. The weather was perfect, my backpack was packed with snacks, and I felt ready. But about two miles in, my feet started screaming. I had worn a brand new pair of boots straight out of the box. By the time I limped back to my car, I had blisters the size of quarters on both heels. That painful lesson taught me a lot about footwear.
When you are getting into beginner hiking, gear can feel overwhelming. People spend hours researching backpacks, hydration bladders, and weather planning, but they often grab whatever shoes they have in the closet. Your feet are your most important asset on the trail. If your feet are unhappy, your entire hike will be miserable.
Today, we are going to talk about the most common hiking shoe mistakes beginners make. I want to help you pick the right footwear, break them in properly, and keep your feet safe on the trail. Whether you are planning a short weekend walk in a local state park or gearing up for a longer adventure, these simple tips will make a huge difference.
Quick Answer
To avoid common hiking shoe mistakes, you must buy the right size, break them in before hitting the trail, and match the shoe to the terrain you plan to hike. Many beginners buy shoes that are too small or rely on flat everyday sneakers for rough, rocky trails, which quickly leads to painful blisters and sore arches. Taking the time to test your footwear at home, sizing up slightly for foot swelling, and pairing your shoes with high-quality, non-cotton hiking socks can save your feet and keep your outdoor adventure fun and safe.
What Hikers Should Know About Hiking Footwear
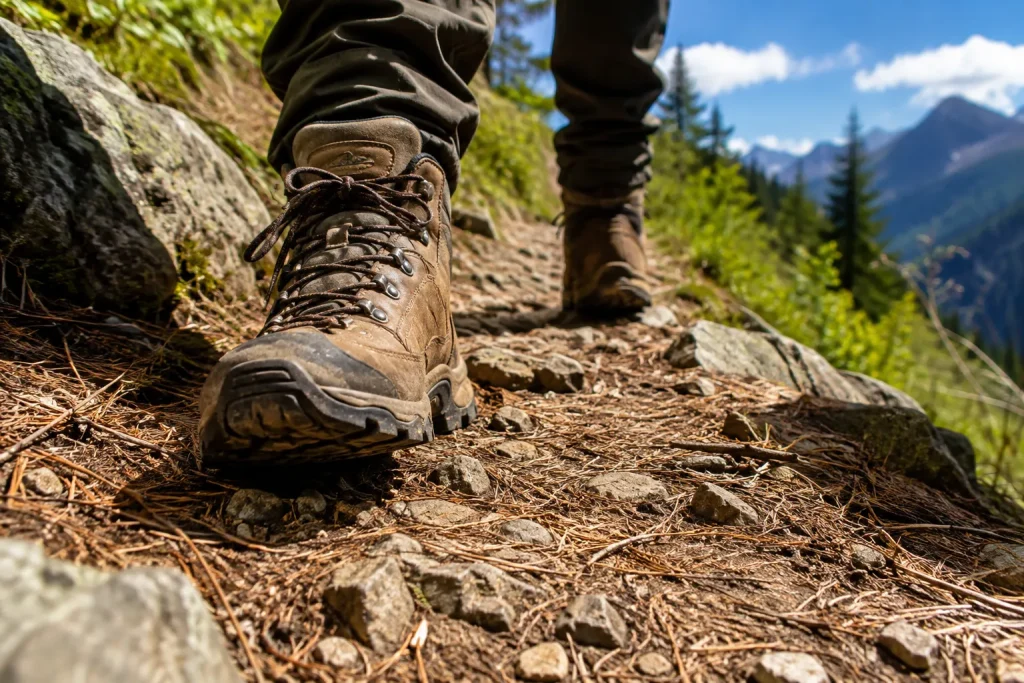
Before you hit the trail, it is important to understand why normal street shoes usually fail in the woods. Everyday sneakers are built for smooth pavement and flat floors. They lack the grip, support, and protection needed for rocks, roots, and mud. When you wear them on a dirt trail, you are much more likely to slip or twist an ankle.
Hiking footwear is specially designed to handle rough outdoor conditions. To make smart choices, you should know the three main types of shoes hikers wear. There is no single “best” shoe; it all depends on the trail, the weather, and your personal comfort.
- Hiking Boots: These offer thick soles, toe protection, and high ankle support. They are great for rough trails, muddy conditions, or when carrying a heavy backpack.
- Hiking Shoes: These are low-cut models with sturdy soles. They are lighter than boots but still offer great traction. They are perfect for most day hiking trips.
- Trail Runners: These look like running shoes but have aggressive grip on the bottom. Many experienced hikers love them because they are very lightweight and dry quickly if they get wet.
Along with picking the right type, you also need to know the basic parts of a trail shoe. The bottom of the shoe is called the outsole, and the rubber bumps that give you grip are called “lugs.” The front part where your toes sit is the “toe box.” A good toe box should give your toes plenty of room to wiggle. Knowing these terms will help you when you shop for hiking gear.
If you want to learn more about protecting the trails you hike on, the American Hiking Society offers fantastic resources on trail safety and responsible outdoor travel.
Signs You Should Adjust Your Hiking Plan, Gear, or Trail Choice
Sometimes your body or the environment tells you that something is wrong. Listening to these signs is a huge part of trail safety. If you ignore foot pain or bad trail conditions, a small problem can easily turn into a ruined trip or a rescue situation.
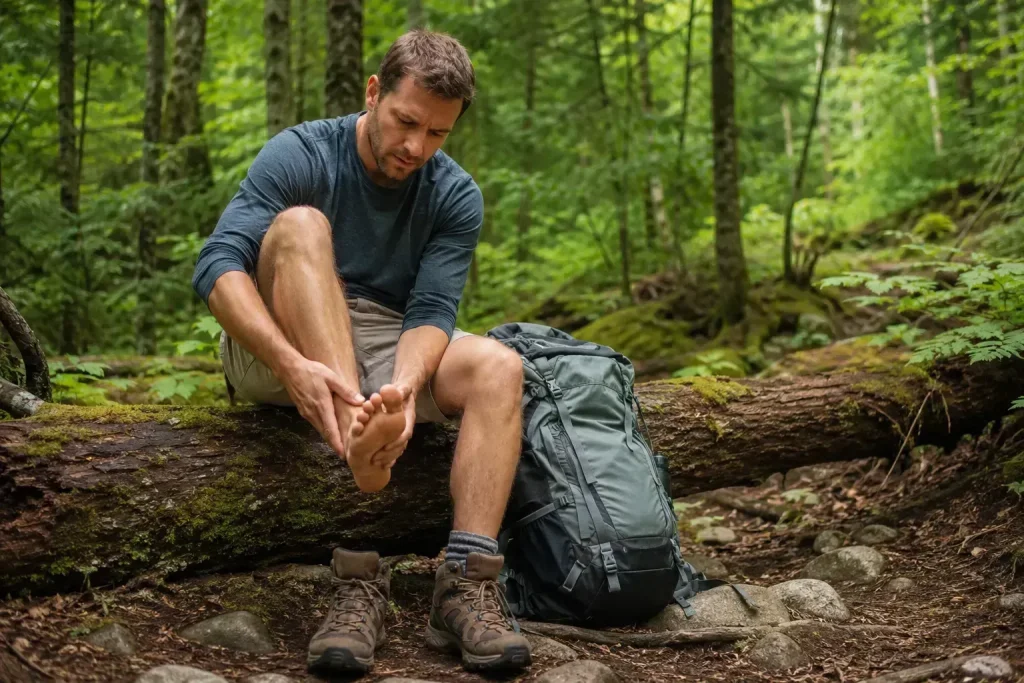
When it comes to your feet, pain is not something you should “tough out.” If you feel a hot, stinging sensation on your heel, that is a hot spot forming. It means a blister is about to appear. If your toes are slamming into the front of your boot on downhill sections, your shoes are either laced too loosely or they are simply too small. Here is a handy guide to help you read these warning signs.
| The Warning Sign | The Likely Mistake | What You Should Do Safely |
|---|---|---|
| Hot spot or stinging on heel | Friction from a loose shoe or cotton socks | Stop immediately. Apply moleskin or tape over the spot before a blister forms. Check your laces. |
| Toes hitting the front of the shoe | Shoe is too small or loosely tied on a downhill | Stop and try a “heel lock” lacing method. If they still hit, you need a larger shoe size. |
| Sore, aching arches | Not enough support for your foot shape | Cut your hike short if pain is severe. Consider adding supportive insoles before your next trip. |
| Slipping on wet rocks or mud | Wearing street sneakers or worn-out lugs | Slow down. Use trekking poles for balance. Turn back if the trail becomes dangerously steep. |
| Cold, numb, or wet feet | Wrong shoes for the weather / stepping in deep water | Change into dry backup socks if you have them. If temperatures are freezing, head back to prevent frostbite. |
Always remember that trail safety comes first. If your feet are in severe pain, or if the trail is washed out, icy, or beyond your skill level, the smartest choice is to turn around. The trail will always be there tomorrow.
How to Choose and Fit Hiking Shoes Step by Step
Buying outdoor footwear is different from buying everyday sneakers. If you want to avoid common hiking shoe mistakes, you need to follow a careful process. Here is the safest and most practical method for a normal hiker to find the perfect fit.
- Shop late in the afternoon. Your feet naturally swell during the day, just like they do during a long hike. Trying on shoes later in the day ensures you do not buy a pair that will feel too tight on the trail.
- Bring your own hiking socks. Do not use the thin nylon try-on socks at the store. Bring the exact wool or synthetic hiking socks you plan to wear. The thickness of your sock completely changes how a shoe fits.
- Check for thumb width. Once the shoe is on, stand up. You should have about a thumb’s width of space between your longest toe and the front of the shoe. This extra space saves your toes during downhill hikes.
- Walk on an incline. Find a ramp or stairs in the store. Walk down the ramp and pay close attention to your heels and toes. Your heel should stay locked in place, and your toes should never slam into the front.
- Test them at home indoors. Before you take them outside in the dirt, wear your new shoes around your house for a few hours. If they pinch, rub, or feel uncomfortable in your living room, they will be a nightmare on the trail. Return them for a different size or brand.
Common Hiking Shoe Mistakes to Avoid
Even if you buy a great pair of boots, how you use them matters. Over the years, I have seen hikers make the same footwear errors over and over again. Avoiding these simple mistakes will make your time outdoors much more enjoyable.
- Buying your exact street shoe size. Because your feet swell on the trail and you need room for thicker socks, most hikers need to buy a half size or a full size larger than their everyday shoes.
- Skipping the break-in period. Never take brand new, stiff leather boots on a long hike. Break them in by wearing them to the grocery store, walking around your neighborhood, and doing short one-mile walks first.
- Wearing cotton socks. Cotton holds onto sweat and stays wet. Wet skin causes friction, and friction causes massive blisters. Always wear moisture-wicking socks made of merino wool or synthetic blends.
- Ignoring hot spots. If you feel a rub, stop walking immediately. Many beginners think they can just push through the pain. By the time they finally stop, the skin is already torn.
- Picking heavy boots for easy trails. You do not need heavy, stiff mountaineering boots for a flat, packed-dirt nature trail. Wearing too much shoe will just make your legs tired faster.
- Drying wet shoes too close to the campfire. Extreme heat can melt the glue holding the soles of your shoes together. Always dry your boots naturally in a warm, breezy spot.
Practical Tips from Oscar
Over the years, I have learned a few tricks that make managing footwear a lot easier. These are habits I use on every single trip, whether I am doing a quick day hike or planning a longer weekend adventure.
Key Takeaways
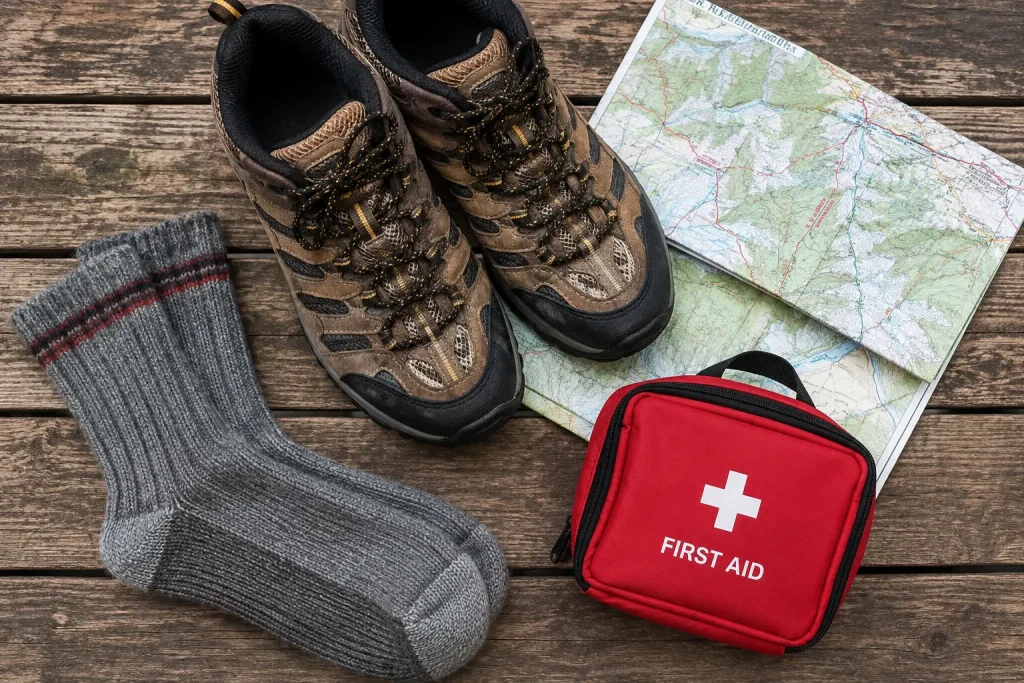
- Always try on hiking footwear late in the day with the exact hiking socks you plan to wear on the trail.
- Size up. You generally need at least a half size larger than your street shoes to account for foot swelling and downhill toe room.
- Never wear cotton socks. Stick to merino wool or synthetic materials to keep your feet dry and blister-free.
- Break in new boots slowly. Wear them around the house and on short neighborhood walks before taking them on a long hike.
- Stop immediately at the first sign of a hot spot. Treat it with tape or moleskin before it turns into a painful blister.
Frequently Asked Questions
Do I need a size bigger for hiking shoes?
Yes, most hikers need to go up at least a half size, and sometimes a full size, compared to their everyday street shoes. Your feet naturally swell during a long hike, and you need extra space at the front so your toes do not hit the shoe when walking downhill. Always try them on with thick hiking socks to be sure.
How long does it take to break in hiking boots?
The time it takes depends on the material of the shoe. Lightweight trail runners and soft hiking shoes rarely need any break-in time at all. However, heavy, stiff leather hiking boots can take a few weeks of short walks around your neighborhood before the material softens enough for a long trail.
Can I wear running shoes for hiking?
Standard running shoes are okay for very flat, paved, or smooth dirt paths, but they lack the grip and rock protection needed for rough trails. If you prefer a lightweight feel, you should look into trail runners. They are built like running shoes but have aggressive rubber grips designed specifically for outdoor terrain.
Why do my toes hurt when hiking downhill?
Toe pain on downhill hikes usually happens because your shoes are too small or because your laces are too loose, allowing your foot to slide forward. To fix this, make sure you have a thumb’s width of space at the front of the shoe. You can also try a “heel lock” lacing technique to keep your foot pulled back into the heel cup.
What is the best way to prevent blisters?
The best way to prevent blisters is to reduce friction and moisture. Make sure your shoes fit well and are fully broken in. Wear moisture-wicking merino wool or synthetic socks instead of cotton, and stop immediately to apply moleskin or tape the moment you feel a warm, rubbing spot on your foot.
Conclusion
Taking care of your feet is the secret to enjoying the great outdoors. By avoiding these common hiking shoe mistakes, you can spend more time enjoying the fresh air, the wildlife, and the scenery, instead of worrying about the pain in your heels. Remember, hiking is not a race, and you do not need the most expensive gear to have a good time. You just need gear that fits you properly.
Before you pack your bags for your next trip, take an extra ten minutes to check your shoes, trim your toenails, and pack a small foot care kit. These small habits make a massive difference. Always check local trail conditions, bring plenty of water, and let someone know where you are going.
If you are getting your backpack ready and want to make sure you haven’t forgotten anything important, check out my complete beginner hiking gear checklist. Have a great time out there, stay safe, and happy hiking!
