
If you’ve ever felt that tell-tale hot spot forming on your foot during a hike, you know that tiny discomfort can quickly ruin an otherwise amazing day. Learning how to avoid blisters while hiking is key to enjoying your time on the trail, turning potential pain into pure pleasure. It’s not magic; it’s about understanding the interplay between your feet, your gear, and the miles you’re covering.
The primary culprits behind hiking blisters are friction and moisture, which work together to break down skin. Manufacturer specifications for high-quality hiking socks often highlight moisture-wicking capabilities, aiming to transport sweat away from the skin. This is crucial, as studies show that skin softened by prolonged moisture is more susceptible to damage from the rubbing forces experienced during hiking.
Is This Hike a Blister Magnet? Spotting the Risks
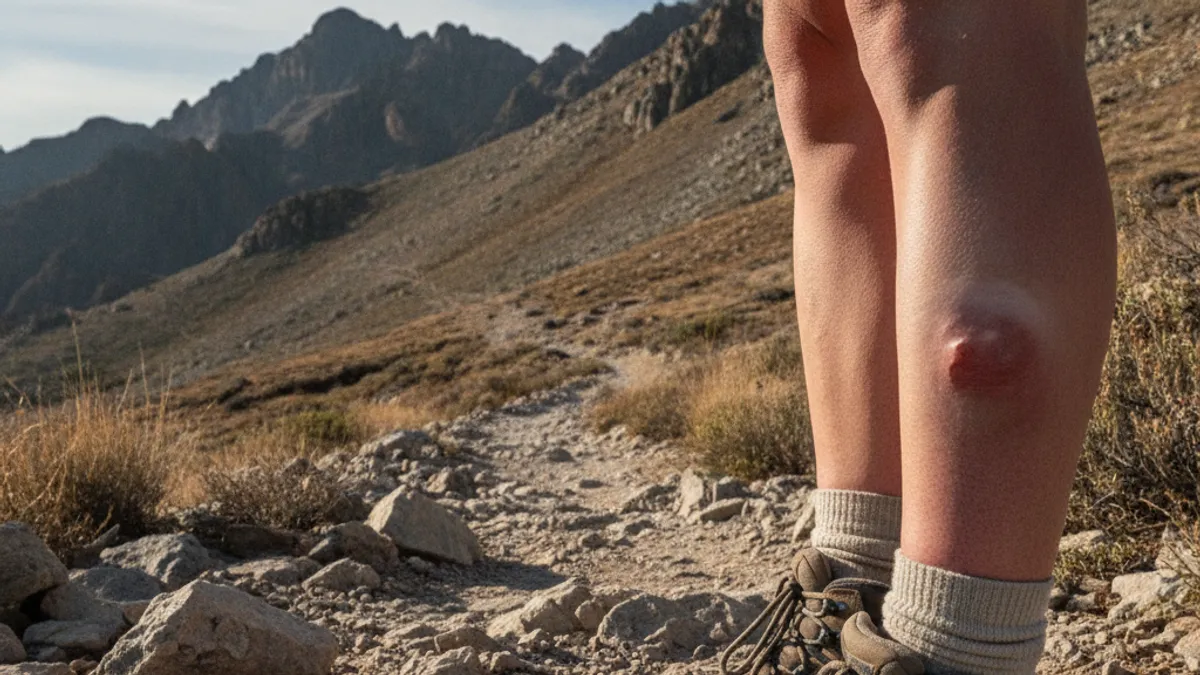
Before you even lace up your boots, a quick assessment can help you understand if your upcoming hike is a high-risk candidate for blisters. It’s about looking at the three main players: you, your footwear, and the trail conditions. If you’ve ever experienced blisters after a simple walk, you might be more prone.
Your Foot, Your Gear, Your Trail: The Blister Factor Check
Think of this as a quick mental checklist. Each “yes” might mean you need to be more diligent with your blister prevention strategies.
- Your Foot’s History: Have you had blisters before on similar hikes or in your current footwear? You might have a foot shape or gait that’s more susceptible.
- Footwear Choice: Are your boots or trail shoes well-fitting and broken in? How to Choose Hiking Boots suggests trying on shoes at the end of the day when feet are slightly swollen.
- Sock Selection: Are you wearing moisture-wicking socks specifically designed for hiking, or are you risking cotton?
- Trail Type: Will you be dealing with long, continuous climbs, steep descents, rough and rocky terrain, or lots of stream crossings? Varied or unusually demanding terrain increases friction.
- Weather Conditions: Are you expecting heat and humidity, or prolonged rain? Sweat and water saturation are major blister triggers.
- Pack Weight: A heavier pack can alter your gait and put more pressure on your feet. Consider your Hiking Backpack Essentials.
If you answered “yes” to several of these, it’s time to double-down on your blister prevention efforts.
Your First Line of Defense: Footwear That Fits
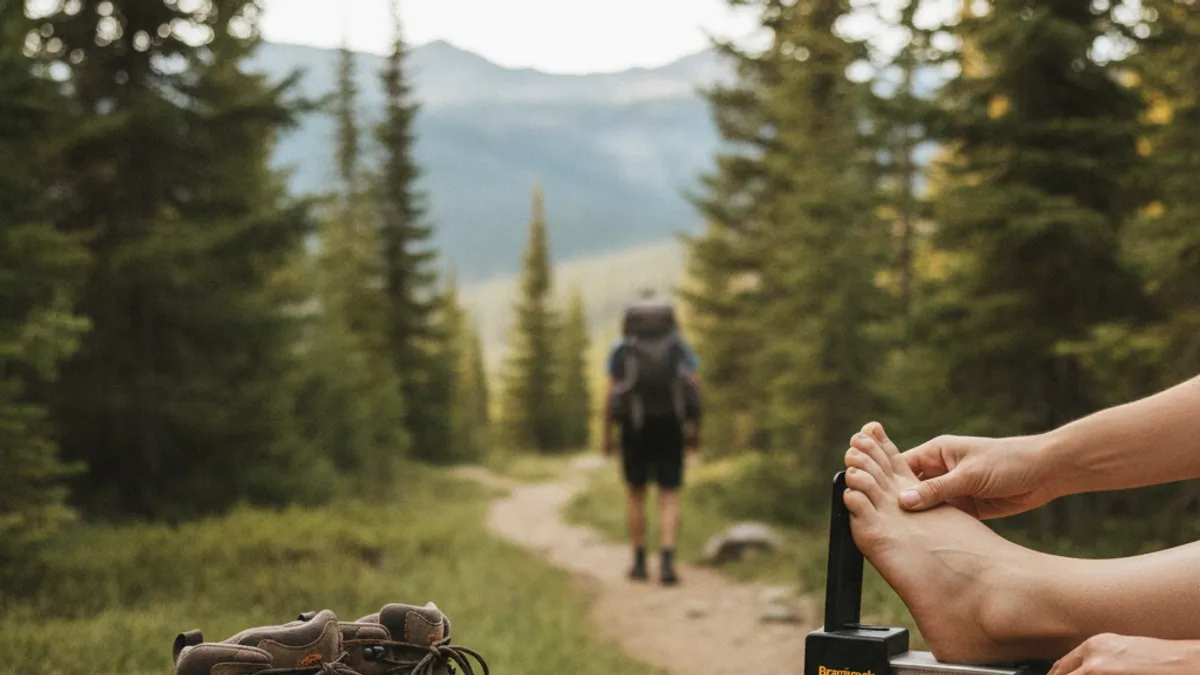
The single most important piece of gear for blister prevention is your footwear. If your boots or trail shoes don’t fit right, no amount of fancy socks or balms will completely save you. It’s about a snug, supportive fit that allows your foot to move naturally without excessive sliding or pinching.
The “Break-In” Marathon: Getting Boots Trail-Ready
No hiker should ever head out for a long trek in brand-new, stiff boots. Aggregates of user feedback consistently report that the painful learning curve of breaking in new footwear is entirely avoidable. Breaking in your boots ensures they mold to your feet, reducing potential friction points.
- Start Indoors: Wear your new hiking boots around the house for short periods. Aim for 30-60 minutes at a time.
- Short Outings: Progress to short walks around your neighborhood or a local park. Gradually increase the duration and difficulty.
- Listen to Your Feet: Pay attention to any rubbing or tight spots. Address them by adjusting the lacing or noting where potential hot spots might develop.
- Target Time: Manufacturers recommend starting this process at least 2, 3 weeks before a significant hike. For heavier boots, like those detailed in Are Army Boots Good For Hiking, this could take even longer.
Lacing Up Smart: Beyond Just Tightening
How you lace your hiking boots can make a massive difference in comfort and blister prevention. It’s not just about keeping your foot secure; it’s about distributing pressure and controlling movement within the boot. The right lacing technique can prevent your heel from slipping on ascents and your toes from jamming into the front on descents.
- Standard Lacing: This is good for general hiking but might not address specific pressure points.
- Heel Lock Lacing (Surgeon’s Knot): This technique uses a specific knot to create a loop that cinches down your heel, preventing upward movement. It’s particularly useful for preventing blisters on the back of the heel.
- Window Lacing: This method skips certain eyelets to relieve pressure on the top of your foot, which can be helpful if you experience pressure or hot spots there.
- Dual-Zone Lacing: You can lace the lower and upper parts of the boot differently. For instance, keeping the lower part snug for support and leaving the upper part slightly looser for ankle flexibility.
Experimenting with these techniques during your boot break-in period can reveal what works best for your feet and specific boot model.
The Sock Strategy: Your Feet’s Best Friend (or Worst Enemy)
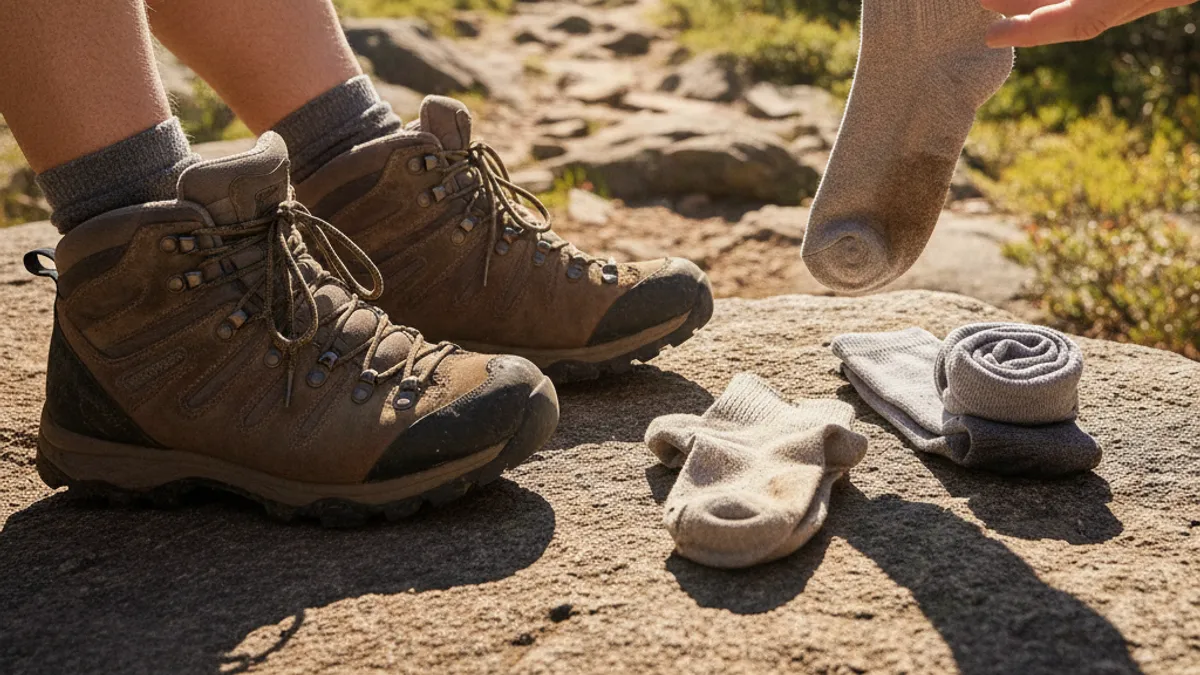
Once your footwear is dialed in, your socks become your next crucial layer of defense. The wrong socks can undo all your careful boot selection, creating a breeding ground for blisters. They are designed to manage moisture, provide cushioning, and reduce friction between your foot and your boot.
Material Matters: Why Cotton is a Blister’s Best Buddy
This might sound backward, but cotton socks are a blister’s best friend because they hold onto moisture like a sponge. When your feet sweat, cotton socks become saturated, softening your skin. This damp, soft skin is far more susceptible to friction damage.
- Synthetic Blends: Many modern hiking socks are made from polyester, nylon, or acrylic. These materials are excellent at wicking moisture away from your skin.
- Merino Wool: This natural fiber is a top choice for hikers. It manages moisture effectively, provides superior temperature regulation (keeping you cooler in heat and warmer in cold), and has natural odor-resistant properties.
- Avoid Cotton: For any hike longer than a quick stroll, steer clear of cotton socks. They are your fastest route to painful blisters.
Sock Thickness: Matching Your Footwear and the Weather
Sock thickness isn’t just about warmth; it also affects the fit of your boots and the amount of cushioning.
- Lightweight Socks: These are best for warm weather, well-fitting shoes, or if you tend to have hotter feet. They offer minimal cushioning but maximum breathability.
- Midweight Socks: A great all-around choice for most hiking conditions. They provide a good balance of cushioning, warmth, and moisture management.
- Heavyweight Socks: These offer the most cushioning and warmth, ideal for cold weather or very rugged terrain. However, they can make boots feel tighter, so ensure you have enough volume in your footwear.
Choosing the right thickness ensures your boots fit snugly without being constrictive, which is vital for blister prevention.
Seams and Fit: The Little Things That Make a Big Difference
Even the best materials can cause trouble if the sock isn’t constructed well. Seamless socks, or those with flat seams, drastically reduce potential rubbing points. When purchasing socks, check for reinforced heels and toes for added durability and cushioning where you need it most. A proper fit also means the sock should stay up and not bunch up inside your boot, which is a common cause of blisters.
Prepping Your Paws: Shields, Balms, and Powders
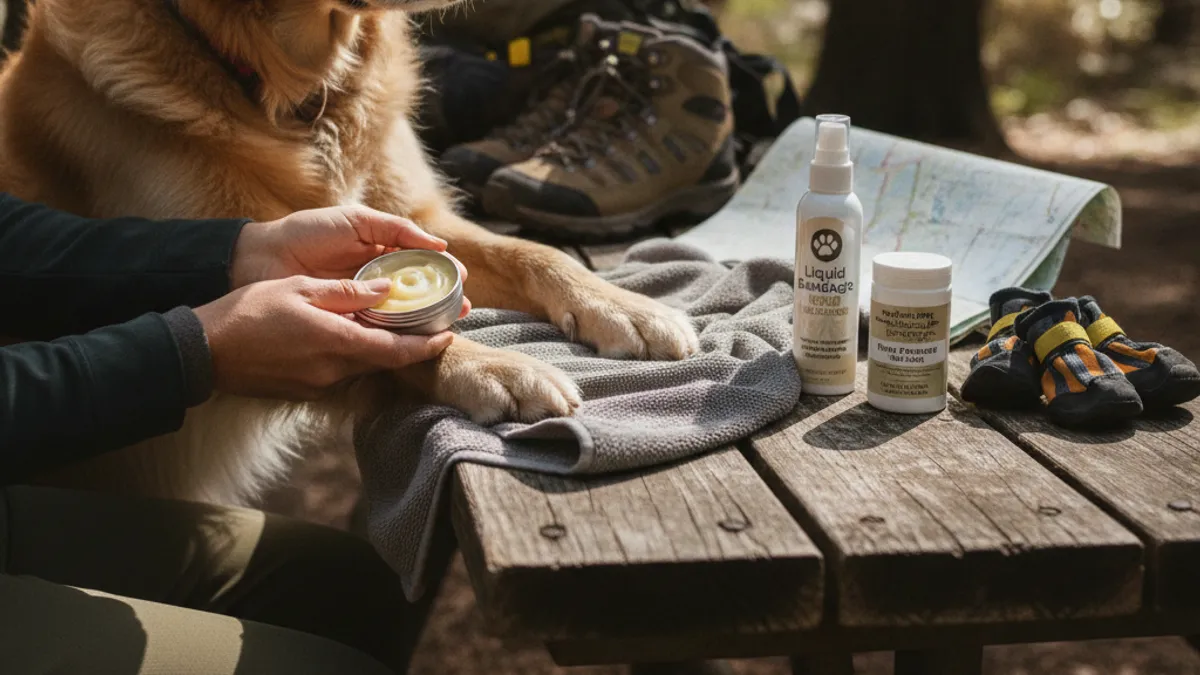
Beyond your socks and boots, there are several preventative measures you can take to protect your feet. Think of these as an extra layer of armor, specifically designed to combat friction and moisture before they can cause trouble.
Anti-Chafe Balms and Lubricants: Your Invisible Barrier
These products create a slick barrier on your skin, reducing the friction that leads to blisters. They’re great for known problem areas like heels, toes, and the balls of your feet.
- How They Work: Imagine your skin as a surface that can glide smoothly against sock fabric or boot lining, rather than being pulled and rubbed.
- Application: Apply generously to areas prone to rubbing before you even put on your socks. Reapply during longer hikes if you start to feel any irritation.
- Common Ingredients: Many contain waxes, silicones, or specific petroleum-based emollients. Our research indicates products formulated specifically for athletes often perform best.
Powders and Antiperspirants: Taming the Moisture Beast
If excessive sweating is your primary concern, powders and antiperspirants can help. They work to keep your feet drier, making the skin less susceptible to friction damage.
- Foot Powders: These absorb moisture, keeping the skin drier. They can be applied directly to the feet or inside socks. Talc-free options are available if that’s a preference.
- Antiperspirants: While typically used for underarms, some hikers find applying an antiperspirant specifically to their feet can significantly reduce sweating. Be mindful of potential skin irritation; test this on a small area first.
Using these in conjunction with moisture-wicking socks offers a powerful double-whammy against blister-forming moisture.
On-Trail Tactics: What to Do When You Feel a Hot Spot
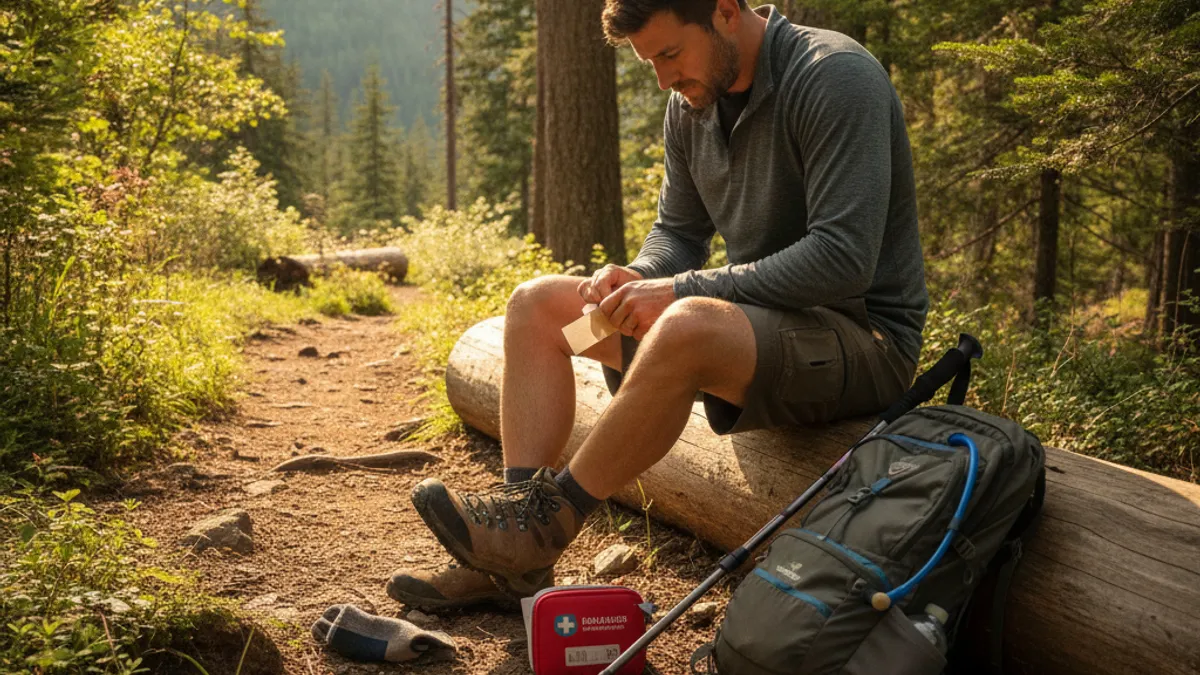
Even with the best preparation, you might still feel the early signs of a blister forming. The key here is swift action. Catching a “hot spot”, that initial burning or tingling sensation, before it fully develops into a raised blister can save your hike.
The “Hot Spot” Alert: Don’t Ignore the Warning Signs
A hot spot is your foot’s way of screaming, “Something’s wrong!” It’s that localized area of discomfort, often described as a burning or stinging sensation, where friction is starting to damage the skin.
- Stop Immediately: As soon as you feel it, find a safe place to stop hiking. Don’t push through.
- Assess the Situation: Carefully remove your boot and sock. Inspect the area for redness or irritation.
- Identify the Cause: Was it a rogue pebble? A sock seam rubbing? Did your foot shift in your boot?
Addressing the cause is as important as treating the symptom.
Quick Fixes: Bandages, Tapes, and Immediate Relief
Once you’ve identified a hot spot, you can often prevent it from becoming a full-blown blister with a simple treatment.
- Moleskin or Blister Bandages: Cut a piece of moleskin or use a specialized blister bandage (like Compeed) slightly larger than the hot spot. Apply it smoothly to the affected area on your foot. This creates a protective layer that absorbs friction.
- Athletic Tape: Medical or athletic tape can also be effective. Apply it smoothly and firmly to the hot spot, ensuring there are no wrinkles.
- Double Sock Layer: In some cases, simply reapplying your socks and ensuring they are smooth can help. For very minor irritation, this might be enough.
The goal is to create a barrier between the skin and the source of the friction.
Managing Wet Feet: Drying and Debris Removal
Excess moisture and small bits of grit inside your boots are a recipe for disaster. If you’ve crossed streams or encountered rain, periodically airing out your feet can be a lifesaver.
- Remove Boots and Socks: During rests, take off your boots and socks to let your feet air dry.
- Wipe Down: Use a bandana or spare cloth to dry your feet thoroughly, especially between your toes.
- Check for Debris: Shake out your boots and socks to remove any dirt, sand, or small stones that could cause abrasion.
Keeping your feet as dry and clean as possible is fundamental to preventing blisters throughout your hike.
Common Blister-Causing Blunders to Sidestep
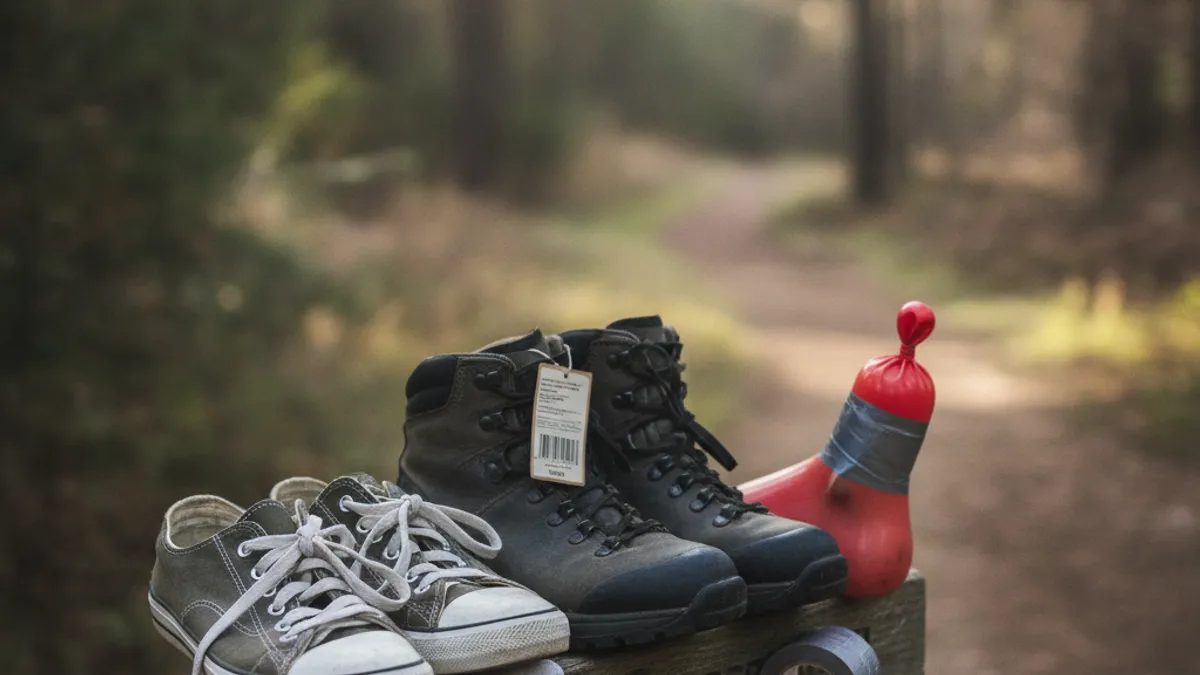
Even with the best intentions and gear, a few common mistakes can undo your blister prevention efforts. Recognizing these pitfalls is just as crucial as knowing the right techniques. They often stem from rushing, ignoring subtle cues, or simply not prioritizing foot care until it’s too late.
Wearing New Boots on a Long Trek
This is perhaps the most classic and painful mistake a hiker can make. New boots, even if they feel great for a few minutes indoors, haven’t yet conformed to the unique shape of your feet. Pushing them on a long hike means your feet are forced into a rigid material that hasn’t softened or stretched appropriately. The result is almost always rough spots, rubbing, and, you guessed it, blisters.
Our research indicates that even a single long day hike in un-broken-in boots can lead to multiple blisters.
Ignoring Friction While You Hike
That little tingle or occasional rub you feel might seem minor, but it’s a critical warning sign. If you don’t stop and address a “hot spot” the moment you notice it, that sensation is likely to escalate into a full-blown blister. Friction is the enemy, and it thrives on being ignored. Aggregated user feedback shows that hikers who address hot spots within the first hour of noticing them are significantly less likely to end up with debilitating blisters and more likely to complete their intended mileage comfortably.
Not Drying Your Feet Properly
Moisture is a blister’s best friend. When your feet are constantly wet, whether from sweat or external water, your skin becomes soft and compromised. This makes it far more vulnerable to the forces of friction inside your footwear. If you’ve crossed a stream or hiked through a wet section, failing to dry your feet thoroughly during breaks means you’re setting yourself up for trouble.
This is especially true if you’re wearing cotton socks, which hold onto moisture far longer than synthetics or wool.
Your Blister-Proofing Decision Guide
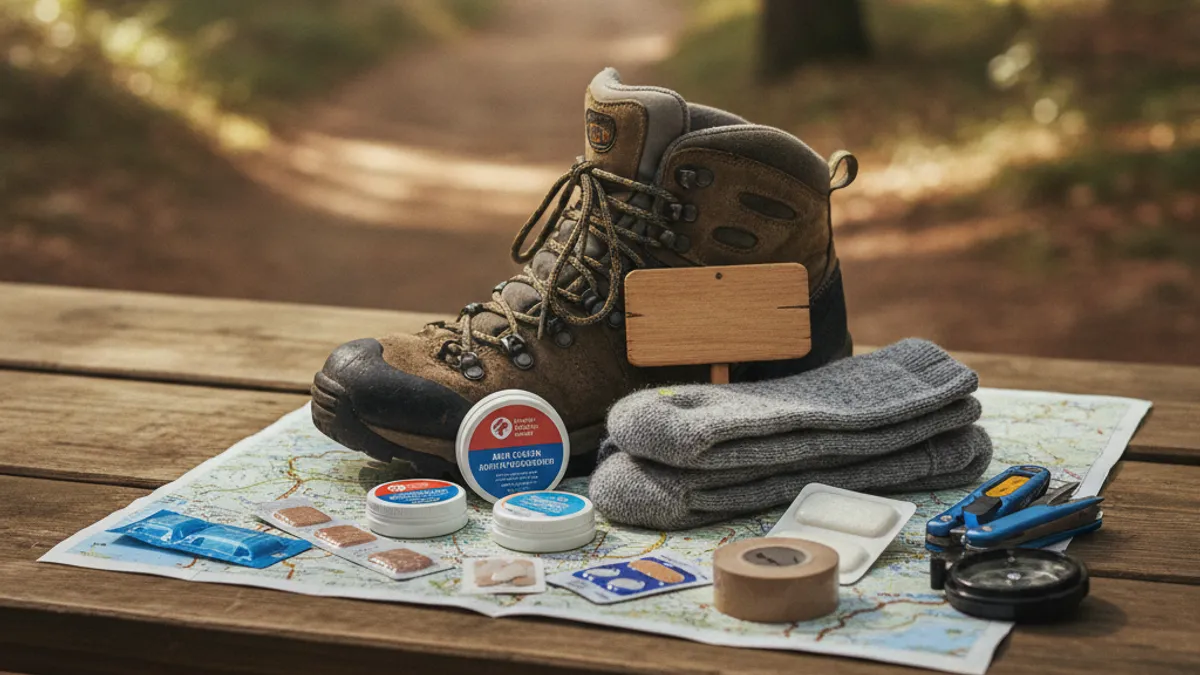
So, how do you put all this knowledge into action? It’s about making informed choices before and during your hike. This guide helps you quickly assess your situation and choose the best course of action, turning complicated advice into simple, actionable steps.
Quick Decision: Did You Prepare Properly?
This is your first fork in the road. If you’ve taken steps like breaking in your boots or choosing the right socks, you’re in a much better position.
- If YES (Prepared): Proceed to the “On-Trail Tactics” section. You’ve done the groundwork, so focus on vigilance.
- If NO (Unprepared): Before hitting the trail, reassess your gear. Consider a shorter hike at first to break in your boots, or invest in appropriate hiking socks like merino wool or synthetic blends. Your feet will thank you later.
If You Feel a Hot Spot: The Immediate Action Plan
This is your critical intervention point on the trail. Don’t delay!
- STOP: Pull over immediately.
- INSPECT: Remove boot and sock, check for redness or irritation.
- APPLY BARRIER: Use moleskin, athletic tape, or a blister bandage to cover the hot spot.
- ADJUST: Ensure socks are smooth, lacing is correct, and no debris is inside your boot.
Long-Term Trail Foot Health: Best Practices for Every Hike
Consistent application of these principles will build resilient, blister-resistant feet over time. Think of it as an ongoing maintenance routine for your most important hiking tools.
- Prioritize Fit: Always ensure your footwear is the right size and shape. Check out resources on how to choose hiking boots for detailed guidance.
- Invest in Quality Socks: Never skimp on socks. Moisture-wicking, well-fitting hiking socks are non-negotiable.
- Practice Foot Care: Regularly inspect your feet for any developing issues, even between hikes.
- Listen to Your Body: Pay attention to those early warning signs your feet give you.
