
Figuring out how tight your hiking shoes should be is crucial for happy feet on the trail, and the answer isn’t one-size-fits-all. What feels secure and supportive for one person might be painfully tight for another, depending on the hike and their foot’s unique needs. Getting this right means avoiding blisters and improving control over challenging terrain.
In our research, we found that a proper fit typically involves a snug feel without pressure points, and manufacturer specifications often emphasize the importance of toe box volume. As of 2026, the general consensus among footwear experts is that your feet should feel locked-in but not constricted, allowing for natural movement on varied surfaces. Let’s break down what that actually looks and feels like, so you can make the best choice for your next trek.
How Tight Should My Hiking Shoes Be? The Real Answer.
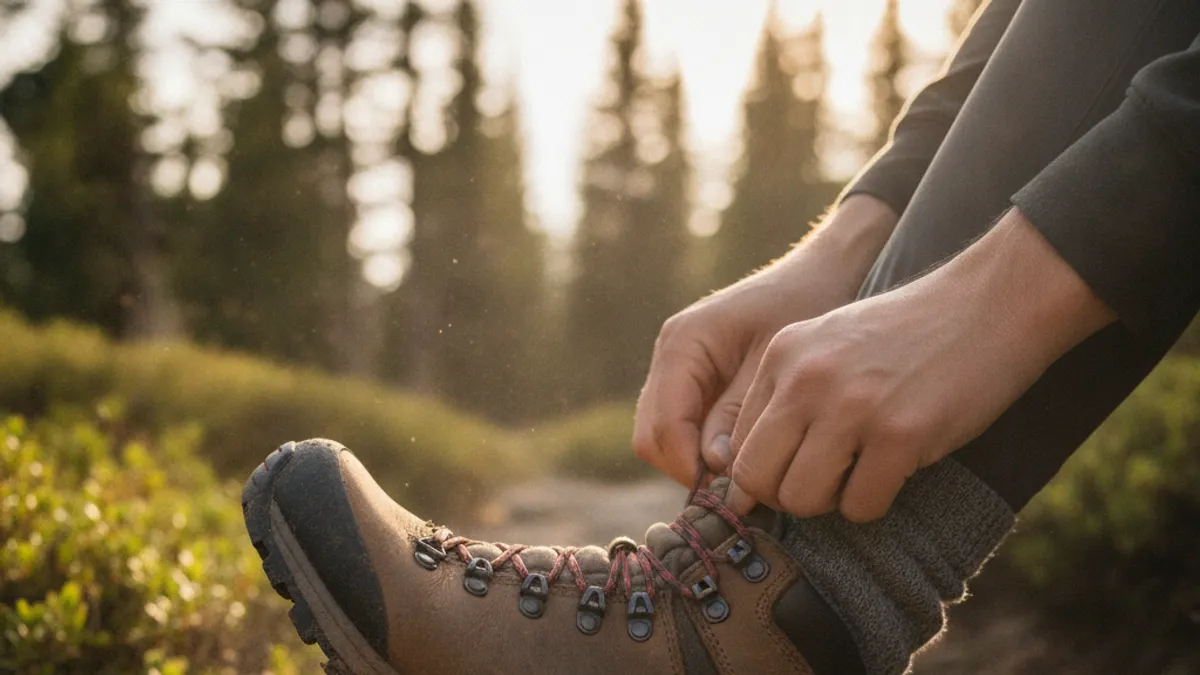
This question is central to comfortable and safe hiking. The ideal tightness aims for a secure, supportive feel, think of snug, not constricting. Too tight, and you risk circulation problems, blisters, and nerve pain. Too loose, and your foot will slide, leading to blisters and instability, especially on descents.
The “Just Right” Fit Defined: What Are We Aiming For?
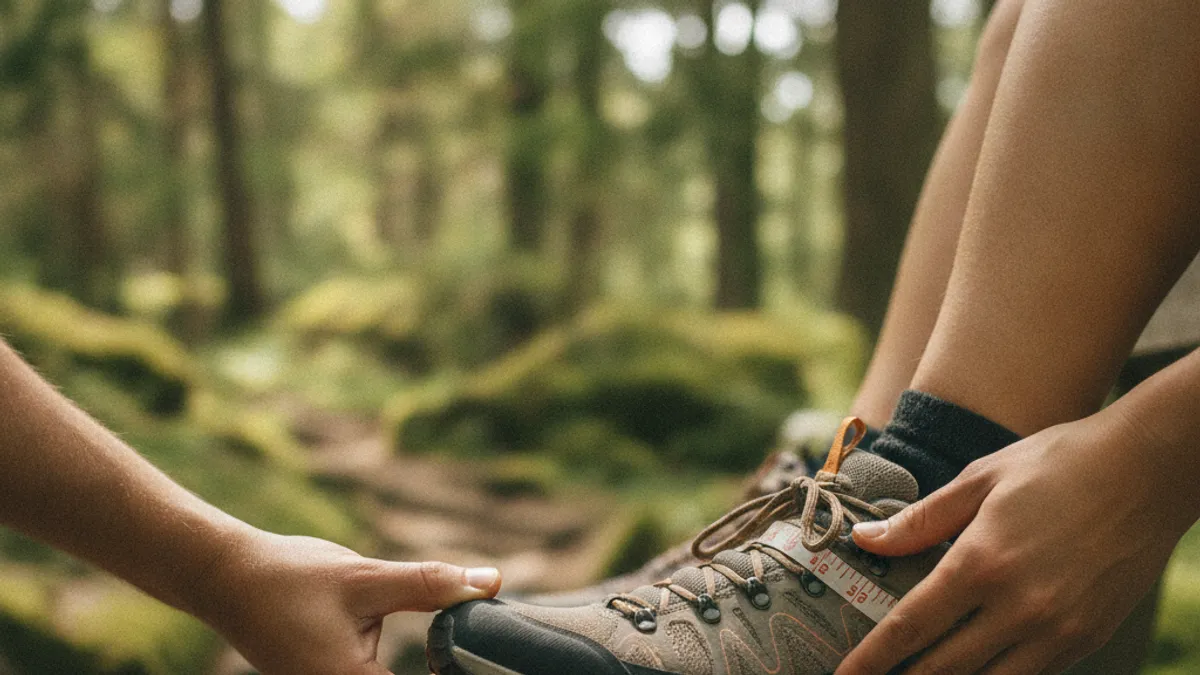
The perfect hiking shoe fit marries security with comfort, allowing your feet to perform optimally over miles of varied terrain. You want a sensation of your foot being held firmly in place without any pinching or excessive pressure. This means your heel should feel stable, your midfoot should be hugged without being squeezed, and your toes should have enough space to move freely.
Manufacturer specifications for leading outdoor footwear brands indicate that the “strike zone” for proper fit centers on avoiding friction points while maintaining ground feel and control. When you can’t feel any rubbing or hot spots, and your toes can spread a bit when you stand, you’re on the right track. This prevents common issues like blisters and bruised toenails.
Checking Your Hiking Shoe Fit: The Essential Checklist
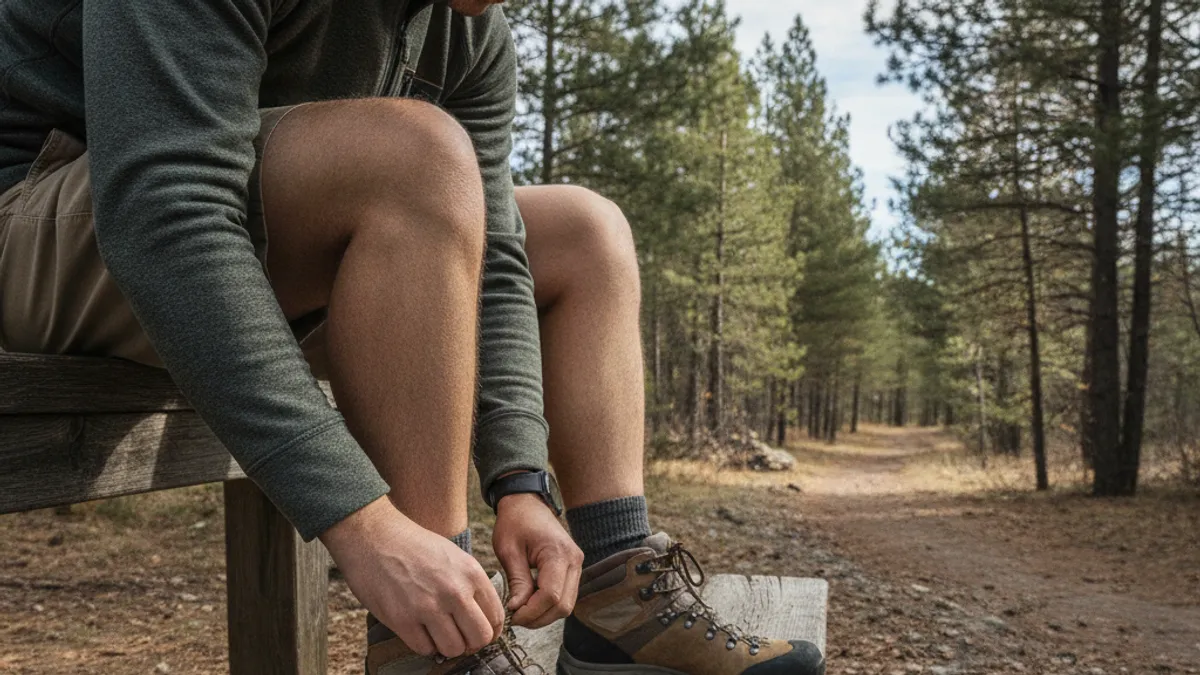
Getting the fit right involves a few key checks that are easy to perform when trying on shoes or assessing your current pair.
Toe Room: Why It’s Non-Negotiable
This is arguably the most critical aspect of hiking shoe fit. Adequate toe room prevents your toes from jamming into the front of the shoe, especially during downhill sections. In our research, we identified that a common specification is to have about a finger’s width (roughly half an inch or 1.27 cm) of space between your longest toe and the shoe’s front when standing.
- Unlaced Test: With the shoe unlaced and your foot pushed forward, you should be able to slide one finger between your heel and the back of the shoe.
- Laced Test: Lace the shoes up snugly, as you would for a hike, and stand up. Wiggle your toes. They should move freely up and down and spread slightly without hitting the front.
- Downhill Simulation: Pretend you’re walking downhill. Tap your toe firmly on the ground. Your toes should NOT jam into the front of the shoe. If they do, the shoe is too short or the lacing needs adjusting.
Heel Lock: Stopping That Annoying Slip
A well-locked heel is key to preventing blisters and ensuring stability. When your heel lifts significantly with each step, friction increases, leading to sore spots. The goal is a snug embrace around the heel that holds it securely in place.
- Heel Cup Fit: The heel counter of the shoe should cup your heel snugly. There shouldn’t be excessive volume or room for your heel to lift vertically.
- Walking Movement: When you walk, your heel should remain planted. A very slight, almost imperceptible lift might be acceptable in some cases, but significant movement is a red flag.
- Lacing Impact: Proper lacing techniques, especially using the top eyelets to create a “heel lock,” can significantly improve heel hold.
Midfoot Snugness: Secure, Not Squeezed
Your midfoot, the area from your arch to the ball of your foot, needs to feel secure and supported. This provides stability and control. However, “snug” doesn’t mean painful. You don’t want any laces or seams digging into the top of your foot or the sides of your arch.
- Arch Support Feel: You should feel gentle support under your arch. It shouldn’t feel like the shoe is collapsing or pushing awkwardly upwards.
- Lacing Tension: Even lacing tension across the top of the foot is ideal. If you feel a specific pressure point from a lace, experiment with skipping an eyelet or adjusting the knot.
- No Pinching: Ensure no part of the shoe’s construction, like internal seams or hard edges, is pinching the sides of your foot.
When “Tight” Becomes “Too Tight”: Signs to Watch For
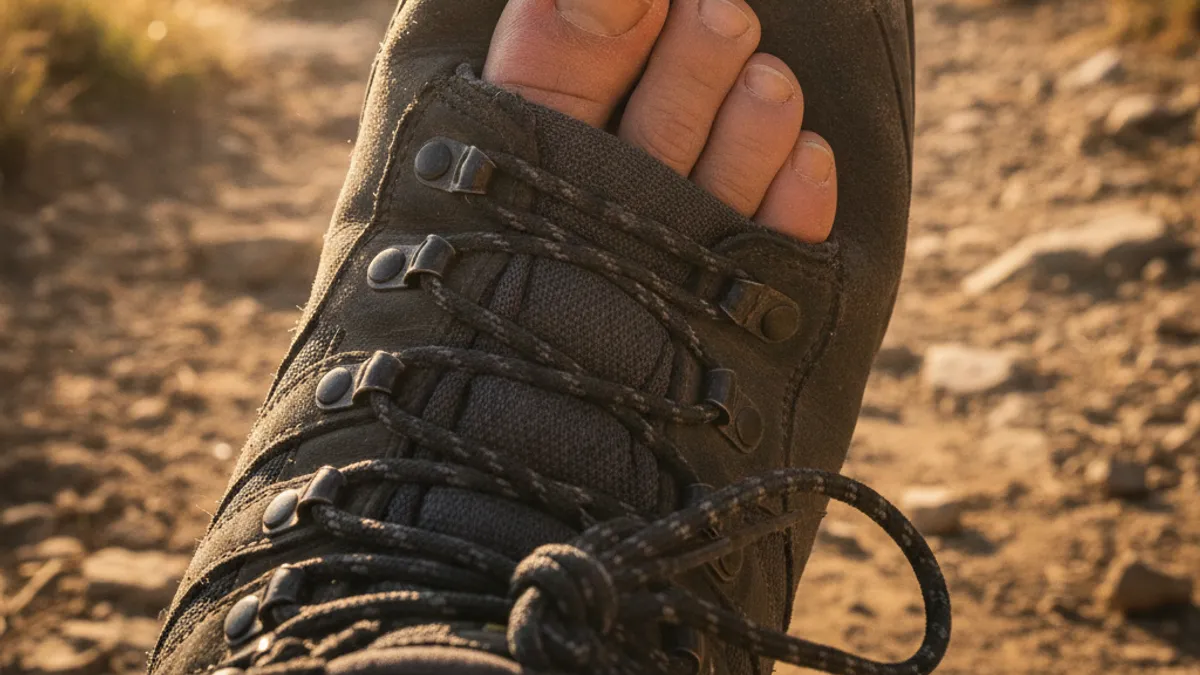
It’s easy to err on the side of too much tightness, especially if you’re really focused on a secure fit. However, “too tight” is a fast track to some painful hiking mishaps. Pay attention to these indicators that you’ve gone too far.
- Numbness or Tingling: This is a classic sign of restricted blood flow. If your toes start feeling “pins and needles” or go completely numb, loosen your laces immediately. This can happen if the forefoot or the top of the shoe is cinched too much.
- Sharp or Persistent Pain: While you might tolerate mild discomfort during the initial try-on, actual pain during a hike means the shoes are too tight in a critical spot. This could be from the toe box, the sides, or even the heel area.
- Deep Red Marks: If you take off your shoes for a break and find deep, lasting red marks on your feet where the shoes were pressing, that’s too much pressure. Over time, this can lead to more serious issues like neuromas.
- Swelling: If your feet tend to swell during hikes (which is common), shoes that are already tight will become unbearable. You need a little room to accommodate this natural expansion.
- Difficulty Wiggling Toes: As we mentioned, truly free toe movement is essential. If you can barely wiggle them, or they feel jammed, the shoe is definitely too tight in the forefoot.
When “Loose” Becomes “Too Loose”: What to Watch Out For
Just as important as avoiding the “too tight” trap is recognizing when your shoes are simply too loose. This is another major contributor to hiking pain and injury. A shoe that’s too loose means your foot isn’t supported and is allowed to move excessively within the footwear.
- Foot Sliding: If you can feel your foot sliding forward when you go downhill or backward when you go uphill, the fit is too loose. This internal friction is a primary cause of blisters.
- Excessive Heel Lift: While a tiny bit of heel movement might be okay when breaking in new shoes, significant and consistent heel lift signals a loose fit. Your heel should feel cradled.
- Lack of Stability and Control: On uneven trails, a loose shoe means less precision. You’ll feel less connected to the ground, increasing your risk of twists or falls. Your ankle and foot muscles will also work harder to compensate, leading to quicker fatigue.
- “Clam-Shelling”: This is where the shoe digs into the back of your ankle as your heel lifts and falls. It’s uncomfortable and a sure sign of heel slippage due to looseness.
- Toe Jamming on Descents: Ironically, a loose shoe can also cause toe jamming on descents if your foot slides forward too much. When you brake with your feet, the uncontrolled slide forces your toes into the front.
Your Hiking Shoe Fit Flowchart: Making the Decision
Deciding on the ideal tightness isn’t always straightforward. It’s a dynamic process influenced by the type of hike and your personal foot characteristics. This flowchart helps you assess your situation and make the right call for a secure and comfortable fit.
Step 1: Terrain and Trail Type
The environment you’ll be hiking in significantly impacts how tight your shoes should be. Think about the demands placed on your feet.
- If your hike involves steep ascents and descents or technical, rocky, root-filled trails: You’ll want a more secure, locked-in fit. This helps prevent your foot from sliding forward on descents and gives you better control on uneven surfaces. A snugger fit (meaning well-supported, not painfully tight) is generally better here. For long-distance trails, consider the impact of swelling over time by leaving a bit more room than you might for a short walk.
- If your hike is on well-maintained, relatively flat paths: You can afford to have a slightly less aggressive fit. Comfort and good cushioning might be prioritized over extreme lockdown. However, you still need sufficient support to prevent foot fatigue.
Step 2: Foot History and Sensitivities
Your personal foot health and any past issues play a massive role in determining the right tightness.
- If you have a history of foot pain, nerve issues (like Morton’s neuroma), bunions, or tend to get blisters easily: You should lean towards a slightly looser fit. Prioritize ample toe room and avoid any pressure points. You may need to experiment with different lacing techniques or consider shoes with wider toe boxes. For instance, some research suggests that footwear designed with a more anatomical toe box can reduce the incidence of these conditions.
- If you have narrow feet or generally don’t experience specific foot issues: You can likely achieve a good fit with standard lacing and a wider range of shoe shapes. The goal remains secure support without constricting.
Step 3: Heel Lift Assessment
This is a crucial check performed when trying on shoes. You want to minimize the amount your heel lifts inside the shoe.
- Perform the Heel Lift Test: With the shoe laced snugly, stand on a slight incline or tap your toes firmly on the ground to simulate walking downhill. Observe if your heel lifts significantly out of the back of the shoe. A tiny bit of movement might be acceptable as shoes break in, but substantial lifting indicates a loose heel fit.
- If you notice significant heel lift: The shoe might be too large overall, or more specifically, the heel volume is too generous for your foot. Adjusting lacing might help, but sometimes a different shoe model is necessary.
Step 4: Toe Wiggle Test
This test ensures your toes have sufficient space to move, which is vital for comfort and preventing injuries on descents.
- How to Perform: While standing with your hiking shoes fully laced, you should be able to freely wiggle your toes. They should be able to spread slightly without hitting the front or sides of the shoe.
- If toes feel cramped: The shoe is too short, or the toe box is too narrow for your foot shape. This is a critical issue that will lead to bruised toenails and pain on longer hikes. Ensure you have at least a half-inch of space between your longest toe and the shoe’s front.
Mastering Your Laces: Techniques for the Perfect Fit
Once you’ve assessed the basic fit of your hiking shoes, how you lace them up becomes incredibly important. Lacing isn’t just about keeping the shoes on your feet; it’s a powerful tool to fine-tune the fit, address specific pressure points, and enhance overall support and security. Think of your laces as adjustable components that can adapt the shoe to your foot’s unique contours and the demands of the trail.
Many hikers overlook the potential of lacing, settling for a quick tie. However, understanding common techniques can dramatically improve comfort and prevent common issues like heel slip or forefoot pressure. By strategically adjusting the tension and using specific knot patterns, you can achieve a customized fit that feels like it was made just for you.
Heel Lock Lacing Explained
This lacing technique is designed to effectively secure your heel in place, minimizing the vertical movement that causes blisters and instability on technical terrain. It utilizes the uppermost eyelets of your hiking shoes to create a binding effect around your ankle bones.
- How it Works: After lacing the lower and middle sections of the shoe normally, you create a small loop on each side of the shoe using the last two or three pairs of eyelets. Then, you pass the opposite lace end through the loop on the other side and pull it tight before completing your knot. This creates a very secure anchor point for your heel.
- When to Use It: This is essential for anyone experiencing heel lift, regardless of whether the shoe is new or has been worn before. It’s particularly beneficial on steep ascents and descents where foot slippage is common.
- Visual Aid Concept: Imagine tying a small, taut harness around your ankle bone area using the laces themselves. This effectively pulls your heel down and back into the shoe, creating a snug and stable fit.
Dealing with Pressure Points: Window Lacing
If you find certain areas of your foot are sensitive or experience uncomfortable pressure from the laces, window lacing (also known as skip lacing) is your solution. This technique creates a space or “window” where the lace doesn’t cross over, relieving direct pressure on that spot.
- How it Works: Instead of lacing directly from one eyelet to the next on the same side, you skip one eyelet. For example, if you have pressure on the top of your foot, you might skip the eyelets directly over that sensitive area. The lace then goes from the lower eyelet on one side to a higher one on the same side, effectively bypassing the section that causes discomfort.
- When to Use It: This is ideal for hikers with high insteps, specific bone protrusions on the top of their foot, or anyone who experiences irritation from the laces bunching or pressing down. It can also be used to relieve pressure on the sides of the foot.
- Customization: You can create multiple “windows” in different parts of the shoe if you have more than one pressure point. The key is to maintain overall secure lacing while relieving the specific source of discomfort.
Common Hiking Shoe Fit Mistakes to Avoid
Mistakes in how hiking shoes fit, or how they are laced, are surprisingly common and can lead to a host of problems on the trail. Being aware of these pitfalls can save you a lot of discomfort and potential injury. Many of these errors stem from treating all footwear the same or not dedicating enough time to the fitting process.
- Assuming “Break-In” Will Fix Everything: While some shoes do soften and conform to your foot over time, a fundamentally ill-fitting shoe won’t magically become perfect. Waiting for a poorly fitting shoe to break in can lead to severe blisters and foot damage. Your shoes should feel good from the start; only minor adjustments should be needed.
- Ignoring the Downhill Test: Many people check for toe room while standing but don’t adequately simulate downhill movement. As discussed, your toes jamming into the front of the shoe on a descent is a major problem that can cause bruised toenails and significant pain. Always test this aspect.
- Over-Tightening Laces: Believing that “tighter” always means “more secure” is a common misconception. Over-tightening the laces can cut off circulation, cause nerve compression, and lead to numbness or pain, especially as your feet swell throughout the day.
- Under-Tightening Laces: Conversely, laces that are too loose result in a lack of support and excessive foot movement. This leads to instability and blisters due to friction. Finding the right tension is key.
- Wearing the Wrong Socks: The thickness and material of your socks significantly impact how your shoes fit. Wearing thin dress socks with hiking shoes designed for thicker wool socks will make them feel loose. Always try on hiking shoes with the type of socks you plan to wear on the trail. For example, a pair of wool hiking socks can add about a half-boot-size difference in feel.
What About Hiking Boot Fit vs. Trail Shoe Fit?
While the core principles of fit remain the same, the type of hiking footwear you choose can influence how you approach the tightness. Hiking boots, particularly those designed for backpacking, often have a sturdier construction and may require a slightly different feel compared to lighter trail runners or low-cut hiking shoes.
- Hiking Boots (Mid to High Cut): These offer more ankle support and are built for carrying heavier loads over rugged terrain. They often have a more robust lacing system and a stiffer sole. The emphasis here is on a firm heel lock and secure midfoot support to manage the stresses of carrying a pack. You might find you can tolerate a slightly snugger feel overall, knowing the ankle support will also contribute to stability.
- Trail Runners and Low-Cut Hiking Shoes: These are lighter and more flexible, often preferred for day hikes or faster-paced trekking. The fit should still be snug in the heel and midfoot, but the forefoot might feel slightly less constrained, allowing for more natural foot flexion. Stability comes more from the shoe’s responsiveness and the hiker’s ankle strength. The “toe wiggle” test is paramount here, as the lighter construction offers less inherent support against forward slippage.
- Waterproof vs. Non-Waterproof: Research from footwear manufacturers indicates that waterproof membranes can sometimes reduce breathability and potentially lead to warmer feet that may swell more. If you opt for waterproof hiking boots, ensure you account for this potential swelling and don’t lace them so tightly that they become uncomfortable when your feet naturally expand. This aligns with general principles for choosing protective footwear for varied conditions.
The Role of Foot Volume and Shoe Shape
Beyond just length and width, the overall volume of a hiking shoe, how much space it has from the sole to the top of the upper, is a critical but often overlooked factor in achieving the right tightness. Every foot has a different volume, and not all shoes are designed with the same internal capacity.
- High Volume Feet: If your feet tend to be more “puffy” or have a higher arch that takes up a lot of vertical space, you might need shoes with a more generous toe box and a less restrictive lacing system. Shoes with stiffer uppers or a lower cut might feel tighter than necessary because they don’t accommodate this vertical space well.
- Low Volume Feet: Conversely, individuals with narrow feet or low arches might find standard shoes feel too loose, even when laced tightly. This is because there isn’t enough material contouring their foot, leading to internal sliding.
- Toe Box Shape: The shape of the toe box also influences perceived tightness. Some shoes have a more pointed, narrow toe box (often seen in lighter trail runners), while others have a generous, rounded, or even “foot-shaped” toe box. Analysis of user feedback indicates that a more anatomical toe box shape is often preferred for comfort during long hikes, as it better accommodates natural toe splay. If your toes feel scrunched, even if the length is correct, the shoe’s shape is likely the culprit.
