
There’s nothing quite like the feeling of finishing a great hike, but seeing your beloved hiking shoes absolutely covered in mud, dust, and who knows what else can be a little disheartening. Figuring out how to clean hiking shoes properly is key to keeping them in top shape for many miles to come. It’s not just about making them look good again; it’s about ensuring they perform their best and last as long as they should.
In our research, we found that most outdoor gear manufacturers recommend a consistent cleaning routine to prevent premature wear and tear, especially for waterproof membranes. For instance, Gore-Tex, a common material in many boots, specifies certain cleaning practices to maintain its breathability and water resistance, typically advising against harsh detergents. Let’s dive into how you can give your hiking footwear the care it deserves.
Quick Answer: Get Them Cleaned Promptly to Save Your Soles
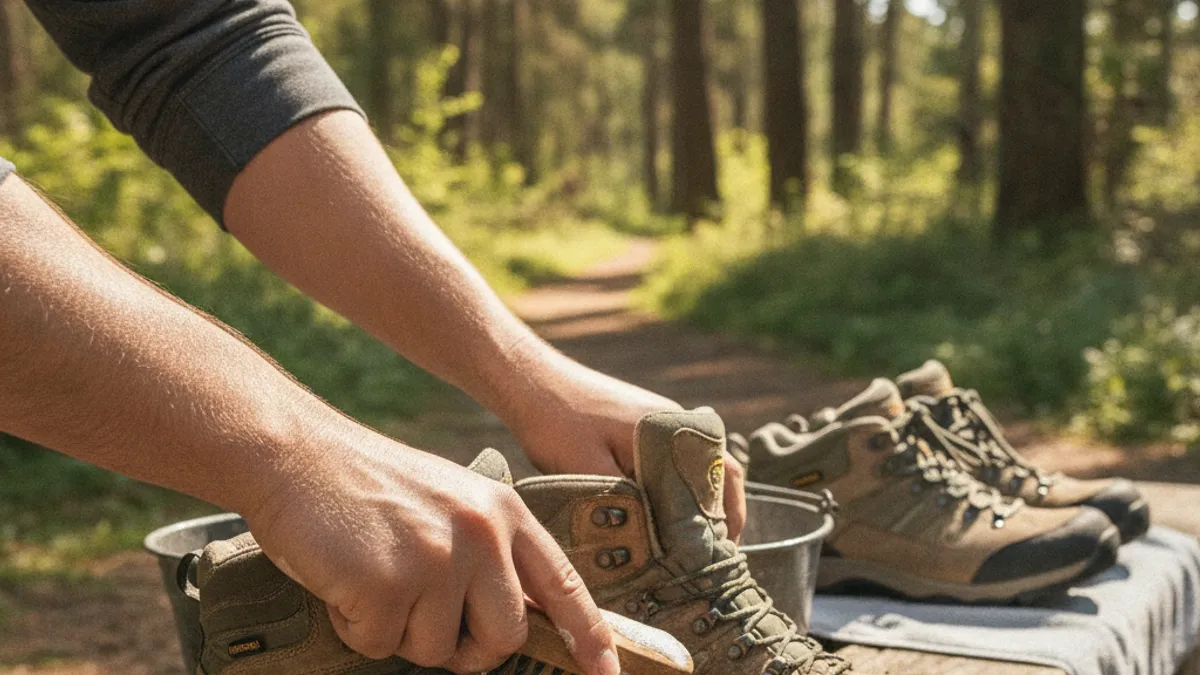
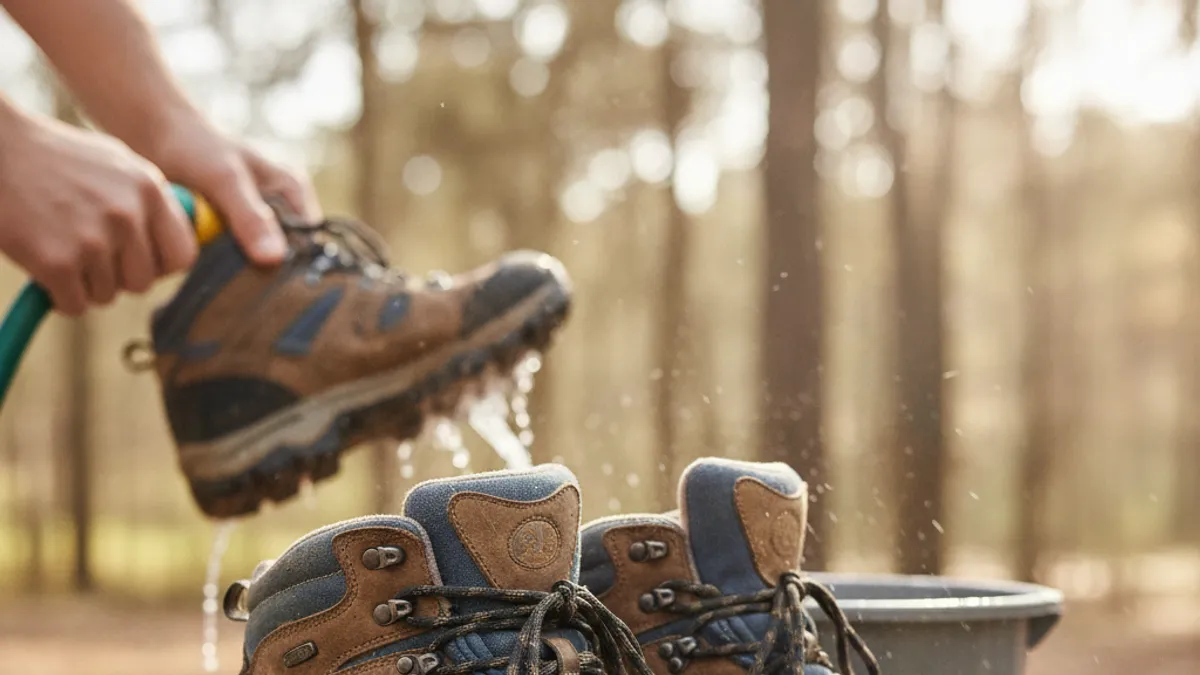
The quickest answer to how to clean hiking shoes is: as soon as possible after your hike. Loose dirt and mud are much easier to remove when they’re fresh. Simply rinse off the bulk of the debris with a hose or water source, then use a soft soap and a gentle brush to scrub away remaining grime. Always air dry them away from direct heat, as excessive warmth can damage glues and materials.
Why Dirty Hiking Shoes Are a Problem (Beyond Just Looking Rough)
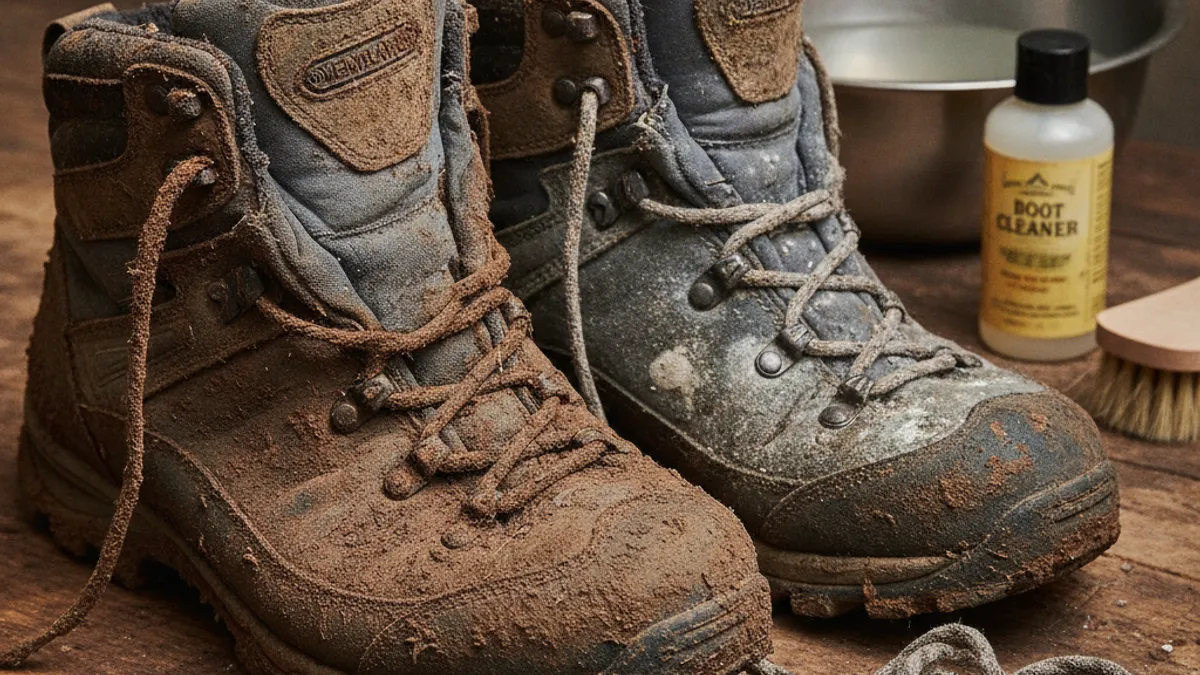
It’s easy to think that a little dirt on your hiking shoes is no big deal. After all, they’re built for the outdoors, right? While they are robust, letting mud, grime, and debris sit on them can cause significant damage over time. This isn’t just about aesthetics; it impacts their performance and lifespan.
- Material Degradation: Dirt and grit act like sandpaper against your shoe’s materials, especially porous ones like leather and synthetic fabrics. This constant abrasion can break down fibers, crack leather, and reduce the overall integrity of the shoe.
- Waterproofing Compromised: Many hiking shoes feature waterproof yet breathable membranes, like Gore-Tex. These membranes can become clogged with dirt and oils, hindering their ability to let sweat vapor escape while keeping moisture out. This leads to clammy feet and reduced performance.
- Odor and Mildew: Trapped moisture and organic debris create a perfect breeding ground for bacteria and mold. This results in unpleasant odors and can even lead to mildew growth, which can degrade materials and cause health issues.
- Reduced Traction: Caked-on mud can fill the deep lugs of your outsole, making them less effective at gripping slippery surfaces. This can reduce your traction and increase the risk of slips and falls on the trail.
Understanding Your Shoe’s Materials
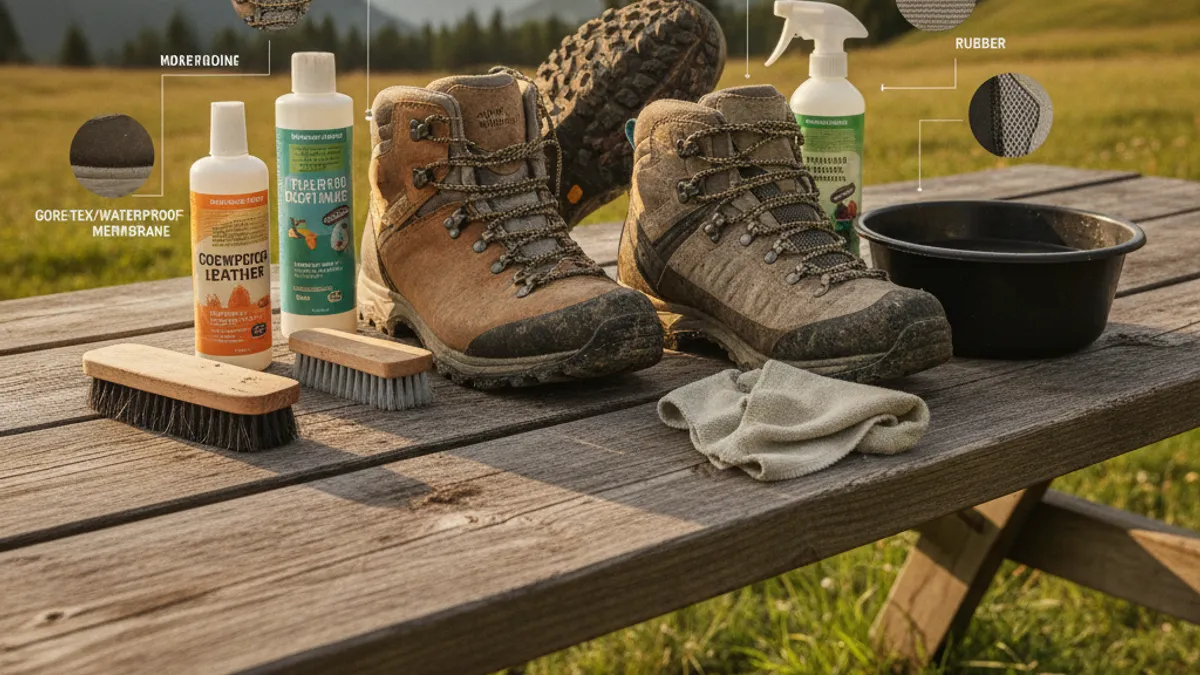
Before you grab the nearest cleaning brush, it’s super important to know what your hiking shoes are made of. Different materials need different kinds of care, and what works for one might damage another. This knowledge is your first step toward a successful clean.
Leather vs. Synthetic: Different Needs, Different Care
Most hiking shoes fall into a few main material categories: full-grain leather, nubuck/suede leather, and synthetic materials (like nylon and polyester). Understanding these distinctions is critical for choosing the right cleaning agents and techniques.
- Full-Grain Leather: This is the most durable type, offering excellent water resistance and support. It’s tough but can dry out and crack if not cared for. Cleaning involves removing dirt and then conditioning.
- Nubuck and Suede: These leathers have a softer, napped finish. They are less durable and more prone to staining and water damage than full-grain. They require more delicate cleaning and specialized products, often using a suede brush and cleaner.
- Synthetic Materials: These include fabrics like nylon and polyester. They are typically lighter, dry faster, and offer good breathability. They’re generally easier to clean but can be more susceptible to abrasion and UV damage.
Many modern hiking shoes combine these materials, and some also incorporate waterproof membranes like Gore-Tex, which add another layer of consideration to the cleaning process. Always check the manufacturer’s care instructions for your specific pair, as they’ll have the most accurate guidance.
Step-by-Step: Your Hiking Shoe Cleaning Workflow
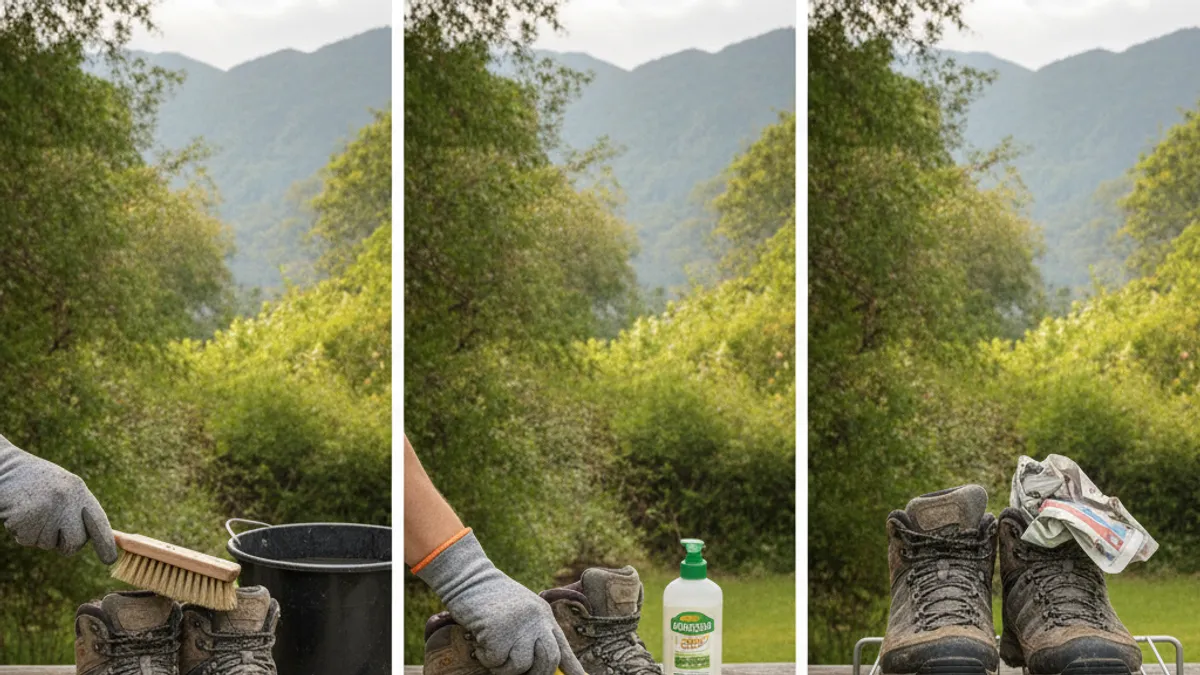
Ready to tackle that dirt? This workflow is designed to cover the most common scenarios. Most of the time, you won’t need anything more than basic supplies, but having a few specialized items on hand can make a big difference for tougher messes.
Step 1: Knock Off the Loose Stuff
This is your first line of defense and the easiest part. As soon as you take your shoes off, give them a good whack against each other or a solid surface, like a tree trunk or a curb. This helps dislodge the majority of dried mud, dirt, and small pebbles that are clinging to the uppers and outsoles.
- Goal: Remove as much loose debris as possible before it gets wet from rinsing.
- Tip: If you’re out on the trail and don’t have a convenient place to bang them, use a stick or your gloved hand to scrape off the biggest chunks.
Step 2: The Gentle Rinse
Once you’ve knocked off the loose debris, it’s time for a rinse to get rid of the finer dust and remaining loose mud. A garden hose with a spray nozzle is ideal for this. If you’re not near a hose, a bucket of water or a strong stream from a faucet will work.
- Method: Use a medium pressure spray to wash away dirt from all surfaces, uppers, soles, and even inside if they’re particularly grimy and you plan to wash them more thoroughly later.
- Warning: Avoid using a high-pressure washer, as this can force water into seams and potentially damage adhesives or membranes.
Step 3: Scrubbing Away the Grime
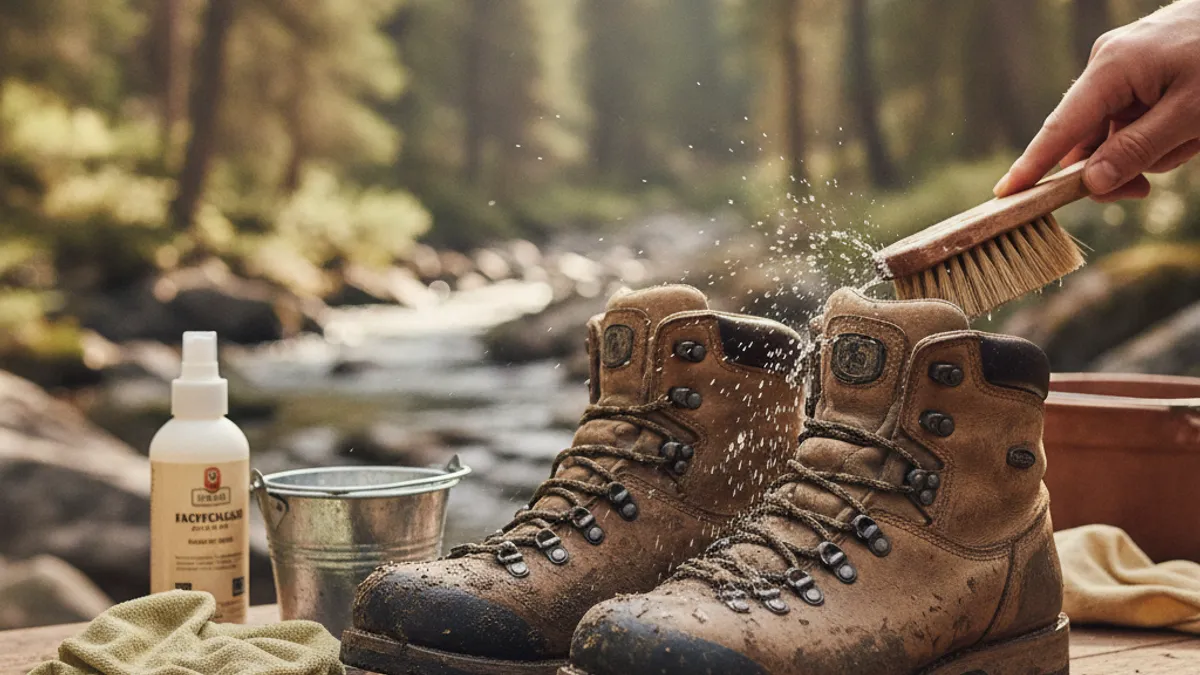
For tougher dirt or dried-on mud that didn’t come off with the rinse, you’ll need to break out a brush. A stiff-bristled brush, like a boot brush or even an old toothbrush, is your best friend here. This step is crucial for getting into those nooks and crannies.
- What to Use: A dedicated boot brush or a firm nylon brush works well for most materials. For suede or nubuck, a specialized suede brush is essential to avoid damaging the nap.
- Technique: Work in small sections, scrubbing gently but firmly. Pay attention to the seams, eyelets, and the areas where the sole meets the upper. If you plan on using soap in the next step, you can moisten the brush with a little water now to help lift superficial dirt.
Step 4: Washing for Deeper Cleans
If rinsing and scrubbing haven’t quite gotten your shoes as clean as you’d like, or if they’re starting to smell, it’s time for a wash. This often involves a mild cleaning solution. The key here is to use something gentle that won’t strip away natural oils from leather or damage synthetic materials and waterproof membranes.
- Choosing Your Cleaner:
- Mild Soap: A small amount of dish soap (like Dawn) or specialized outdoor gear cleaner is often recommended. Avoid harsh laundry detergents, as they can break down materials and affect waterproofing.
- Water: Lukewarm water is best. Avoid hot water, which can damage glues and materials.
- The Process:
- Mix your mild soap with lukewarm water in a bucket or sink.
- Dip your brush into the solution and scrub the shoes gently, working up a light lather.
- Pay attention to any stained areas.
- Once you’ve cleaned all areas, rinse the shoes thoroughly with clean, cool water to remove all soap residue. It’s critical that no soap remains, as it can affect performance and material integrity.
- Important Consideration: If your shoes have removable insoles or laces, take them out now and wash them separately. Insoles can often be cleaned with a damp cloth and mild soap, while laces can be hand-washed or put in a mesh bag in the washing machine.
This thorough cleaning is essential, especially before re-applying any waterproofing treatments. Manufacturer specifications from brands like Keen often emphasize this foundational cleaning step for optimal treatment adherence.
Step 5: Drying Them Right (No Ovens!)
This is arguably the most critical step in how to clean hiking shoes, and it’s where many people make costly mistakes. Improper drying can damage your boots, shorten their lifespan, and even lead to delamination of soles or damage to waterproof membranes. The cardinal rule is to never use direct heat.
- The Best Method: Air Drying
- Stuff Them: Loosely stuff your damp shoes with newspaper, paper towels, or a chamois. This helps absorb excess moisture from the inside and maintain the shoe’s shape. Change the stuffing periodically if it becomes saturated.
- Find a Cool, Dry Spot: Place your shoes in a well-ventilated area away from direct sunlight, radiators, fireplaces, or any other heat source. Good airflow is key to allowing moisture to evaporate naturally.
- Patience is Key: Drying can take anywhere from 12 to 48 hours, depending on the shoe’s material, how wet they got, and the ambient humidity. Resist the urge to speed things up with heat.
- Why Direct Heat is Bad:
- Leather: High heat can dry out leather, making it brittle, prone to cracking, and causing it to shrink or warp.
- Adhesives: The glues that hold your soles and other components together can weaken and fail when exposed to excessive heat.
- Waterproof Membranes: Heat can damage or compromise the integrity of waterproof/breathable membranes like Gore-Tex, reducing their effectiveness.
- Synthetics: Synthetic materials can melt or deform under intense heat.
If you’re in a rush, you can use a boot dryer with a low-heat or no-heat setting, but natural air drying is always the safest bet. Ensure your shoes are completely dry both inside and out before storing them or heading out on your next adventure.
Dealing with Stains and Smells
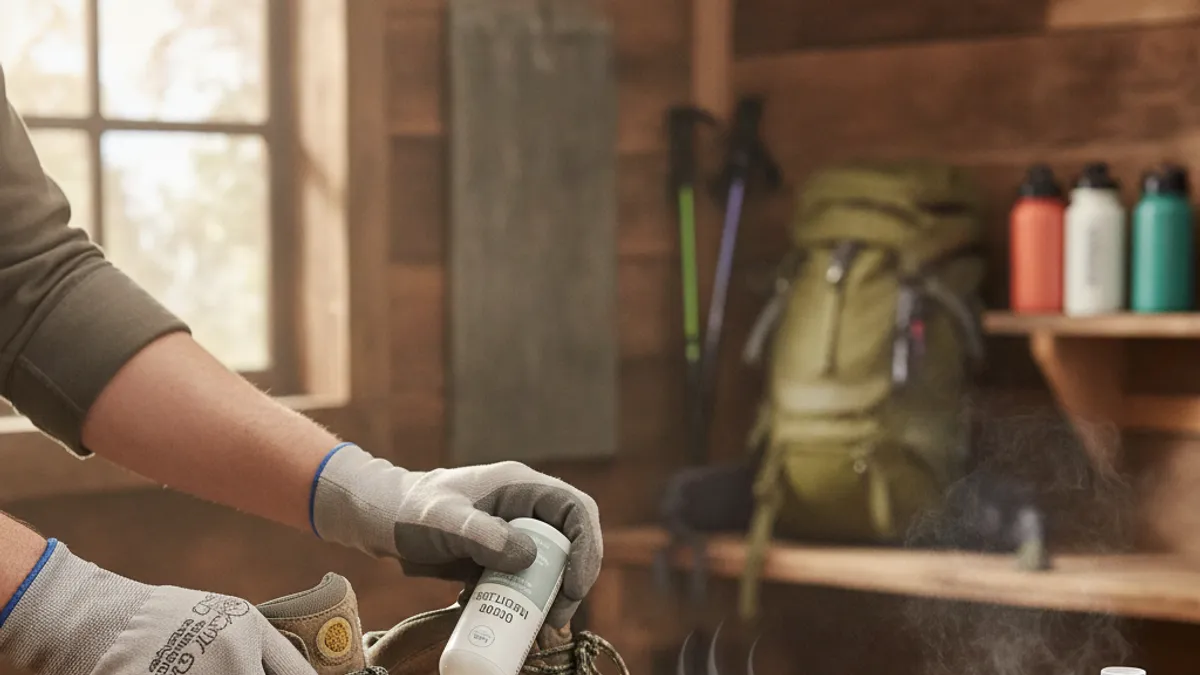
Even after a good wash, you might notice persistent stains on your hiking shoes or a lingering odor. These issues happen, especially after particularly muddy or humid hikes. Addressing them promptly not only makes your footwear look better but also prevents potential material damage and health concerns.
Tackling Tough Stains
Stubborn stains, like oil, grease, or even bright berry juice, can be tricky. What works often depends on the stain’s origin and the shoe’s material. For leather, try to address stains while they are fresh if possible. For synthetics, you might have a bit more leeway.
- Oil and Grease Stains: For leather, sprinkle cornstarch or baking soda directly onto the stain. Let it sit for several hours to absorb the oil, then brush it off. Repeat if necessary. For synthetic materials, a specialized outdoor gear cleaner is often most effective.
- Mud and Dirt Stains: If you missed these during the main wash, you can try a slightly more concentrated solution of mild soap and water, or a cleaner specifically designed for outdoor fabrics. A soft toothbrush can help work the cleaner into the fabric.
- Grass or Berry Stains: For light-colored materials, these can be tough. A paste of baking soda and water might help lift them. For very stubborn organic stains, a diluted hydrogen peroxide solution (1 part peroxide to 4 parts water) can be used cautiously on synthetic materials, but always test in an inconspicuous spot first.
Banishing Hiking Boot Odor
The classic “hiking boot smell” comes from bacteria thriving in the warm, damp interior of your shoes. To tackle this, you need to kill the bacteria and absorb lingering moisture. Simply masking the smell won’t solve the underlying problem.
- Baking Soda Power: After your shoes are completely dry, sprinkle a generous amount of baking soda inside each one. Let it sit overnight (or longer) to absorb odors, then dump it out thoroughly. This is a simple yet surprisingly effective method recommended by many outdoor gear specialists.
- Vinegar Rinse (for non-waterproof linings): For shoes without sensitive waterproof membranes, a diluted vinegar solution (1 part white vinegar to 1 part water) can be used to wipe down the inside. Vinegar is acidic and helps kill odor-causing bacteria. Ensure the shoes are thoroughly aired out afterward to get rid of the vinegar smell itself.
- Activated Charcoal Inserts: These are designed specifically for odor absorption and can be a great long-term solution for persistent smells.
- Sunlight: On a dry, sunny day, leaving your shoes (especially the inside) exposed to direct sunlight for a few hours can also help naturally deodorize them by killing bacteria.
As of 2026, many manufacturers continue to endorse these DIY methods for odor control due to their effectiveness and lack of harsh chemicals that could damage shoe components.
Recharging Waterproofing and Leather
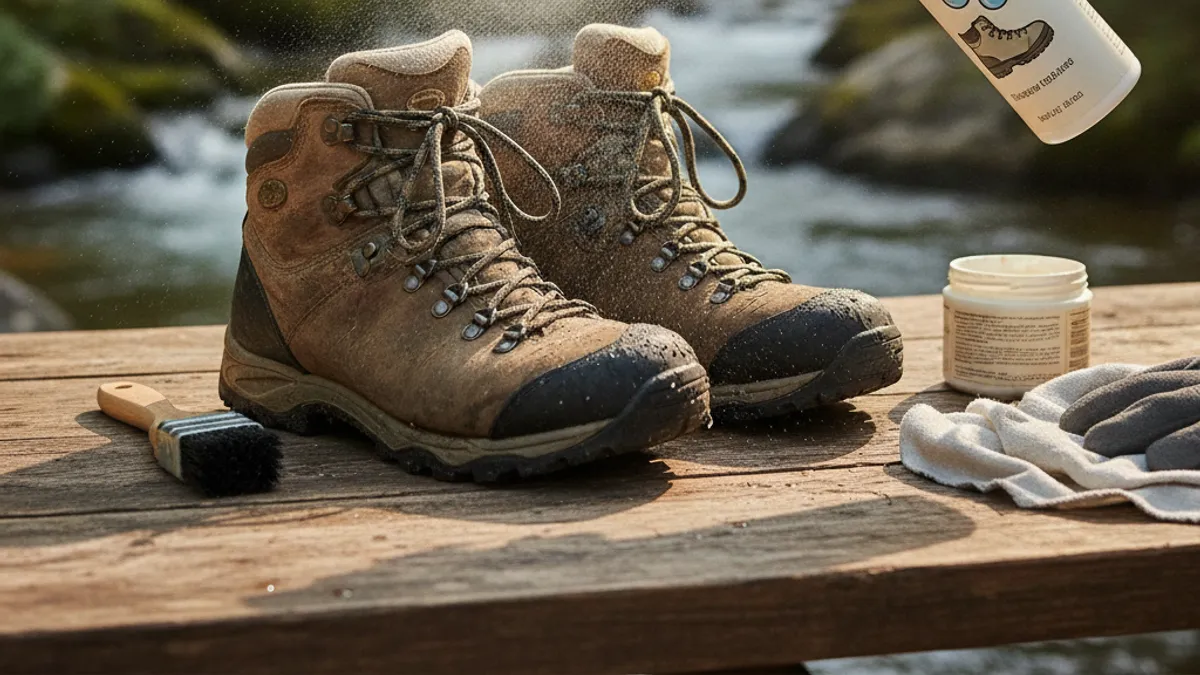
Your hiking shoes likely offer some level of water resistance, whether through inherent material properties or a dedicated membrane like Gore-Tex. Over time and with use, this protection can wear down. Just like your shoes need cleaning, they also need their protective layers maintained to perform their best in wet conditions.
Reviving Water Resistance
If water is soaking into your hiking shoes instead of beading up and rolling off, it’s time to reapply a waterproofing treatment. This is especially important for shoes with fabric uppers or those designed with waterproof membranes, as their primary function is to keep your feet dry and comfortable on the trail.
- When to Reapply: You’ll notice water no longer beads or rolls off the surface of the shoe’s upper material. This is sometimes called the “dunk test”, if water soaks in rather than beading up, it’s time. This might be needed every few months to a year, depending on how often you hike and the conditions you encounter.
- Types of Treatments:
- Sprays: These are easy to apply and great for fabric uppers and shoes with waterproof membranes. They form a DWR (Durable Water Repellent) finish on the surface. Brands like Nikwax and Grangers offer popular spray options.
- Waxes or Creams: These are typically better suited for full-grain leather boots. They penetrate the leather, providing water resistance and conditioning.
- Application Process:
- Ensure your shoes are clean and completely dry (as per Step 5).
- Follow the product’s instructions carefully. For sprays, you usually apply an even coat to the exterior of the shoe. For waxes, you’ll typically rub them into the leather with a cloth.
- Allow the treatment to cure as directed by the manufacturer, this is crucial for effectiveness.
Reapplying waterproofing helps maintain comfort and prevents your feet from getting cold and soggy, which is especially critical for longer hikes or in unpredictable weather.
Leather Care: Conditioning for Longevity
If your hiking shoes are made of leather, conditioning is as important as cleaning for their long-term health. Leather is a natural material, and like your skin, it needs moisture to stay supple and prevent cracking. Neglecting this can lead to premature wear and the need for new hiking boots sooner than expected.
- Why Condition Leather? Over time, natural oils in leather deplete, especially after cleaning with water. This drying makes the leather stiff, less flexible, and prone to developing splits or cracks, particularly in flex areas.
- What to Use:
- Leather Conditioners: Products specifically designed for footwear, like leather balms or conditioners, are ideal. They replenish oils without harming the leather’s structure.
- Avoid: Petroleum-based products, silicone, or heavy waxes that can clog leather’s pores and prevent it from breathing.
- How to Apply:
- Ensure your leather hiking shoes are clean and completely dry.
- Apply a small amount of conditioner to a clean cloth or applicator.
- Gently rub the conditioner into the leather in a circular motion, ensuring even coverage.
- Pay attention to seams and flex points.
- Let the conditioner soak in for at least an hour, or as directed by the product.
- Buff off any excess with a clean cloth.
Consistent conditioning, perhaps every few months or after a deep clean, will keep your leather hiking boots supple, water-resistant, and ready for challenging trails. This proactive care can significantly extend the life of your footwear, saving you money in the long run by avoiding frequent replacements.
Common Hiking Shoe Cleaning Mistakes to Sidestep
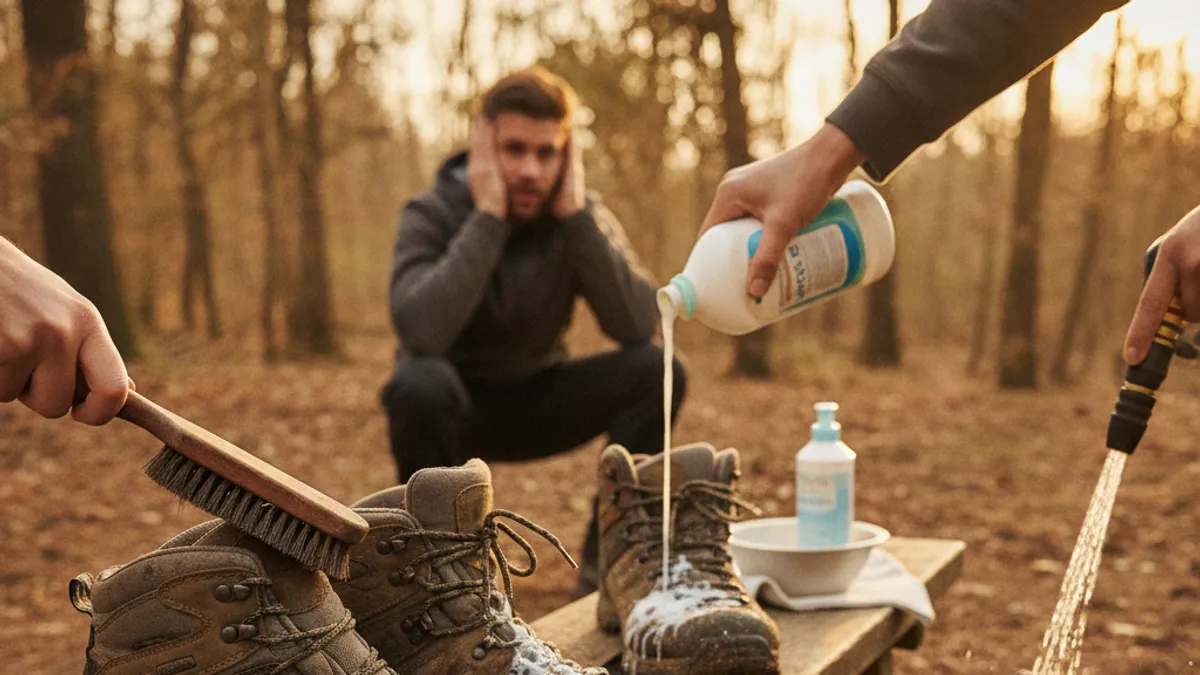
We’ve all been tempted to take shortcuts, especially after a long hike. However, some common “cleaning” habits can actually do more harm than good to your hiking shoes. Knowing what to avoid is just as important as knowing what to do.
- Using the Washing Machine or Dryer: This is a classic mistake. The aggressive tumbling in a washing machine can easily damage glues, seams, and membranes. The heat in a dryer can warp plastics, melt adhesives, and degrade waterproof coatings. These appliances are your hiking shoes’ worst enemies.
- Harsh Detergents and Solvents: Things like bleach, strong laundry detergents, or aggressive stain removers can strip natural oils from leather, break down synthetic fibers, and destroy waterproof/breathable membranes. Always stick to mild soaps or specialized gear cleaners.
- Soaking Leather for Too Long: While some rinsing is necessary, prolonged soaking of leather hiking boots can saturate the material and make it more difficult to dry properly, increasing the risk of mildew and damage. Leather prefers a gentle wash and conditioning cycle.
- Applying Heat to Dry: As mentioned in Step 5, never place your shoes near a direct heat source like a radiator, fireplace, or in direct, intense sunlight. This is a fast track to damaged adhesives, cracked leather, and compromised waterproofing.
- Ignoring Manufacturer Instructions: Different brands and materials have specific care requirements. While general guidelines are helpful, always refer to the manufacturer’s own care recommendations for your specific boot model. For example, La Sportiva often provides detailed care guides for their technical footwear.
- Skipping the Drying Step: Thinking you can just toss muddy shoes into the closet is a recipe for disaster. The lingering moisture and dirt will compound issues, leading to odors, mildew, and material breakdown. Always ensure they are thoroughly dry before storing.
Essential Tools and What to Use (and Avoid)
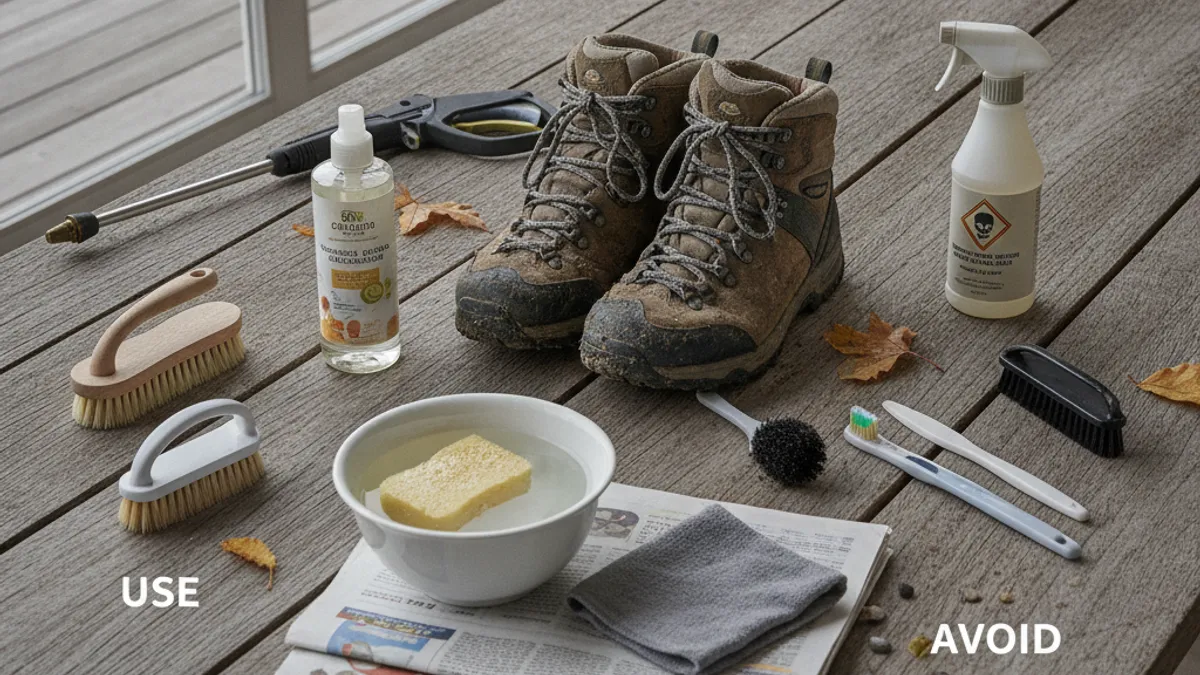
Having the right tools makes the job of cleaning your hiking shoes much easier and more effective. You don’t need a professional setup, but a few key items will make a significant difference compared to just using whatever you have lying around.
What You’ll Need (and Why):
- Stiff-Bristled Brush: A dedicated boot brush or a firm nylon brush is essential for scrubbing away dried mud and dirt from outsoles and uppers. Avoid wire brushes, which can damage materials.
- Soft Cloths or Sponges: For applying cleaners, conditioners, and wiping down surfaces. Microfiber cloths are great for this.
- Mild Soap or Specialized Cleaner: A small amount of dish soap or an outdoor gear cleaner formulated for footwear is ideal. These are gentle and won’t strip away protective treatments.
- Water Source: A hose, faucet, or bucket of lukewarm water makes rinsing and washing effective.
- Newspaper or Paper Towels: For stuffing shoes during drying to absorb moisture and maintain shape.
- Leather Conditioner (if applicable): For leather boots, a good conditioner is vital for keeping the material supple.
- Waterproofing Treatment (if applicable): To restore water repellency to fabric or leather uppers.
What to Avoid:
- Wire Brushes: Too abrasive; can tear materials.
- High-Pressure Washers: Can force water into seams and damage construction.
- Harsh Detergents, Bleach, or Solvents: Too aggressive; can damage materials and treatments.
- Direct Heat Sources: Radiators, ovens, campfires, direct sun, these will ruin your shoes.
- Silicone-Based Sprays (for general cleaning): While some specialized treatments use silicone, avoid random silicone sprays as they can clog pores and affect breathability on many materials.
Using these appropriate tools ensures you’re cleaning effectively without inadvertently damaging your valuable hiking gear. This careful approach aligns with the maintenance recommendations you’d find from reputable outdoor brands like Merrell.
How Often Should You Really Clean Them?
Your hiking boots don’t need a deep clean after every single outing, but neglecting them entirely will lead to premature wear and tear. The frequency really depends on how you use them and the conditions you encounter on the trail. Think of it like washing your car, a quick rinse is good after a muddy drive, but a full detail might only be needed occasionally.
- Post-Hike (Immediate): Always remove loose dirt and mud as soon as you take them off. A quick brush-off or rinse is highly recommended, especially if you were in wet or muddy conditions. This prevents dirt from drying and becoming harder to remove, and it stops abrasive grit from damaging materials.
- After Wet or Muddy Hikes: If you went through mud, streams, or rain, a more thorough cleaning (Steps 2-4) is advisable once you get home. Allowing wet, muddy boots to sit for days can lead to odor buildup and potential damage to the materials and adhesives.
- Regular Check-ins: Even after dry hikes, it’s a good idea to inspect your shoes weekly. Look for any developing stains, check the tread for packed debris, and note if the waterproofing on fabric uppers is starting to wear off.
- Seasonal Deep Clean: Once a year, or before storing them for an extended period, give your boots a thorough cleaning and reapply waterproofing treatments. This ensures they are in prime condition for your next hiking season, whether that’s tackling trail runners vs hiking boots or your trusty old reliable pair.
Paying attention to these cues will help you determine the right cleaning schedule for your specific needs and shoe types.
Expert Tips for Keeping Your Boots Trail-Ready
Beyond the basic cleaning steps, a few pro tips can extend the life of your hiking shoes and ensure they remain comfortable and functional for all your adventures. These are little things that make a big difference over time, kind of like packing the right hiking backpack essentials.
- Rotate Your Footwear: If you hike frequently, try not to wear the same pair of hiking shoes day after day. Rotating between two pairs allows each to fully dry out and recover between use, which is especially beneficial for leather boots.
- Clean Laces and Insoles: Don’t forget these often-overlooked components. Laces can harbor dirt and bacteria, and insoles can become saturated with sweat. Washing them separately during a deep clean helps maintain overall hygiene and shoe freshness.
- Store Properly: Once clean and completely dry, store your hiking shoes in a cool, dry place, away from direct sunlight and extreme temperatures. Avoid stuffing them into tightly packed bags or boxes where air can’t circulate, as this can encourage mildew.
- Inspect Regularly: Make it a habit to give your shoes a quick once-over before and after hikes. Look for any signs of wear, like loose stitching, peeling glue, or worn tread. Catching small issues early can prevent them from becoming major problems.
- Address Wetness Immediately: If your feet do get wet on a hike due to a breach in waterproofing or unexpected conditions, try to dry your shoes as thoroughly as possible as soon as you can. The sooner you address excess moisture, the less likely it is to cause odor or material damage.
- Consider Gaiters: For really wet or muddy conditions, hiking gaiters can be a lifesaver. They extend protection up your ankle and leg, preventing a lot of mud and debris from even reaching your boots in the first place, meaning less cleaning later.
These strategies, combined with the cleaning process, help ensure your hiking footwear remains a reliable partner on any trail.
Do I Need Special Cleaning Products?
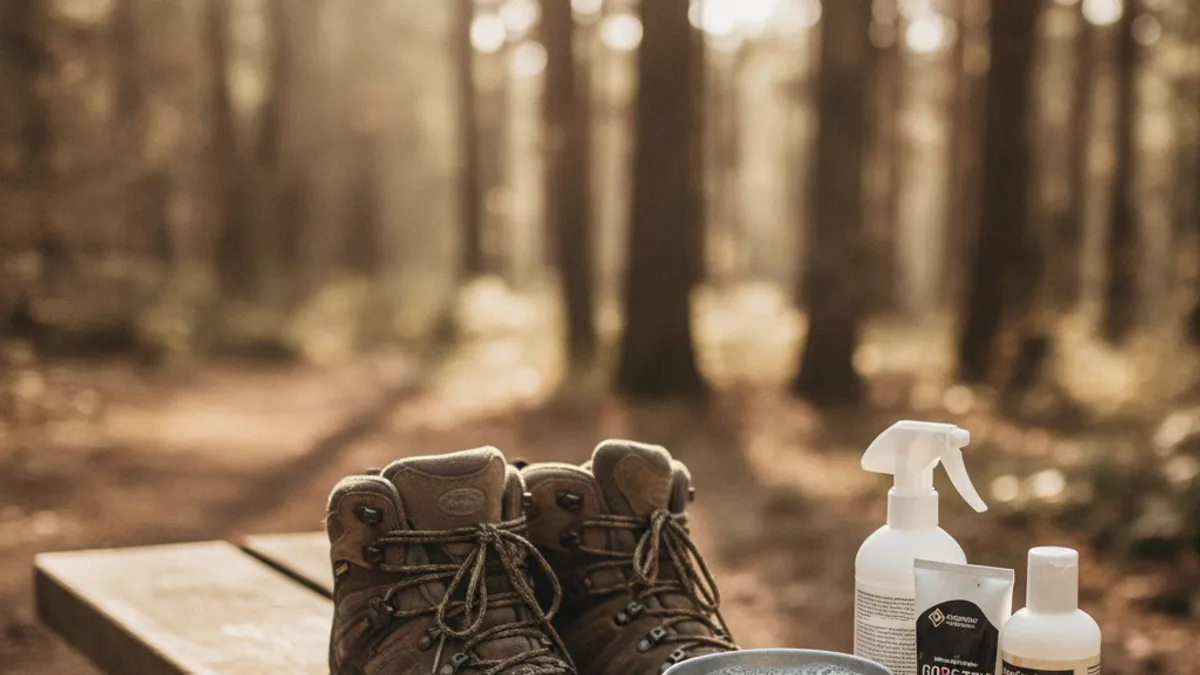
While you can use mild dish soap for general cleaning, investing in specialized outdoor gear cleaning products offers distinct advantages, especially for maintaining advanced materials. These products are formulated to be effective without damaging sensitive waterproofing, breathable membranes, or delicate leather finishes. For example, many cleaning solutions are pH-balanced to be gentler than household detergents.
- Specialized Cleaners: Brands like Nikwax, Grangers, and McNett offer cleaners specifically designed for hiking boots. They effectively remove dirt and oils without stripping away DWR (Durable Water Repellent) finishes or compromising membranes like Gore-Tex.
- Leather Conditioners: These go beyond simple cleaning. They replenish the natural oils in leather, keeping it supple, flexible, and resistant to cracking. They often contain ingredients that won’t impede the breathability of the leather.
- Waterproofing Treatments: Sprays and waxes formulated for hiking footwear are crucial for restoring water resistance. Generic water repellents might not offer the same level of durability or breathability required for outdoor performance.
- Cost vs. Benefit: While specialized products can be slightly more expensive than household alternatives, they are purpose-built. Using them correctly can prolong the life of your hiking shoes by many miles, potentially saving you money on replacements in the long run.
- When Household Items Work: For very basic cleaning of synthetic uppers on less technical boots, a diluted mild soap can suffice. However, for full-grain leather, Gore-Tex, or shoes you rely on for serious wet-weather performance, specialized products are highly recommended.
Always read the labels to ensure the product is suitable for your shoe’s materials.
What If My Boots Are Really Old or Heavily Damaged?
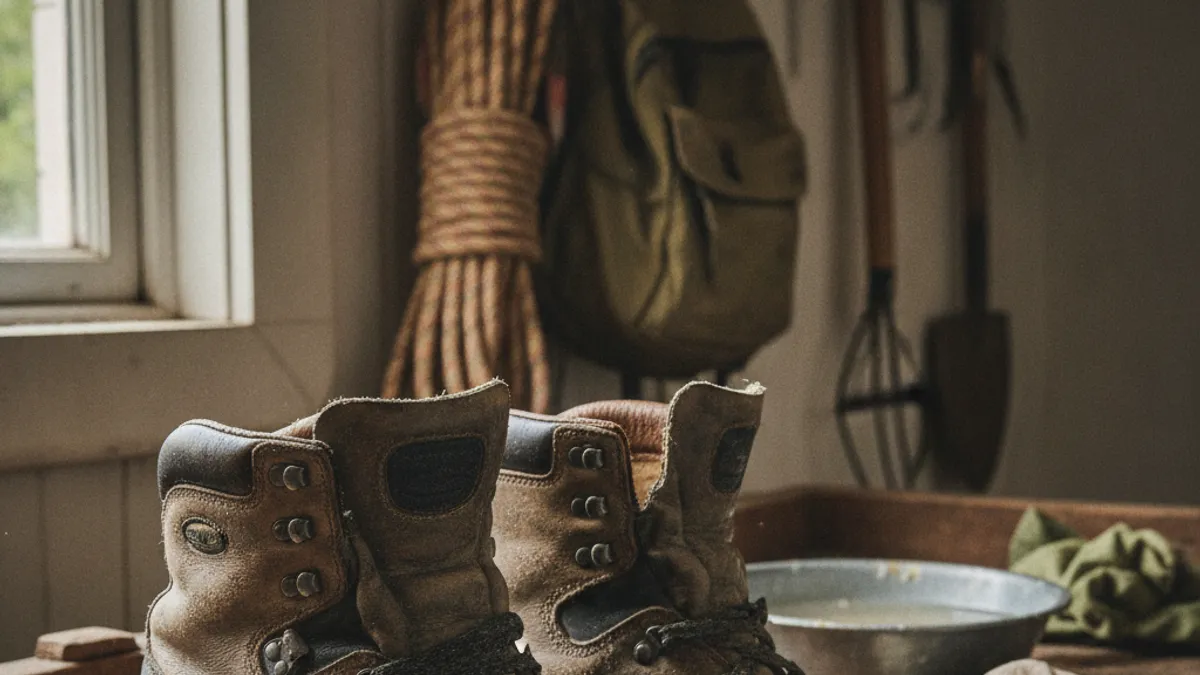
If your hiking boots are showing significant signs of wear, like soles detaching, major rips in the uppers, or thoroughly degraded waterproofing that won’t come back, it might be time to consider replacement rather than extensive repair. While some professional cobblers can work wonders, there’s a point where continued use could become unsafe.
- Cracked Soles or Delamination: If the sole of your boot is separating from the upper, or if you see large cracks in the rubber, it compromises grip and can allow water to seep in. As of 2026, professional resoling is an option for some high-end boots, but it’s a significant investment.
- Extensive Upper Damage: Rips, tears, or severe abrasion on the leather or synthetic uppers can lead to blisters and vulnerability to the elements. While patching might be possible for minor tears, widespread damage suggests the shoe’s structural integrity is compromised.
- Failed Waterproofing: If even after thorough cleaning and reapplication of waterproofing treatments, your boots no longer keep water out, the membrane itself might be damaged or at the end of its effective lifespan. This is particularly common with older Gore-Tex boots.
- Compromised Support: Over years of use, the cushioning and support within the midsole can break down. If your boots feel flat or unsupportive, they can lead to foot fatigue and potential injuries on the trail, as noted in beginner hiking guides.
- Professional Assessment: For expensive or specialized boots, consulting a reputable outdoor gear repair shop or cobbler can provide an assessment. They can advise if repair is feasible and cost-effective or if it’s time to invest in new hiking footwear.
Many hikers find that after roughly 500-1000 miles of use, depending on terrain and maintenance, their boots have reached the end of their optimal life. Investing in quality footwear is important, but knowing when to let them go is part of responsible outdoor gear stewardship. If you’re in the market for new boots, understanding how to choose hiking boots is a great next step.
