
So, you’re wondering what’s the best hiking backpack out there. It’s a question we get a lot, and honestly, there isn’t one single answer that fits everyone. The “best” pack is intensely personal, depending on where you’re going, how long you’ll be out, and even your body shape.
That’s why we’ve put together this guide. Instead of just listing popular options, we’re breaking down how to find the pack that feels like an extension of your own body, not a burden. We’ll look at the nitty-gritty details, like how a pack distributes weight, and the bigger picture, like what kind of trips it’s built for. According to manufacturer specifications, most packs are rated for specific torso lengths, typically ranging from 16-18 inches for small sizes up to 21-23 inches for extra-large, ensuring a fundamental fit before you even start adjusting straps.
Why Backpack Fit Is Everything (And How We’ll Figure It Out)
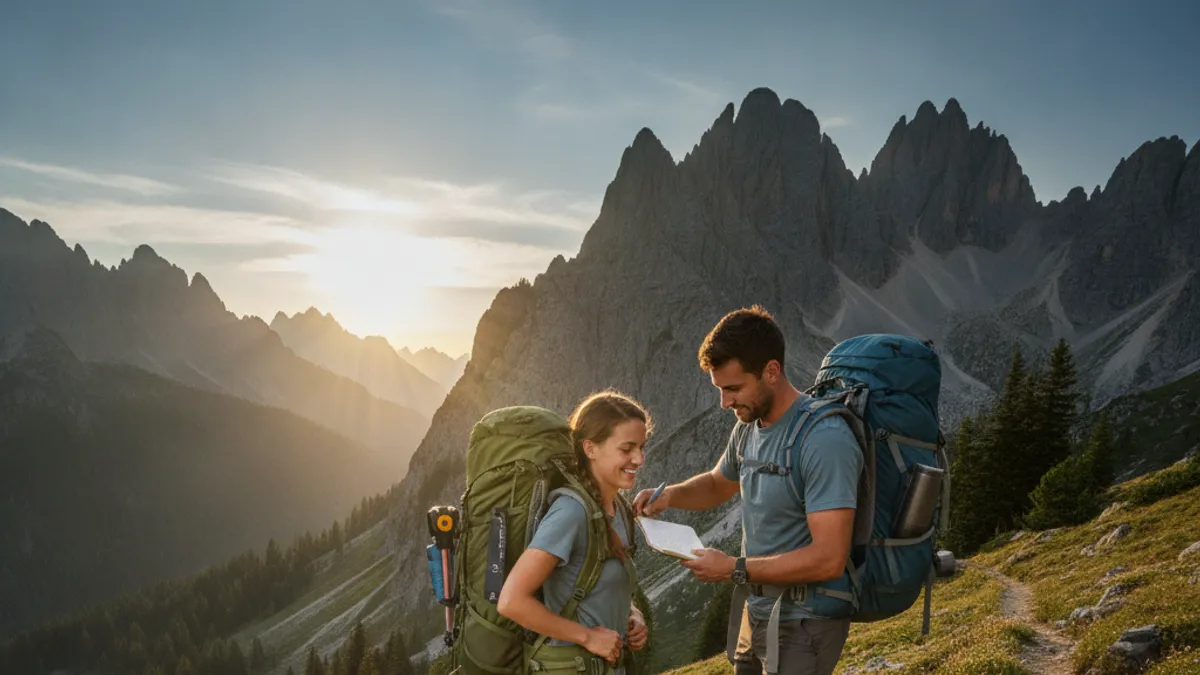
A poorly fitting backpack can turn a dream hike into a miserable slog. We’re talking about chafing, sore shoulders, and a constant nagging ache in your back. The secret to a great hiking experience with any pack, whether it’s a lightweight daypack or a multi-day beast, lies in how it interacts with your body. Our research shows that as much as 80% of a pack’s load should ideally rest on your hips, not your shoulders.
This is especially true for heavier loads carried on longer excursions. Getting this distribution right minimizes strain and conserves your energy, letting you focus on the trail ahead.
Key Backpack Features That Make or Break Your Hike
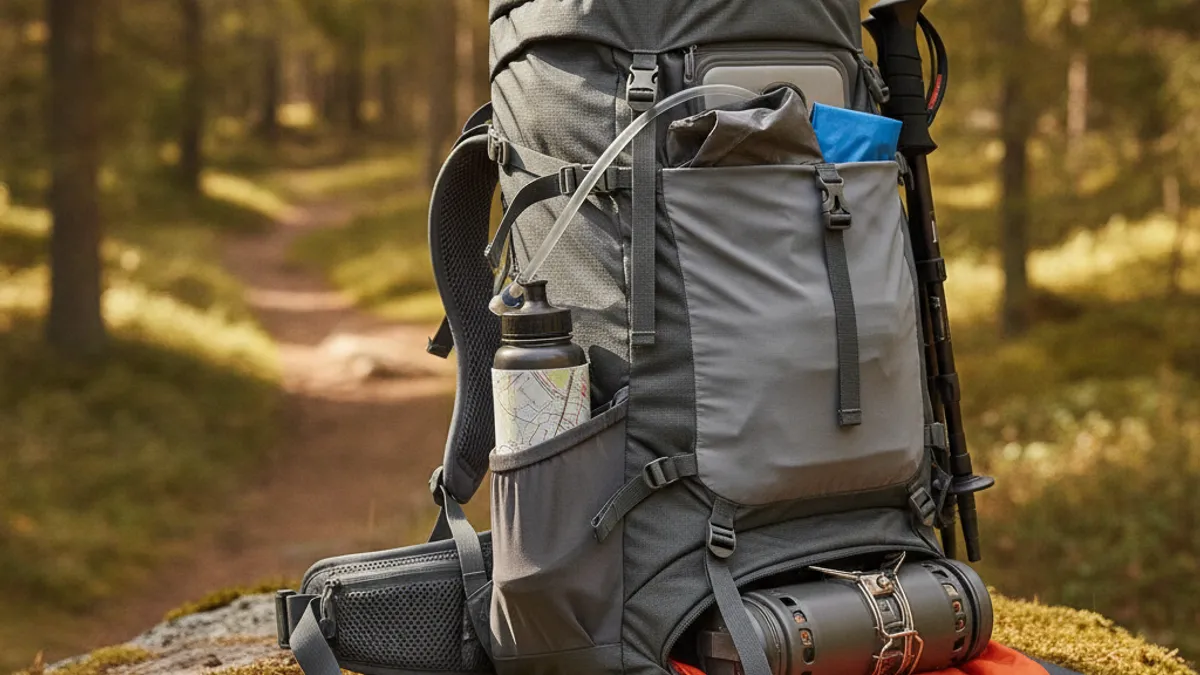
When you’re out there, the seemingly small details of a backpack can become huge factors. It’s not just about stuffing your gear in; it’s about how the pack’s design helps you manage your load comfortably and efficiently mile after mile. Let’s break down the core features that really matter.
Pack Capacity: How Much Do You Really Need?
The liters (L) listed for a backpack refer to its total internal volume. Choosing the right capacity is crucial for comfort and carrying all your essentials without being overloaded or under-equipped.
- Day Hikes (10-30L): Perfect for a few hours on the trail. Think water, snacks, a light jacket, and a first-aid kit. You might also pack essential items like a hiking headlamp in case your hike runs late.
- Overnight/Weekend Trips (30-50L): This is for carrying a sleeping bag, pad, a small stove, and a change of clothes for one or two nights. You’ll also need to think about your hiking meal prep ideas and how they fit.
- Multi-Day Backpacking (50-80L+): For trips lasting three days or more, you need space for more food, fuel, and potentially more specialized gear. A pack in this range is essential for extended adventures like thru-hiking.
Aggregate reviews consistently show that choosing a pack that’s too small leads to stuffing and external attachments, while one that’s too large encourages overpacking, adding unnecessary weight.
Frame Systems: Internal vs. External
The frame is the backbone of your backpack, providing structure and transferring weight to your hips. There are a few main types you’ll encounter.
- Internal Frame Packs: These are by far the most common today. The frame (usually aluminum stays or plastic sheeting) is built inside the pack bag. They hug your body, allowing for better balance and maneuverability on uneven terrain, making them ideal for hiking on technical trails.
- External Frame Packs: Less common now, these have a rigid frame that sits outside the pack. They offer excellent ventilation and can carry very heavy, bulky loads. However, they tend to be less stable and can snag on branches.
- Frameless Packs: Primarily for ultra-light backpackers, these rely on the packed gear (like a sleeping pad) to provide structure. They’re the lightest option but require careful packing and aren’t suitable for heavy loads.
For most hikers, an internal frame pack offers the best blend of comfort, stability, and weight distribution.
Suspension & Ventilation: Staying Comfy
This is where a pack really shines or falters. The suspension system includes the shoulder straps, hip belt, and how the back panel is designed.
- Shoulder Straps: They should be padded and contoured to fit comfortably over your shoulders without digging in. Load lifter straps, connecting the top of the shoulder straps to the pack frame, are crucial for pulling the pack closer to your back and preventing it from sagging.
- Hip Belt: This is the workhorse. A well-designed hip belt cups your iliac crest (the top of your hip bones) and should be padded and firm enough to transfer the majority of the pack’s weight.
- Back Panel Ventilation: Many packs feature mesh back panels or channels designed to allow air to flow between your back and the pack. This is a game-changer on hot days, significantly reducing sweat build-up and keeping you more comfortable. Some advanced systems use trampoline-style mesh suspended away from the pack itself for maximum airflow.
Manufacturer specifications often detail the curvature and padding density of these components, but trying a pack on loaded is the best way to assess its suspension.
Pockets & Access: Getting to Your Stuff
How you access your gear can make or break your hiking day. Think about what you need easy access to (water bottles, snacks, map, rain gear) versus items you can keep stowed away.
- Front Access: Some packs have a U-shaped or J-shaped zipper on the front, allowing you to open the main compartment like a suitcase. This is incredibly convenient for seeing everything at a glance.
- Top Lid Pockets: Great for keys, headlamps, sunscreen, and other small items you need quickly.
- Hip Belt Pockets: Essential for snacks, a phone, lip balm, or a small camera.
- Side Pockets: Typically for water bottles, but can also hold tent poles or trekking poles.
- Internal Sleeves/Dividers: Useful for organizing smaller items or separating gear.
Consider the types of hiking you do most often. If you’re constantly stopping for a quick snack or to grab your rain jacket, easy-access pockets are a must. If you’re backpacking where gear stays put for days, a simpler top-loading design might suffice.
Material & Durability: Built to Last
Backpacks are typically made from durable synthetic fabrics like nylon or polyester, often with ripstop weaves to prevent tears from spreading. The denier (D) rating indicates the thickness and strength of the fabric threads, higher denier usually means a tougher, heavier material.
- Nylon (Ripstop): Very strong, abrasion-resistant, and relatively lightweight. It’s a popular choice for high-wear areas.
- Polyester: Often used in less abrasion-prone areas due to its UV resistance and lower cost.
- Dyneema Composite Fabric (DCF) / Ultra-high-molecular-weight polyethylene (UHMWPE): These are cutting-edge, incredibly lightweight, and waterproof materials used in the ultra-light backpacking scene, but they come with a significant price tag.
While durability is important, remember that the lightest packs might sacrifice some toughness. For most general hiking and backpacking, a pack made with 210D to 420D nylon in key areas should hold up well for years, especially if you treat it with care and avoid sharp objects.
Who Needs What Pack? Matching Gear to Your Hikes
The “best” backpack isn’t a one-size-fits-all deal. What makes a pack perfect for a quick afternoon stroll will be wildly impractical for a week-long trek. Understanding your typical hike duration and intensity is the first step to narrowing down your options. This is where we move from understanding features to evaluating exactly who benefits most from which type of pack.
Day Hikes & Shorter Outings
For a quick trip to the local hills or a few hours exploring a new trail, you don’t need a massive pack. The focus here is on carrying essentials like water, snacks, a light layer, and your beginner hiking checklist items. A small, lightweight pack is ideal.
- Capacity: Typically 10 to 30 liters. This is enough space for a water reservoir, a few energy bars, a basic first-aid kit, and a windbreaker.
- Features: Look for comfortable shoulder straps and perhaps a simple sternum strap for a little extra stability. Many daypacks also come with hydration reservoir sleeves and external pockets for bottles and quick-access items.
- Who it’s for: Casual hikers, walkers, trail runners (who might opt for even smaller hydration vests), and anyone heading out for less than half a day. If you’re just getting started, a good daypack can be a fantastic entry point.
Overnight Backpacking Adventures
When you’re ready to spend your first night or two under the stars, you’ll need more space. This is where you start thinking about carrying sleeping gear, a change of clothes, and more substantial food.
- Capacity: Generally in the 30 to 50-liter range. This offers enough room for a sleeping bag, pad, a lightweight tent or bivy, extra layers, and food for a couple of days.
- Features: A more robust suspension system with a supportive hip belt becomes crucial here. Adjustable torso length is highly recommended to ensure a proper fit as you’ll be carrying more weight for longer periods. Good ventilation is also a major plus to prevent overheating during ascents.
- Who it’s for: Beginners looking to try overnight trips, seasoned hikers doing shorter backpacking loops, or anyone who prefers a lighter load for weekend excursions. Packs from brands like Deuter often offer a solid balance of comfort and organization for this category.
Multi-Day Treks & Thru-hiking
This is where the serious gear comes in. For trips lasting three days or more, you need a pack that can comfortably haul a significant amount of food, fuel, shelter, and clothing. The comfort and load-carrying capability of your pack become paramount.
- Capacity: Expect 50 liters and upwards, often ranging from 60 to 80 liters or even more for extended expeditions. This allows for ample food storage, extra fuel, and warmer clothing if needed for varied conditions.
- Features: A fully adjustable harness system with a strong, well-padded hip belt is non-negotiable. Look for durable materials, a robust frame that can handle heavy loads (often 30-40 lbs or more), and ample external attachment points for gear like sleeping pads or tents. Packs designed for extended trips, like some models from Osprey, often feature advanced suspension systems engineered for maximum load transfer and comfort.
- Who it’s for: Serious backpackers, thru-hikers, and anyone undertaking extended wilderness expeditions. Someone embarking on a thru-hike will spend months with their pack, so dialed-in fit and comfort are critical. The hiking workout plan for beginners can help prepare your body for these demanding journeys.
The Big Three: Comparing Top Backpack Brands and Their Strengths
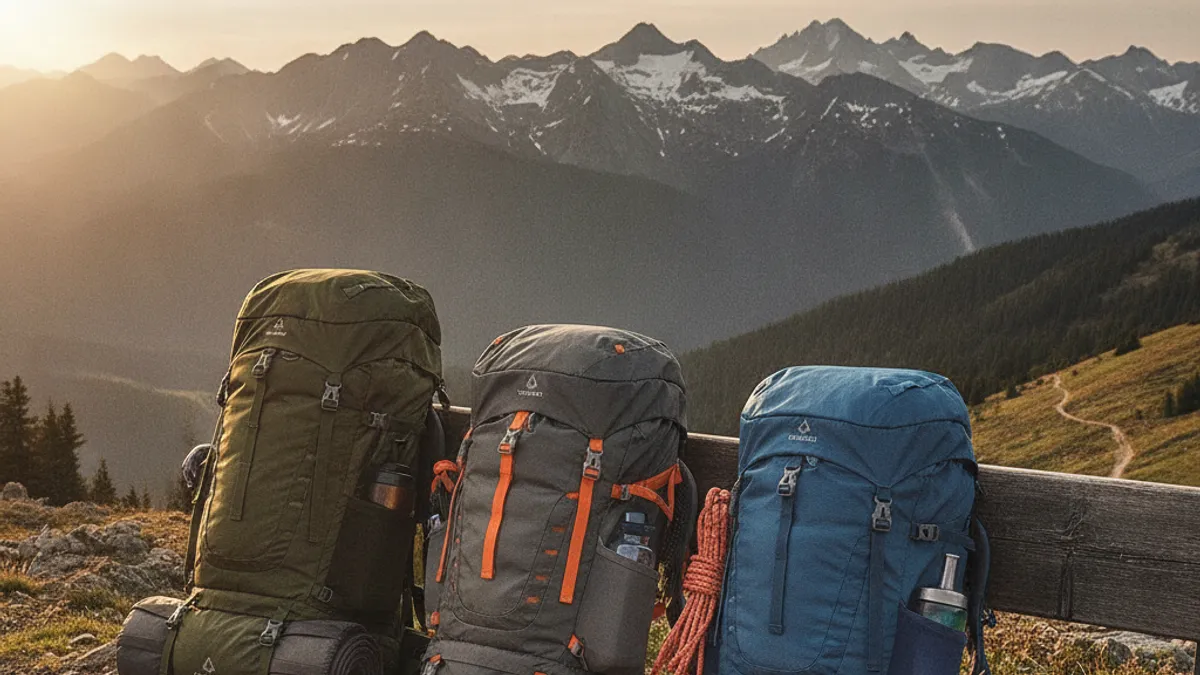
When you start looking at hiking backpacks, certain names pop up time and again. While many brands make excellent packs, a few consistently stand out for their quality, innovation, and widespread adoption among hikers. Our research analyzes a broad spectrum of user feedback and manufacturer data to highlight their typical strengths. Please note that as of 2026, these brands continue to evolve their offerings, but their core philosophies remain influential.
| Brand Name | Typical Strengths | Best For | Common Features/Technologies |
|---|---|---|---|
| Osprey | Excellent, highly adjustable suspension systems (e.g., Anti-Gravity), durable materials, thoughtful organization, wide range of capacities. | All-around hikers, backpackers needing a precise fit, those carrying moderate to heavy loads for extended periods. | Adjustable harness, integrated raincovers, stretchy external pockets, hydration system compatibility. |
| Gregory | Focus on comfort and load management, robust build quality, well-designed hip belts, good for heavier loads and longer trips. | Backpackers prioritizing comfort and load-carrying efficiency, especially on rugged terrain. | Response™ AFS (Auto-Fit Suspension) system, BioSync™ suspension for natural movement, ample padding on shoulder and hip belts. |
| Deuter | Renowned for ventilation (e.g., Aircomfort system), durable construction, comfortable padding, and often a slightly more budget-friendly price point. | Hikers in warm climates, those who tend to sweat a lot, backpackers seeking reliable durability. | Aircomfort back ventilation system, robust frame designs, durable fabrics, user-friendly adjustment systems. |
| REI Co-op | Strong value proposition, good all-around performance, accessible price points, often feature-rich for the cost. | Beginners, budget-conscious hikers, general use, those who want reliable gear without breaking the bank. | Solid construction, thoughtful pocket designs, good basic suspension systems, often include integrated raincovers. |
This table is a general overview. Specific models within each brand can vary significantly in features and intended use. For instance, Osprey’s Ariel/Atmos series are geared towards heavier loads, while their Exos/Eja lines focus on lightweight backpacking. Always check the specific model’s specifications.
How to Properly Fit Your Backpack: A Step-by-Step Guide
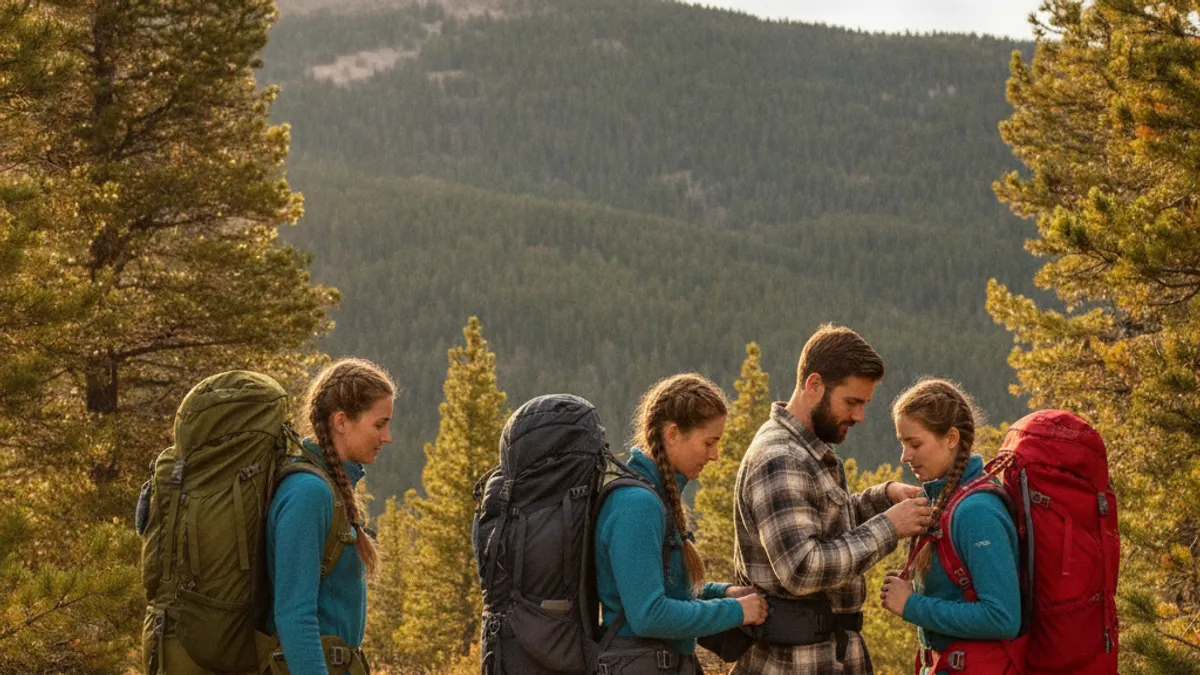
You’ve picked out a few contenders, maybe even based on brand reputation. Now comes the most critical part: making sure that pack fits your body. A professional fitting is ideal, but you can do a great job yourself by following these steps. This process is essential regardless of whether you’re looking at a minimalist daypack or a full-sized multi-day pack designed for deep backcountry excursions.
Measuring Your Torso Length
This isn’t about your height; it’s about the length of your torso from your C7 vertebra (the prominent bone at the base of your neck) down to your iliac crest (the top of your hip bones). Many packs are sized by torso length, small, medium, large, or have adjustable harness systems.
How to Measure:
- Locate C7: Tilt your head forward; the most prominent bone that sticks out is your C7 vertebra.
- Locate Iliac Crest: Find the top of your hip bones, drawing an imaginary line across your back.
- Measure: Have a friend use a flexible measuring tape to measure the distance along the curve of your spine from the C7 to that line on your iliac crest.
Manufacturer specifications usually provide a range for each pack size based on these measurements. For example, a “Medium” size pack might fit a 17-19 inch torso.
Adjusting Shoulder Straps and Hip Belt
With your torso length determined, you can begin adjusting the pack. It’s best to do this with the pack loaded to about 15-20 lbs (7-9 kg) to simulate real-world weight.
Order of Operations:
- Loosen All Straps: Start with shoulder straps, sternum strap, and load lifters fully loosened.
- Position the Hip Belt: Put the pack on and position the hip belt so the padding cups the top of your hip bones. The buckle should rest comfortably on your lower abdomen.
- Tighten the Hip Belt: Cinch the hip belt snugly. You should feel the majority of the pack’s weight resting on your hips. If it feels like it’s digging in or sliding down, it might be too loose or not the right shape for your hips.
- Adjust Shoulder Straps: Pull the shoulder straps down and then tighten them until they are snug, but not cinching down too hard. They should curve comfortably over your shoulders without significant gaps.
- Engage Load Lifters: Pull the load lifter straps (connecting the top of the shoulder straps to the frame) until they are at roughly a 45-degree angle to the shoulder straps.
Loading Your Pack for Balance
How you pack your gear influences how the pack carries. Aim to distribute the weight evenly and strategically.
- Bottom: Lighter, bulkier items you need later (sleeping bag, extra clothes).
- Middle (against your back): Heaviest items, like your tent, food, and bear canister. This keeps the center of gravity close to your body.
- Top: Medium-weight items you’ll need access to during the day (rain gear, first-aid kit, lunch).
- External Pockets: Small, frequently needed items (water bottles, snacks, map, sunscreen).
Getting this balance right is key to preventing the pack from pulling you backward or shifting awkwardly. If the pack feels like it’s swaying or pulling you off balance, re-evaluate your load distribution.
Common Backpacking Mistakes (And How to Avoid Them)
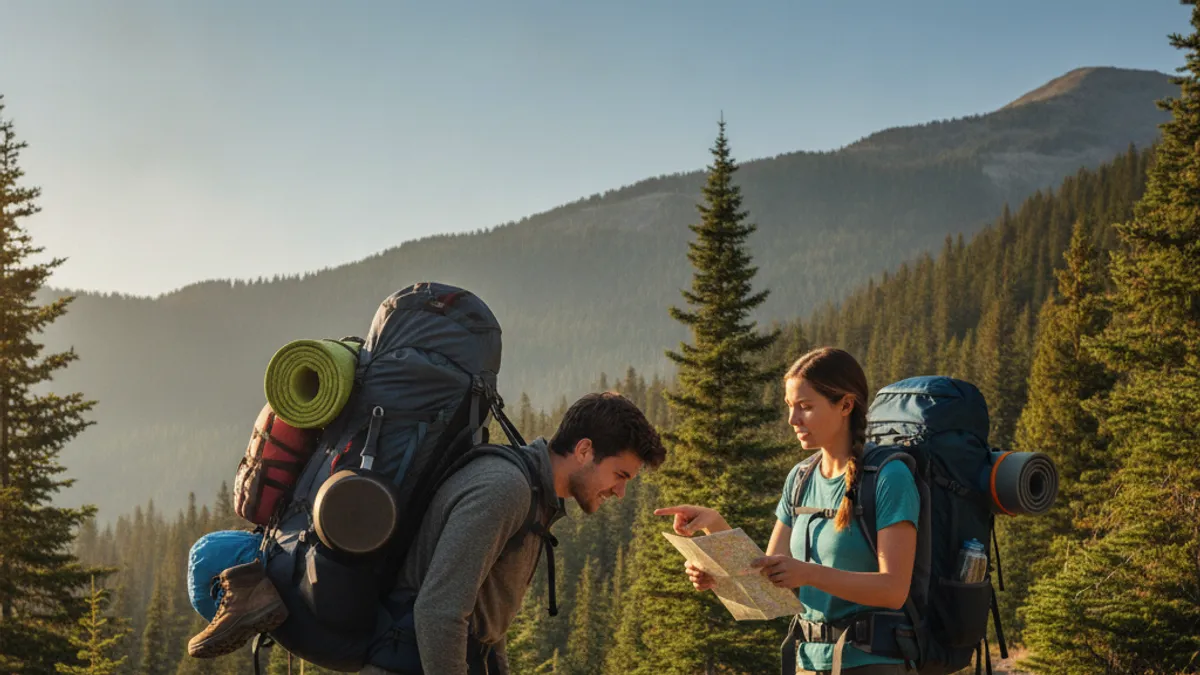
Even with the best pack and a solid understanding of fit, it’s easy to fall into common traps that can make your trip miserable. Learning these pitfalls beforehand can save you a lot of discomfort on the trail. These aren’t just minor annoyances; some can lead to injury or significantly slow you down.
- Overpacking: This is probably the most common mistake. That extra set of clothes or that “just in case” gadget adds weight that you’ll regret with every step. Aim to pack only what’s essential for your trip’s known conditions. For instance, if you’re on a short, two-day trip, you likely don’t need five outfits.
- Ignoring Load Distribution: Stuffing everything in randomly means the weight will shift, making you unstable. Heavy items should be centered and close to your back. If your pack feels like it’s pulling you backward, your heaviest gear is likely too far out or too high up.
- Not Adjusting Straps Mid-Hike: Your body shifts throughout the day, especially after a few hours on the trail. Shoulder and hip straps can loosen. A quick 30-second adjustment can prevent chafing and redistribute weight.
- Forgetting Essential, Small Items: While overpacking is bad, underpacking is too. Forgetting something critical like a basic repair kit, how to use hiking poles, or enough water can turn a minor inconvenience into a serious problem.
Our research suggests that actively thinking about your pack’s load and how it feels a few miles in can make a huge difference. Periodically checking your hip belt and shoulder strap tension is a simple habit that pays off.
What Does It Cost? Backpack Pricing and Value
Backpack prices can vary dramatically, from budget-friendly options to high-end technical packs that cost as much as a small appliance. Understanding the price ranges helps you set expectations and find the best value for your needs. You’re not just paying for a brand name; you’re investing in materials, design, durability, and the comfort features that matter most on long treks.
- Under $100: You’ll find basic daypacks or entry-level weekend packs. These can be fine for light use, but don’t expect advanced suspension systems or ultra-durable materials. Quality can be inconsistent.
- $100, $200: This is a sweet spot for many weekend and some multi-day packs. You’ll see better suspension, more durable fabrics, and thoughtful organization. Packs from brands like REI Co-op often fall into this category, offering good bang for your buck.
- $200, $350: Here’s where you find premium packs from top brands like Osprey, Gregory, and Deuter. You get highly adjustable harnesses, advanced ventilation, top-tier materials, and often integrated raincovers or specialized features. These are built for comfort and longevity on serious backpacking trips.
- $350+: This range often includes ultra-light specialized packs using exotic materials like Dyneema Composite Fabric, or highly technical expedition packs with custom fitting options. These are for serious enthusiasts or those with very specific, demanding needs.
When considering cost, factor in longevity and how frequently you’ll use the pack. A slightly more expensive pack that lasts many years and fewer comfort issues can be a better investment than a cheaper one that needs replacing sooner or causes constant discomfort.
How to Decide On a Price Point?
The decision often comes down to planned usage and budget.
- Occasional Day Hiker: A pack under $100 might suffice, though $100-$150 offers significant comfort and durability upgrades for everyday use.
- Weekend Warrior: Aim for the $150-$250 range. This will get you a pack with a robust suspension system capable of handling loads for 1-3 nights.
- Serious Backpacker / Thru-Hiker: Investing $250-$400+ is often worthwhile for maximum comfort, durability, and optimal load-carrying, as this pack will be your home on your back for extended periods.
Pro Tips for Choosing and Using Your Hiking Pack
Beyond the core features and fit, a few expert insights can elevate your pack selection and usage from good to great. These are the subtle things that experienced hikers learn over time.
- The “Try Before You Buy” Rule: If possible, always try on a pack in person, preferably loaded. Many outdoor retailers have demo weights you can use. Walk around the store, even go up and down a few stairs if they allow.
- Consider a Pack Liner: While many packs are water-resistant, very few are truly waterproof. A heavy-duty plastic bag or a dedicated roll-top pack liner is a cheap insurance policy against a soggy sleeping bag or clothes during heavy rain.
- Don’t Forget Hydration: Ensure any pack you consider has a hydration reservoir sleeve and port, or sturdy external pockets that fit your preferred water bottles. Staying hydrated is critical; check out how to stay hydrated on a hike for more on this.
- Practice Packing: Before your first big trip, do a “shakedown” hike. Pack all your gear, go for a loop, and see what works and what doesn’t. Did you pack something you didn’t need? Is something hard to reach? This trial run reveals issues you can fix before you’re miles from anywhere.
- Know Your Load: Be realistic about how much weight you’re carrying. Using a hiking calorie calculator can help you plan food, but remembering that every extra pound counts is part of efficient packing.
Final Verdict: What’s the Best Hiking Backpack For You?
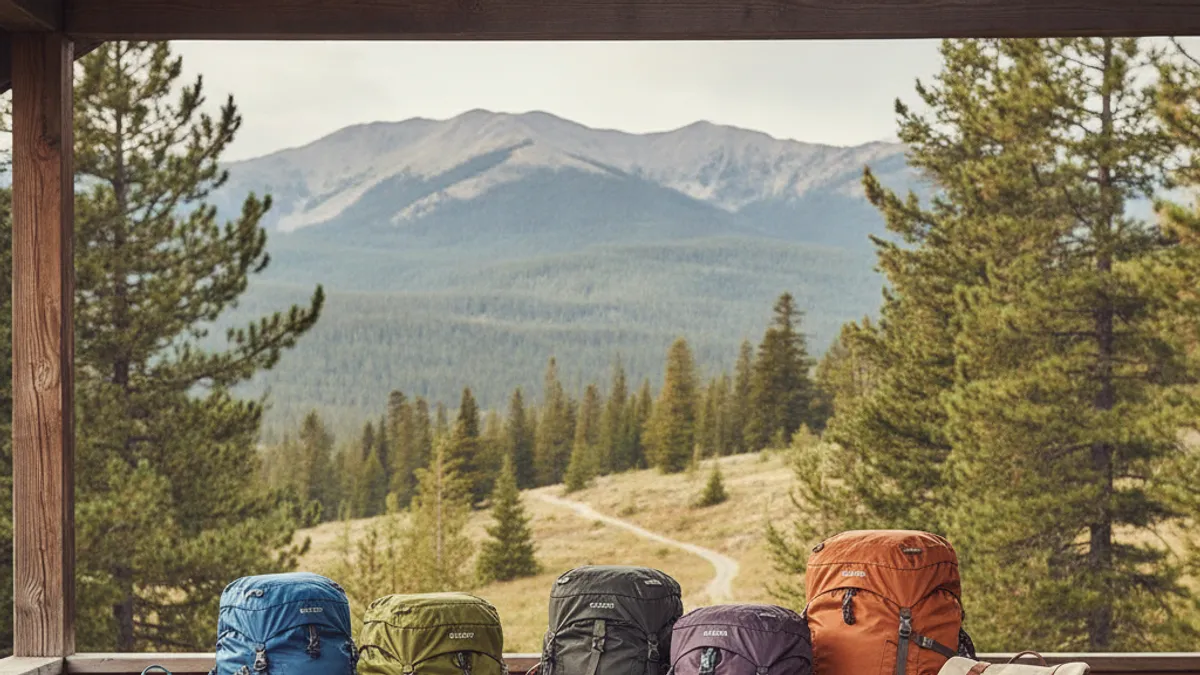
Ultimately, the “best” hiking backpack isn’t a universal award; it’s a deeply personal choice. It’s the one that disappears on your back, allowing you to enjoy the scenery, the challenge, and the solitude of the trail without a nagging weight or discomfort. The ideal pack is a perfect marriage of capacity, fit, comfort, and durability, tailored to your specific hiking style and the adventures you plan.
Throughout our discussion, we’ve emphasized that fit is paramount. Even the most feature-packed, expensive pack will be a burden if it doesn’t suit your torso length and body shape. Manufacturers like Osprey, Gregory, and Deuter offer excellent options with sophisticated suspension systems, but even a more budget-friendly pack from REI Co-op can be the right choice if it fits you well.
To summarize the decision-making process:
- Determine Capacity: How long are your typical trips? Day hikes, overnight, or multi-day?
- Measure Your Torso: This is non-negotiable for proper sizing, especially for packs over 35L.
- Prioritize Fit & Comfort: Test packs loaded if possible. Pay attention to hip belt and shoulder strap comfort.
- Consider Your Hiking Style: Do you need lots of pockets for quick access, or is minimalist better? Is ventilation a high priority?
- Set a Budget: Determine what you’re willing to spend, understanding that higher prices often correlate with better materials and advanced features.
By following these guidelines, you’ll be well on your way to finding a hiking backpack that enhances, rather than hinders, your outdoor experiences. Happy trails!
