
When snow starts to fall and temperatures plunge, you might wonder how to stay comfortable on the trail. Mastering how to layer clothes for winter hiking is the key to enjoying the outdoors without freezing or overheating. It’s all about creating a adaptable system that responds to your body and the changing weather.
Our research shows that the right layering strategy can make the difference between a miserable experience and a fantastic adventure. The goal is to manage moisture and regulate your body temperature effectively. We’ll break down exactly what you need to know, from material types to smart adjustments on the move.
Is Your Winter Hike Gear Ready? Common Layering Mistakes
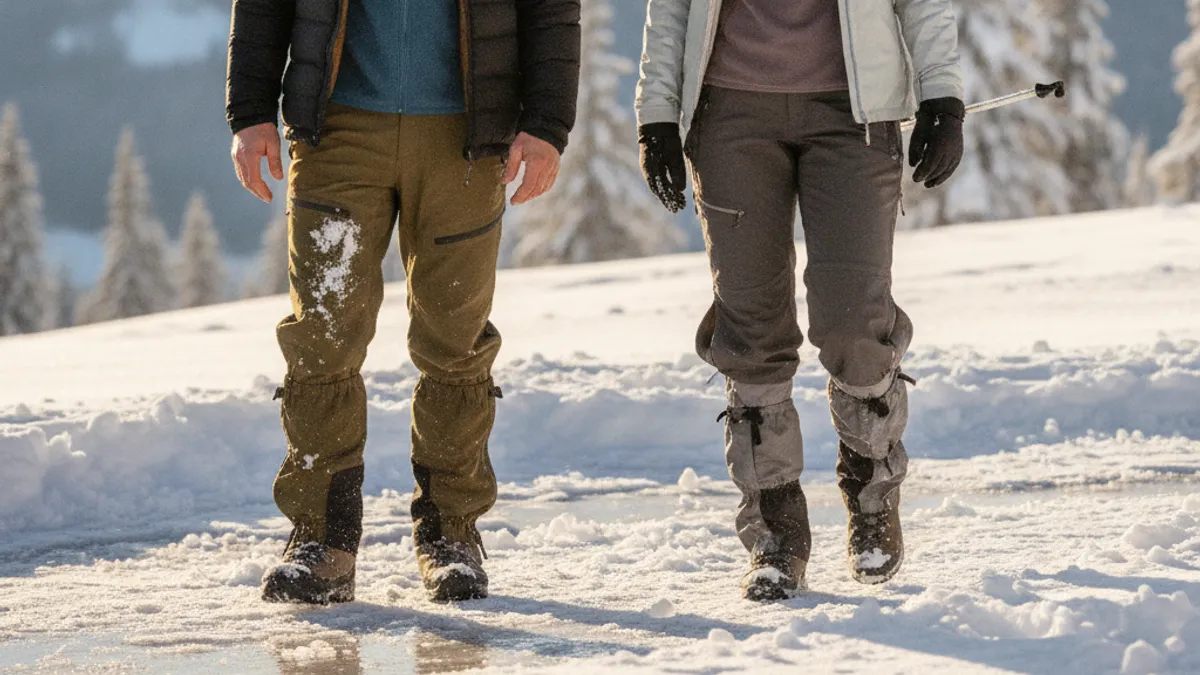
Getting layering wrong can quickly turn a fun winter hike into a serious problem. If you’ve ever ended up drenched in sweat from your base layer or shivering uncontrollably because you didn’t bring enough insulation, you know the feeling. These common errors stem from a misunderstanding of how different clothing layers interact with your body and the environment. Forgetting to pack a critical piece, like a windproof outer shell, or choosing the wrong materials can compromise your entire system.
For instance, packing only cotton items is a frequent misstep. Cotton absorbs moisture and holds it against your skin, dramatically reducing its insulating properties and leading to a rapid drop in body temperature. Manufacturer specifications for moisture-wicking fabrics, such as many polyester and merino wool blends, highlight their ability to pull sweat away from your body. This ensures that even during strenuous activity, you maintain a more comfortable and safe microclimate.
What’s Actually Happening When You Layer for Winter Hikes
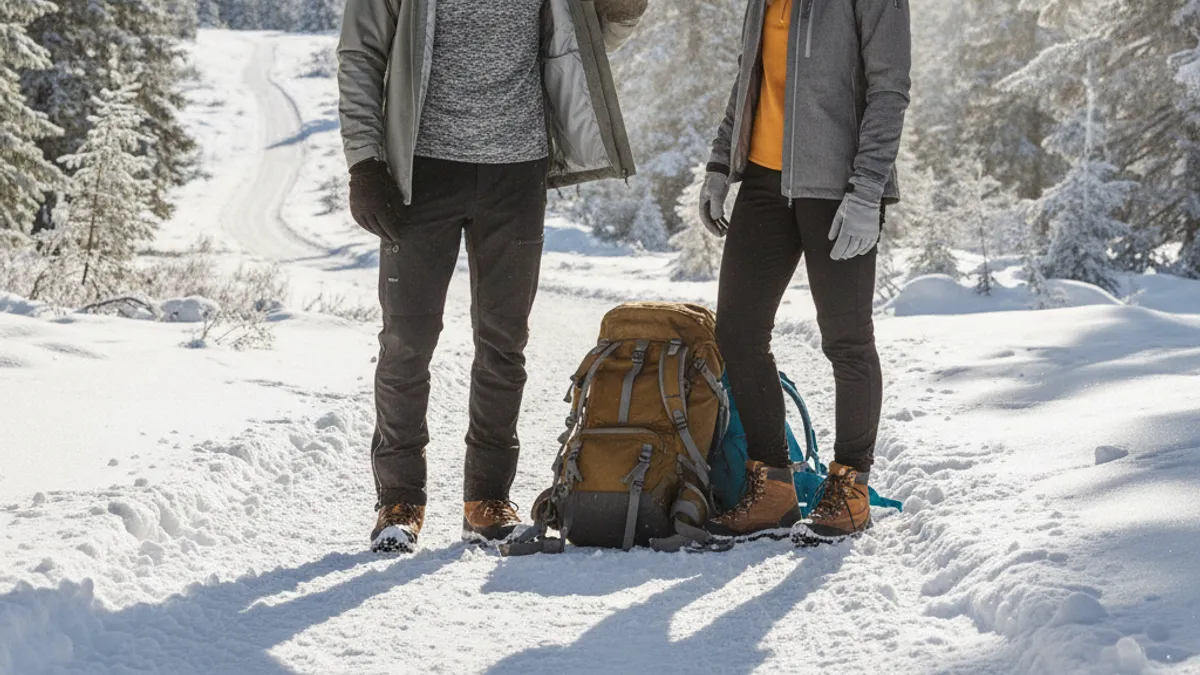
To layer effectively, we need to understand the science behind it. The core idea is to trap body heat and manage moisture. Your body generates heat constantly, especially when you’re hiking. The layering system works by creating air pockets between the fabrics and your skin, which act as insulation.
Think of it like building a cozy, controlled environment around yourself.
The Base Layer: Your First Line of Defense Against Sweat
The base layer is the fabric closest to your skin, and its primary job is moisture management. It needs to wick sweat away from your body, preventing that clammy feeling that can quickly lead to feeling cold. If your base layer gets soaked, it loses its ability to insulate, which is a major risk factor for hypothermia.
- Moisture Wicking: Look for materials like merino wool or synthetic fabrics (polyester, nylon blends) that are designed to pull moisture away from your skin. These fabrics move sweat to the outer layers where it can evaporate.
- Fit: A good base layer should fit snugly but not be so tight that it restricts movement. It needs to be in direct contact with your skin to do its wicking job properly. Avoid cotton at all costs; its water-absorbing properties make it the worst choice for winter activities.
- Weight: Base layers come in different weights (lightweight, midweight, heavyweight). For most winter hiking, a midweight is a good all-around choice. You might opt for a heavyweight only in extremely frigid conditions or if you run particularly cold.
In our research, we consistently found that a snug fit, close contact with the skin, is paramount for the base layer to perform its moisture-wicking duty. This is why technical base layers are engineered to hug the body without constricting it.
The Mid Layer: Bringing the Warmth When It Counts
The mid layer is your primary insulator. Its job is to trap the heat your base layer helps keep close to your body. This is where you’ll find materials like fleece, down, or synthetic insulation. The goal here is to create a warm air pocket.
- Insulating Power: Fleece jackets or vests are popular choices because they offer good warmth for their weight and still insulate reasonably well when damp. Down offers exceptional warmth-to-weight ratio but loses its insulating ability significantly when wet. Synthetic insulations (like PrimaLoft or Thinsulate) offer a good balance, providing warmth even if they get damp.
- Breathability: While warmth is key, the mid layer should also allow some moisture vapor to pass through from the base layer. If it’s totally impermeable, sweat can get trapped, negating the benefit of the base layer.
- Versatility: You might carry a lighter mid-layer and a warmer one, or a single versatile piece that you can adjust. For less extreme cold, a simple fleece pullover might suffice, but for deeper winter, a thicker synthetic or down jacket is often needed.
The Outer Layer: Your Shield Against the Elements
The outer layer, often called a shell, is your protection against wind and precipitation (snow, rain, sleet). It’s not typically insulating itself but is designed to block the elements from reaching your warmer inner layers. It needs to be windproof and waterproof or at least highly water-resistant.
- Waterproof vs. Water-Resistant: True waterproof shells with membranes like Gore-Tex are the best defense against heavy snow or rain. Water-resistant shells offer a good level of protection for lighter conditions but will eventually soak through in sustained wet weather. For deep winter hiking, waterproof is usually preferred.
- Windproof: Even if it’s not raining, wind can cut through your clothing and chill you rapidly. A good windproof outer layer is essential to keep that biting wind at bay and preserve your body heat.
- Breathability: This is crucial for an outer shell. While it blocks wind and water, it must also allow your sweat vapor to escape. If it doesn’t, moisture will build up inside, making you damp and cold. Look for specs on breathability, often measured in grams per square meter per 24 hours (g/m²/24hr). As of 2026, many advanced shells offer excellent breathability while maintaining robust waterproofing.
- Features: Consider features like adjustable hoods, wrist cuffs, and pit zips for ventilation. These allow you to fine-tune your protection and comfort on the fly.
How to Choose the Right Layers for YOUR Winter Hike
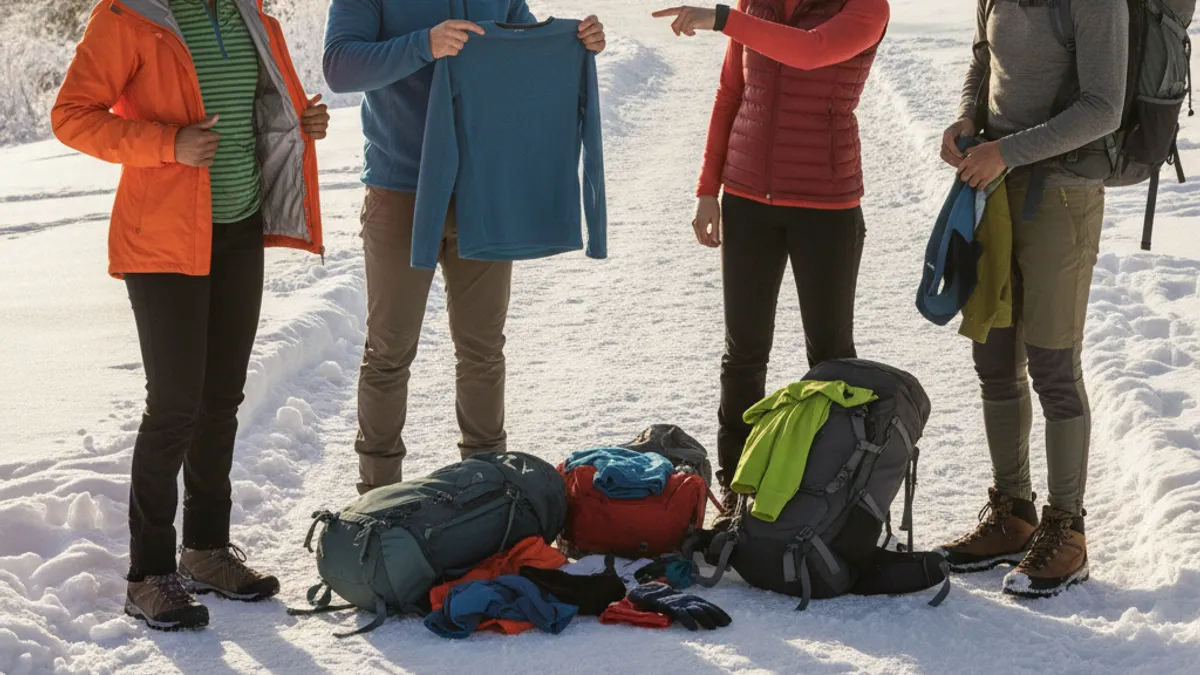
Picking out your clothing isn’t a one-size-fits-all situation. What works for a chilly walk in a protected forest differs greatly from a blustery summit attempt. You need to consider more than just the temperature on the thermometer; a few key variables will dictate your layering choices. Getting these right means you’ll be comfortable and safe, no matter how long you’re out.
Checking the Weather: Cold, Wind, and Snow Play a Big Role
The most obvious factor is the temperature, but wind and the type of precipitation are just as critical. A 20°F (-6°C) day with no wind is very different from a 20°F day with 30 mph winds. Wind chill can make it feel much colder than the actual air temperature. Manufacturer specifications for many windproof materials indicate a significant reduction in heat loss when wind is a factor.
- Temperature: Lower temps demand more insulation, especially in your mid and potentially base layers.
- Wind: High winds necessitate a robust, windproof outer shell. Remember, wind can strip away body heat astonishingly fast.
- Precipitation: Snowfall, sleet, or rain means you absolutely need a waterproof or highly water-resistant outer layer. Even light snow can lead to dampness and chilling if your shell isn’t up to the job.
Your Activity Level Matters: Hitting the Trail vs. Stopping to Rest
How hard you’re working on the trail directly impacts how much heat your body generates. If you’re powering up a steep incline, you’ll likely overheat quickly if you’re overdressed. Conversely, if you’re stopped for a break, taking in the view, or setting up camp, your body will start to cool down fast.
- High Exertion (Climbing, Fast Pace): You’ll need layers that breathe well and can be easily shed. Your base and mid-layers should focus on wicking, and you might only need a light outer shell.
- Low Exertion (Breaks, Slower Pace): This is when you need your insulating layers to shine. Make sure your mid-layer is warm enough, and be ready to add an extra insulating piece or a warmer jacket if you stop for an extended period.
- Adjust on the Fly: The key is to anticipate your body’s needs. Add a layer before you get too cold, and remove one before you start to sweat profusely. It’s much easier to manage your temperature this way than to react to being too hot or too cold.
Personal Comfort: What Feels Right for You?
We all have different internal thermostats. Some people run hot, while others feel the cold more acutely. Your personal physiology is a major factor in deciding how many layers and what type of insulation you’ll need. Our research shows that individuals who tend to run cold often benefit from synthetic insulation over down because it can retain more warmth even when slightly damp.
- Do You Run Hot or Cold? If you’re someone who always seems to be sweating, you’ll want to prioritize breathability and moisture-wicking in all your layers. If you’re usually the first one shivering, plan on carrying a warmer mid-layer or an extra insulating piece.
- Experience Level: As you gain more experience hiking in winter, you’ll develop a better sense of what works for your body and your typical conditions. New hikers might err on the side of caution by bringing slightly more than they think they’ll need.
- Listen to Your Body: This is the most critical piece of advice. If you feel a chill coming on, add a layer. If you’re feeling clammy, vent your outer shell or remove your mid-layer. Don’t wait until you’re uncomfortable to make adjustments.
Building Your Winter Hiking Layering System: A Step-by-Step Approach
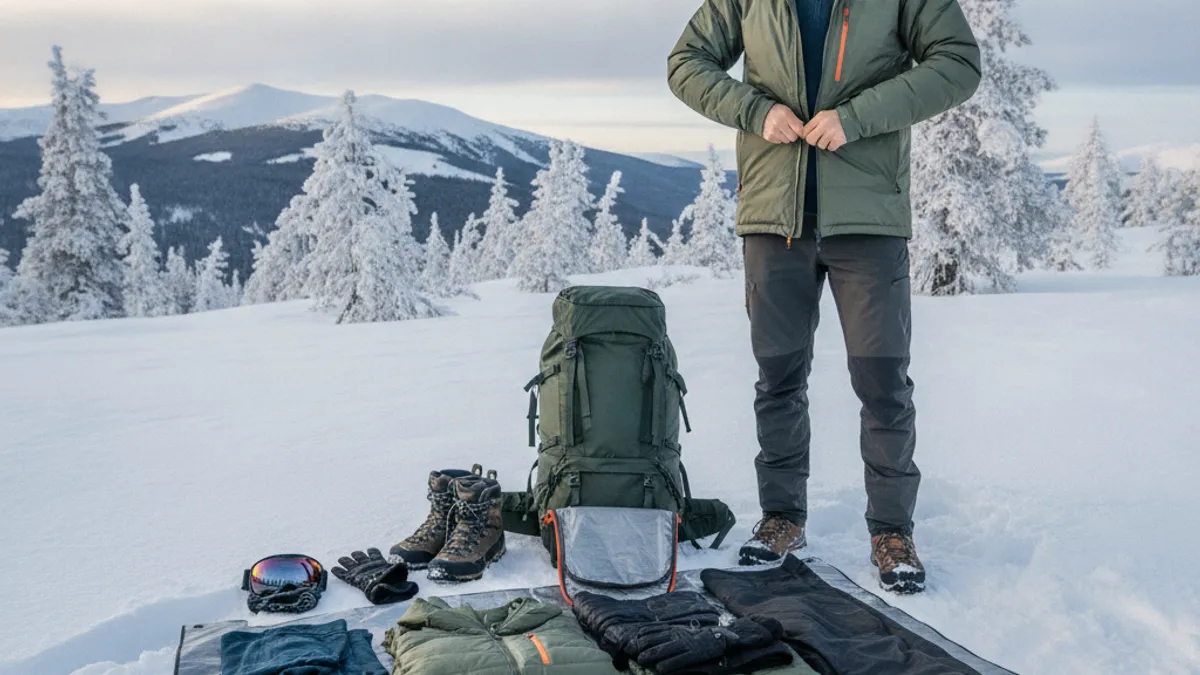
Let’s get practical. Building your winter layering system isn’t complicated once you know the basic principles. It’s a straightforward process of selecting the right pieces for each function. Think of it as assembling a toolkit for staying comfortable in the cold.
We’ll walk you through selecting each piece, starting from the skin out.
Step 1: Pick Your Base Layer Materials
This is the foundation of your system, so get it right. The goal is simple: wick sweat and prevent chafing. As mentioned, cotton is the enemy here. You want fabrics that actively move moisture away from your skin.
- Merino Wool: It’s naturally odor-resistant, soft (no itch for most people), and insulates well even when damp. It’s a premium choice for many hikers.
- Synthetics (Polyester, Nylon): These are often more affordable, dry faster than wool, and are very durable. They can sometimes retain odors more than wool.
- Blends: Many excellent base layers combine merino and synthetics to get the best of both worlds, breathability, warmth, and durability.
Consider: For extreme cold or very long expeditions where washing isn’t an option, choose merino wool for its natural odor-fighting properties. For strenuous, high-output activities where fast drying is key, synthetics might be a better bet.
Step 2: Select Your Mid Layer Insulation
This layer is all about trapping heat. You’ll choose this based on how cold it’s likely to get and how much you’ll be moving.
- Fleece: A classic for a reason. Midweight to heavyweight fleece jackets or pullovers offer reliable warmth and good breathability. They’re versatile for a range of temperatures.
- Synthetic Insulation: Jackets filled with synthetic materials like PrimaLoft, Thinsulate, or Coreloft are excellent. They provide consistent warmth, even if they get damp, and are generally lighter and more compressible than fleece.
- Down Insulation: For maximum warmth-to-weight ratio, down is hard to beat. However, it requires a truly waterproof and well-managed outer shell because once wet, down loses almost all its insulating power. It’s best for drier, very cold conditions or when you’ll be less active and thus generating less sweat.
Consider: For a versatile system, think about having two mid-layers: a lighter fleece or synthetic jacket for milder days or high exertion, and a warmer, more substantial down or synthetic puffy jacket for colder temps or sedentary periods.
Step 3: Choose Your Outer Shell Performance
Your outer layer is your shield. It needs to block wind and water while letting your body’s moisture escape. This is where technical fabrics really matter.
- Waterproof/Breathable Membranes: Look for well-known technologies like GORE-TEX, eVent, or other proprietary fabrics. These are engineered to stop external water and wind from getting in, but allow water vapor from your sweat to escape.
- Water Resistance (DWR Finish): Even shells without a full membrane will have a Durable Water Repellent (DWR) finish that causes water to bead up and roll off. This wears off over time and needs reapplication. While good for light snow, it won’t hold up to prolonged rain or heavy, wet snow.
- Windproof Rating: If a shell is truly windproof, it will list this specification. This is critical in open, exposed alpine environments.
Consider: For general winter hiking, a jacket with a strong waterproof rating (e.g., >10,000mm water column) and good breathability (e.g., >10,000 g/m²/24hr) is ideal. If you plan on activities like ice climbing or extended periods in blizzards, you’ll want the highest specs you can find.
Step 4: Don’t Forget Your Extremities (Head, Hands, Feet)
It’s easy to focus on your torso, but your head, hands, and feet lose heat rapidly. Protecting them is non-negotiable for comfort and safety.
- Head: A warm, insulated hat that covers your ears is essential. Consider a balaclava or neck gaiter for added face and neck protection, especially in windy conditions. Materials like merino wool or fleece are great here.
- Hands: Pack at least two pairs of gloves. A thinner, liner glove made of wool or synthetic material is good for dexterity when you need to adjust gear, and a warmer, waterproof, and insulated outer glove or mitten is for serious cold and wind protection. Mittens are generally warmer than gloves because your fingers share heat. Check out best hiking gloves for cold weather for deeper insights.
- Feet: Wool or synthetic socks are your only option, never cotton. Bring at least one extra pair to change into if your feet get damp from sweat or stepping in snow. Proper-fitting boots are also crucial; explore how to choose hiking boots to ensure they support your feet correctly.
Common Winter Hiking Layering Blunders to Sidestep
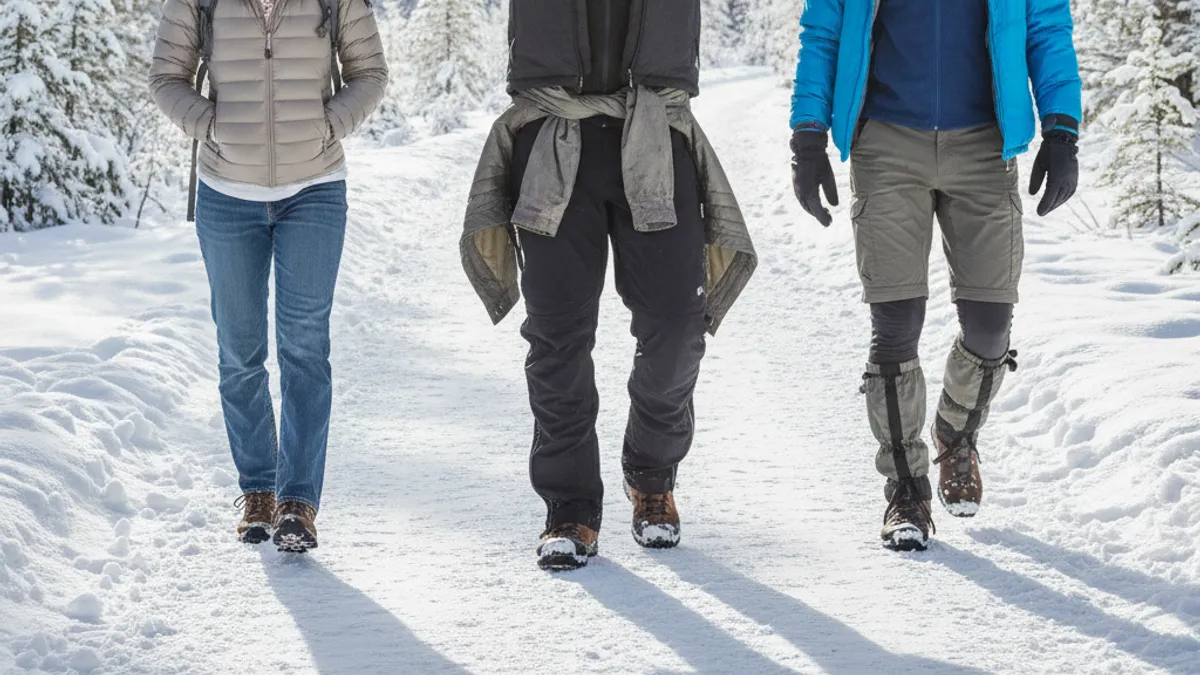
Even with the best intentions, you can fall into common traps that sabotage your warmth and comfort. Avoiding these simple mistakes will elevate your winter hiking experience dramatically. They often come down to overthinking or underthinking specific aspects of layering.
- The “Cotton is King” Myth: This is the cardinal sin of outdoor clothing. Cotton absorbs moisture and stays wet, making you cold very quickly. Per textile research, cotton’s insulating value plummets when wet, unlike wool or synthetics which retain some thermal properties.
- Wearing Too Much Inside: It’s tempting to bundle up excessively before you even hit the trail. But if you start hiking too warm, you’ll sweat heavily, saturate your base layer, and then get cold rapidly as soon as you slow down or stop. It’s better to start your hike feeling slightly cool and let your body heat up.
- Ignoring the Wind: Thinking a warm jacket is enough when it’s windy is a mistake. Without a windproof outer layer, wind can push heat away from your body, making you feel much colder than the air temperature suggests. A good windbreaker is often more critical to comfort than a thicker insulating layer in breezy conditions.
- Not Packing Spares: Forgetting that extra pair of socks or an emergency hat can spell disaster if your primary gear gets wet or lost. Always pack a spare base layer top, socks, and gloves, especially for longer hikes.
- Overstuffing Your Pack: While bringing backups is smart, carrying so much that your pack becomes unmanageable is also a problem. Plan your layers before you go and be realistic about what you might need. Hiking backpack essentials can help you prioritize.
Expert Tips for Smarter Winter Layering
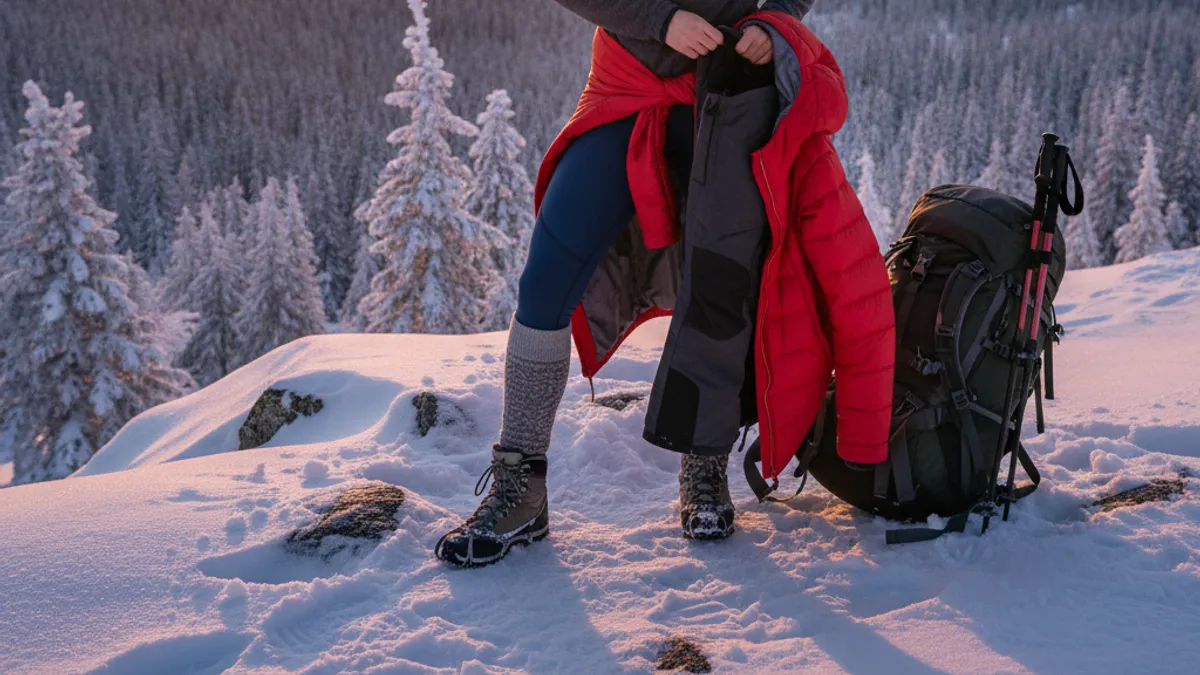
Beyond the basics, a few pro-level insights can significantly boost your comfort and safety. These tips come from understanding how experienced hikers think about their gear and the conditions. It’s about fine-tuning your system so it works for you, not against you.
- Ventilation is Key: Don’t underestimate the power of zippers. Pit zips on your jacket, or even just loosening the collar, can let out a surprising amount of heat and moisture without you needing to remove a whole layer. Practice opening and closing them quickly as you hike.
- Packability Matters: Your layers need to be packable enough that you can stow them easily in your backpack when you take them off. Bulky items take up precious space. Synthetic puffy jackets often compress down smaller than fleece of equivalent warmth.
- Layer Up to Stay Dry: This sounds counterintuitive, but it’s crucial. If you’re prone to sweating, it’s often better to wear a slightly warmer mid-layer and keep your outer shell zipped (using vents) than to wear a thin mid-layer and overheat, leading to excessive sweat build-up.
- Test Your Gear: Before a big trip, do a day hike in similar conditions to test your layering system. This lets you identify any weak points or items that don’t perform as expected. You don’t want to discover a problem on a remote trail.
Trail-Tested Scenarios: Layering in Action
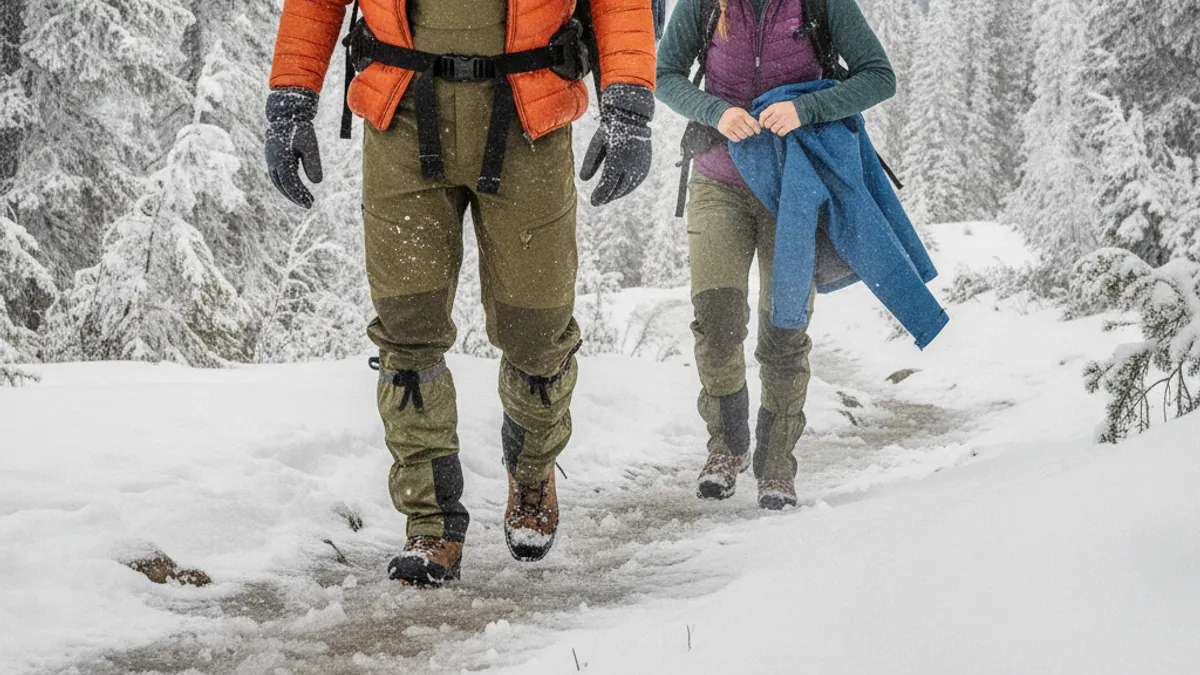
Seeing how different layering systems play out in real situations helps solidify the concepts. These scenarios illustrate how adaptable your clothing needs to be. Think of these as mini case studies for different winter hiking conditions and activities.
Scenario: Sunny but Cold Day with Moderate Effort
Imagine a crisp, clear winter day with temperatures around 20°F (-6°C) and minimal wind. You’re planning a steady, moderate-paced hike on a well-maintained trail.
- Base Layer: A midweight merino wool or synthetic long-sleeve shirt.
- Mid Layer: A lightweight fleece jacket or a thin synthetic insulated vest.
- Outer Layer: A breathable, water-resistant softshell jacket or a lightweight, windproof shell. You’ll likely keep this unzipped or open the vents as you hike.
- Extremities: Warm hat, liner gloves, and wool socks with sturdy hiking boots.
In this scenario, the focus is on shedding heat because you’re generating a good amount through consistent activity. You want flexibility to easily remove layers if you start to feel warm.
Scenario: Snowy and Windy Conditions with High Exertion
Consider a forecast of 15°F (-9°C) with 25 mph winds and persistent light snow. You’re tackling a more challenging, uphill route where you’ll be exerting yourself significantly.
- Base Layer: A midweight or even heavyweight moisture-wicking top and bottoms.
- Mid Layer: A medium-weight synthetic insulated jacket. You might shed this if you’re moving at an intense pace, but it’s essential for warmth during breaks.
- Outer Layer: A fully waterproof and windproof shell jacket with good ventilation (pit zips). This is crucial for blocking the wind and snow.
- Extremities: A warm, insulated beanie that covers your ears, waterproof insulated gloves or mittens, and potentially gaiters to keep snow out of your boots. Extra wool socks are a must.
Here, the priority shifts to robust protection against the elements and managing sweat in challenging conditions. The waterproof shell is non-negotiable, and the ability to vent is paramount during high-output efforts.
Scenario: Unexpected Weather Change – What to Do
You set out on a seemingly mild winter day, maybe 30°F (-1°C) with light clouds, and your layers are minimal. Suddenly, the sky darkens, the wind picks up, and snow begins to fall heavily.
- Assess Rapidly: The immediate problem is exposure to colder temperatures, wind, and moisture. You need to increase insulation and wind protection.
- Add Insulation: If you packed a warmer mid-layer (like a puffy jacket), put it on immediately. This adds critical warmth.
- Deploy the Shell: If you were using a lighter, water-resistant jacket, switch to your waterproof shell if you have one. If not, ensure your current jacket is zipped up tightly.
- Protect Extremities: Make sure your hat and gloves are secure. Cold hands and a cold head can quickly make you miserable.
- Seek Shelter (If Possible): If the weather is severe and unexpected, consider finding a natural shelter (like dense trees or a rock overhang) to regroup and assess your options. Safety first.
This highlights the importance of being prepared for anything. Even on “easy” days, carrying an extra insulating layer and a robust outer shell is smart winter hiking practice.
When to Adjust Your Layers on the Go
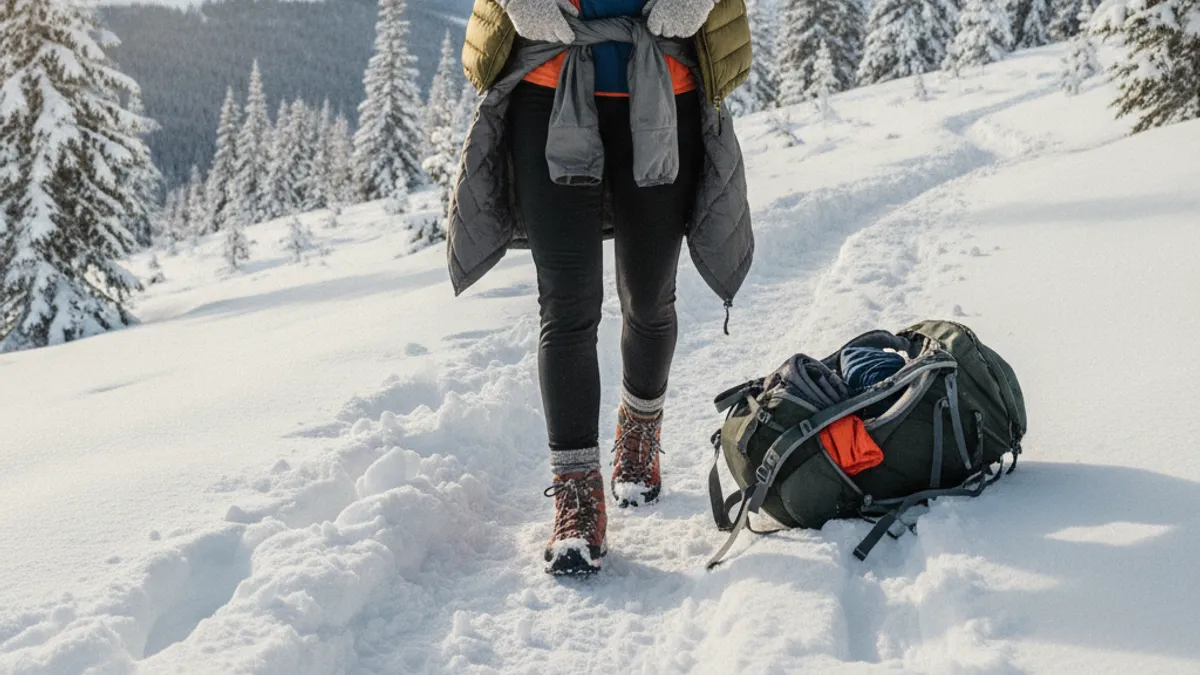
The real art of winter layering isn’t just in what you pack, but how you use it. Your body temperature will fluctuate throughout a hike. Learning to adjust your layers proactively is key to maintaining comfort and preventing hypothermia or overheating. This is where the decision tree aspect of layering really comes into play.
If you’re starting to feel a chill, don’t wait until you’re shivering. Take a moment, open your pack, and add a layer. This usually means pulling on your mid-layer or a warmer insulating jacket. It’s much easier to add a layer and continue comfortably than to try and warm up after you’ve become significantly cold.
Conversely, if you notice yourself sweating heavily, especially in your base layer, it’s time to cool down. Open up your outer shell’s vents (like pit zips) or even remove your mid-layer entirely if necessary. The goal is to let that excess heat and moisture escape before it saturates your clothing and makes you damp. This often happens when transitioning from downhill to uphill sections, or during periods of intense physical exertion.
Think of it as a constant, subtle dance with your environment and your own body. It requires a bit of mindfulness, but becomes more intuitive with practice.
- Feeling a chill? Add a layer (mid-layer or puffy jacket).
- Starting to sweat heavily? Vent your shell, remove a mid-layer, or open your jacket.
- Stopping for a break? Add a warmer layer before you sit down, especially if you’re damp.
- Resuming movement? Remove the extra layer you added for the break before you start to overheat.
Your Winter Hiking Layering Decision Guide
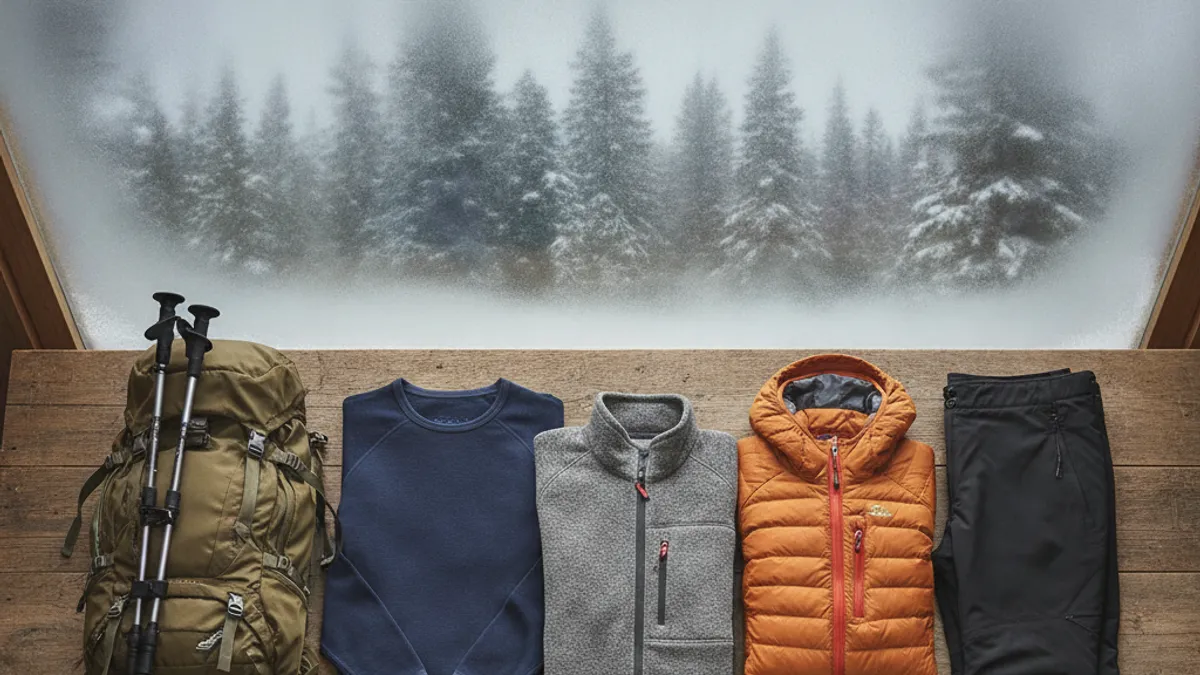
So, how do you make the final call on what to wear? It boils down to a few key questions that act like a simple decision tree. Your answers will guide you to the right combination of base, mid, and outer layers.
Question 1: How cold is it, and what’s the wind like?
- Very Cold (<0°F / -18°C) or Windy: Prioritize thicker insulation and a bombproof windproof/waterproof shell. You’ll likely need a heavyweight base layer and a substantial mid-layer (e.g., down or thick synthetic).
- Cold (0°F to 30°F / -18°C to -1°C): A midweight base layer and a versatile mid-layer (fleece or synthetic) with a good waterproof/windproof shell is suitable.
- Mildly Cold (>30°F / >-1°C) with Low Wind: You might get away with a lighter base layer and a water-resistant jacket or even a softshell as your outer layer.
Question 2: How strenuous will your hike be?
- High Exertion (Steep climbs, fast pace): Focus on breathability and ease of shedding layers. You might opt for lighter insulation and rely heavily on venting your outer shell.
- Moderate Exertion: A balanced approach is fine. You’ll need enough insulation to keep warm but be able to vent when needed.
- Low Exertion (Slow pace, long breaks): Prioritize warmth. You’ll need a good insulating mid-layer and possibly an extra puffy jacket for when you stop.
Question 3: What are the precipitation chances?
- Snowing or Raining: A fully waterproof outer shell is essential.
- Dry Conditions: A water-resistant jacket or even a softshell might suffice, offering better breathability.
By answering these questions, you can tailor your layering system to the specific conditions of your winter hike, ensuring you stay safe, comfortable, and ready for anything the trail throws at you.
