
Your hiking boots are arguably the most crucial piece of gear you’ll own. They’re your direct connection to the earth, absorbing impact, providing grip, and offering protection mile after mile. A good pair keeps your feet happy and your ankles stable, allowing you to focus on the scenery and the journey, not on the pain.
Think of them like the suspension on your car. When it’s tuned perfectly for the road conditions, the ride is smooth and controlled. But when it’s worn out or mismatched, every bump jars you, making the drive a chore. Your boots do the same for your body on the trail.
What Kind of Hiker Are You? Your Trail Plans Dictate the Boot
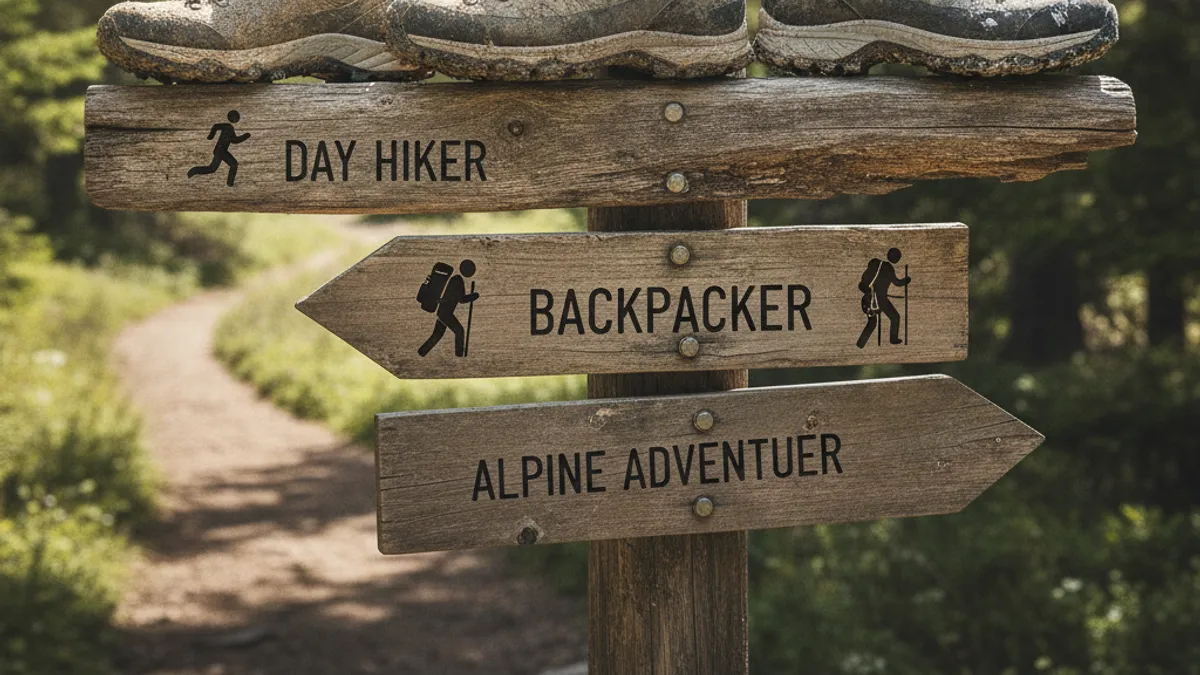
Before you even look at boot styles, you need to be honest about where and how you’ll be hiking. This isn’t just about deciding if you’re a “beginner” or an “expert,” but about the real-world conditions your feet will face. Aggregates of user feedback confirm that mismatching boot type to trail type is a primary cause of discomfort and injury.
1. Day Hiking & Light Trails
If your adventures usually involve shorter trips, well-maintained paths, and maybe a picnic lunch, you’re likely a day hiker. You’re not carrying a heavy pack, and the terrain is generally forgiving, think local parks or established forest trails. For these outings, agility and comfort are key.
- Pack Weight: Typically under 15 lbs (including water and snacks).
- Terrain: Smooth, well-trodden paths, moderate elevation changes.
- Key Need: Lightweight, flexible footwear with decent traction.
2. Backpacking & Multi-Day Adventures
When you’re heading out for overnight trips or longer expeditions, you’ll be carrying more weight, and potentially covering more varied and challenging ground. This is where robust support and durability become non-negotiable. The trails could be anything from forest paths to rocky ascents, and your feet will be under load for extended periods.
- Pack Weight: Often 20-50 lbs or more.
- Terrain: Uneven, rocky, potentially muddy trails; significant elevation gain and loss.
- Key Need: Sturdy ankle support, substantial cushioning, and durable soles. This is where specific brands might offer boots with a polyurethane midsole, which is denser and more resilient than EVA for carrying heavier loads.
3. Rugged Terrain & Scrambling
For those who seek out off-trail adventures, steep ascents, and rocky scrambles where you might use your hands as much as your feet, you need specialized footwear. This isn’t about lightweight speed; it’s about maximum precision, grip, and protection on unpredictable surfaces. You might be navigating scree fields or climbing over boulders.
- Pack Weight: Varies, but often moderate (15-30 lbs).
- Terrain: Very rough, rocky, loose scree, stream crossings, requires precise foot placement.
- Key Need: Stiff soles for support on small edges, sticky rubber outsoles for grip, and a secure, precise fit. Approach shoes, a close cousin to hiking boots, are often favored here for their balance of grip and feel.
Boot Anatomy: What’s Under the Hood (and On Your Feet)
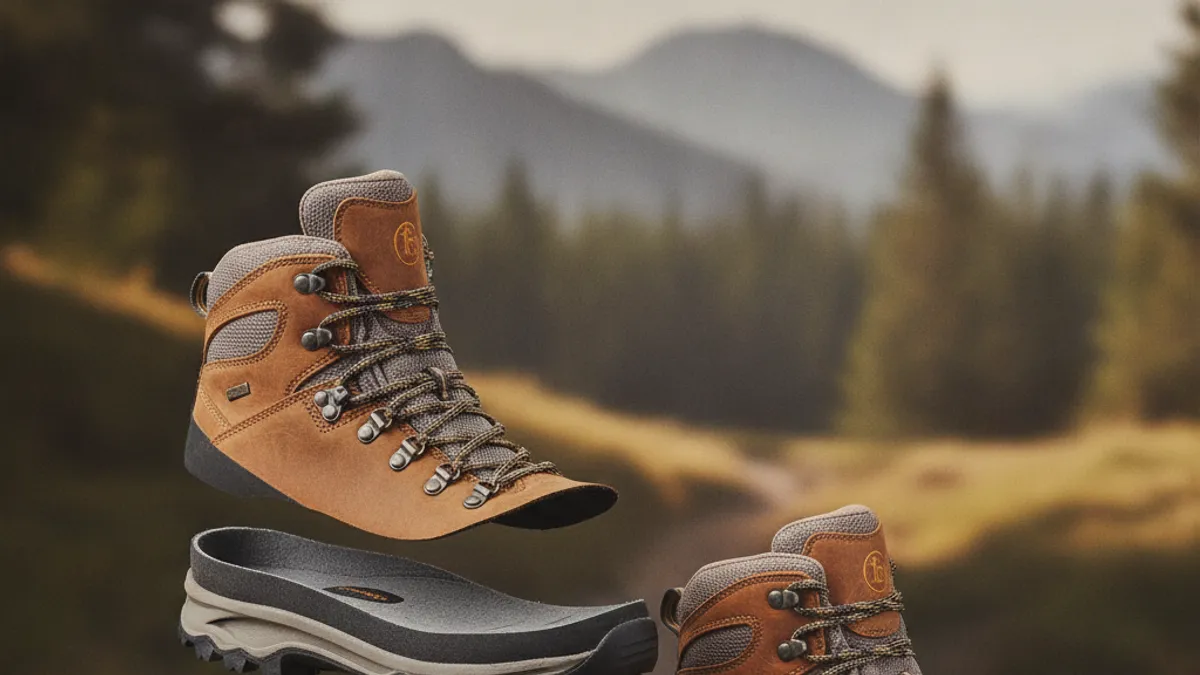
Understanding the different parts of a hiking boot helps you appreciate how they work together and why certain materials are chosen. It’s like knowing the engine components of a car, you don’t need to be a mechanic, but understanding the basics helps you make informed choices.
Uppers: Leather, Synthetics, and What They Mean for You
The upper is the part of the boot that covers your foot. It’s the first line of defense against the elements and defines much of the boot’s durability, flexibility, and water resistance.
- Full-Grain Leather: This is the highest quality leather, made from a single piece of hide with the natural grain intact. It’s incredibly durable, naturally water-resistant, and molds to your foot over time for a custom fit. However, it’s also heavier, less breathable, and requires a longer break-in period. Think of it as the workhorse material for rugged, long-term use. Are Army Boots Good For Hiking often feature full-grain leather for its robust nature.
- Split-Grain Leather (with Nylon/Mesh): This is leather that has been split, often combined with nylon or mesh panels. It’s lighter, more breathable, and dries faster than full-grain leather. The leather offers some durability and abrasion resistance, while the mesh enhances ventilation. These are common in mid-weight hiking boots, offering a good balance for varied trails.
- Synthetic Materials (Nylon, Polyester): These are lightweight, quick-drying, and require almost no break-in. They are often found in lighter hiking shoes and trail runners. While less durable and abrasion-resistant than leather, they excel in breathability and are generally more affordable.
Midsoles & Shanks: Cushioning and Support That Counts
These components are hidden inside the boot, but they’re crucial for comfort and stability. The midsole absorbs shock and provides cushioning, while the shank adds stiffness for support.
- Midsole Materials:
- EVA (Ethylene Vinyl Acetate): This is a common, softer, and lighter cushioning material. It provides excellent shock absorption and is found in shoes where flexibility and light weight are priorities, like trail runners or lighter hiking shoes. However, it can compress over time with heavy use and weight.
- Polyurethane (PU): This is a firmer, denser material that offers superior durability and support, especially under heavy loads. It’s ideal for backpacking boots and longer excursions where maximum support and longevity are needed. PU cradles your foot and resists compression better than EVA, which is critical when carrying significant pack weight.
- Shank: This is a stiff insert between the midsole and outsole that adds load-bearing stiffness to the boot. It prevents your foot from flexing excessively under load or on uneven terrain, protecting your arches and improving stability. Shanks can be made of nylon, plastic, or steel, and their length and stiffness vary greatly depending on the boot’s intended use, from partial shanks for flexibility to full-length ones for maximum support.
Outsoles: Gripping the Trail, From Mud to Rock
The outsole is the rubber part that contacts the ground. Its design dictates your traction and grip.
- Materials: Most outsoles are made from durable rubber compounds. Some brands use proprietary blends designed for specific performance characteristics, like stickiness on rock or longevity in varied conditions.
- Lug Patterns: These are the treads. Deep, widely spaced lugs offer excellent grip in mud and loose terrain. Shallower, more tightly spaced lugs might be better for general trail use, providing a good balance of grip and efficiency. Some outsoles also feature a “heel brake,” which is a distinct heel edge designed to help control descents.
- Flex Grooves: These are strategically placed lines in the outsole that allow the boot to bend naturally with your foot, enhancing comfort during the walking stride.
Key Features: Waterproofing, Breathability, and Fit
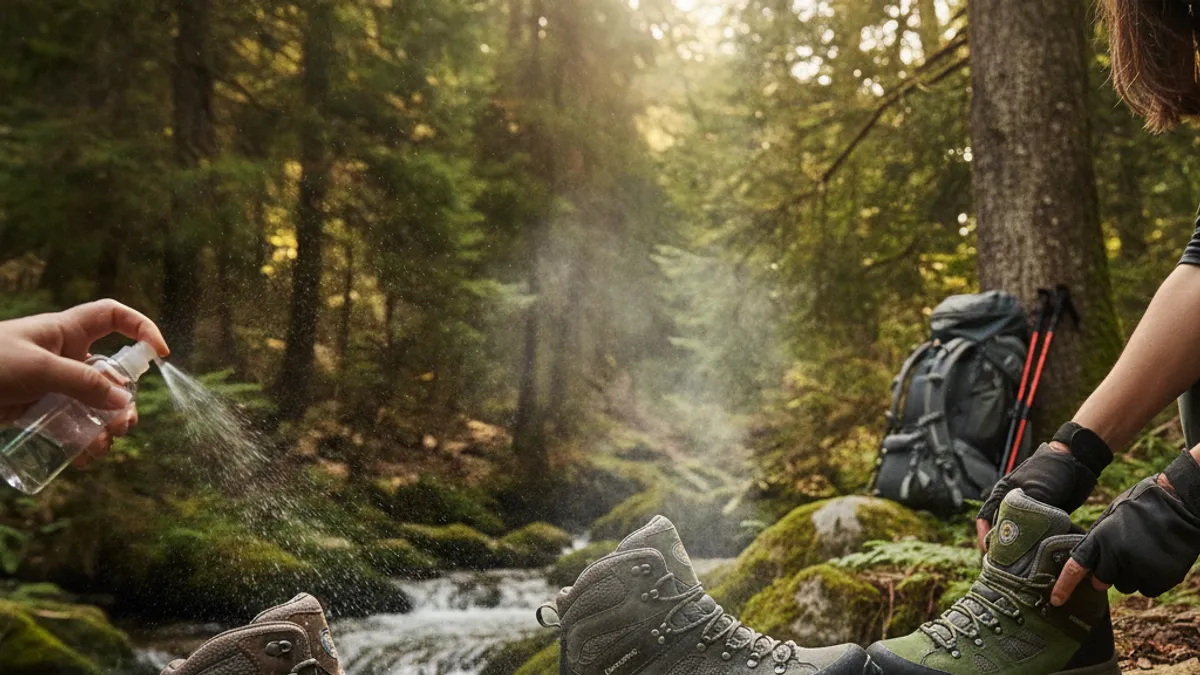
Beyond basic construction, specific features can dramatically alter a boot’s performance and your comfort on the trail.
Waterproofing: Keeping Dry in Wet Conditions
Many hikers opt for waterproof boots, and for good reason. Staying dry is vital for comfort and preventing blisters, especially on longer trips or in unpredictable weather.
- Membranes: The most common waterproof technology uses breathable-yet-waterproof membranes, like Gore-Tex®. These membranes have microscopic pores that are small enough to keep liquid water out but large enough to let water vapor (sweat) escape.
- Construction: Waterproofing is typically achieved through a bootie construction, where a waterproof membrane is integrated as a sock-like liner inside the boot’s outer shell. All seams are taped to prevent water from seeping through.
- Trade-offs: While highly effective, waterproofing can sometimes reduce breathability, leading to warmer feet in hot conditions. Our research indicates that for persistently hot and dry climates, non-waterproof boots might offer superior ventilation, while for mixed or wet conditions, waterproof boots are generally considered a stronger choice. Waterproof Hiking Boots Worth It explores this in more detail.
Breathability: Avoiding Sweaty, Unhappy Feet
Breathability is the ability of a boot to allow air to circulate and moisture to escape. This is especially important in warmer climates or during strenuous activity when your feet sweat more.
- Material Choice: Boots with mesh uppers or lower-cut designs tend to be more breathable than those made entirely of thick leather.
- Ventilation Features: Some boots incorporate specific ventilation channels or perforations to aid airflow.
- The Balance: Achieving the perfect balance between waterproofing and breathability is the holy grail. Manufacturers continually refine materials and designs to optimize this. For instance, a boot with a split-grain leather upper and generous mesh panels will generally be more breathable than a full-grain leather boot.
The Critical Importance of Fit: Your Personal Boot Check
This is the single most important factor. No matter how advanced the technology or how durable the materials, a poorly fitting boot will cause problems.
- Why Fit is King: A boot that’s too tight can cause blisters, nerve compression, and pain. A boot that’s too loose allows your foot to slide, leading to friction, calluses, and an increased risk of ankle rolls.
- Key Fit Points:
- Length: You should have about a finger’s width of space between your longest toe and the end of the boot when your heel is firmly seated in the back.
- Width: The boot should feel snug around the ball of your foot without pinching. Your foot shouldn’t feel like it’s swimming or jammed against the sides.
- Heel: Your heel should remain locked in place with minimal lift when you walk. Excessive heel lift is a common cause of blisters.
- Arch: The support should feel comfortable under your arch; it shouldn’t feel like there’s a hard lump or a total lack of support.
Trying On Boots: The Real-World Test
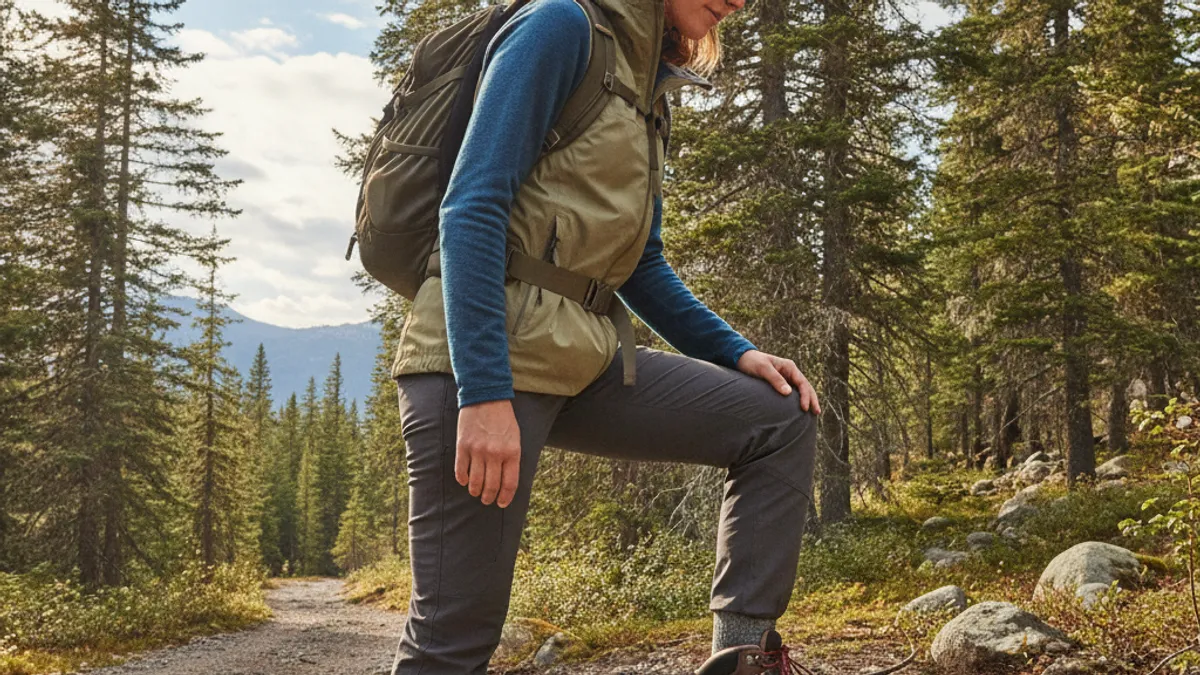
Simply looking at boots online or in a store isn’t enough. You need to put them on and simulate hiking movements. This is where active evaluation makes all the difference.
When to Shop and What to Bring
Timing and preparation are key for a successful boot fitting.
- Shop Later in the Day: Your feet naturally swell throughout the day, especially after activity. Shopping in the afternoon or evening will give you a more accurate sense of fit for when you’re actually on the trail.
- Bring Your Hiking Socks: This is non-negotiable. The thickness and material of your socks significantly impact fit. If you plan to wear thicker hiking socks, bring those exact ones to the store. Our editorial analysis suggests that wool or synthetic blend socks are generally preferred over cotton for hiking.
- Consider Insoles/Orthotics: If you use custom orthotics or specific insoles, bring them along to test with the boots.
The Fit Test: How to Tell if They’re Right
Once you’ve got the boots on with your socks, it’s time to test them thoroughly.
- Stand Up: Ensure your toes aren’t hitting the front of the boot. You should be able to wiggle them freely.
- Walk Around the Store: Pay attention to any pressure points, rubbing, or slipping. Many stores have ramps or inclined surfaces to test heel lift on inclines and toe pressure on declines.
- The Heel Bump Test: When trying on, lace them up snugly but not too tight, then slide your foot forward until your toes touch the front. If you can fit one finger comfortably between your heel and the back of the boot, the length is likely good. Then, slide your foot back so your heel is seated. If there’s still minimal heel lift as you stand and walk, that’s a positive sign.
- Width Check: Your foot should feel snug and supported, but not squeezed. If the boot feels tight across the ball of your foot, ask if it comes in a wider size or consider a different model.
Lacing Techniques for a Secure Feel
Proper lacing can fine-tune the fit and prevent common issues.
- Standard Lacing: For most general hiking, a standard lacing pattern works well, ensuring even pressure across the foot.
- Heel Lock or Surgeon’s Knot: If you experience heel lift, a heel lock can be useful. This involves creating a small loop with the laces near the ankle eyelets that pulls your heel down into the boot. You can achieve this by crossing the laces over each other twice in one eyelet pair before tying.
- Window Lacing: If you have a pressure point on the top of your foot or under the tongue, you can skip lacing through a specific eyelet pair to relieve pressure in that area, creating a “window.”
Breaking In Your New Boots: Patience Pays Off
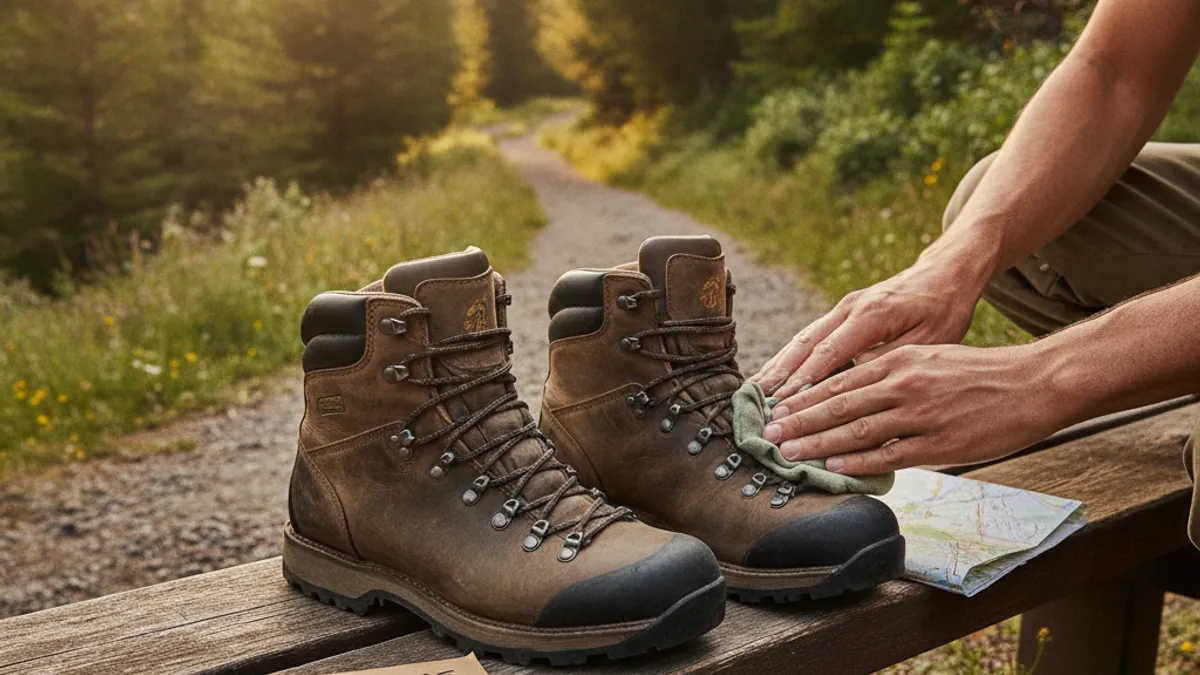
Even boots that feel great in the store might need a little coaxing to conform perfectly to your feet. The break-in period is essential for preventing blisters on your first real hike.
- Start Small: Wear your new boots around the house for short periods, then gradually increase the duration. Wear them on short walks around your neighborhood or on easy, familiar trails.
- Simulate Trail Conditions: As you progress, wear them with your hiking socks and any daypack you might use. This helps the boots mold to your foot’s shape under normal walking and load conditions.
- Address Hot Spots Early: If you notice any areas that feel like they might be developing a hot spot, address it immediately. This might involve adjusting lacing, applying moleskin to your foot, or stopping your break-in session.
- Full-Grain Leather Needs More Time: Be aware that boots made from full-grain leather will typically require a longer break-in period (sometimes 50-100 miles) compared to synthetic or split-grain leather boots. Don’t rush this process; it’s an investment in long-term comfort.
Common Mistakes to Sidestep When Picking Boots
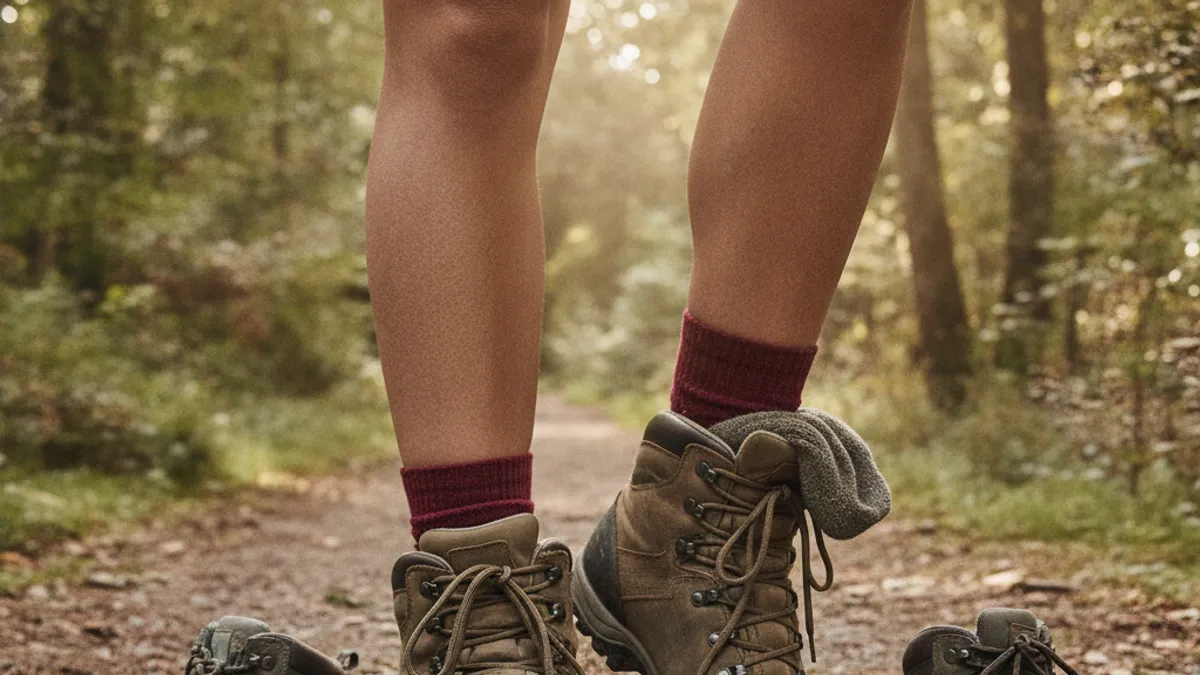
Avoiding these pitfalls can save you a lot of pain and disappointment down the trail.
- Buying Based on Looks Alone: That rugged, stylish boot might be fantastic for some, but if it doesn’t match your intended use or foot shape, it’s the wrong choice. Function must always trump fashion.
- Ignoring Fit: As we’ve stressed, fit is paramount. Don’t compromise on comfort or support because you like the brand or the color.
- Not Trying Them On Properly: Rushing the fitting process or not wearing your proper hiking socks will lead to buying the wrong size or type of boot.
- Assuming “Break-in” Fixes Everything: While break-in is important, it’s meant to fine-tune a good fit, not fix a fundamentally flawed one. If a boot is painfully uncomfortable in the store, it’s unlikely to magically become perfect.
- Buying Online Without Knowing Your Size/Fit: Unless you’re replacing an exact same model you already own and know fits perfectly, buying hiking boots online without trying them first is a gamble. What works for one brand or model might not work for another.
- Choosing the Wrong Boot Type: Wearing ultra-light trail runners on a week-long backpacking trip with a heavy pack, or stiff mountaineering boots for a casual day hike, are examples of this mismatch.
Boot Types Compared: Trail Shoes vs. Mid-Weight vs. Backpacking Boots
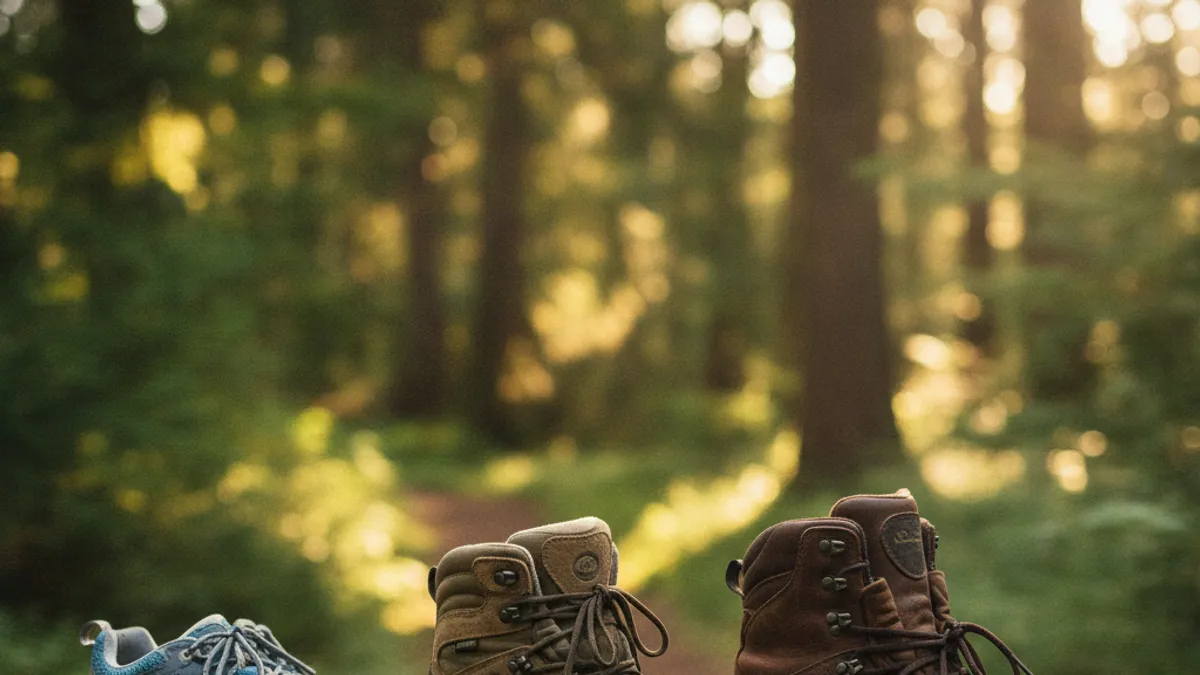
Understanding the distinct categories of hiking footwear is crucial for matching the boot to your activity. Each type is designed for a specific balance of weight, support, and durability.
Trail Shoes: Swift and Light
These are the lightest option, often resembling beefed-up running shoes. They prioritize agility and breathability.
- Best For: Day hikes on well-maintained trails, fastpacking, or as an alternative for those who prefer maximum freedom and minimal weight. They are excellent companions during warmer months or for less demanding terrain.
- Pros: Lightweight, highly breathable, require little to no break-in, very flexible.
- Cons: Offer minimal ankle support, less cushioning for heavy loads, less durable against sharp rocks or rough terrain. If you’re looking for a Hiking Workout Plan For Beginners, these shoes might be suitable for initial, flatter trails.
Mid-Weight Boots: The All-Arounder
This category offers a significant step up in support and durability from trail shoes. They are often made with leather or synthetic blends and feature more substantial midsoles and outsoles.
- Best For: Most common hiking scenarios, including day hikes on varied terrain, weekend backpacking trips with moderate loads, and general all-around use. They strike a balance between support, comfort, and weight.
- Pros: Good ankle support (usually mid-cut), decent cushioning for moderate loads, durable for mixed terrain, often waterproof options available.
- Cons: Heavier and less breathable than trail shoes, require some break-in period, less agile for very technical scrambling.
Backpacking Boots: For the Big Trips
These are the heavy-duty workhorses designed for serious expeditions. They offer maximum support, cushioning, and protection for carrying heavy loads over long distances and rigorous terrain.
- Best For: Multi-day backpacking trips, thru-hiking, or any trek where you’ll be carrying a substantial pack (30 lbs+) over challenging and uneven ground. They provide the stability needed to prevent injury under duress.
- Pros: Excellent ankle and arch support, superior cushioning and shock absorption for heavy loads, very durable and protective, often come with robust waterproofing.
- Cons: Heaviest and stiffest option, require a significant break-in period, can be less breathable, generally more expensive. If you’re considering something like What Is Thru Hiking, these are what you’ll likely need.
Essential Gear: Socks and Gaiters That Complete the Picture
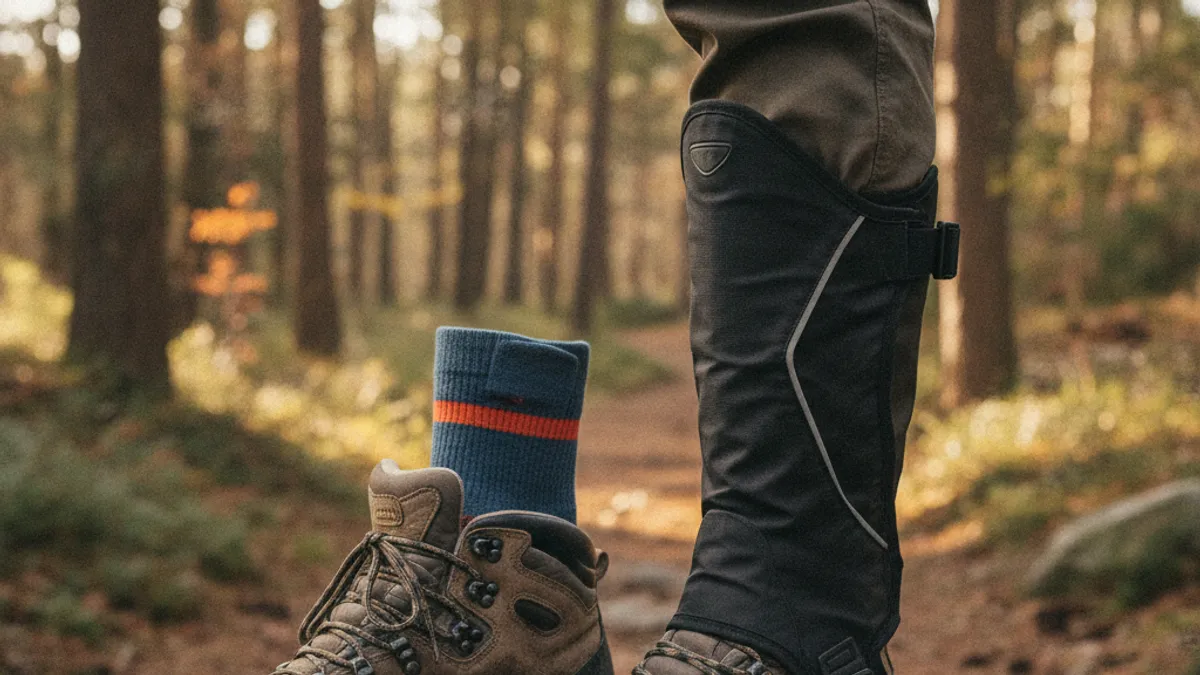
Your boots are the foundation, but don’t underestimate the importance of what goes on your feet and over your boots. The right socks and gaiters can drastically improve comfort, prevent issues, and add crucial protection. It’s a system, not just a single item.
Socks: Your First Layer of Defense
The socks you wear are as critical as your boots. Cotton socks are a hiker’s nemesis; they absorb moisture and stay wet, leading to blisters and feeling cold.
- Material Matters: Opt for wool (merino is excellent and non-itchy) or synthetic blends specifically designed for hiking. These materials wick moisture away from your skin, provide cushioning, and help regulate temperature.
- Thickness: Sock thickness varies. Thicker socks offer more cushioning and warmth, which can be beneficial in cooler weather or for maximum impact absorption. Thinner socks are more breathable and better for warmer conditions or if your boots run a bit snug.
- Fit: Ensure your socks fit snugly without bunching or creating wrinkles, which can also cause hot spots. A well-fitting hiking sock often uses advanced stitching to prevent friction points.
Gaiters: Keeping Debris and Wetness Out
Gaiters are fabric coverings that extend from the top of your boot up your ankle and lower leg. They serve a few vital purposes, especially in challenging conditions.
- Debris Protection: They prevent small stones, dirt, twigs, and snow from entering your boots. This is incredibly useful on loose, scree-covered trails or in snowy environments.
- Water and Snow Resistance: Waterproof gaiters can add an extra layer of defense against water, mud, and snow, keeping your lower legs and boot uppers drier.
- Protection: They can also offer minor protection against brush, thorns, or insect bites.
- When to Use: Gaiters are most beneficial in wet, muddy, snowy, or very dusty conditions. For dry, well-maintained trails, they might be overkill. Hiking Gaiters What Are They For provides more context on their utility.
Taking Care of Your Boots: Making Them Last
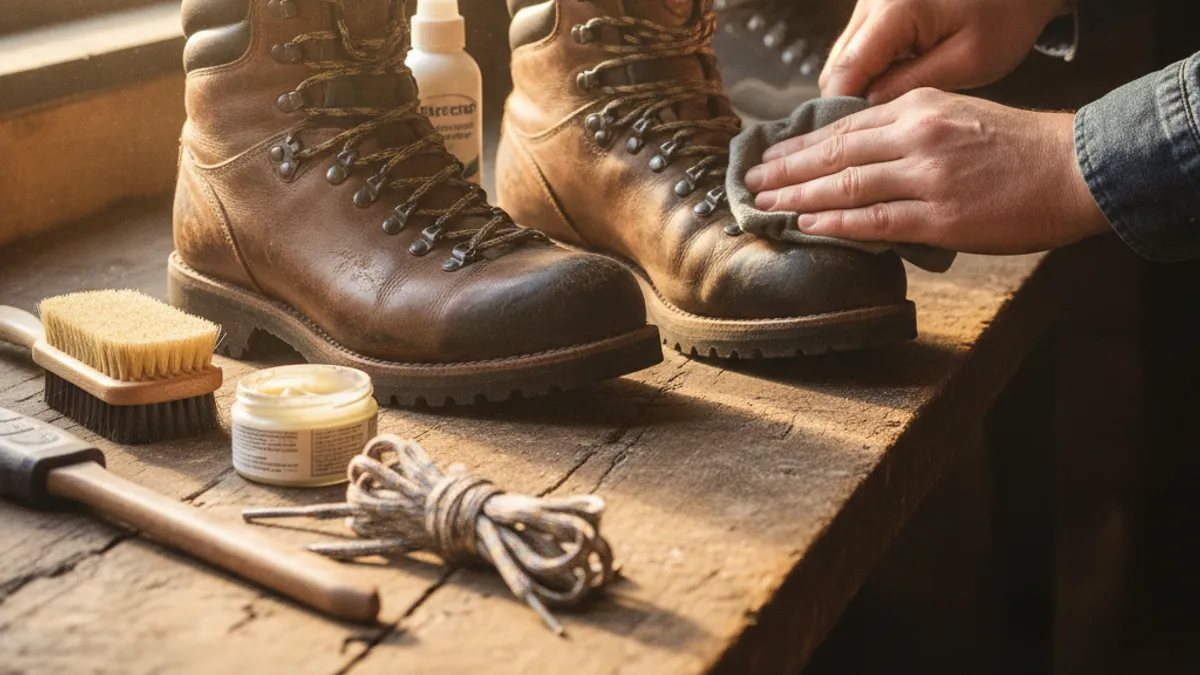
Proper maintenance will extend the life of your hiking boots significantly and ensure they perform reliably for years to come. Think of it as investing in your future adventures.
Cleaning Your Boots
After a hike, dirt, mud, and grime can impact the materials.
- Remove Laces: Take out the laces so you can clean thoroughly.
- Brush Off Debris: Use a stiff brush to remove loose dirt and mud from the uppers, midsole, and outsole.
- Wipe Down: For most dirt, a damp cloth is sufficient. For tougher grime, mild soap and water can be used, but rinse well afterward.
- Avoid Harsh Chemicals: Never use detergents or solvents, as they can damage the materials, especially leather and waterproof membranes.
Drying Your Boots
Moisture is the enemy of most boot materials if left unchecked.
- Air Dry: Always air dry your boots at room temperature. Never place them near direct heat sources like fires, radiators, or in direct sunlight for extended periods, as this can dry out and crack leather, delaminate adhesives, and degrade waterproof membranes.
- Stuff with Paper: To help absorb internal moisture and maintain boot shape, loosely stuff them with newspaper or paper towels. Replace the stuffing if it becomes saturated.
Conditioning and Waterproofing Treatments
Treating your boots helps maintain their water resistance and material integrity.
- Leather Boots: Leather uppers benefit from conditioning to keep them supple and prevent drying or cracking. Use a specialized leather conditioner or wax; follow manufacturer recommendations, as some products can affect breathability or the performance of waterproof membranes.
- Waterproof Treatments: For boots with waterproof membranes, periodic reapplication of a DWR (Durable Water Repellent) finish can help maintain their performance. This treatment is usually applied to the outer fabric or leather.
- Frequency: The need for conditioning and waterproofing depends on how often you hike and the conditions you encounter. A good rule of thumb is to treat them annually, or more often if they frequently get very wet or exposed to harsh elements.
Inspecting for Wear and Tear
Regularly check your boots for signs of damage or impending failure.
- Soles: Look for worn-down lugs or separation of the outsole from the midsole.
- Stitching and Seams: Inspect all stitching for fraying. Check seams, especially around waterproof areas, for any signs of separation.
- Eyelets and Laces: Ensure all eyelets are secure and laces are in good condition.
- Midsole: Check for excessive compression or cracking in the midsole material.
By following these simple maintenance steps, you’ll ensure your hiking boots remain a reliable and comfortable partner on countless trails.
Real Scenarios: Who Needs What Kind of Boot?
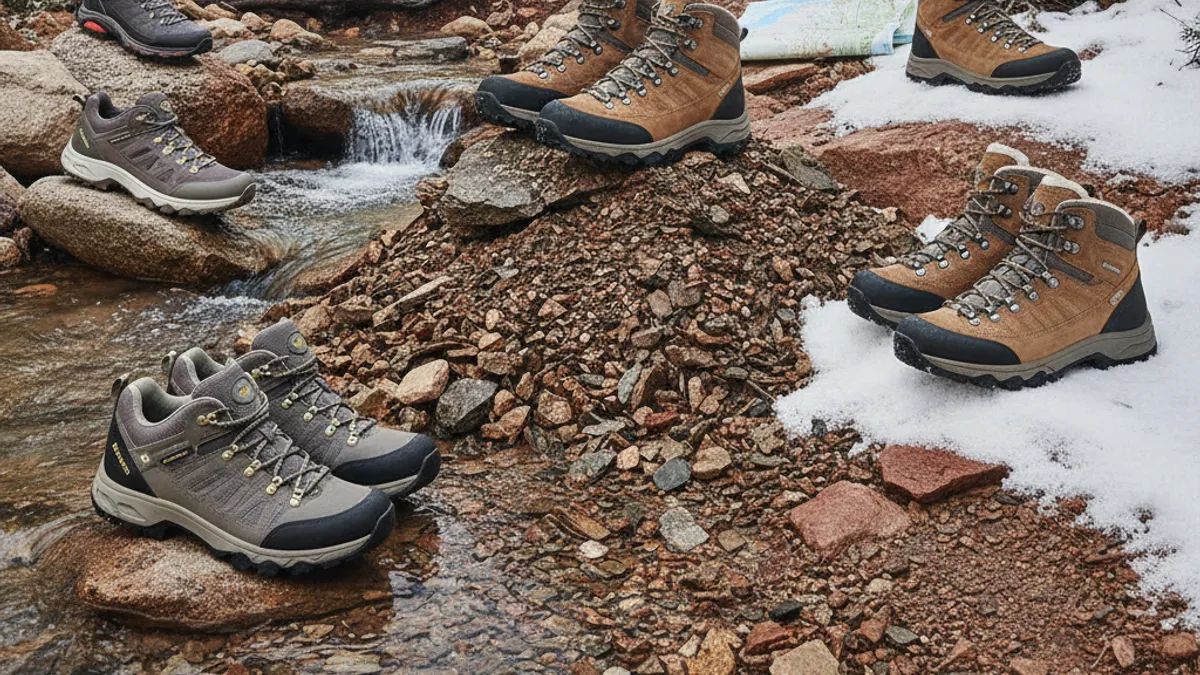
Let’s look at a few hypothetical hikers to illustrate how the previous points come together in real-world choices. These scenarios highlight how your personal hiking style directly influences your boot selection.
- The Weekend Warrior: Sarah hikes most Saturdays on local trails and enjoys moderate elevation changes. She typically carries a daypack with water and snacks. For her, a mid-weight, waterproof hiking boot with good ankle support is ideal. She needs something durable enough for varied trails but not so heavy that it tires her out. She might consider a boot with a split-grain leather and mesh upper for breathability. What To Bring On A Day Hike is a good list for Sarah’s outings.
- The Backcountry Explorer: Mark is planning a week-long backpacking trip in the Rockies. He’ll be carrying a pack loaded with gear and food, covering significant mileage daily. He needs maximum support and comfort. A robust, high-cut backpacking boot with a durable polyurethane midsole and a stiff shank is his best bet. These boots will prevent foot fatigue and provide the stability needed for rocky, uneven terrain. He’d also want to ensure it offers excellent waterproofing. For Mark’s trip, planning Hiking Meal Prep Ideas is as critical as the right boots.
- The Speed Tester: Chloe is training for a long-distance trail event and prioritizes speed and agility. Her hikes are often fast-paced, on well-maintained routes, and she carries a minimalist pack. A lightweight trail runner or a low-cut hiking shoe would be her choice. Breathability and flexibility are key for her, helping her maintain a quick pace without being weighed down. She might also look into Electrolytes For Hiking to stay energized.
FAQs: Your Burning Questions Answered
This section tackles some of the most common questions hikers have.
How long do hiking boots typically last?
The lifespan of hiking boots varies greatly depending on the materials, how often they’re used, the terrain, and how well they’re maintained. A pair of lightweight trail shoes might last 300-500 miles, while a sturdy pair of full-grain leather backpacking boots could last upwards of 1000 miles or more with proper care.
Is it okay to hike in old, worn-out boots?
No, it’s generally not recommended. As boots wear down, their support, cushioning, and traction degrade. This significantly increases your risk of blisters, foot pain, ankle injuries, and slips. It’s better to replace worn-out boots before they cause problems on the trail.
How much should I expect to spend on good hiking boots?
Prices vary widely. Lightweight trail shoes can range from $80 to $150. Mid-weight hiking boots typically fall between $120 and $220. Heavy-duty backpacking boots can cost anywhere from $180 to $300 or more.
Remember that investing in a quality pair that fits well is crucial for comfort and safety, often proving more cost-effective in the long run than replacing cheaper, less durable options.
Do I need different boots for different seasons?
While not always mandatory, many hikers find that specialized boots enhance comfort and performance. For winter hiking in snow and cold, insulated, waterproof boots with aggressive traction are essential. For hot summer hikes, highly breathable, lighter-weight options might be preferred. However, a good mid-weight boot with appropriate socks can often handle a range of conditions.
Can I use my regular athletic shoes for hiking?
For very short, flat, and easy trails, they might suffice in a pinch. However, regular athletic shoes typically lack the ankle support, robust outsole traction, and durability needed for most hiking. They can lead to foot fatigue, blisters, and an increased risk of sprains. For anything more than a brief stroll on a groomed path, dedicated hiking footwear is a much safer and more comfortable choice.
What Is Hiking involves more than just a simple walk.
Expert Tips: Pro Advice for Choosing Your Next Pair
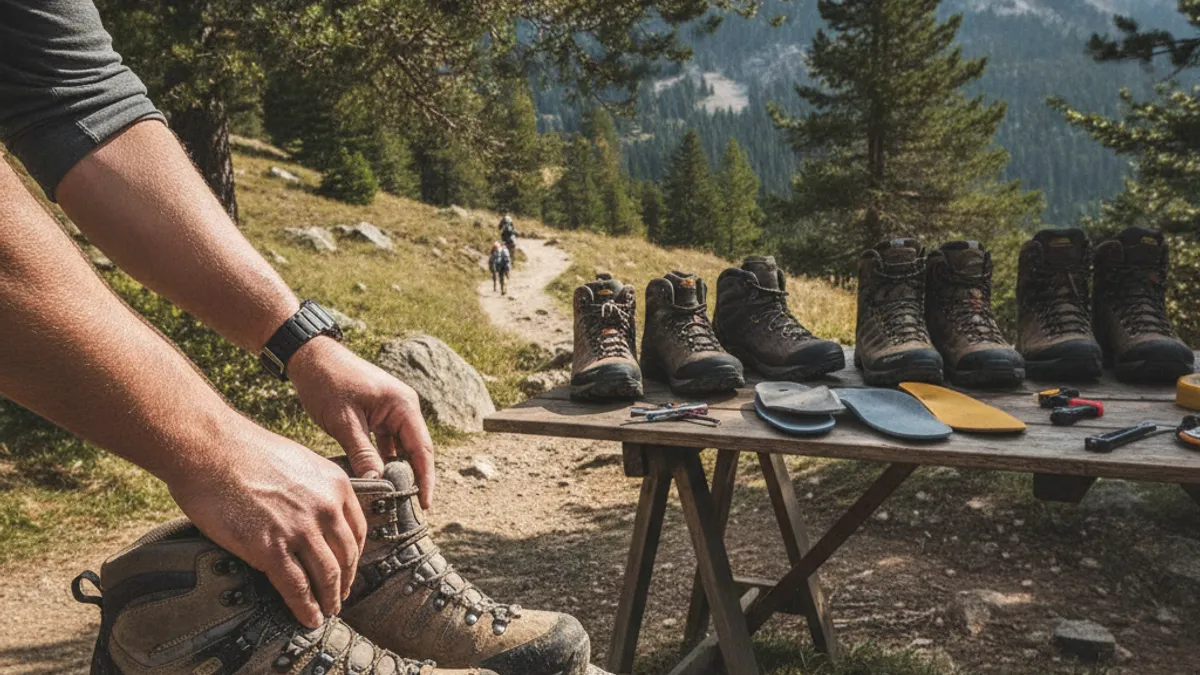
Beyond the basic fitting and features, a few expert insights can help you make the best decision.
- Consider Weight Distribution: When researching boots, check their weight. Lighter boots are less tiring over long distances, but they typically sacrifice durability and support. Aggregate reviews suggest that for backpacking, reducing boot weight by even half a pound per boot can significantly decrease perceived effort.
- Think About Your Pack Weight: As mentioned, your backpack’s load heavily influences the type of support you need. A heavier pack demands a stiffer, more supportive boot to carry the load comfortably and safely. If you’re carrying 30+ lbs regularly, look at boots with PU midsoles and robust shanks.
- Don’t Discount Brands, But Don’t Worship Them: While some brands are known for specific qualities (e.g., durability, comfort, specific fit profiles), every model is different. What works for one person in a brand might not work for another. Focus on the specific boot’s features and fit for your foot.
- Listen to Your Feet: Ultimately, your feet will tell you what works. If a boot feels “off” in any way during the fitting process, trust that instinct. Many experienced hikers also carry blister prevention or treatment items, like moleskin.
Final Recommendation: Making Your Boots Work for You
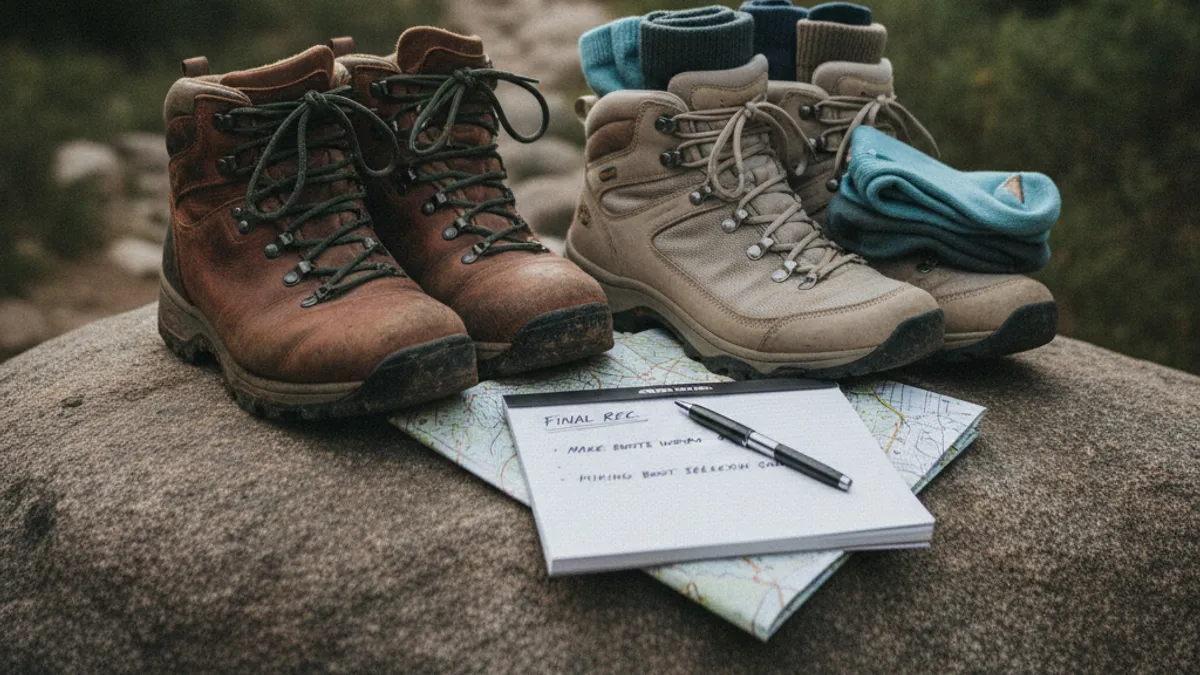
Choosing hiking boots is a process, not a single decision. It starts with understanding your hiking habits and then evaluating boots based on their features, fit, and suitability for your intended use. Remember, the best boot is the one that supports your feet, protects you from the terrain, and allows you to enjoy your time outdoors comfortably and safely.
