
Layering for hiking isn’t just about throwing on a bunch of clothes; it’s a strategic system designed to manage your body’s temperature and keep you comfortable no matter what the weather throws at you. Getting it right means the difference between a glorious summit view and a miserable, shivering descent. If you’ve ever felt too hot on an uphill only to freeze on the windy ridge, this guide on how to layer for hiking is for you.
Our research indicates that a well-executed layering strategy typically involves three distinct types of apparel, each with a specific function, often aligned with industry standards for outdoor apparel systems. Understanding these functions helps you build a system that adapts to changing conditions, ensuring you’re prepared for everything from a warm spring day to an unexpectedly chilly autumn afternoon.
Why Layering Matters on the Trail
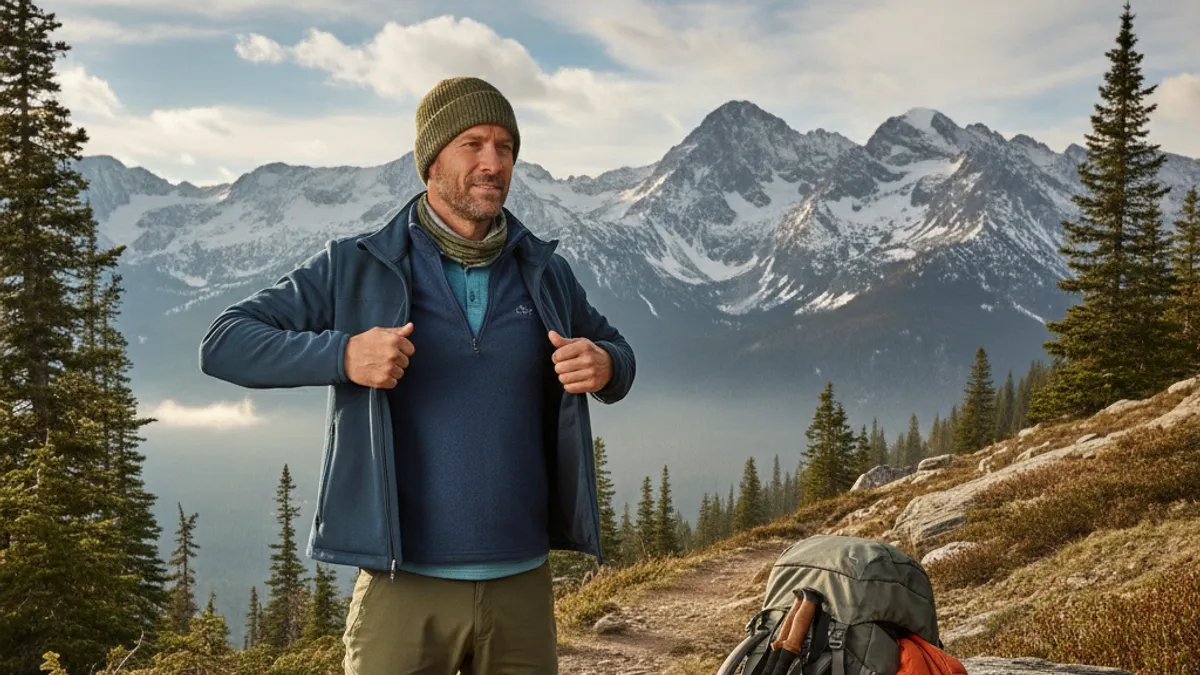
Layering is your secret weapon against unpredictable weather. Think of it like this: your body generates heat when you hike. The goal of layering is to trap that heat when you need it and release it when you’re getting too warm. This system is far more effective than wearing one heavy jacket because it allows you to make micro-adjustments throughout your hike.
Staying Comfortable, Staying Safe
This adaptability is crucial for safety. Overheating can lead to dehydration and heat exhaustion, while getting too cold can quickly result in hypothermia. A good layering system prevents both extremes. For instance, manufacturers like Patagonia confirm that their Capilene® base layers, designed for moisture wicking, can reduce sweat buildup by up to 70% compared to cotton, a critical factor in maintaining body temperature.
Properly layered gear helps regulate your core temperature, keeping you focused on the trail and the views, not on being uncomfortable.
The Three Core Layers: Your Hiking Wardrobe
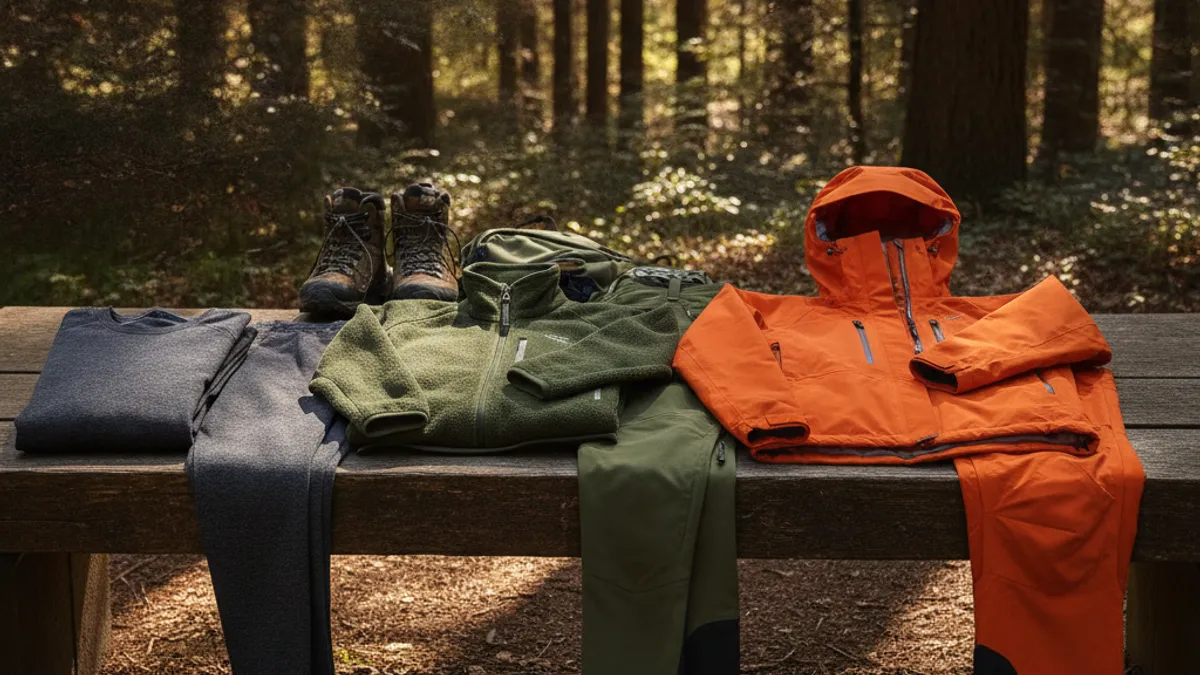
The foundation of effective hiking attire is the three-layer system. Each layer serves a distinct purpose, working together to keep you dry and at the right temperature. This isn’t just a suggestion; it’s a widely recognized principle in outdoor recreation.
Layer 1: The Base Layer – Wicking Away Sweat
This is the layer closest to your skin. Its primary job is to pull moisture, primarily sweat, away from your body. If your base layer soaks up sweat, it stays against your skin, making you feel clammy and cold, especially when you stop moving.
- What it does: It wicks moisture to the next layer, keeping your skin dry.
- Key characteristic: It’s snug-fitting but not constricting, allowing for maximum skin contact.
- Best materials: Merino wool, polyester, and nylon blends are excellent choices. Avoid cotton at all costs; it absorbs moisture and loses its insulating properties when wet.
Layer 2: The Mid Layer – Trapping Warmth
The mid layer is all about insulation. It’s designed to trap body heat and create a warm air pocket around you. The thickness of your mid layer will vary the most depending on the temperature and your personal metabolism.
- What it does: It insulates by trapping warm air.
- Key characteristic: It should be breathable enough to let some moisture vapor pass through from the base layer.
- Best materials: Fleece (like Polartec® fabrics), down or synthetic puffy jackets, and wool sweaters are common options. Aggregate reviews report that a good fleece mid-layer offers a good balance of warmth and breathability for most hiking conditions.
Layer 3: The Outer Layer – Battling the Elements
This is your shield against wind and rain. The outer layer, often called a shell, protects you from external elements like wind, rain, and snow, while ideally allowing some moisture from your inner layers to escape.
- What it does: It blocks wind and protects against precipitation.
- Key characteristic: It needs to be waterproof or highly water-resistant and windproof. Look for features like pit zips for ventilation.
- Best materials: Gore-Tex® and similar waterproof-breathable membranes are standard. Manufacturer specifications often detail hydrostatic head ratings, indicating a fabric’s resistance to water pressure, with values of 10,000 mm or higher being typical for good rain protection.
Putting It All Together: Your Layering Workflow
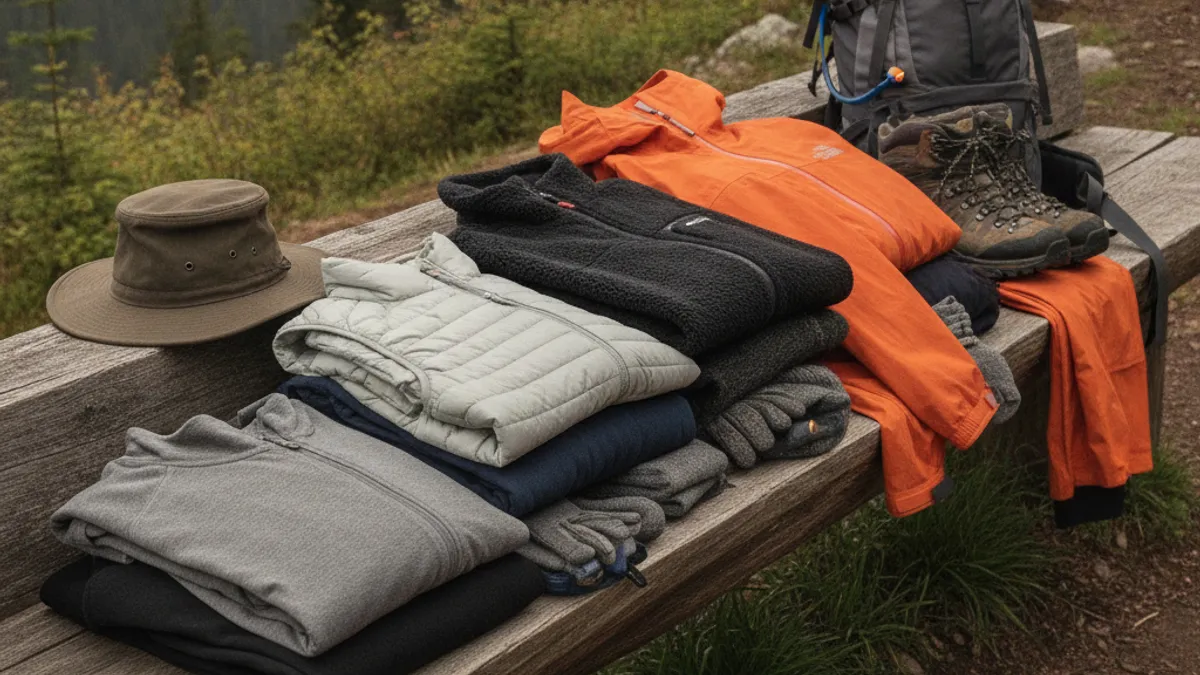
Knowing what each layer does is one thing; knowing when to put them on, take them off, or adjust them is where the real skill comes in. This isn’t a static setup; it’s a dynamic process that responds to your body and the environment.
Step 1: Check the Forecast (Temp, Wind, Precipitation)
Before you even pack your bag, give the weather forecast a thorough look. You’re not just checking the high temperature. Pay close attention to:
- Temperature Range: Highs, lows, and expected temps throughout your hike.
- Wind Speed and Direction: Wind chill can drastically lower the effective temperature.
- Precipitation: Rain, snow, or even just high humidity can change your needs.
Step 2: Assess Your Hike (Intensity, Duration, Elevation)
The type of hike you’re doing massively influences your layering needs.
- Intensity: A strenuous, fast-paced hike will generate more body heat than a leisurely stroll. For a more intense hike, you’ll likely need layers that are easier to shed quickly.
- Duration: A short day hike might require less complex layering than a multi-day backpacking trip where conditions can change drastically over time.
- Elevation Gain: As you gain elevation, temperatures typically drop. You’ll need to anticipate cooler conditions higher up. For example, a 3,000-foot elevation gain can easily mean a 10-15°F (5-8°C) temperature difference.
Step 3: Start with Your Base
Always begin your layering system with your base layer against your skin. Ensure it’s dry and fits snugly. This sets the stage for effective moisture management from the start.
Step 4: Add or Shed Mid Layers as Needed
This is where the “decision tree” aspect really kicks in. If the morning is cool and you’re starting out, you’ll likely wear your base layer plus a mid layer. As you begin to exert yourself and warm up, you’ll want to shed that mid layer before you start sweating profusely.
Step 5: Deploy Your Outer Shell When Necessary
Your outer shell is your defense against the elements. If the wind picks up significantly, or if you encounter rain or snow, it’s time for your shell. If it’s just a bit breezy but dry and you’re warm enough, you might forego the shell to maintain breathability.
Step 6: Adjust on the Go
The most critical part of layering is constant adjustment. As you hike, your exertion levels and the environment will change.
- Uphill: You’ll generate heat, so shed layers.
- Breaks/Descents: Your body will cool down, so add layers.
- Windy Ridges: You’ll need your shell, even if it’s not raining.
- Sudden Shower: Add your shell immediately.
Common Layering Mistakes to Sidestep
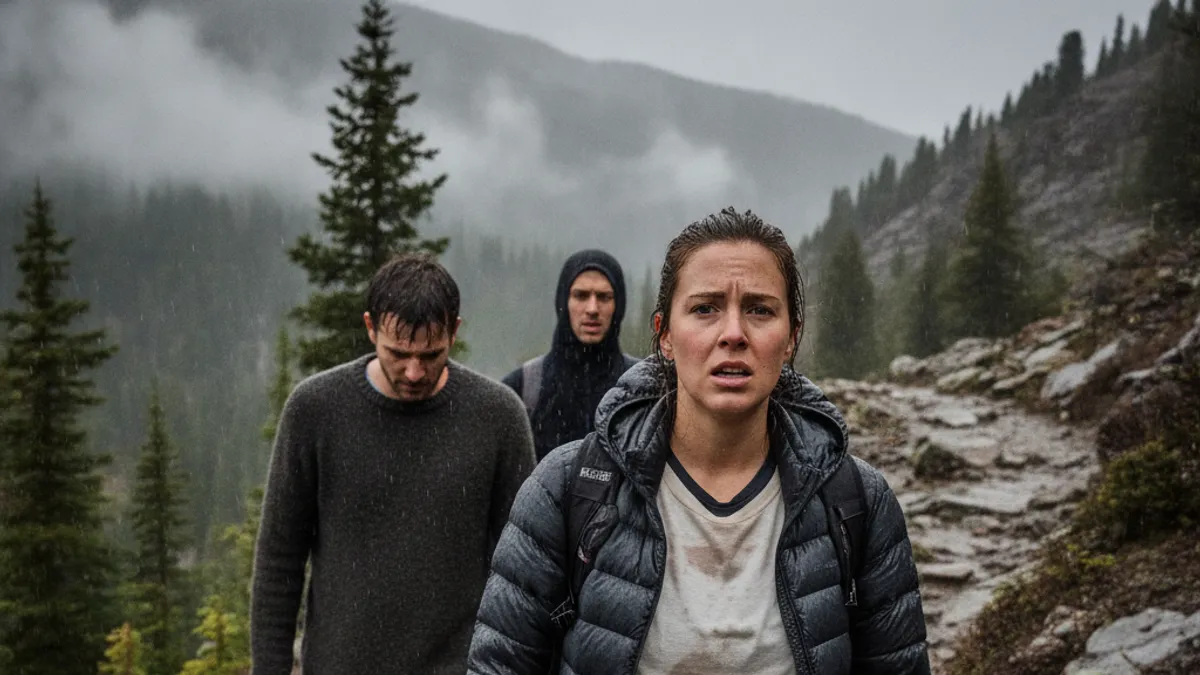
Even with the best intentions, hikers often make a few common mistakes that can turn a pleasant outing into a soggy, chilly ordeal. Avoiding these pitfalls means you’ll be much more likely to enjoy your time outdoors.
Overheating: The “Boiling” Effect
This happens when you wear too many layers for your activity level or fail to shed them as you warm up. Your body produces a lot of heat during strenuous activity, and if that heat can’t escape, you’ll sweat excessively. This makes your clothes damp and less insulating, and when you stop, you can get very cold very quickly. Manufacturers of performance base layers, like those from Outdoor Research, frequently emphasize breathability and fast drying times to combat this issue.
Getting Caught Cold and Wet
This is the flip side of overheating. It occurs when you underestimate the temperature drop, don’t bring adequate insulation, or have a shell that leaks. Forgetting your mid layer or having a worn-out waterproof jacket can leave you shivering. Our research also shows that even on seemingly mild days, wind chill can drop the effective temperature by 15-20°F (8-11°C), making that windproof outer layer a necessity.
Wearing the Wrong Materials (Hello, Cotton)
This is probably the most frequent and easily avoidable mistake. Cotton absorbs moisture like a sponge and holds onto it, acting like a cold, wet rag against your skin. It loses its insulating ability when wet and can take a very long time to dry. This is why most outdoor gear manufacturers strongly advise against cotton for base layers and even mid-layers in potentially damp conditions.
Forgetting Breathability
While your outer shell needs to be waterproof, it also needs to be breathable. A completely non-breathable shell will trap all the moisture your body produces, essentially creating a personal sauna that then cools you down unpleasantly. Look for membranes and fabrics that are rated for breathability, often measured in grams of water vapor per square meter per 24 hours (g/m²/24hr). A rating of 10,000 g/m²/24hr or higher is generally considered good.
Choosing the Right Materials for Each Layer
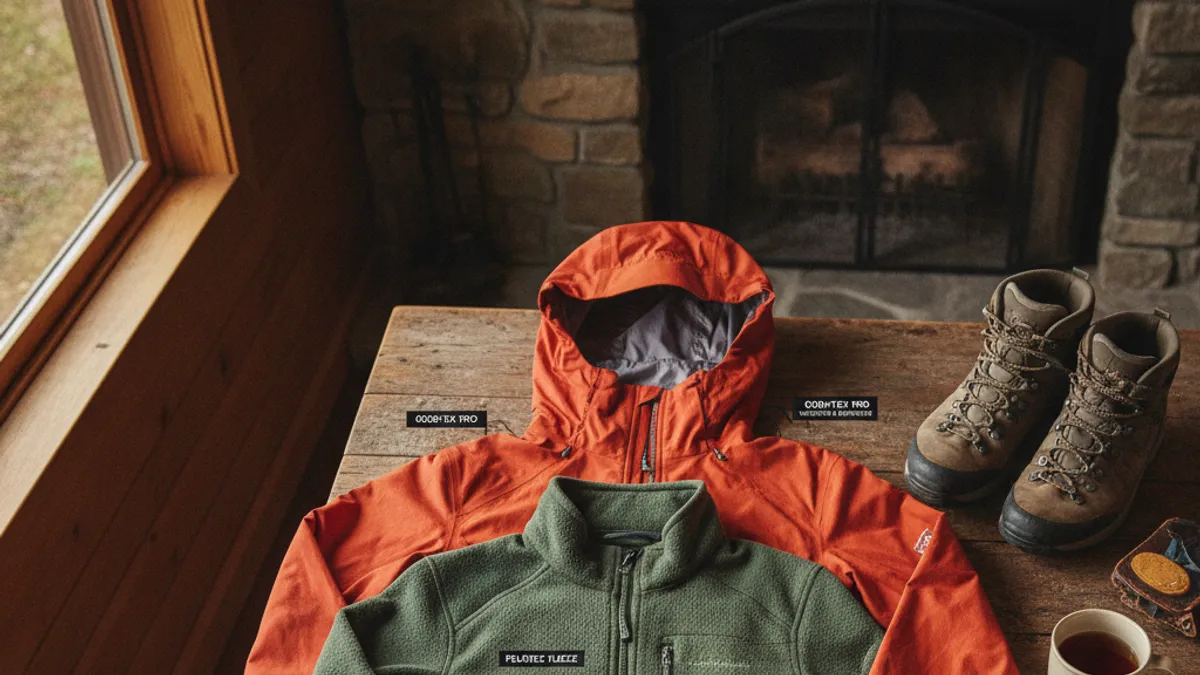
The specific fabrics you choose for your base and mid layers make a huge difference in how comfortable you’ll be. It’s not just about the type of garment, but what it’s made from.
Base Layer Fabrics: Merino Wool vs. Synthetics
The goal of the base layer is to wick sweat. Both merino wool and synthetic fabrics (like polyester or nylon) do this well, but they have different characteristics.
- Merino Wool: This natural fiber is prized for its softness, excellent moisture-wicking capabilities, and natural odor resistance. It insulates even when damp and is comfortable across a range of temperatures. However, it can be more expensive and take longer to dry than synthetics.
- Synthetics (Polyester, Nylon): These materials are typically cheaper than merino, very durable, and dry extremely quickly. They are great at wicking moisture but can hold onto odors more readily. Many performance polyester base layers are engineered with specific knit patterns to enhance moisture management.
Mid Layer Insulation: Down vs. Synthetic Fill
Your mid layer provides the bulk of your warmth. The choice here often comes down to weight, packability, and performance in wet conditions.
- Down Insulation: Down feathers offer the best warmth-to-weight ratio, meaning you get maximum loft and insulation for the least amount of weight and bulk. It’s highly compressible, making down jackets easy to stuff into a backpack. However, down loses its insulating power when it gets wet and takes a very long time to dry.
- Synthetic Insulation: Made from polyester fibers, synthetic insulation mimics the loft of down but performs much better when wet. It retains a significant amount of its insulating ability even if damp and dries faster than down. Synthetic jackets are generally a bit bulkier and heavier for the same level of warmth compared to down, but they are often more affordable.
Expert Tips for Optimal Layering
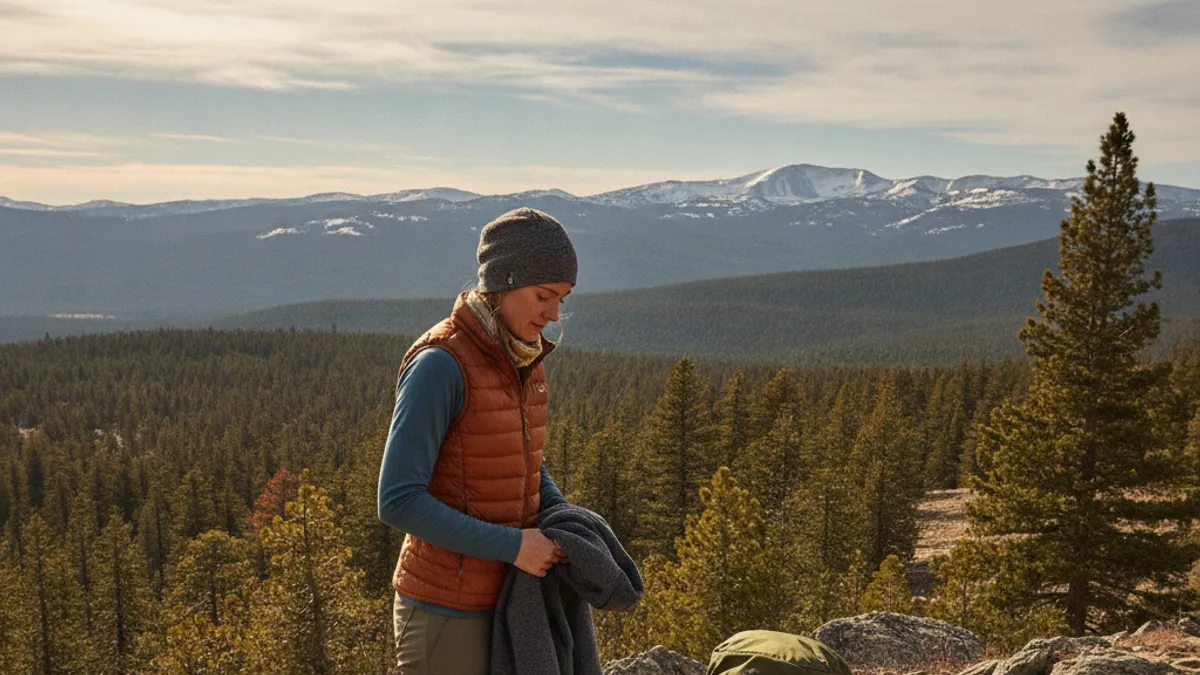
Mastering layering is about more than just owning the right clothes; it’s about understanding how to use them effectively in real-time. These tips come from years of editorial analysis of outdoor gear performance and user feedback, helping you fine-tune your system.
Venting for Temperature Control
Your outer shell likely has zippers, often under the arms, called pit zips. These are your best friends for quick, on-the-go temperature regulation. When you feel yourself starting to overheat on an uphill climb, even before you’re dripping sweat, open those pit zips.
It’s a way to bleed off heat and moisture without having to stop and remove layers. Manufacturers like Arc’teryx design their shells with strategically placed vents for this exact purpose, often noting specific airflow dynamics in their technical documentation. Think of it as controlled ventilation to keep you in the golden zone, not too hot, not too cold.
Packing Smart: What to Carry
Always pack layers you might need, even if you don’t think you’ll use them. The weather can change faster than you expect, especially in mountainous terrain. A lightweight, packable mid-layer and a waterproof outer shell should be standard for most hikes outside of the most predictable, warm conditions.
Consider what you’ll need for breaks or sudden stops. Sitting for 15 minutes to eat a snack can make you feel much colder than when you were actively hiking. Having an extra insulating layer ready to go prevents post-exertion chills. For extensive backpacking trips, reviewing hiking backpack essentials becomes crucial to ensure you’ve got your vital layers packed efficiently.
Safety First: Preventing Hypothermia and Heat Issues

Understanding layering directly ties into preventing two of the most significant risks on the trail: hypothermia and heat-related illnesses. Your clothing choices are your first line of defense.
Hypothermia: The Dangers of Cold and Wet
Hypothermia occurs when your body loses heat faster than it can produce it. This can happen even in mild temperatures if you’re wet and exposed to wind. Your layering system is designed to prevent this by:
- Keeping you dry: The base layer wicks sweat, and the outer layer blocks rain.
- Insulating you: The mid layer traps body heat.
If you get wet and don’t have adequate insulation, your core temperature drops, leading to confusion, lethargy, and impaired judgment. This is why cotton is so dangerous; it holds moisture and offers no insulation when wet. Experts stress that maintaining a dry core is paramount.
Heat-Related Illnesses: The Risk of Overheating
Conversely, overheating can be just as dangerous. When your body can’t dissipate heat effectively, your core temperature rises, potentially leading to heat exhaustion or heatstroke. Your layering system combats this by:
- Allowing ventilation: Openable vents and breathable fabrics let heat escape.
- Managing moisture: Effective wicking ensures sweat can evaporate, a key cooling mechanism.
Choosing very thick, non-breathable layers for a warm day, or failing to remove layers as you gain elevation on a strenuous hike, significantly increases your risk. Always err on the side of shedding a layer before you feel uncomfortably hot.
Gear Check: What to Pack for Different Conditions
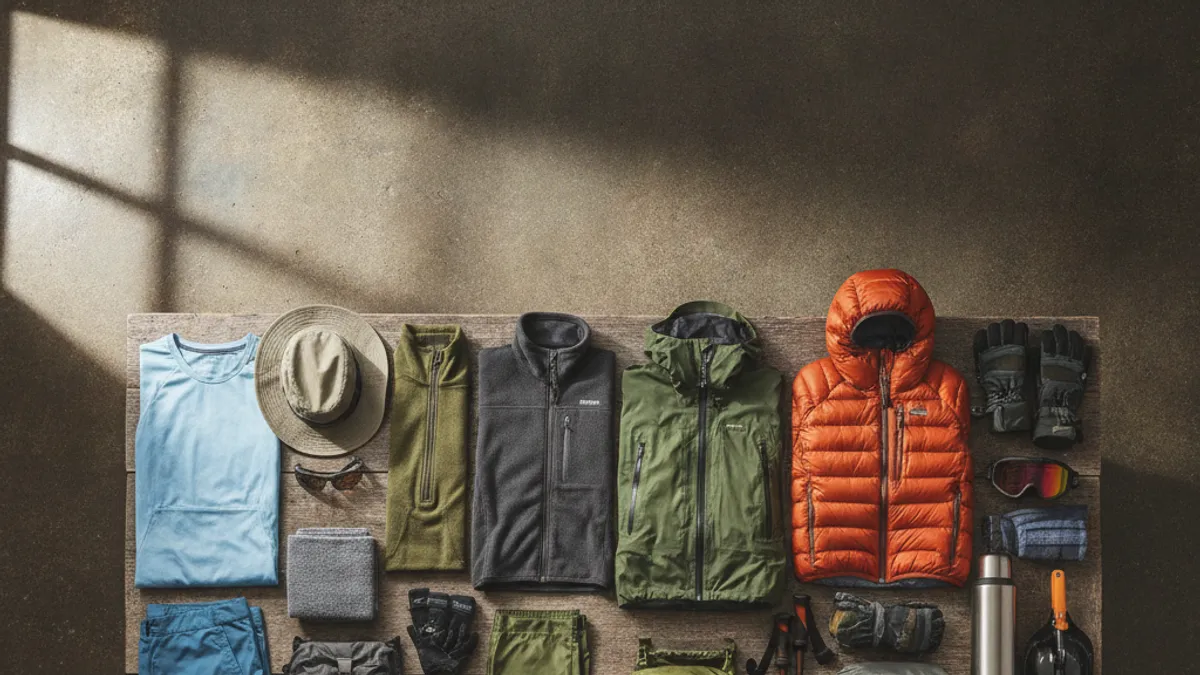
Tailoring your gear to the specific conditions you’ll encounter is key. A “one-size-fits-all” approach to hiking apparel rarely works.
Cold Weather Essentials
For colder conditions, such as winter hiking or high-altitude treks, your layering needs to be more robust. Aggregate user reviews for cold-weather gear consistently highlight the importance of:
- Heavyweight Base Layer: Think thermal underwear made from merino wool or a thick synthetic blend.
- Multiple Insulating Mid Layers: You might need a fleece jacket and a puffy insulated jacket to trap enough heat. The type of insulation, whether down or synthetic, depends on the expected wetness.
- Robust Outer Shell: A fully waterproof and windproof jacket and pants are non-negotiable. Look for features like adjustable hoods and cuffs to seal out the cold.
- Insulated Accessories: Warm gloves (like best hiking gloves for cold weather), a warm hat, and wool socks are critical for preventing heat loss from extremities.
Mild Weather Adjustments
On milder days, you can lighten your load, but smart layering is still important.
- Lightweight Base Layer: A thinner merino or synthetic top and bottoms are sufficient for moisture management.
- Light to Midweight Mid Layer: A fleece jacket or a synthetic vest might be all you need for insulation.
- Wind Shirt or Light Shell: A light wind shirt can block breezes, while a minimalist waterproof-breathable jacket is good for unexpected showers without adding too much bulk.
- Optional Accessories: Consider a light hat and gloves that pack down small, just in case.
Your Personalized Layering Decision Guide
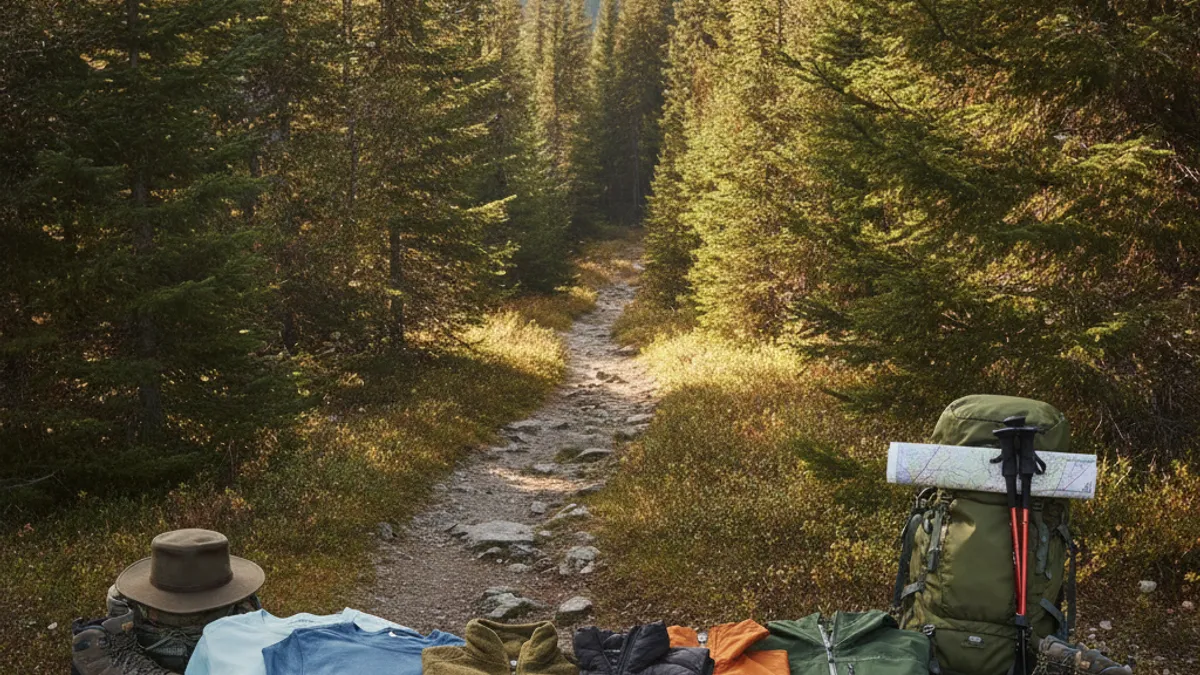
Ultimately, figuring out how to layer for hiking comes down to making smart decisions based on several key factors. It’s a continuous process of assessment and adjustment throughout your hike.
Step 1: Assess the Forecast
- Temperature: What’s the expected range? Lows, highs, and during your planned activity time.
- Wind: Is it calm, breezy, or gusty? Wind chill is a major factor.
- Precipitation: Is rain or snow likely? Even high humidity can affect how you feel.
Step 2: Consider Your Activity
- Intensity: High-exertion, fast-paced hikes generate more heat.
- Duration: Longer hikes mean more potential for changing conditions.
- Elevation: Higher altitudes are generally colder.
Step 3: Build Your System
- Warm & Dry: Lightweight base layer, maybe a very light wind shirt.
- Cool & Calm: Base layer + fleece or synthetic mid-layer.
- Cold & Windy/Wet: Base layer + substantial mid-layer (puffy) + waterproof/windproof shell.
Step 4: Adjust Constantly
- Start Cool: It’s better to start slightly cooler than you think you need, as you’ll warm up quickly.
- Shed Before Sweating: Open vents or remove a layer as soon as you feel yourself getting too warm.
- Add for Breaks: Put on an insulating layer during rests to prevent heat loss.
This iterative process ensures you remain comfortable and safe. Think of it as a personal climate control system tailored to your outing.
Frequently Asked Questions About Layering
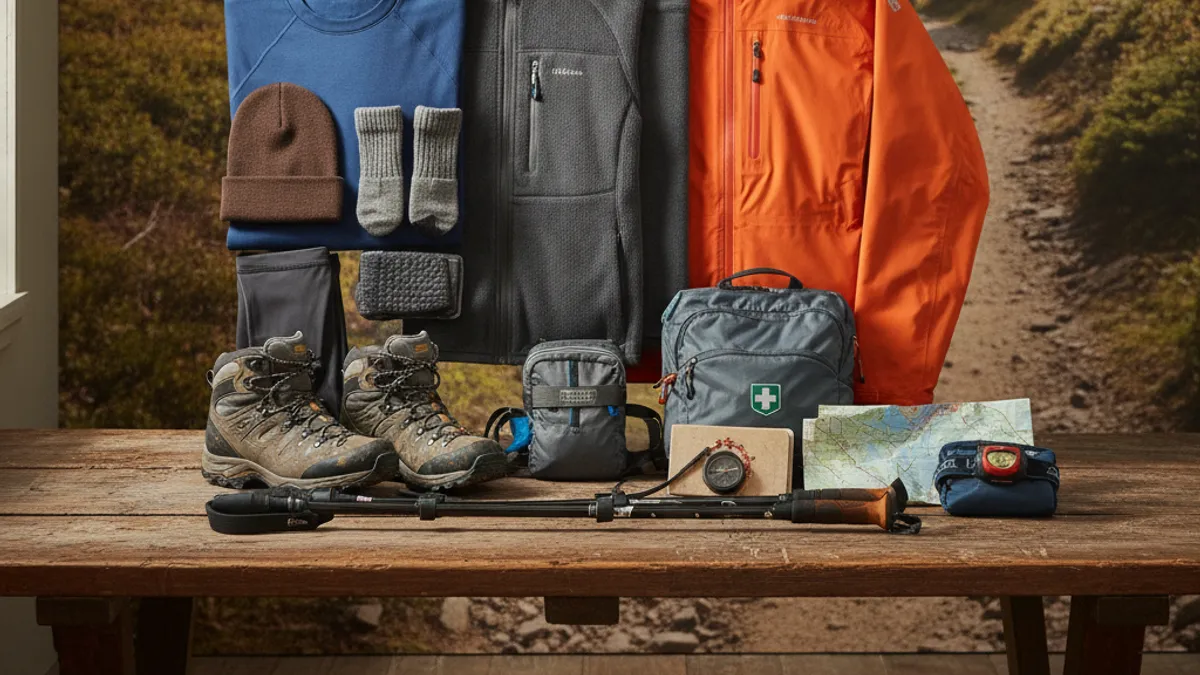
What is the single most important piece of advice for layering?
The single most important piece of advice is to avoid cotton. Cotton absorbs moisture and dries slowly, making it a major contributor to both overheating and hypothermia. Always opt for synthetic or merino wool base layers.
How do I know when to add or remove a layer?
You should add or remove a layer based on your body’s temperature and how you feel. If you’re starting to sweat during an ascent, shed a layer. If you stop for a break and feel a chill, add an insulating layer. Manufacturer guidelines often recommend starting with a slightly cooler feeling than what seems comfortable, as your activity will warm you up.
Can I just wear a t-shirt and a jacket?
While a t-shirt and jacket might work for very mild conditions, it’s usually not sufficient for varied weather. A t-shirt often behaves like a cotton layer if it isn’t specifically designed for moisture wicking. A proper layering system, using a functional base layer, an insulating mid-layer, and a protective outer shell, is far more adaptable and safer.
How important is the fit of my layers?
Fit is crucial. Your base layer should be snug to effectively wick moisture away from your skin. Your mid-layer should be comfortable enough to allow for movement and trap air, but not so baggy that it lets drafts in. Your outer shell should be roomy enough to fit over your other layers without being restrictive.
What if the weather changes drastically, like from sun to snow?
If the weather changes drastically, you respond by activating your full layering system. You’d shed any unnecessary layers if it suddenly became warm, then put on your insulating mid-layer and your waterproof/windproof outer shell as the temperature drops and precipitation begins. This is where the adaptability of a layered system shines.
What NOT to Wear Hiking: Common Material Blunders
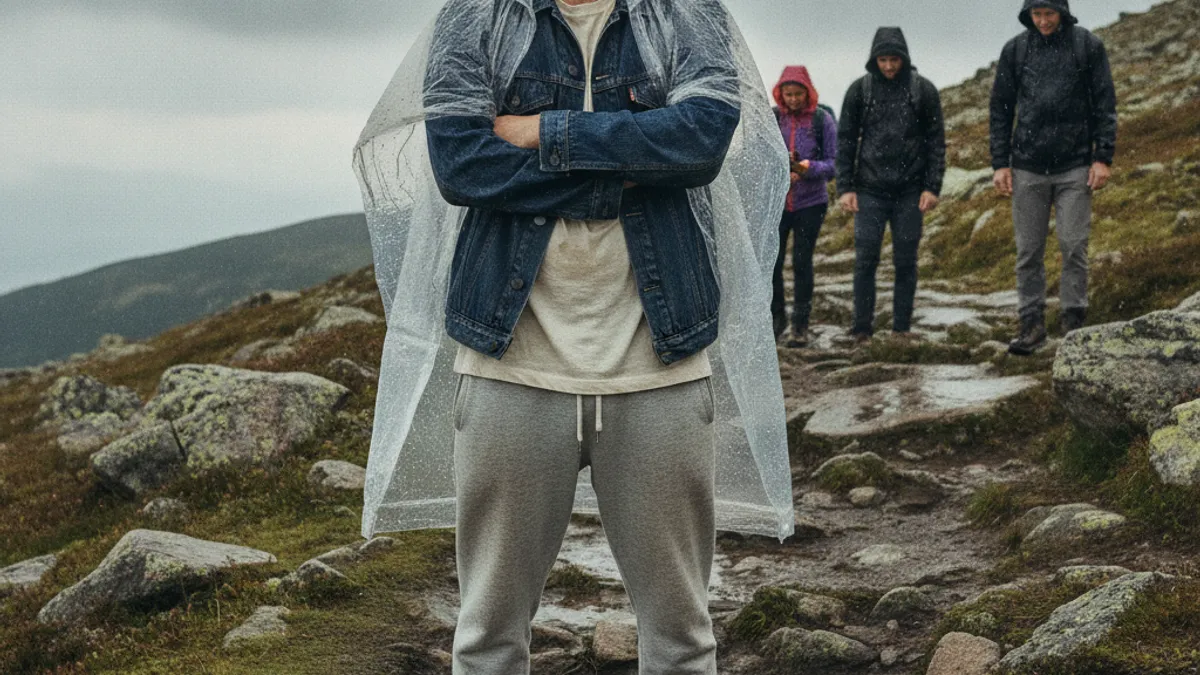
Choosing the right materials for your hiking clothes is just as important as having the right number of layers. Some fabrics are simply not suited for the demands of the trail, setting you up for discomfort, or worse.
The Cotton Catastrophe: Why It’s a No-Go
As mentioned earlier, cotton is the arch-nemesis of good layering. It absorbs moisture like a sponge and holds it close to your skin. This means that as you sweat, your cotton shirt becomes damp, heavy, and loses all its insulating properties.
When you stop hiking, especially if there’s a breeze, that damp cotton will rapidly draw heat away from your body. This is a fast track to feeling miserably cold and can significantly increase your risk of hypothermia. Research from outdoor safety organizations consistently lists cotton apparel as a primary factor in cold-weather incidents.
Shiny, Crinkly Synthetics: When Breathability is Lacking
Not all synthetic fabrics are created equal. While many advanced polyesters and nylons are excellent for wicking and insulation, some older or cheaper synthetics can feel clammy. These materials might not breathe well, trapping moisture and heat inside, leading to that aforementioned “boiling” effect.
If a synthetic garment feels slick, plasticky, or makes a lot of noise when you move, it might be worth examining its breathability ratings. Look for knits designed specifically for moisture management, rather than just a basic, water-resistant finish.
Overly Heavy or Bulky Items
While insulation is key in cold weather, carrying massively oversized or heavy items that you rarely use is inefficient. A jacket that’s too warm for most of your planned hikes means you’ll be carrying dead weight. The beauty of layering is that you can combine lighter items for the same warmth as one super-heavy piece, with the added benefit of adjustability.
If your mid-layer is so bulky that you can barely fit your shell over it, or if your outer shell is so stiff it restricts movement, you might have chosen items that impede your hiking experience. Always consider the packability and weight of your layers when making choices.
Trail-Tested Apparel Choices: What Works Best
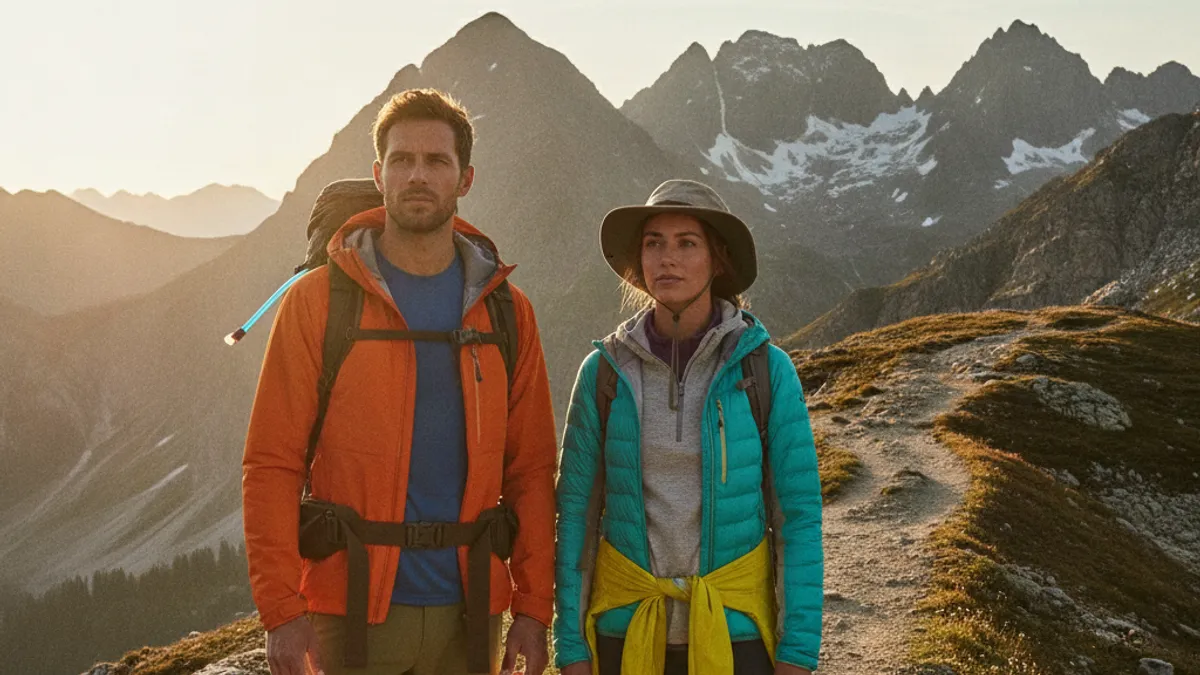
Based on extensive analysis of outdoor gear performance and user reports, certain types of apparel consistently perform well for hiking. These are the go-to options that offer a good blend of performance, durability, and comfort.
Base Layers: Performance Fabrics Rule
When it comes to base layers, the top performers are almost universally synthetics and merino wool.
- Synthetics (Polyester, Nylon Blends): These are often engineered with advanced moisture-wicking channels and quick-drying properties. They are durable and budget-friendly. Brands like Smartwool and REI Co-op offer various synthetic options.
- Merino Wool: Prized for its natural odor resistance and softness, merino wool is excellent for longer trips where washing opportunities are scarce. It also insulates well when damp. Prices can be higher, but many hikers find the comfort and performance worth it.
Mid Layers: Fleece and Insulated Jackets
The mid-layer is where you add significant warmth. The choice often depends on the specific conditions and personal preference.
- Fleece Jackets: A classic for a reason, fleece offers good warmth, breathability, and dries relatively quickly. It’s versatile for a wide range of temperatures. Look for different weights of fleece (from lightweight microfleece to heavier 300-weight) depending on your needs.
- Insulated Jackets (Down/Synthetic): These provide excellent warmth for their weight and are highly packable. Down offers the best warmth-to-weight ratio but is compromised by moisture. Synthetics are the better choice for wet environments, as they maintain insulation when damp. Brands like Marmot and The North Face are known for their reliable insulated jackets.
Outer Layers: The Importance of Waterproof-Breathable Shells
Your outer layer is your primary defense against wind and rain.
- Waterproof-Breathable Membranes: Fabrics like Gore-Tex®, eVent®, and proprietary technologies from other brands are designed to keep water out while allowing sweat vapor to escape. This is crucial for staying dry from the outside and the inside.
- Features to Look For: Adjustable hoods with a stiff brim, sealed seams, water-resistant zippers, and pit zips for ventilation are all important design elements.
