
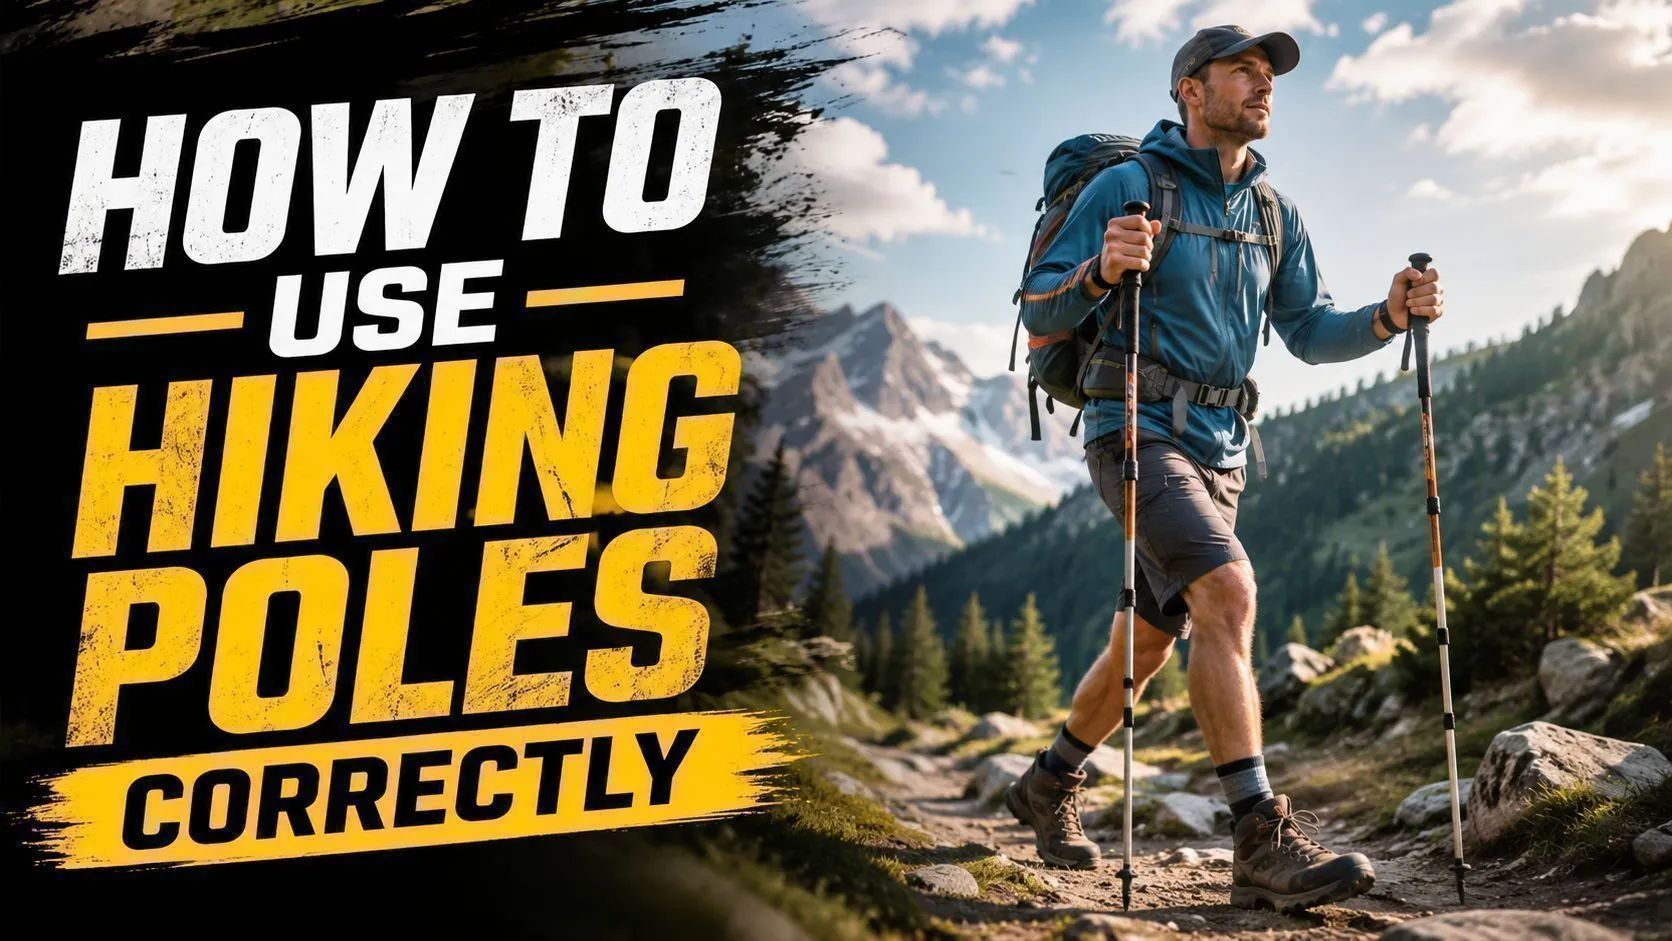
When I first started spending long weekends on the trail, I thought trekking poles were just for elderly walkers or hardcore mountain climbers. I decided to try a basic pair on a steep, rocky trail in the mountains, and let me tell you, I did almost everything wrong. My arms felt tired, my wrists hurt, and I kept tripping over the rubber tips. I quickly realized that learning how to use hiking poles correctly makes all the difference in the world.
Once you set them up properly, hiking poles act like an extra pair of legs. They take pressure off your knees, help you keep your balance on uneven dirt, and make long climbs feel far more manageable. Whether you are prepping for your very first day hike or looking to make backpacking trips easier on your body, mastering your poles is one of the best gear skills you can learn.
In this guide, I will walk you through setting your pole height, holding the wrist straps the right way, and finding a smooth walking rhythm. Let’s break down everything you need to know so you can feel confident on your next adventure.
Quick Answer
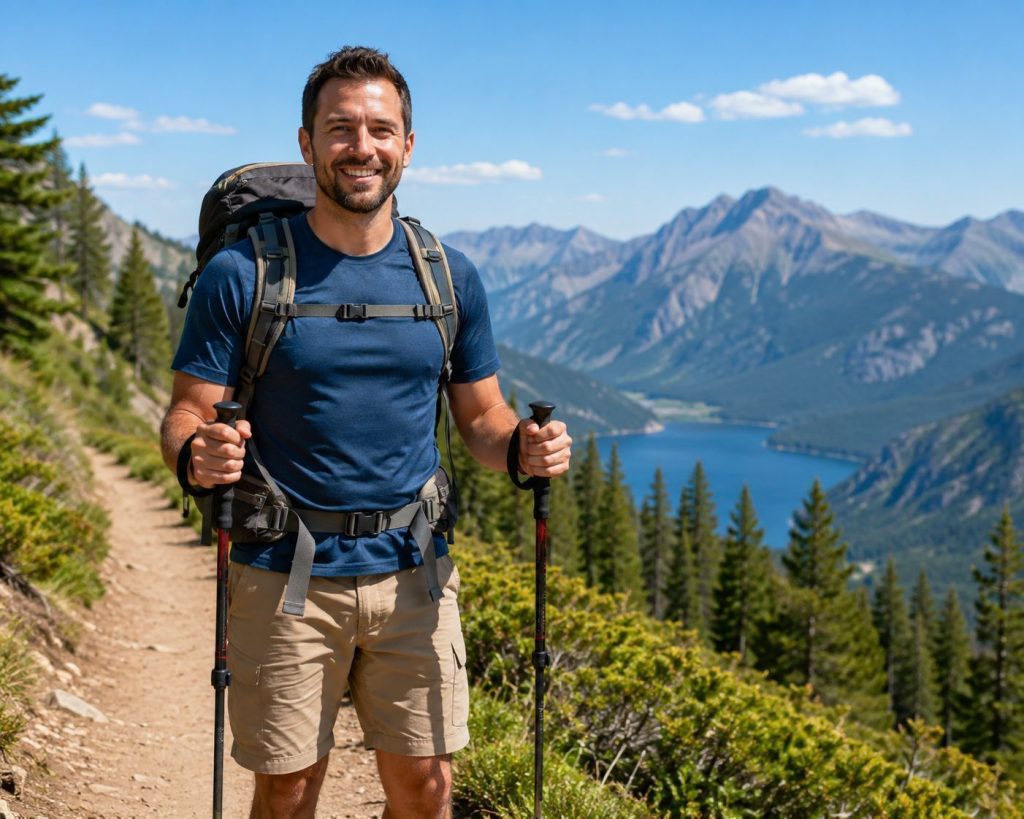
To use hiking poles correctly, adjust their height so your elbows form a clean 90-degree angle when holding the grips on flat ground. Slip your hands upward through the bottom of the wrist straps before resting your palms on the grips. As you walk, move each pole in opposition to your legs—your right pole plants when your left foot steps forward, and vice versa. Shorten your poles slightly for steep uphill climbs and lengthen them when heading downhill.
What Hikers Should Know About Hiking Poles
Hiking poles, also called trekking poles, are designed to give you extra stability and redistribute weight across your upper body. Instead of your legs absorbing every footfall, your shoulders, arms, and chest take on a portion of the workload. This is especially helpful when you are carrying a heavy daypack or backpacking setup.
Before adjusting your gear, it helps to understand the main parts of a standard trekking pole. Most modern poles share a few key features that work together on the trail:
- The Grip: Made from cork, foam, or rubber where your hand rests while walking.
- The Wrist Strap: Fabric loops attached to the grip that support your body weight so you do not have to squeeze the handles tightly.
- Adjustable Shafts: Telescoping aluminum or carbon fiber sections locked in place by lever mechanisms or twist locks.
- Baskets: Small plastic discs near the bottom that keep your poles from sinking into deep mud, soft sand, or snow.
- The Tip: Tough carbide or steel points at the bottom that bite into dirt, gravel, and rock for instant traction.
Using poles is not just about making walking feel easier. Studies highlighted by organizations like the American Hiking Society show that using trekking poles can significantly reduce joint stress on downhills while burning calories more efficiently across flat surfaces.
Here is a quick look at why so many hikers rely on them every time they hit the woods:
- Knee Protection: On downhill sections, poles absorb pounds of force that would otherwise strain your knee joints and ankles.
- Better Balance: Four points of contact on the ground make it much easier to cross slippery creek beds, loose gravel, and muddy patches safely.
- Pacing and Rhythm: Establishing a steady pole movement keeps your breathing calm and your walking speed consistent.
- Obstacle Testing: You can use a pole tip to check how deep a mud puddle is or test a wobbly rock before putting your full weight on it.
Signs You Should Adjust Your Hiking Plan, Gear, or Trail Choice
Learning how to use hiking poles correctly means paying attention to how your body feels. If your shoulders ache or your wrists feel strained after just one mile, your poles are probably the wrong length or being held incorrectly. Equipment adjustments should always happen early in the hike before minor discomfort turns into real pain.
You also need to evaluate the terrain around you. Poles are fantastic on dirt paths, mountain switchbacks, and wide forest trails. However, on narrow rock scrambles where you need your hands free to climb over large boulders, poles can quickly become a tripping hazard. Knowing when to collapse your poles and strap them to your pack is just as important as knowing how to use them while walking.
Here is a helpful guide to help you decide when your poles are set up safely and when it is time to make a quick adjustment on the trail:
| Hiking Situation | Sign Your Setup Is Working | Sign You Need to Adjust Gear or Plans |
|---|---|---|
| Flat Trail Walking | Elbows stay bent comfortably at a 90-degree angle while holding the grips. | Shoulders feel tense or elbows are fully straight, causing lower back strain. |
| Uphill Climbing | Poles push you upward smoothly without reaching uncomfortably high above your chest. | You are reaching way above your shoulders to plant poles, pulling you backward. |
| Downhill Descending | Poles reach the ground ahead of you easily without making you lean forward unsafely. | You are bending way over at the waist to touch the ground with short pole tips. |
| Rocky Scrambles | Hands are completely free to grip sturdy rock faces or roots for safe balance. | Poles are dangling from your wrists, swinging around and snagging on nearby branches. |
Weather conditions matter too. If severe rain storms or sudden lightning develop while you are high up on an exposed ridge, putting away metal or carbon poles and seeking lower ground is the safest choice. Check current forecasts with NOAA Weather before heading out so you can plan your route around changing conditions.
How to Use Hiking Poles Correctly Step by Step
Setting up your poles only takes a few minutes, but following these steps in order will ensure you stay comfortable and stable all day long. Grab your poles and follow this simple practical method.
- Adjust to the 90-degree rule on flat ground. Stand up straight on flat ground wearing your standard hiking shoes. Unlock the pole sections and slide them until your elbows form a right angle (90 degrees) when holding the handles. Lock the sections securely.
- Balance the pole section lengths. Most telescoping poles have two adjustable sections. Adjust both upper and lower sections equally so the pole stays balanced and strong rather than extending one section to its absolute limit.
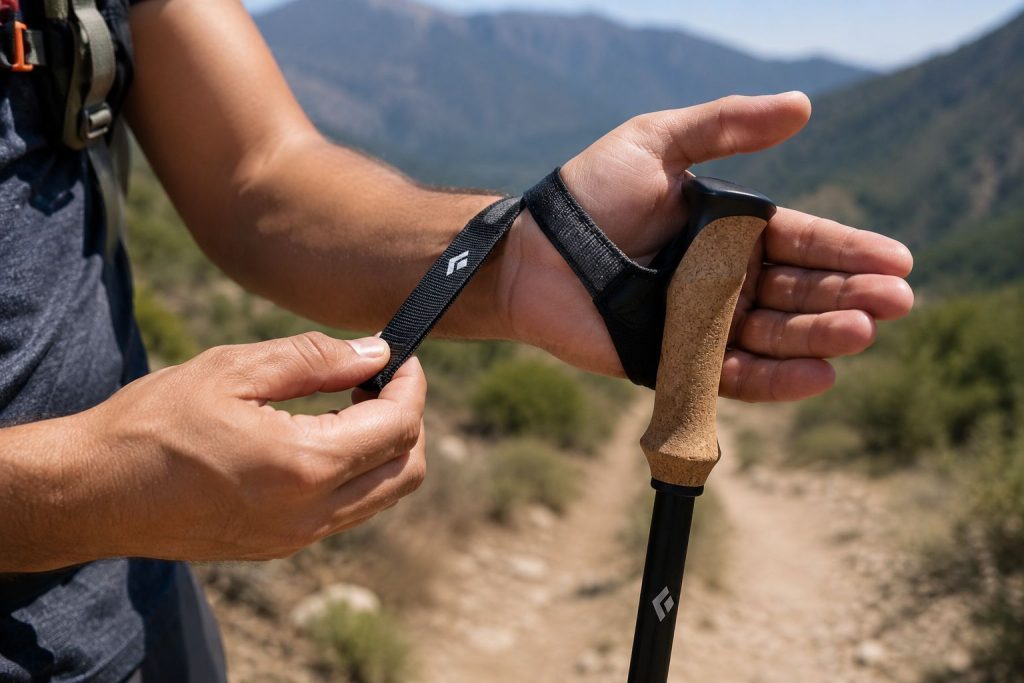
- Thread your hands through the straps from below. Bring your hand up from the bottom through the strap loop, then bring your hand down to cup the grip. The strap should rest smoothly across the back of your hand and wrist. This allows you to push down on the strap without squeezing the handle tightly.
- Shorten poles by 5 to 10 centimeters for uphills. When the trail turns steep uphill, shorten your poles slightly. This allows you to plant the tips without reaching high into the air, keeping your power close to your body core.
- Lengthen poles by 5 to 10 centimeters for downhills. When descending steep hills, extend your poles longer. Plant them slightly ahead of your feet so they absorb impact before your legs step down.
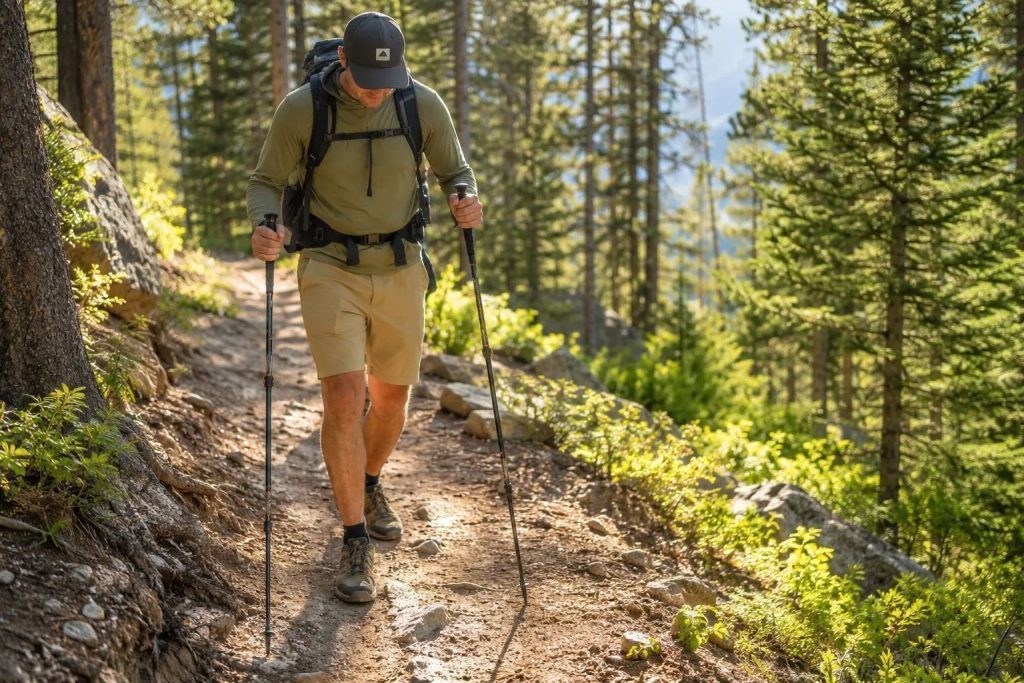
- Adopt a natural opposite-arm walking rhythm. Walk naturally. Your left arm and right foot move forward together, followed by your right arm and left foot. Let your shoulders relax and keep the pole tips pointing slightly backward so they propel you forward.
Pole Materials: Carbon Fiber vs. Aluminum
The primary difference in pole materials boils down to weight, durability, and price. Our research, cross-referenced with manufacturer product descriptions, shows two main contenders: aluminum and carbon fiber.
- Aluminum: Generally more budget-friendly and quite robust. It can bend under extreme stress before breaking, which can sometimes be advantageous as it might absorb impact without catastrophic failure. However, aluminum poles are typically heavier than their carbon fiber counterparts.
- Carbon Fiber: Significantly lighter than aluminum, which many hikers appreciate for reducing fatigue over long miles. It’s also known for its stiffness, meaning less energy is lost in the swing. The downside is that carbon fiber can be more brittle and might snap under sharp, focused impacts, especially on rocky terrain.
As of 2026, you’ll find a wide range of poles in both materials, with prices for a decent pair of aluminum poles often starting around $50, while carbon fiber models can easily run $100 or more.
Grip and Strap Comfort: What Makes a Difference
The part of the pole you interact with most is the grip and its accompanying strap. This connection is crucial for control and comfort, and as aggregate reviews show, it’s often a point of significant user preference.
- Grip Materials: Common materials include Cork, Foam, and Rubber.
- Cork: Often favored for its ability to wick moisture and mold to your hand over time, providing a comfortable, personalized grip. It’s also naturally antimicrobial.
- Foam: Softer and lighter than cork, foam grips absorb sweat well and offer good cushioning. They can be very comfortable, especially for shorter hikes.
- Rubber: Provides excellent grip, even when wet, but can be less breathable than cork or foam, potentially leading to sweaty hands and blisters on longer treks.
- Strap Design: Most straps are adjustable with Velcro or a buckle mechanism. The key is a strap that fits snugly without digging into your wrist or hand. Padded straps offer extra comfort, a detail that becomes important on multi-day trips. Properly adjusted straps allow you to relax your grip, letting the pole do some of the work of supporting your weight.
Adjustability: Telescopic, Z-Fold, and Fixed Length
The adjustability of your poles impacts how you store them and how precisely you can set their length for different terrains.
- Telescopic Poles: These are the most common type. They feature two or three sections that slide into each other. Their main advantage is offering a wide range of length adjustments, making them versatile for different users or for changing conditions on a hike. They typically use a lever lock or twist lock system to secure the sections.
- Z-Fold Poles: These poles fold into three sections that collapse into a compact “Z” shape, similar to tent poles. They are generally lighter and more compact for packing than telescopic poles, making them a favorite for trail runners or backpackers who prioritize ultralight gear. However, they usually offer less length adjustability.
- Fixed Length Poles: These poles cannot be adjusted. They are often the lightest option and are preferred by experienced hikers who know their exact preferred length for all their typical terrains. They are less versatile, though.
Manufacturer specifications on popular models often list a collapsed length and a maximum extended length, giving you an idea of their portability and range. For example, a common telescopic pair might compress to 25 inches and extend up to 53 inches.
Getting Started: Adjusting Your Poles to Fit You
Once you’ve got your poles, the first crucial step is dialing in the correct length. This isn’t just about comfort; it fundamentally affects how effectively you can use the poles for support and propulsion. Getting this wrong can lead to strain and negate the benefits.
Finding Your Ideal Pole Length
The general rule of thumb, as confirmed by most outdoor equipment guides, is to set your poles so that your elbow is bent at roughly a 90-degree angle when you’re standing on level ground with the pole tip on the ground. This angle allows for efficient arm swing and power transfer.
- For most hikers on flat or rolling terrain: Aim for that 90-degree elbow bend.
- For steeper ascents: You might want to shorten the poles by a few inches. This brings your hands closer to the ground, allowing for more upward drive.
- For steeper descents: You’ll generally want to lengthen the poles. This allows you to plant them further down the slope, providing more stability and taking pressure off your knees.
To make this adjustment, use the locking mechanisms on your poles. Whether it’s a lever lock or a twist lock, ensure it’s secured tightly. Our research into user feedback indicates that an improperly secured lock is a common failure point, leading to the pole collapsing unexpectedly. Many telescopic poles have clear markings for length, often in inches or centimeters, which can be helpful.
How to Secure Straps for Support, Not Strain
The straps are often overlooked, but they are vital for transferring energy and reducing fatigue in your hands. You don’t want to grip the poles tightly the entire time; the straps help you relax your hands.
- Proper Fit: Slide your hand through the strap from the bottom up. The strap should rest across the palm heel and the base of your thumb. Adjust the strap so it’s snug but not constricting.
- Relax Your Grip: With the strap adjusted, you can lightly hold the grip. When you push downwards with the pole, the strap will engage and help you push the pole back. This means you can actually loosen your grip on the handle itself, preventing blisters and hand fatigue.
- Check Comfort: Do a few practice swings. Does the strap dig in? Does it feel secure? If not, readjust it. It should feel like an extension of your arm, not a source of discomfort.
The goal is to use the straps to help power your stride and take some weight off your legs, especially on longer hikes or when descending.
The Core Technique: How to Actually Use Them
This is where the magic happens. Using hiking poles effectively isn’t just about having them; it’s about engaging them with your natural movement. It should feel like an extension of your body, not an awkward add-on.
The Basic Stride: Coordinating Poles with Your Steps
The most fundamental technique is to synchronize your pole swings with your steps. This creates a natural rhythm that aids balance and propulsion.
- Opposite Arm, Opposite Leg: Just like when you walk or run naturally, your poles should move in opposition to your legs. If your left foot steps forward, your right pole plants forward. If your right foot steps forward, your left pole plants forward.
- Gentle Swing: The swing should come from your shoulders, not just your arms. Picture a smooth, relaxed motion. You’re not trying to stab the ground; you’re placing the pole to assist your stride.
- Rhythm is Key: Find a steady rhythm that matches your walking pace. It might take a little practice to get used to, but once you do, it feels instinctive. Many beginner hikers find their rhythm by counting “one-two” for their steps and pole plants (left foot-right pole, right foot-left pole).
Editorial analysis of numerous beginner guides confirms that developing this coordination is the most critical first step to unlocking the benefits of poles.
Planting the Pole: Timing and Angle for Maximum Effect
Where and when you plant your pole makes a huge difference in the support you receive. Aggregated buyer feedback suggests that focusing on this aspect significantly improves perceived stability.
- Placement: On level ground, you’ll typically plant the pole a comfortable distance ahead, generally a bit ahead of your opposite foot. It shouldn’t be so far forward that you’re reaching, nor so close that it feels ineffective.
- Angle: The pole should strike the ground at a slight angle, not perfectly vertical. This allows for a more effective push-off. Think of it as an angle that facilitates a smooth transfer of force.
- The Push-Off: As your opposite foot leaves the ground and your stride continues, forcefully push down and slightly back with the planted pole. This push-off provides forward momentum and helps you leverage your upper body.
- Avoid Over-Planting: You’re not using the poles as anchors. Over-planting, or jamming the pole too hard into the ground, can disrupt your stride and create unnecessary impact on the pole and your arm.
Visual guides would show the ideal placement and angle here, highlighting how a well-timed plant propels you forward, while a mistimed one might feel like it’s holding you back.
Poles on the Ascend: Making Hills Easier
Hiking uphill can be a serious workout, but the right technique with your poles can make those inclines feel much more manageable. They essentially turn your hike into a full-body exercise, engaging your arms and core to help drive you forward.
Using Poles to Push You Upwards
When you’re tackling a steep hill, your poles become your best friends for added power and stability. Manufacturer guides for mountaineering poles often emphasize their role in ascending.
- Shorten the Poles: First, shorten your poles by a few inches. This brings your hands closer to the ground, allowing for a more powerful upward push. You want that 90-degree elbow angle to be less acute.
- Engage Your Core: As you push off with your legs, use your core muscles to help drive the poles into the ground and propel yourself upward.
- Strategic Planting: Plant your poles firmly in front of you. Think of them as extra legs, providing points of contact to help you gain elevation. The push-off from the poles should work in conjunction with your leg drive.
- Avoid Over-Reliance on Arms: While your arms and poles provide power, don’t let them take over entirely. Your legs are still doing the primary work. The poles are there to assist, not replace, your leg power.
- Maintain Rhythm: Just like on flat ground, find a consistent rhythm. Left foot forward, right pole plants. Right foot forward, left pole plants. This coordinated effort conserves energy and makes the climb feel smoother.
If you’ve ever felt like you were dragging your feet on a climb, incorporating poles with this technique can offer a significant boost. It’s a game-changer for uphill trekking.
Poles on the Descend: Saving Your Knees
Descending can be just as tough, if not tougher, on your body than ascending, especially on your knees and joints. This is where hiking poles truly shine, acting as shock absorbers and stabilizers. Our research indicates that many hikers report significant reduction in knee pain when using poles on descents.
How Poles Absorb Impact on Downhill Trails
The principle here is simple physics: distributing forces. When you take a step downhill, gravity is pulling you forward, and your knees have to absorb the impact of each landing. Poles help mitigate this by acting as intermediaries.
- Lengthen the Poles: To maximize stability and shock absorption on descents, lengthen your poles. This positions them further down the slope, giving you a more solid base for bracing.
- Plant in Front: Plant your poles firmly in front of you, on either side of your leading foot. The idea is to create a stable tripod-like structure with your feet and poles.
- Absorb the Shock: As you step down, let the poles absorb some of the impact. Push down and slightly back with the poles, allowing them to cushion the jolt that would otherwise go directly into your knees and hips.
- Controlled Steps: Use shorter, more controlled steps. The poles help you maintain balance and control your speed, preventing you from tumbling or jarring your joints excessively.
- Upper Body Engagement: Even on descents, your upper body plays a role. Using your poles gives you more points of contact and can help you maintain an upright posture, further reducing stress on your lower body.
Think of it like using crutches on uneven ground, but with momentum. The poles help you control your descent and protect your joints from the repetitive impact that can cause pain and injury over time.
Common Mistakes to Avoid
Even hikers who have been hitting the trail for years often fall into bad habits with their poles. Avoiding these mistakes will keep your arms relaxed, protect your gear, and keep you safe while hiking.
- Gripping the handles like a vise. You do not need to squeeze the rubber or cork handles tightly. Let the wrist straps support your weight so your hands and forearms do not get exhausted.
- Putting hands through straps from the top down. If you slide your hands in from above, the strap twists and will crush your knuckles. Always go through the strap loop from bottom to top.
- Keeping poles at one height all day long. Leaving your poles set for flat ground when tackling steep climbs or long downhills limits their benefits and can strain your joints.
- Planting tips too far in front of your feet on flat ground. Planting poles way out ahead acts like a brake, slowing you down instead of helping you move forward smoothly.
- Leaving rubber caps on deep dirt or loose gravel. Rubber tips are great for pavement or slick bedrock, but carbide metal tips grip dirt and mud much better. Take the rubber caps off when hitting soft soil.
- Forgetting to tighten lock tension screws. Lever locks need proper tension. If a section collapses when you put weight on it, tighten the small thumb wheel on the lever mechanism.
Practical Tips from Oscar
Over my years on the trail, I have picked up a few practical tricks that make trekking poles much easier to live with on short day trips and long backcountry loops alike.
Key Takeaways
- Adjust your poles so your elbows form a 90-degree angle on flat terrain.
- Thread your hands upward from the bottom of the wrist straps to let the straps carry your body weight.
- Shorten poles when walking uphill and lengthen them when walking downhill for maximum joint support.
- Walk with a natural rhythm, moving opposite arms and legs in sync.
- Stow your poles safely on your backpack when facing rock scrambles or thick brush.
Frequently Asked Questions
Should I use one hiking pole or two?
Using two hiking poles is generally best because it balances your body weight evenly across both hips, knees, and shoulders. Using a single staff can help with light balance on flat trails, but two poles provide far superior stability, knee relief, and rhythmic propulsion on varied terrain.
How do I put my hands through hiking pole straps correctly?
Bring your hand up through the bottom of the strap loop, then bring your palm down over the grip handle. The fabric strap should lay flat against the back of your wrist and palm, allowing you to rest your weight on the strap without holding the handle with a tight grip.
Should hiking poles be shorter when going uphill?
Yes, you should shorten your hiking poles by about 5 to 10 centimeters (2 to 4 inches) when climbing steep hills. Shortening them keeps your arms at a comfortable height close to your body, preventing shoulder fatigue and giving you better leverage to push upward.
Do hiking poles really save your knees?
Yes, trekking poles significantly reduce joint stress, especially during long downhill descents. By transferring weight to your upper body muscles, poles take compressive forces off your knees, hips, and ankles with every step you take down the mountain.
When should I use rubber tips on my hiking poles?
Rubber tips are ideal for walking on hard pavement, asphalt, rock, or sensitive wooden boardwalks to prevent slipping and protect surfaces. For dirt trails, gravel, sand, and mud, remove the rubber tips to let the sharp metal carbide tips bite into the ground for traction.
Can I take hiking poles on an airplane?
In the United States, TSA regulations generally require hiking poles to be packed in checked luggage rather than carried on the airplane. Because trekking poles have metal tips, security checkpoints often treat them as potential hazards in carry-on bags. Check official airline and park authority rules before travelling.
Wrapping Up Your Trail Setup
Learning how to use hiking poles correctly is one of those simple skills that completely changes how hiking feels. Once you get your pole height adjusted, practice the proper strap technique, and find a comfortable walking rhythm, you will notice far less fatigue in your legs and knees at the end of the day.
Start out on a easy, local dirt path to practice adjusting your pole lengths before tackling bigger mountain elevation. Remember that gear should work with you, not against you. Take your time, listen to your body, and adjust your poles whenever the trail pitch changes.
If you are assembling the rest of your kit for an upcoming trip, take a look at our complete beginner hiking gear checklist to make sure you have all the essential trail items ready in your daypack. Happy trails, and stay safe out there!

1 thought on “How to Use Hiking Poles Correctly in 2026 (Worth Your Money)”