
So, you’re wondering what to pack in a hiking day pack, and honestly, it’s one of the most crucial bits of planning for any day excursion outdoors. Getting it right means a safer, more comfortable, and more enjoyable time on the trail, while getting it wrong can turn a fun outing into a real headache. It’s less about a single fixed list and more about building a mental checklist tailored to your specific adventure.
Our research shows that a pack’s contents should align with hike length, expected weather conditions, and trail difficulty, with many manufacturers recommending a minimum volume of 15-20 liters for most day hikes. We’ll break down exactly how to make those smart decisions, ensuring you’re always prepared, never overloaded, and ready for whatever the path throws your way, as of 2026.
Is Your Day Pack Ready? The Essential Questions to Ask
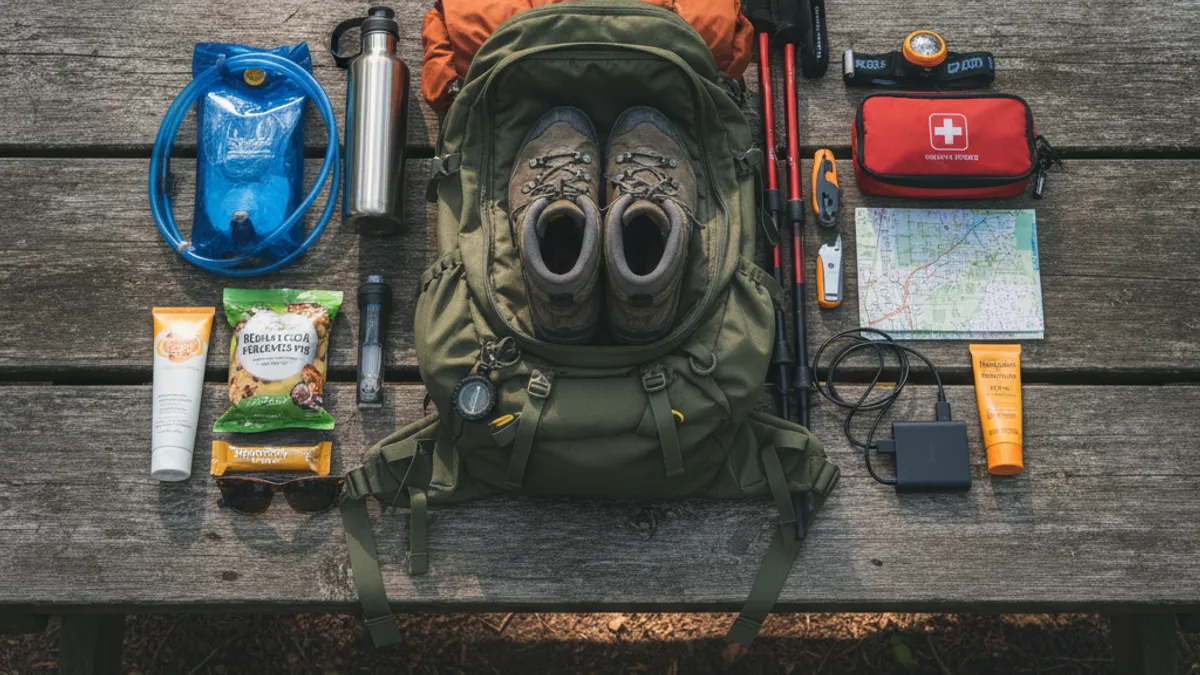
Before you even think about stuffing anything into your backpack, take a moment to really consider the hike you’re planning. This is the foundation for knowing what to pack in a hiking day pack effectively. Without answering these, you’re essentially guessing, and that’s a risky way to start any adventure.
- How long will you be out on the trail? A quick 2-hour loop requires a lot less than an 8-hour trek that takes up most of the daylight. The duration directly impacts how much food, water, and potentially extra gear you’ll need.
- What’s the weather forecast predicting? Don’t just glance at it. Check hourly forecasts if possible and consider potential shifts. Is it going to be sunny and hot, or are there chances of rain, wind, or even a sudden temperature drop?
- How challenging is the terrain? A flat, well-maintained path is very different from a steep, rocky, or technically demanding trail. Elevation gain and trail surface can influence your energy levels and the type of gear that might be beneficial, like trekking poles.
- Where is this hike taking place? Are you in a well-populated park with facilities and reliable cell service, or are you heading into a more remote wilderness area where help is far away? This impacts your need for self-sufficiency and emergency preparedness.
- Who are you hiking with? If you’re with a group, you might be able to share some items, like a larger first-aid kit or a water filter. If you’re solo, you’re solely responsible for your safety and comfort.
Answering these questions helps you move from a generic idea of what goes into a pack to a precise, personalized list. It’s about making smart choices that fit the specific demands of your outing.
Your Hiking Day Pack: What Absolutely Has to Be Inside
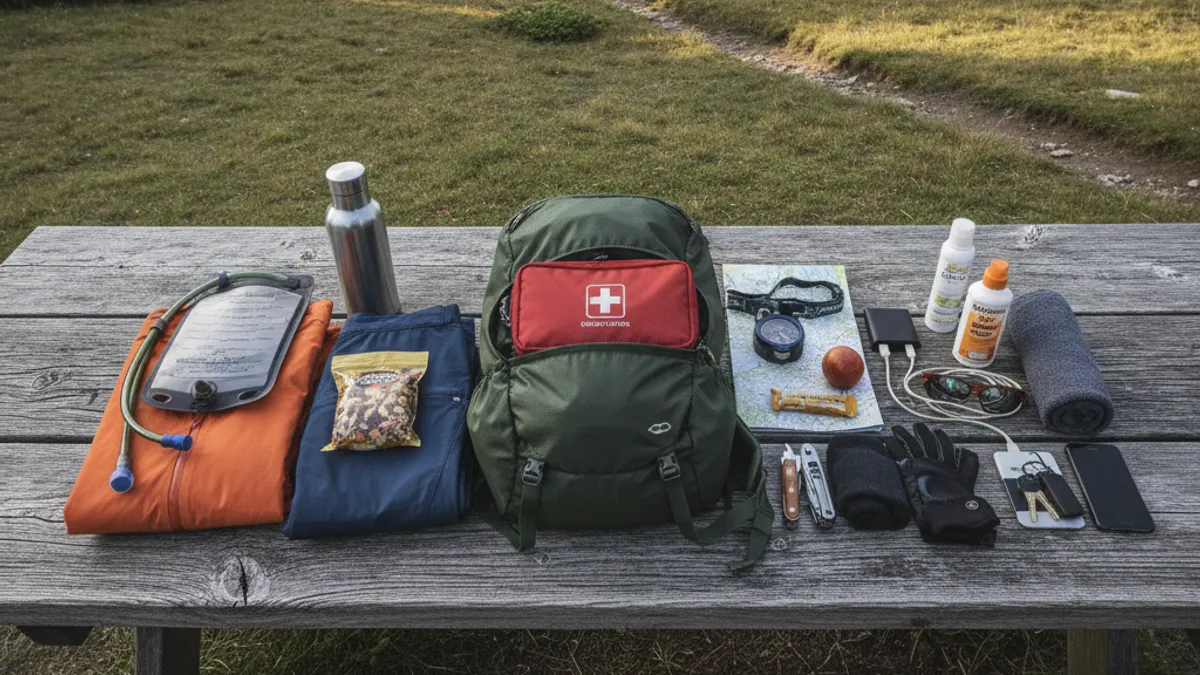
There are certain items that are pretty much universal for any day hike, regardless of your exact plans. These form the core of your hiking essentials and are there to keep you safe, comfortable, and energized. Think of these as your non-negotiables.
Water and Snacks for the Long Haul
When you ask yourself what to pack in a hiking day pack, water is always the absolute first thing that comes to mind. Staying hydrated is critical for physical performance and preventing serious issues like heat exhaustion and heatstroke. It’s vital for everyone, from beginners to seasoned thru-hikers.
- Water: The general guideline recommended by many park services is to carry at least 0.5 liters of water per hour of hiking in moderate conditions. For a 4-hour hike, that’s 2 liters total. In hot weather or on strenuous climbs, you’ll need significantly more. Don’t rely on finding water sources unless you’ve confirmed they are reliable and you have a way to purify it. A good starting point is to how much water to drink hiking, always err on the side of carrying too much rather than too little.
- Snacks: Similar to water, energy is key. Pack calorie-dense, easy-to-eat snacks that provide a quick boost and sustained energy. Research shows that snacks like trail mix, granola bars, and dried fruit are popular choices. For more detailed ideas, check out best hiking snacks for energy or hiking meal prep ideas. Aim to pack at least 200-300 calories per hour of hiking.
Navigation: Don’t Get Lost Out There
Getting disoriented is a common hiking hazard, even on familiar trails. Having reliable navigation tools and knowing how to use them is a core component of responsible day pack packing. Your phone might be great, but it’s not always dependable.
- Map and Compass: This is the gold standard for navigation. Our research indicates that even with GPS devices, a physical map and compass are essential backups in case of electronic failure or dead batteries. Crucially, you must know how to use them together effectively.
- GPS Device or Smartphone App: Modern hikers often rely on dedicated GPS units or smartphone apps with downloaded offline maps. Ensure your device is fully charged and consider bringing a portable power bank. Apps like Gaia GPS, AllTrails, or CalTopo are popular, but always download maps beforehand. Don’t just rely on having signal!
- Understanding Your Route: Before you even leave the trailhead, familiarize yourself with the trail. Look at the map, note key junctions, and understand the general direction and landmarks.
Sun Protection and Personal Comfort Items
Exposure to the sun can be more than just uncomfortable; it can lead to sunburn, heatstroke, and long-term skin damage. These items are simple but crucial for protecting your skin and ensuring general comfort.
- Sunscreen: Use a broad-spectrum sunscreen with an SPF of 30 or higher. Environmental Protection Agency (EPA) research highlights the importance of consistent application. Reapply every two hours, or more often if you’re sweating heavily or swimming.
- Hat: A wide-brimmed hat offers excellent protection for your face, neck, and ears. Baseball caps are better than nothing but leave your neck exposed.
- Sunglasses: Protect your eyes from UV rays, which can cause damage over time. Polarized lenses are a bonus for reducing glare.
First-Aid Basics for Emergencies
Accidents happen, and being prepared with a basic first-aid kit can make a huge difference in managing minor injuries and preventing them from becoming major problems. This kit doesn’t need to be exhaustive for a day hike, but it should cover common issues.
- Pre-made Kit: Many retailers offer compact first-aid kits specifically designed for hiking or outdoor activities. These usually contain bandages of various sizes, sterile gauze pads, medical tape, antiseptic wipes, pain relievers, and blister treatment.
- Personal Medications: Always include any prescription medications you need, plus a few extra doses just in case.
- Key Additions: Consider adding tweezers for splinters, a small tube of antibiotic ointment, and an emergency whistle for signaling during an emergency, especially if you’re hiking alone.
Weather Woes? Gear to Handle Whatever Comes
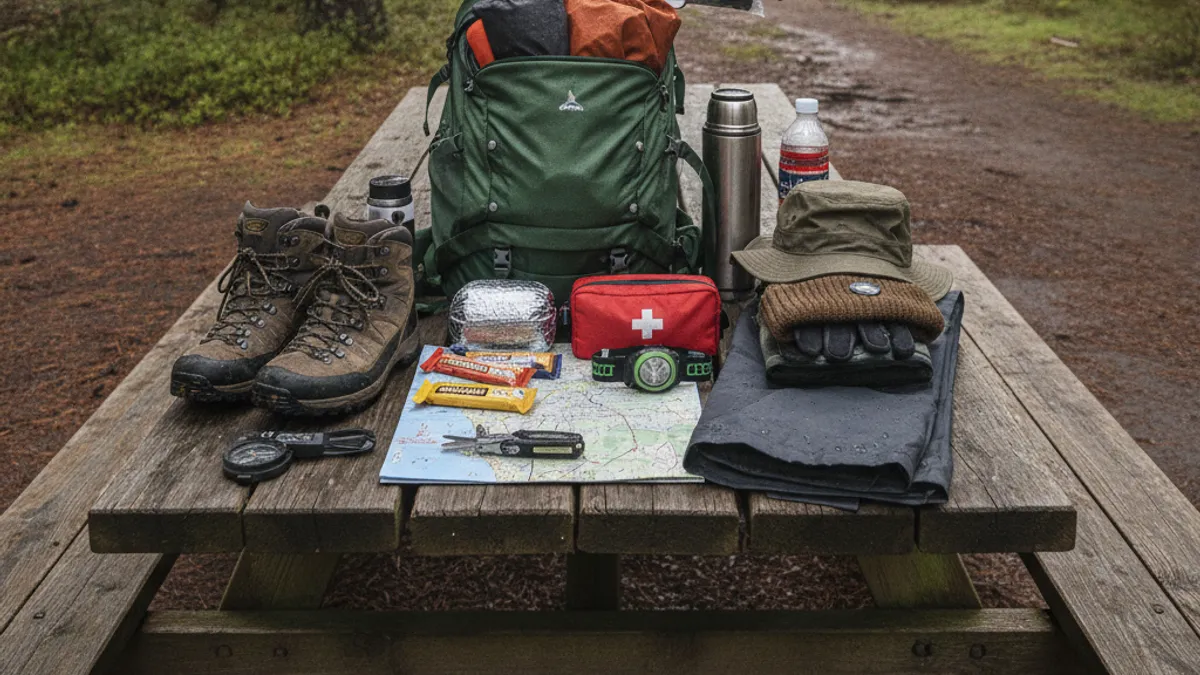
Weather can change incredibly fast in nature, especially in mountainous or coastal regions. What starts as a sunny day can quickly turn into a chilly, wet, or windy ordeal. Packing for potential weather shifts is a cornerstone of knowing what to pack in a hiking day pack for safety and comfort. Relying solely on the forecast can be a mistake; always pack a buffer for the unexpected.
Layering Up: Extra Clothing for Changing Conditions
The principle of layering is vital for regulating your body temperature. Instead of relying on one bulky piece of clothing, you use multiple thinner layers that you can add or remove as needed. This allows you to adapt to changing temperatures, exertion levels, and weather conditions.
- Base Layer: This is your first layer, worn directly against the skin. It’s designed to wick moisture (sweat) away from your body to keep you dry. Materials like merino wool or synthetic fabrics (polyester, nylon) are excellent for this. Avoid cotton, as it holds moisture and can make you cold.
- Mid Layer: This layer provides insulation. A fleece jacket or vest, a lightweight down jacket, or a synthetic insulated jacket are common choices. This layer traps body heat to keep you warm.
- Outer Layer: This is your shell, providing protection from wind and rain. It should be breathable to allow moisture vapor to escape from your inner layers. We’ll cover specific rain gear in more detail shortly.
For most day hikes, carrying at least a lightweight fleece or an insulated jacket in your daypack is highly recommended, even if the forecast is warm. A simple long-sleeved shirt made of synthetic material can also serve as a good sun protection layer and a light warmth layer.
Battling the Elements: Rain Gear Essentials
Even a light drizzle can quickly make a hike miserable and, in colder conditions, potentially dangerous due to hypothermia. A good waterproof and windproof outer layer is one of the most critical items to have in your pack when you consider what to pack in a hiking day pack.
- Waterproof Jacket: Look for jackets made from materials like Gore-Tex or similar proprietary waterproof-breathable fabrics. These membranes have pores small enough to keep liquid water out but large enough to let water vapor (sweat) escape. Features like sealed seams, adjustable hoods, and pit zips for ventilation are important.
- Waterproof Pants: While not always necessary for short, fair-weather hikes, waterproof pants are a lifesaver on longer treks or when rain is a definite possibility. They prevent your legs from getting soaked and cold. Look for features like ankle zippers to make them easier to put on and take off over your hiking boots.
- Waterproof Gloves: In colder, wet conditions, keeping your hands warm and dry is crucial for dexterity and comfort. Many outdoor brands offer waterproof and insulated gloves specifically for hiking. If you’re unsure about the need for gloves, check out the considerations in best hiking gloves for cold weather.
Manufacturer specifications often detail the hydrostatic head rating of a fabric, which indicates its water resistance. A rating of 10,000 mm or higher is generally considered good for outdoor gear.
Beyond the Basics: Tailoring to Your Trail
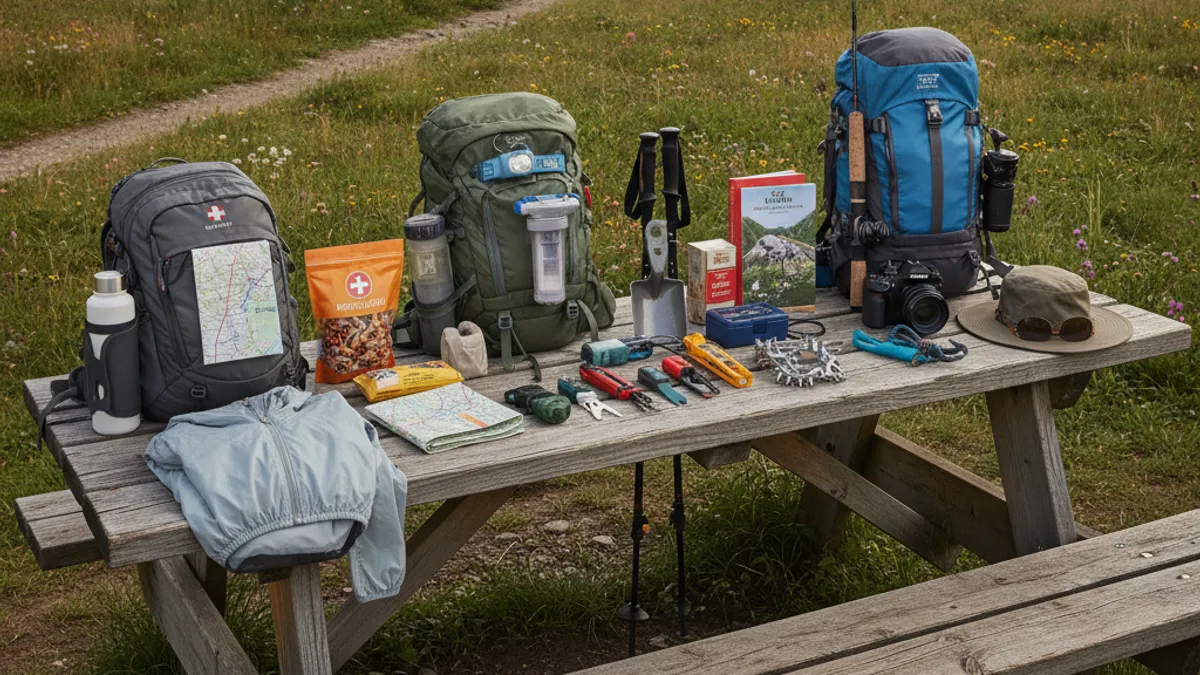
Now that we’ve covered the absolute essentials and weather preparation, let’s dive into how to further customize what you pack based on the specific demands of your hike. This is where knowing your trail and your personal needs really comes into play. It’s about smart escalation of your gear list.
Longer Hikes, More Supplies: Food, Water, and Filters
If your day hike stretches into a significant part of the day, or if you’re tackling particularly challenging terrain, your baseline needs for food and water will increase. Packing enough to keep your energy levels high and your body hydrated is non-negotiable. For extended outings, think about how to efficiently carry and replenish your supplies.
- Increased Water Needs: As mentioned, carrying 0.5 liters per hour is a baseline. For hikes over 6-8 hours, or in high heat, you might need to carry 3-4 liters or more. This can quickly become heavy.
- Water Filters or Purification Tablets: If you’ve identified reliable water sources along your route (e.g., clear streams in mountainous areas), carrying a portable water filter or purification tablets can be a lifesaver. This allows you to replenish your water supply without having to carry it all from the start. Brands like Sawyer offer popular lightweight filters. Be sure to understand how to use them correctly and check their lifespan. For more on this topic, explore how to stay hydrated on a hike.
- More Calorie-Dense Food: Longer hikes burn more calories. Pack a variety of energy-dense foods that are easy to eat on the go. Items like nuts, seeds, dried fruit, jerky, energy chews, and hearty sandwiches are great. Refer to best food to bring on a long hike for more ideas. Consider your total caloric needs, a hike-heavy day could require upwards of 2500-3500 calories, depending on intensity. This is where a hiking calorie calculator can be helpful.
Remote Trails and Higher Ground: Safety First
Heading into less-traveled areas or high-altitude environments introduces different risks that require additional preparation. Your day pack’s contents should reflect the increased need for self-reliance and emergency readiness when you step further away from immediate help and face more extreme conditions.
- Emergency Shelter: A lightweight emergency bivvy sack or space blanket is surprisingly small and light but can be a literal lifesaver if you get caught out overnight due to injury, getting lost, or unexpected severe weather. These are designed to reflect and retain body heat.
- Signaling Devices: In addition to your whistle (part of the first-aid kit), consider a signal mirror or a personal locator beacon (PLB) if you’re venturing into very remote areas with no cell service at all. A PLB can transmit your location to emergency services.
- Navigation Redundancy: For remote areas, double-check your map and compass skills. Ensure your GPS device has extra batteries. Consider bringing a printed physical map of the entire area, not just your specific route.
- Insect Repellent: Depending on the season and location, bugs can be more than just an annoyance; they can carry diseases. Pack repellent with DEET or picaridin.
- Sun Protection at High Altitudes: It’s a critical point that UV radiation intensifies with altitude. Even if it’s cold, your skin can burn rapidly. Ensure you have adequate sunscreen, lip balm with SPF, and protective clothing.
Packing Your Day Pack Smarter, Not Harder
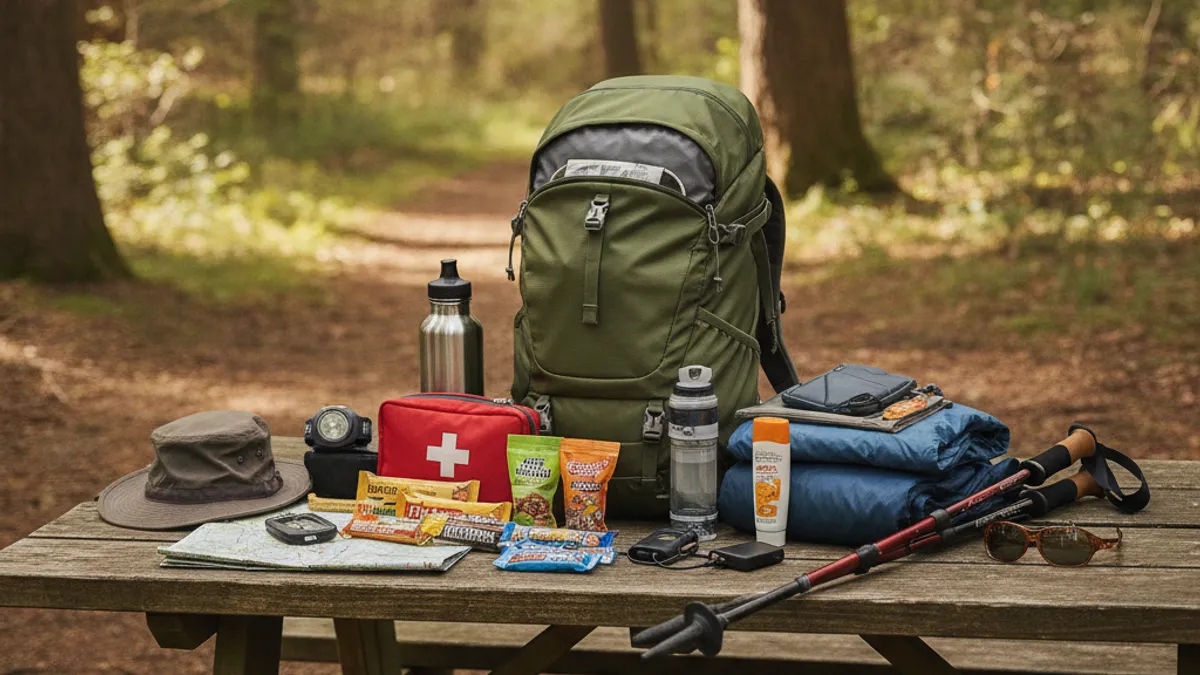
Once you’ve decided what to pack in a hiking day pack, how you arrange those items can make a huge difference in comfort and accessibility. A well-packed bag is balanced, and you can easily reach the things you need without unpacking half your gear. Think about weight distribution and functionality.
Distributing Weight for Comfort and Balance
The way you load your daypack impacts your posture and balance on the trail. Improperly distributed weight can lead to fatigue, back pain, and an increased risk of falls. Adhering to basic packing principles keeps your center of gravity stable and makes carrying your load feel lighter.
- Heavy Items Near Your Back: Place your heaviest gear (like water bottles/reservoirs, food, or a sturdy item) close to your back, ideally in the middle of the pack. This centers the weight and prevents it from pulling you backward.
- Medium Weight Items Around Heavy Items: Fill in the spaces around your heaviest items with medium-weight gear, such as extra clothing layers.
- Lightweight Items at the Bottom and Top: Pack lighter, bulkier items like a sleeping bag (if you were on an overnight, but still good for cushions) or rain gear at the bottom. Similarly, items you might need quickly, like a hat or gloves, can go in the top lid or easily accessible pockets.
Many modern daypacks have internal frames or suspension systems designed to help manage weight. Understanding how these work and packing accordingly maximizes their benefit. For more general backpack advice, see hiking backpack essentials.
Keeping Essentials Accessible
There’s nothing more frustrating than digging through your entire pack for a snack or your lip balm when you need it quickly. Strategically placing frequently used items ensures you can grab them without derailing your hike. This is particularly important for staying on schedule and maintaining momentum.
- Lid and Top Pockets: These are prime real estate for items you need to access often, such as snacks, sunscreen, a small first-aid kit, a compass, or your phone.
- Hip Belt Pockets: If your daypack has them, hip belt pockets are perfect for very quick access to items like energy gels, lip balm, a small camera, or trail maps.
- Side Pockets: Water bottle holders on the side of your pack are crucial for easy hydration access. If you don’t use a hydration reservoir, ensure your bottles are accessible without removing the pack. They can also hold tent poles or trekking poles when not in use.
- Front Stash Pocket: Many daypacks have a large, stretchy pocket on the front. This is great for stashing a wet rain jacket, a map, or extra layers you might shed during the day.
Mistakes to Avoid: What to Leave Behind (and What Not To)
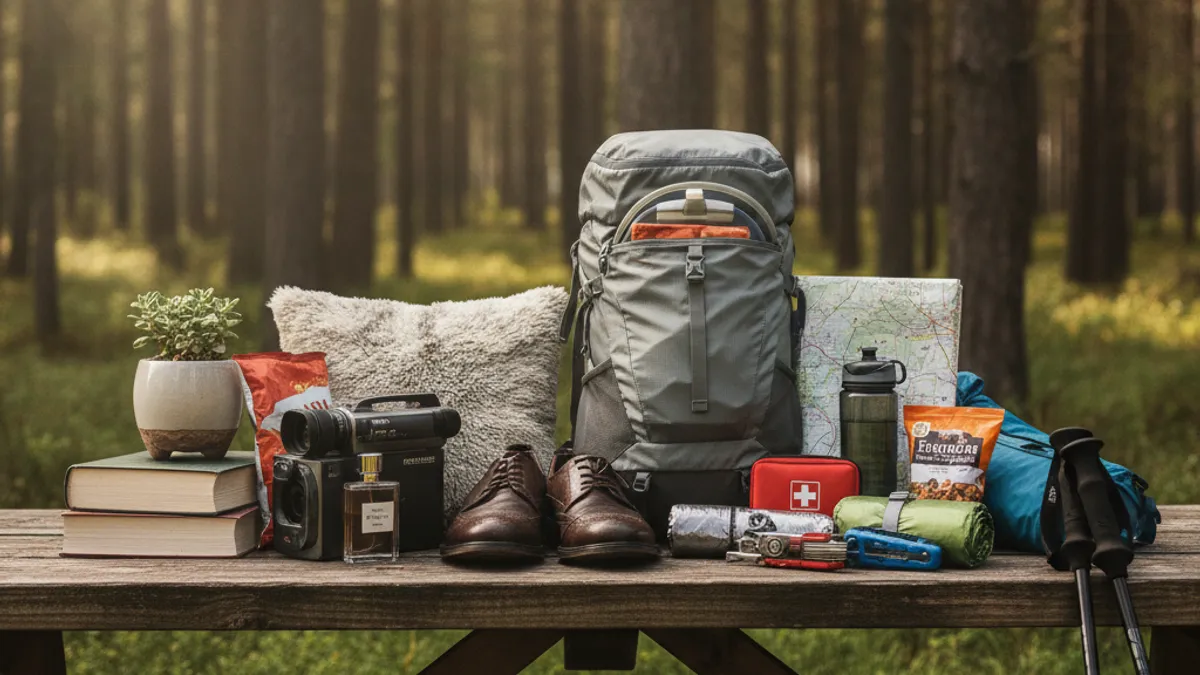
It’s just as important to know what not to bring as it is to know what to bring. Overpacking can be just as detrimental to your hike as underpacking, leading to fatigue and discomfort. Conversely, leaving behind critical safety items is a significant risk. We’ve all seen hikers struggling under the weight of too much, and we’ve heard the stories of those caught unprepared.
The Curse of the Overpacked Pack
Packing too much weight can lead to exhaustion, muscle strain, and a generally unpleasant experience. It’s easy to fall into the trap of “just in case” items that rarely get used but add significant weight. Our analysis of user feedback suggests that many hikers carry unnecessary items, often doubling the required pack weight for a day hike. This excess weight directly impacts your stamina and enjoyment.
- Redundant Items: Do you really need two full sets of rain gear if the forecast is clear with no chance of precipitation? Do you need a massive multi-tool if a small knife will suffice for your planned activities? Evaluate each item for its true necessity.
- Over-Preparation for Rare Events: Unless you’re in a seriously remote or challenging environment, carrying a full survival kit for a 3-hour hike is usually overkill. Prioritize essentials over extreme “what-ifs.” A small emergency blanket might be more practical than a bulkier shelter.
- Heavy or Bulky Versions: Opt for lightweight and compact versions of gear whenever possible. A durable 1-liter stainless steel water bottle, while rugged, weighs significantly more than a comparable 1-liter plastic bottle or hydration reservoir. Similarly, a heavy cotton towel takes much longer to dry than a quick-dry microfiber towel.
- Unnecessary Luxury Items: While comfort is important, a portable espresso maker or a large book might be a step too far for a day hike. Keep your pack focused on function and safety.
The Danger of Underpacking
Conversely, the biggest mistake anyone can make is underpacking. This often stems from underestimating the conditions, overestimating one’s own resilience, or simply not knowing what’s truly essential. This often leads to being unprepared for common hiking hazards. Leaving out critical items can turn a minor inconvenience into a dangerous situation.
- Insufficient Water: This is a classic and dangerous mistake. Dehydration can set in quickly, leading to headaches, fatigue, dizziness, and even heatstroke. Always carry enough or have a reliable way to replenish your supply. As a rule of thumb, aim for at least 0.5 liters per hour of hiking.
- Lack of Navigation Tools: Relying solely on your phone without offline maps or a backup can lead to getting lost, especially if your phone dies or loses signal. A dead phone leaves you without directions, communication, or a flashlight.
- No Extra Layers: A sudden drop in temperature, wind, or getting wet can quickly lead to hypothermia, even in milder climates. Not having adequate warm clothing is a serious risk that impacts judgment and physical ability.
- Inadequate First-Aid: Minor cuts, blisters, or sprains can become much worse if not treated promptly. Skipping a basic first-aid kit leaves you vulnerable to infection or further injury.
- No Light Source: A hike that runs longer than expected can leave you in the dark without a headlamp or flashlight. Many trail incidents occur in low-light conditions or after dark.
Your Personalized Day Pack Checklist
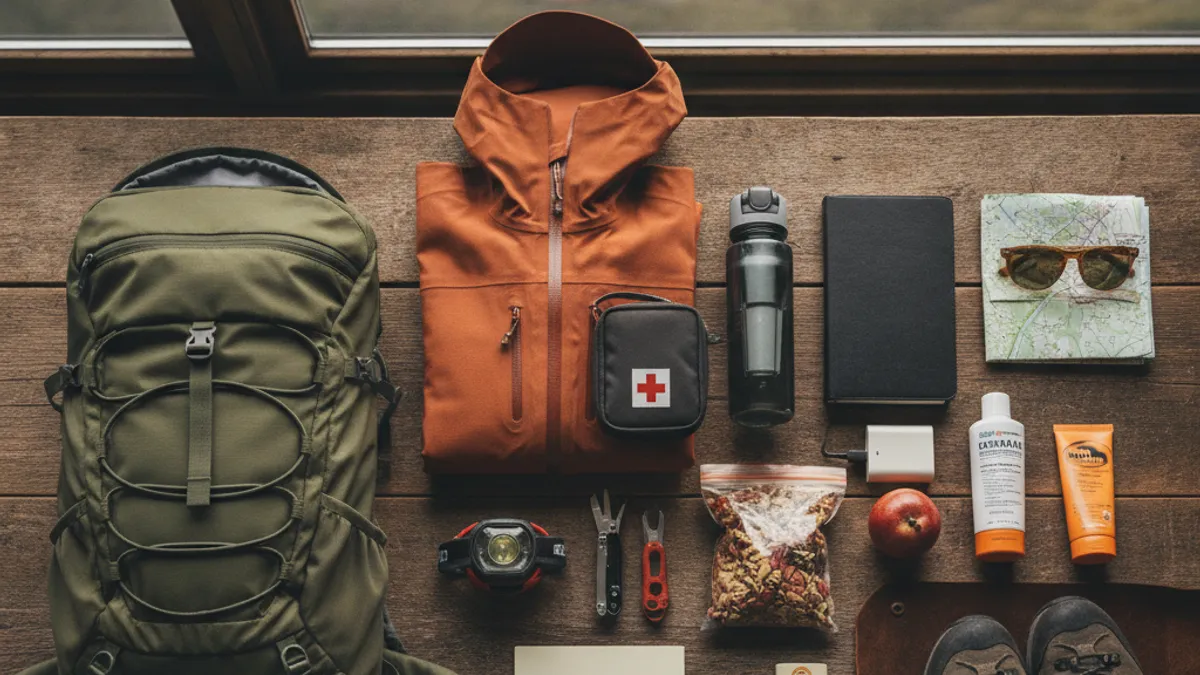
Creating a personalized checklist is the most effective way to ensure you’ve packed what you need for any given day hike. This isn’t a static document but one you adjust based on experience and the specific plan for the day. It’s your assurance that you’ve considered all the variables, moving beyond generic advice to precisely what you need.
Quick Reference for Different Hike Types
To help you think through what to pack in a hiking day pack for various scenarios, consider these simplified checklists. Remember to always add personal items and adjust based on the specific conditions and your personal needs for a given outing. These are starting points, not rigid rules.
Short, Easy Hikes (Under 3 Hours, Clear Weather Predicted):
- Pack: 10-15 Liter Daypack
- Water: 1 liter (or more if it’s warm)
- Snacks: 1-2 energy bars or a small bag of trail mix
- Navigation: Smartphone with downloaded offline map
- Sun Protection: Hat, sunglasses
- Safety: Small first-aid kit (bandages, antiseptic wipes)
- Comfort: Lip balm
Moderate Hikes (3-6 Hours, Potentially Changing Weather):
- Pack: 15-25 Liter Daypack
- Water: 1.5-2 liters
- Snacks: 2-3 energy bars, larger trail mix, or a sandwich
- Navigation: Map & compass, smartphone with offline map & portable power bank
- Sun Protection: Hat, sunglasses, sunscreen
- First-Aid: Basic kit with blister treatment, pain relievers
- Layers: Lightweight fleece or insulated jacket
- Rain Gear: Waterproof jacket
- Tools: Small knife or multi-tool
Longer/Strenuous Hikes (6+ Hours or Difficult Terrain):
- Pack: 20-30+ Liter Daypack
- Water: 2-3+ liters, or filter/purification tablets if reliable sources are available. Refer to how to stay hydrated on a hike.
- Food: Ample snacks, multiple energy bars, hearty sandwich/meal. See best food to bring on a long hike.
- Navigation: Map & compass (mastered), reliable GPS device/app, fully charged smartphone, portable power bank.
- Sun Protection: Full coverage hat, sunglasses, high SPF sunscreen.
- First-Aid: Comprehensive kit, including medications, larger bandages, antibiotic ointment.
- Layers: Base layer, mid-layer fleece/insulation, durable waterproof and windproof jacket.
- Rain Gear: Waterproof jacket and pants.
- Tools: Multi-tool, headlamp with fresh batteries, fire starter (waterproof matches/lighter).
- Emergency: Emergency bivvy or space blanket.
- Comfort/Utility: Trekking poles; consider hiking gaiters what are they for if terrain is rough or wet; insect repellent; repair kit (duct tape, cordage).
This framework provides a solid starting point. Always adjust for local conditions, specific trail regulations, and your personal comfort level, as well as any footwear choices, like trail runners vs hiking boots.
Getting the Most Out of Your Day Pack
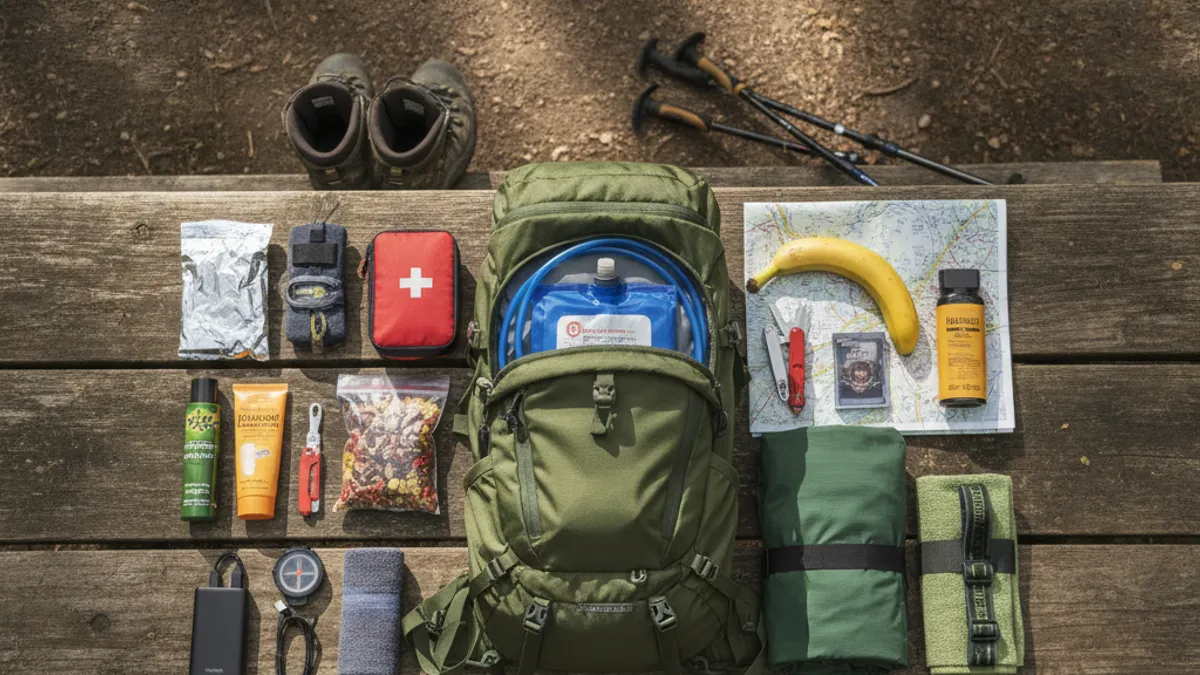
Your day pack is an investment, and taking care of it ensures it serves you well for years. Proper maintenance not only prolongs its life but also ensures its components stay functional and reliable when you need them most. Just like your boots or other gear, a little attention goes a long way toward preserving its integrity and performance.
- Cleaning: After hikes, especially if they were muddy or dusty, empty your pack completely. Wipe down the interior and exterior with a damp cloth. For heavier dirt, use a mild soap and cool water, then rinse thoroughly. Never machine wash or dry your pack, as this can damage coatings and materials like ripstop nylon.
- Drying: Always air dry your pack completely before storing it. Stuffing it away damp can lead to mold and mildew, which are hard to remove and can degrade the fabric over time. Hang it in a well-ventilated area, away from direct sunlight, which can fade colors and weaken materials.
- Inspection: Periodically check all zippers, buckles, and straps for wear and tear. Ensure zippers slide smoothly and aren’t frayed or have broken teeth. Check seams for any loose threads, especially around stress points. Test buckles to make sure they latch securely and haven’t become brittle.
- Storage: Store your pack in a cool, dry place. Avoid areas with extreme temperature fluctuations or high humidity. If possible, don’t store heavy items inside it for extended periods, as this can stress the suspension system and alter its shape.
- Repairs: Small tears or loose threads can often be repaired with a needle and strong thread or specialized fabric repair tape. Zippers can sometimes be lubricated with a silicone-based spray or even pencil graphite to improve their function. Addressing minor issues promptly can prevent them from becoming major problems that could compromise your pack’s integrity.
