
Carrying enough water is one of the most fundamental, yet often overlooked, aspects of planning a hike. Running out can quickly turn a pleasant outing into a dangerous situation, impacting your energy, focus, and even your safety. Figuring out how to carry water while hiking effectively means balancing quantity, accessibility, and weight.
Our research indicates that a common guideline for strenuous activity in warm weather suggests about 0.5 to 1 liter of water per hour of hiking. For a 4-hour hike in 70°F (21°C) conditions, you’d aim for at least 2 to 4 liters per person. This article breaks down your options, helping you decide the best strategy for your next adventure.
Why How You Carry Water Matters on the Trail
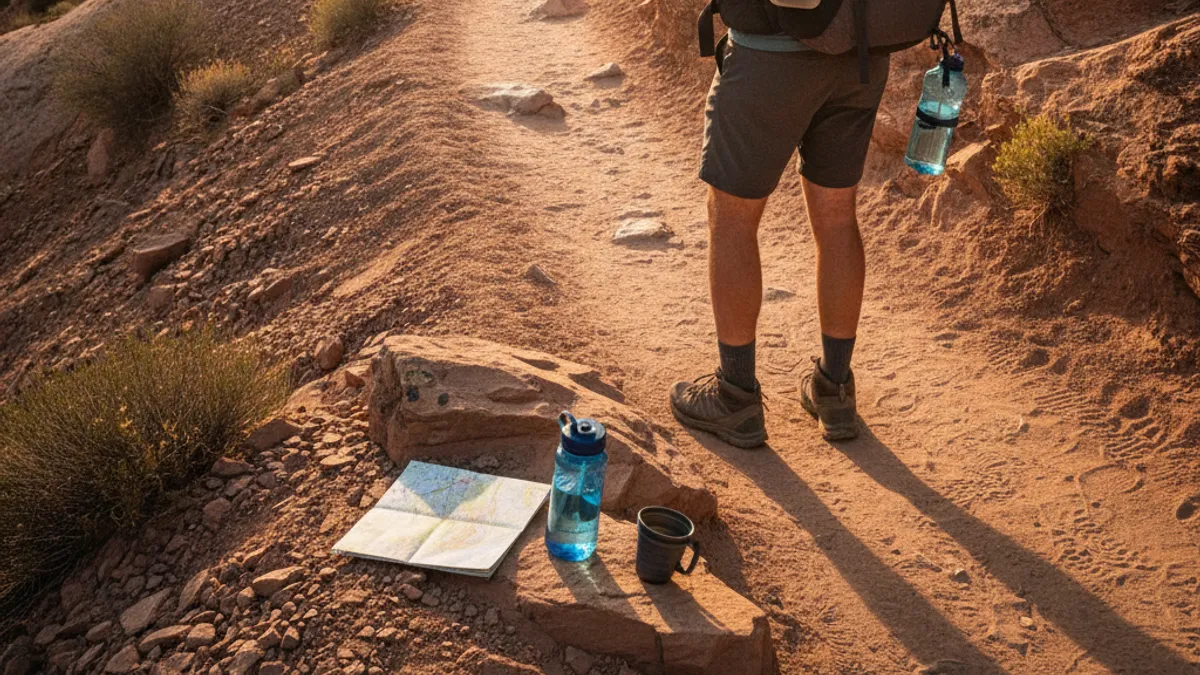
Your hydration strategy directly impacts your hiking experience. Proper water carriage ensures you have a reliable supply, preventing the physical and mental fatigue that dehydration brings. It’s not just about having a drink; it’s about sustaining your energy levels, maintaining clear thinking, and enjoying your time outdoors without worry.
The Critical Role of Hydration Planning
Failing to plan your water intake can lead to serious consequences. Dehydration reduces muscle efficiency, causes headaches, and impairs judgment, all things you want to avoid when navigating uneven terrain or making trail decisions. For example, the Centers for Disease Control and Prevention (CDC) advises that severe dehydration can lead to heatstroke, a life-threatening condition. Effective planning involves understanding your personal needs and the conditions of your hike.
Your Hiking Water Needs: How Much Do You Actually Need?
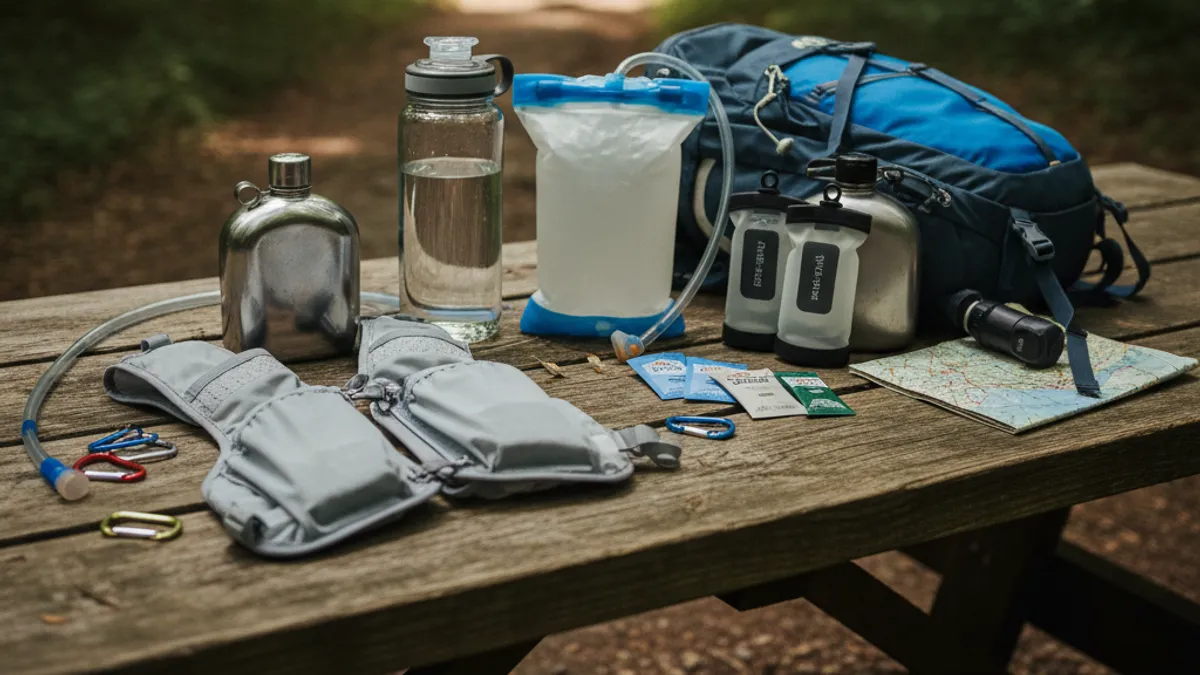
The amount of water you need to carry is highly variable and depends on several factors. It’s a common mistake to simply guess, only to find yourself rationing a precious few sips on a hot day or lugging extra weight unnecessarily. Understanding these variables is the first step toward an efficient hydration plan.
Estimating Water Requirements
To get a realistic estimate, consider these key elements:
- Hike Duration: Longer hikes obviously require more water. A quick 2-hour loop differs greatly from a full-day trek.
- Ambient Temperature and Humidity: Hot, humid conditions mean you sweat more, and therefore need to drink more. On a 70°F (21°C) day, your needs might be lower than on an 85°F (29°C) day with high humidity.
- Exertion Level: A steep, challenging climb will have you drinking faster than a leisurely stroll on flat ground. Your fitness level and how hard you push yourself are significant.
- Group Size: If you’re hiking with others, you can sometimes share water-carrying responsibilities. However, everyone still needs their own dedicated supply.
- Water Availability: If you know there are reliable, safe water sources along your route where you can filter or treat water, you might be able to carry less initially. Always verify these sources before relying on them.
A good rule of thumb, as noted by various outdoor preparedness resources, is to plan for at least 0.5 liters of water per hour for moderate activity, increasing to 1 liter or more per hour for strenuous activity in warm conditions. For a full day of hiking, aiming for a minimum of 2-3 liters per person is a standard starting point, but this can easily double depending on the factors above. Consulting resources like How Much Water To Drink Hiking can provide more detailed calculations.
Choosing Your Water Carrying Gear: Bottles vs. Bladders
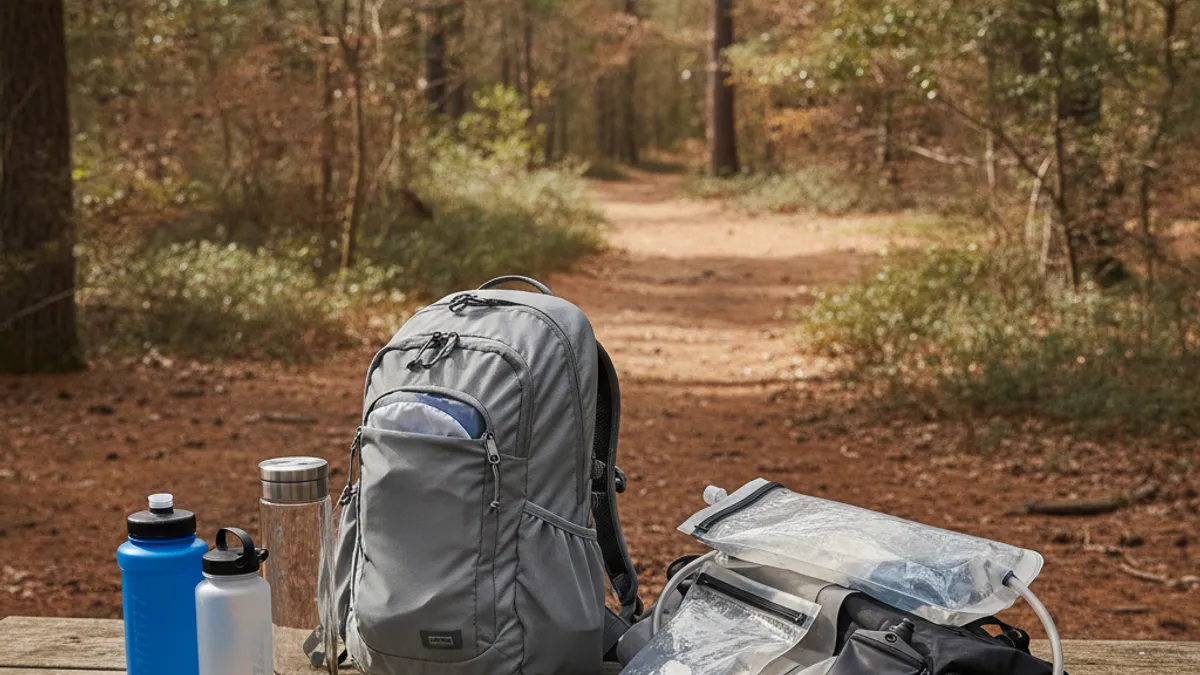
Once you know roughly how much water you need, the next big decision is how to carry it. The most common options boil down to two main categories: traditional water bottles and hydration reservoirs (often called hydration bladders). Each has its own set of strengths and weaknesses, making one a better fit than the other depending on your hiking style and preferences.
Water Bottles: Pros, Cons, and Types
Water bottles are the classic choice for good reason. They are straightforward, durable, and easy to manage.
-
Pros:
- Durability: Many bottles are built to withstand drops and rough handling.
- Ease of Cleaning: They are generally simple to scrub clean.
- Versatility: Can be used for hot or cold beverages.
- Visibility: It’s easy to see how much water is left.
- No Cross-Contamination: If you use multiple bottles, you can dedicate one to clean water and another to treated water if needed.
- Easy Refill: Simply unscrew the top and fill.
-
Cons:
- Accessibility: You typically need to stop and pull a bottle from your pack, which can interrupt your stride and flow.
- Weight Distribution: Sometimes, one large bottle can create an unbalanced load.
- Potential for Freezing: If dropped, they can roll away.
Common Types of Water Bottles:
- Nalgene Bottles: These are widely popular rigid plastic bottles, known for their extreme durability and wide mouths, making them easy to fill and clean. They typically come in 32 oz (about 1 liter) or 48 oz (about 1.4 liters) sizes.
- Soft Bottles/Collapsible Pouches: Made from flexible plastic or silicone, these bottles take up less space when empty as they can be compressed. They are lightweight but may be less durable than rigid bottles. Brands like Platypus and HydraPak offer these.
- Metal Water Bottles (Stainless Steel, Titanium): These are very durable and don’t impart flavors, but they can be heavier and more expensive than plastic options. Insulated versions can keep water cold for hours.
- Standard Water Bottles (e.g., recycled soda bottles): While functional and cheap, they might not be as durable or easy to clean as dedicated hiking bottles.
Hydration Reservoirs (Bladders): Pros, Cons, and Features
Hydration reservoirs are flexible bags that typically live inside your backpack, connected to a hose that drapes over your shoulder. This allows for easy sipping without stopping.
-
Pros:
- Easy Sipping: The hose provides immediate access to water, allowing you to maintain momentum.
- Weight Distribution: When placed correctly in a backpack, they offer good weight balance.
- Capacity: Often hold larger volumes, like 2 or 3 liters, making them ideal for longer hikes.
- Hydration Tracking: Some users find it easier to monitor consumption visually on the bladder itself.
-
Cons:
- Cleaning: Can be difficult to clean thoroughly, requiring specialized brushes and drying techniques.
- Freezing Risk: The hose and bite valve are susceptible to freezing in cold weather, potentially blocking water flow.
- Durability Concerns: Although generally robust, punctures can occur, leading to leaks.
- Taste: Some users report a temporary plastic taste, especially with new bladders.
- Replacement: The bladder and hose may need replacement over time.
Hydration reservoirs are typically made from flexible plastics like TPU (thermoplastic polyurethane). Manufacturer specifications often indicate BPA-free materials. Common capacities range from 1.5 liters up to 3 liters. The design includes a wide-mouth opening for filling and a quick-release hose connection for easier refills and cleaning.
Popular brands include CamelBak, Osprey, and Platypus.
Smart Ways to Carry Water Based on Your Hike
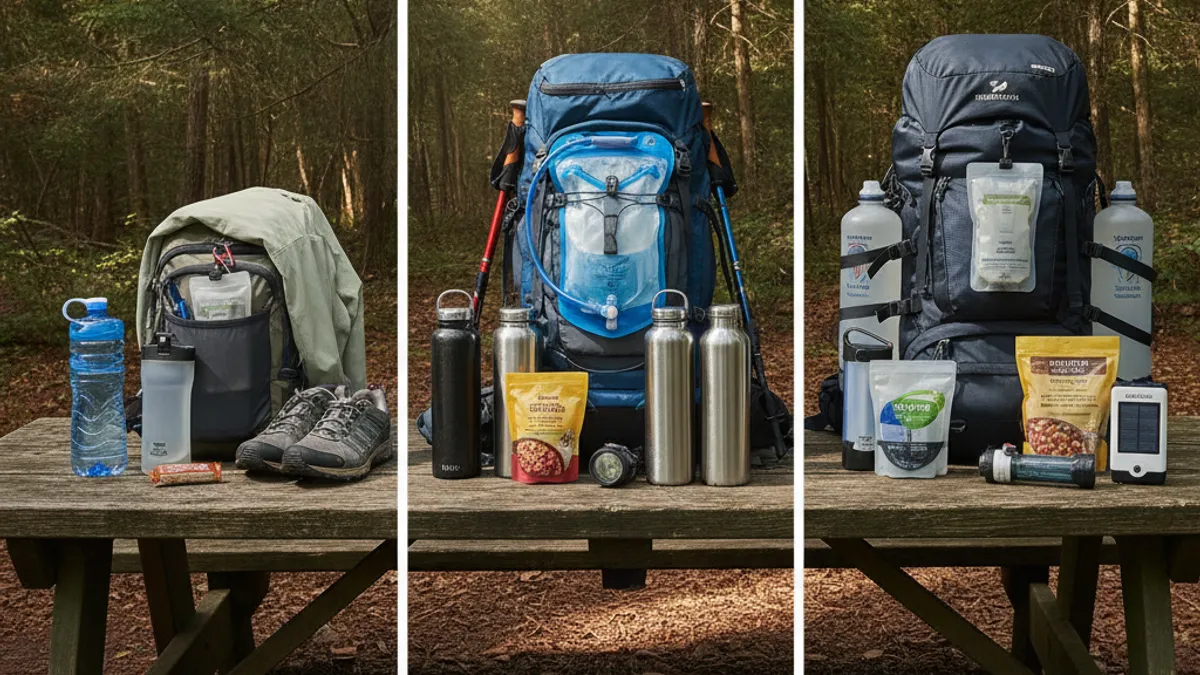
The type of hike you’re undertaking should heavily influence how you carry your water. A short afternoon jaunt calls for a different setup than a multi-day backpacking trip. Think about accessibility, weight, and your ability to refuel.
Day Hikes: Keeping it Light and Simple
For day hikes, where you’re generally out for a few hours and have a good idea of your water needs, simplicity is key.
-
If carrying 1-2 liters:
- One or two sturdy water bottles (like Nalgene) stashed in the side pockets of your pack or a Hiking Backpack Essentials organizer.
- This provides easy access without needing to dig through your pack, perfect for quick sips between scenic overlooks.
- Consider using collapsible bottles if pack space is tight when empty.
-
If carrying 2-3 liters or more:
- A 2-liter hydration reservoir placed inside your daypack is a solid choice.
- This lets you sip water easily while walking, helping you maintain consistent hydration without breaking stride.
- Pairing this with a small, 16-24 oz water bottle as a backup or for electrolytes is also a good strategy.
The goal for day hikes is generally to have enough water for the duration, plus a little extra, without feeling weighed down or fumbling for a drink. If you’re unsure, it’s always better to have a bit more than you think you’ll need, especially if the weather is warmer than expected.
Backpacking & Thru-Hiking: Volume and Accessibility
When you’re out for multiple days, like on a backpacking trip or during What Is Thru Hiking expeditions, your water strategy needs to be robust and adaptable. You’re not just carrying water for the day; you’re carrying enough to get you between reliable water sources, potentially for a full day or more.
- Primary System: Hydration Reservoir (2-3 liters): This becomes almost essential for continuous hydration on the move, especially when covering long distances. It’s your go-to for consistent sipping.
- Secondary/Backup: Water Bottles (2 x 1 liter): Carrying at least one, preferably two, sturdy water bottles in addition to your reservoir offers crucial redundancy.
- If your bladder fails or you need to leave your pack behind for a short exploration, bottles are vital.
- You can also use one bottle for clean water and another for electrolyte-enhanced water, keeping flavors separate.
- Rigid bottles are easier to clean and refill in the backcountry than bladders.
Key Considerations for Backpacking:
- Weight: Water is heavy (1 liter ≈ 2.2 lbs / 1 kg). Carrying too much can be draining. Plan your refills carefully.
- Refill Points: Know where you can access safe water sources (streams, lakes) and ensure you have a reliable water filter or purification method.
- Storage: Ensure your pack can comfortably accommodate the volume of water you need. Many backpacking packs have dedicated hydration reservoir sleeves.
This approach ensures you have ease of access for continuous drinking while also having a backup system and sufficient capacity for longer stretches between refills.
Group Hiking: Shared Responsibility and Capacity
Hiking with a group presents unique opportunities and challenges for water management. You can share the load, but effective communication and planning are essential to ensure everyone stays hydrated without confusion or shortage.
- Assign a Water Manager: One person can be responsible for ensuring the group has enough water and managing the water filtration/treatment process.
- Individual vs. Shared Containers:
- Individual Bottles/Reservoirs: Each person carries their own primary supply. This is generally the safest bet, as it ensures everyone has direct access to their own water.
- Shared Larger Containers: For larger groups on shorter hikes, consider one or two larger (e.g., 2-3 liter) collapsible water containers that can be passed around.
- Water Filter/Purifier Strategy: Designate who carries the water filter or purification tablets and decide on designated refill stops. This prevents multiple people from carrying redundant gear.
- Communication is Key: Before the hike, discuss water needs, intended refill points, and roles. During the hike, announce when you’re thirsty or when you’ve finished a container.
For instance, in a group of four on a day hike where water sources are scarce, you might decide that each person carries 1.5 liters, with one designated person carrying a 2-liter water filter. This brings the group’s total carry to 6 liters (1.5 x 4) plus the filter, ensuring ample supply and a method to replenish it. What To Bring On A Day Hike often lists water as the top priority.
Refilling and Treating Water On the Go
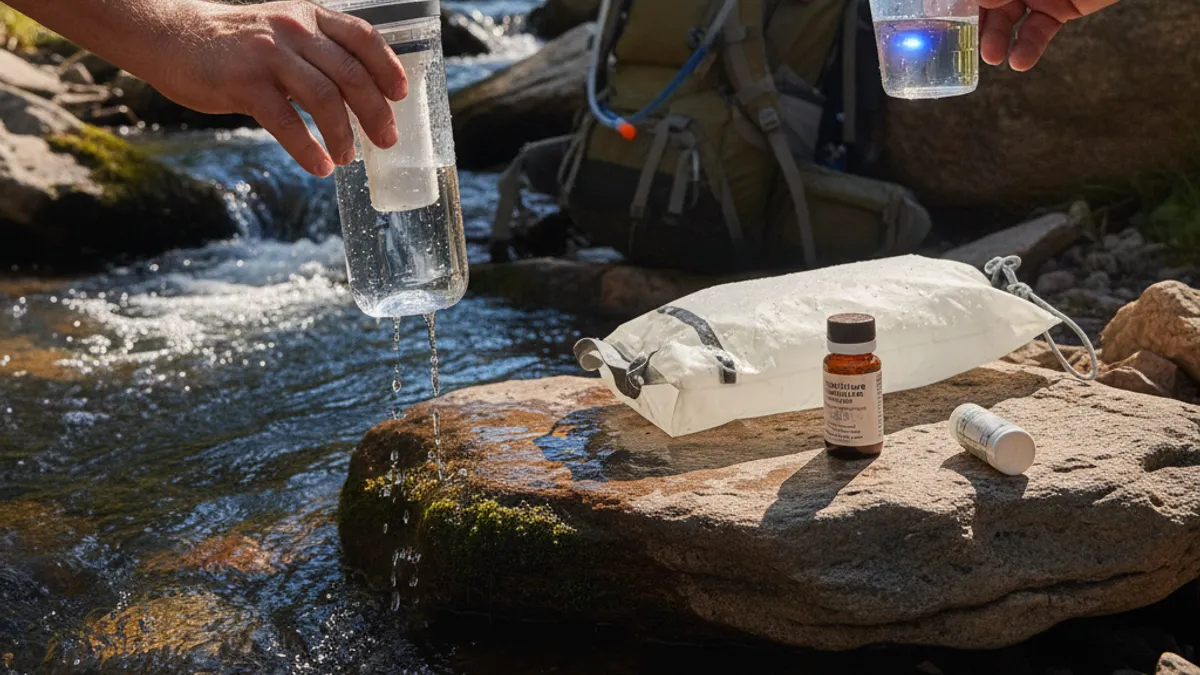
Carrying water is essential, but knowing how to supplement your supply from natural sources is critical, especially on longer excursions or in emergencies. Simply drinking untreated water from a stream or lake can lead to debilitating waterborne illnesses, so proper treatment is non-negotiable.
Finding Water Sources Safely
Identifying potential water sources requires common sense and a bit of observation.
- Look for Running Water: Streams and rivers are generally better sources than stagnant ponds or lakes. Moving water is less likely to harbor concentrated microbial contaminants.
- Consider Elevation: Water tends to flow downhill. Springs can be found where groundwater emerges from the earth.
- Vegetation Clues: Lush, green vegetation can indicate the presence of water nearby, especially in otherwise arid areas.
- Avoid Contaminated Areas: Steer clear of water sources downstream from human settlements, agricultural runoff (look for signs of pesticides or fertilizers), or animal grazing areas. Also, avoid water with an unusual color, odor, or oily sheen.
Remember, even clear-looking water can be contaminated. Always treat water from natural sources before drinking.
Water Purification Methods: Filters, Tablets, and UV
Having a reliable method to treat water is as important as carrying it. Different methods have varying effectiveness and drawbacks.
-
Water Filters: These devices physically strain out bacteria, protozoa (like Giardia and Cryptosporidium), and sediment.
- Types: Squeeze filters, pump filters, gravity filters, and straw filters.
- Pros: Effective against many pathogens, relatively fast, user-friendly. Many filters as of 2026 are designed to last for hundreds or even thousands of liters.
- Cons: Do not remove viruses (though most bacteria and protozoa are the primary concern for backcountry hikers), can clog in silty water, and moving parts can break.
-
Chemical Treatments (Tablets or Drops): These use chemicals like iodine or chlorine dioxide to kill bacteria, viruses, and protozoa.
- Pros: Lightweight, compact, effective against viruses.
- Cons: Require a waiting period (often 30 minutes to 4 hours), can impart a taste to the water, and may be less effective in very cold or turbid water. Iodine is not recommended for pregnant women or those with thyroid issues.
-
UV Purifiers: These pens use ultraviolet light to disrupt the DNA of microorganisms, rendering them unable to reproduce and cause illness.
- Pros: Effective against bacteria, protozoa, and viruses. Impedes taste.
- Cons: Require batteries or charging, may not work effectively in cloudy water (pre-filtering is often necessary), and you need to keep the device moving for the required treatment time.
Your choice often depends on the length of your trip, the expected water sources, and personal preference. A combination approach or having a backup is always wise. For instance, a Hiking Workout Plan For Beginners might suggest starting with simple bottle-based hydration, but as fitness and trail ambition grow, so too does the need for advanced water treatment.
Common Mistakes in Carrying and Drinking Water
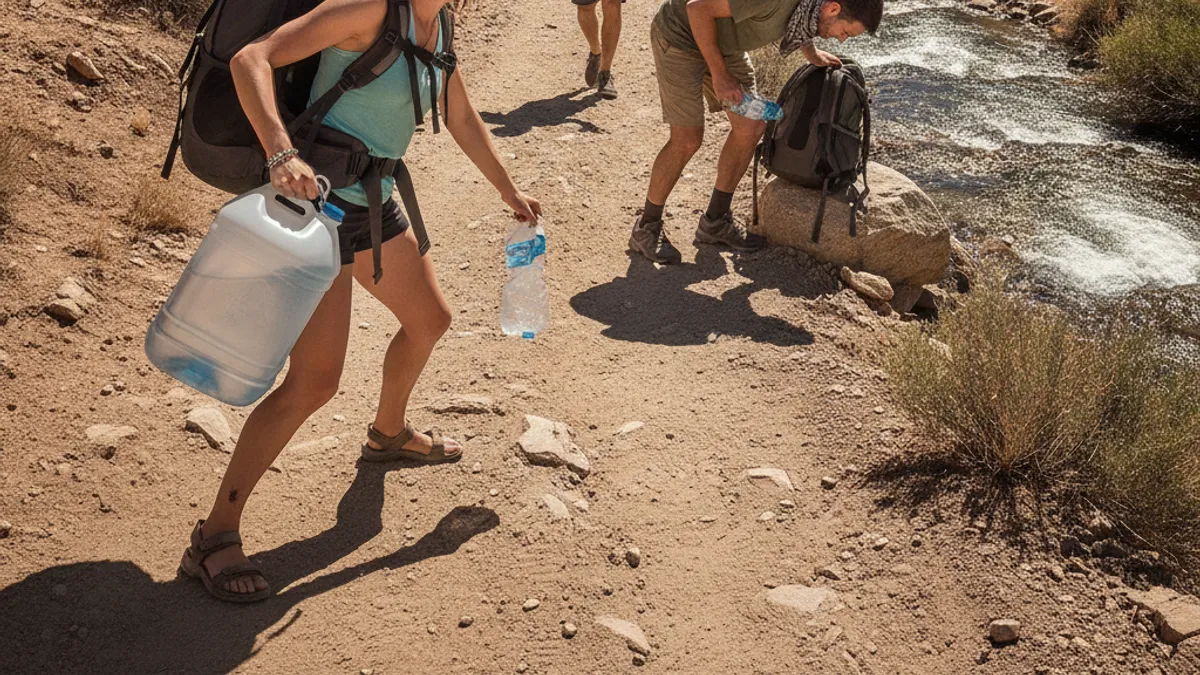
Even with the best intentions, hikers make mistakes that can compromise their hydration. Learning to avoid these pitfalls can significantly enhance your safety and comfort on the trail.
Underestimating Needs
This is perhaps the most frequent error. Hikers might pack for a shorter duration or cooler weather than expected, only to face thirst miles from the trailhead or a refill point. Always consider worst-case scenarios for heat and exertion when planning your water volume. A good rule of thumb is to carry an extra liter on days you overestimate your needs, rather than finding yourself critically short.
Remember that water weighs approximately 2.2 pounds per liter, so a 1-liter overestimate adds over 2 pounds to your pack.
Gear Failures and Leaks
Equipment isn’t foolproof. A hydration reservoir’s hose could detach, a bottle cap might not seal properly, or a pack side-pocket might not be secure.
- Check Seals and Caps: Before you leave, do a quick integrity check of all your water containers. Fill them up and turn them upside down over a sink.
- Secure Bottles: Ensure bottles are placed in reliable pockets or secured inside your pack so they don’t fall out.
- Clean Reservoirs Regularly: Backwash your bladder and hose after each use to prevent mold and ensure it’s ready for the next trip. A forgotten leaky bladder can soak your entire pack contents.
Neglecting Water Treatment
Trusting natural water sources without treatment is a recipe for disaster. Even crystal-clear water can harbor microscopic organisms that cause severe gastrointestinal distress, ruining your hike and potentially requiring medical attention. Always use a filter, purification tablets, or UV purifier on any water collected from streams, lakes, or springs before consuming it. It’s an extra step, but one that’s absolutely critical for your health.
Expert Tips for Optimal Trail Hydration
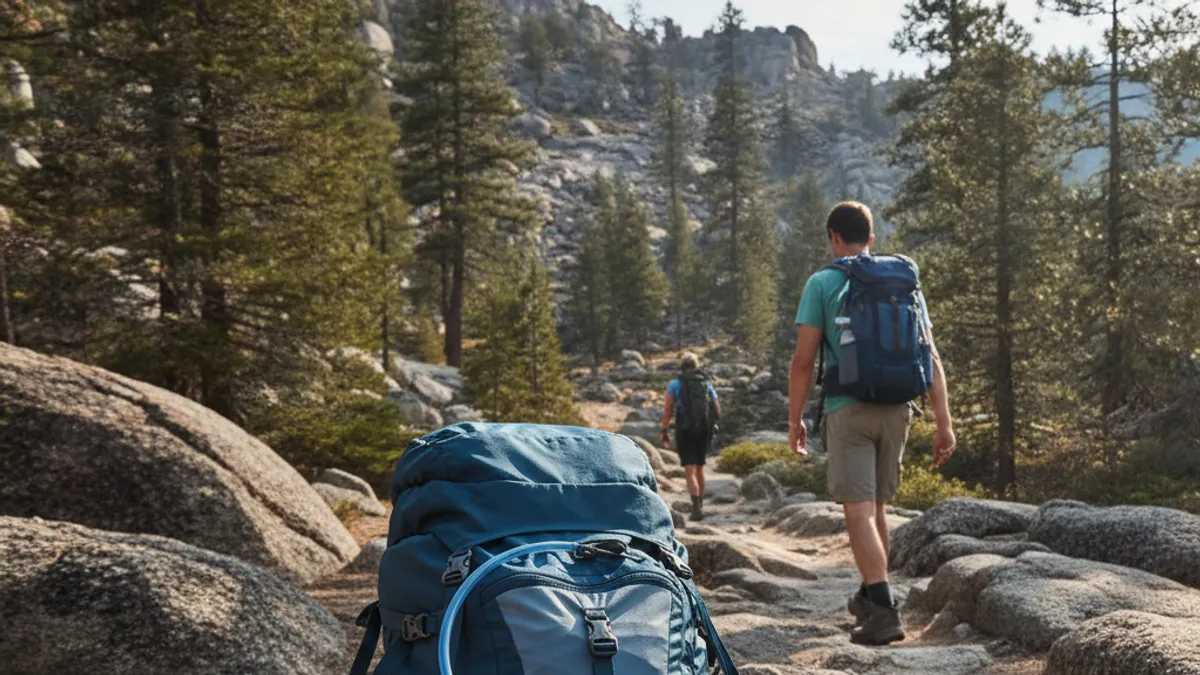
Beyond simply carrying enough water, how you store and access it can make a big difference in your comfort and efficiency on the trail. Small adjustments to your setup can help you drink more consistently, improving performance and preventing dehydration before you even feel thirsty.
Keeping Water Cool (or from Freezing)
Managing water temperature is crucial, especially in extreme weather. In hot conditions, lukewarm water is less refreshing and can even contribute to overheating. In freezing temperatures, your water supply can become unusable.
-
For Heat:
- Insulated Bottles: Using a double-walled, insulated stainless steel bottle can keep water cold for many hours.
- Freeze Half Your Water: On longer, hot hikes, freeze half of your water supply the night before. This will melt gradually throughout the day, keeping your water cool.
- Store in Shade: Keep water bottles or bladders tucked away in your pack, ideally in a side pocket, and try to keep them in shaded areas whenever you take a break.
-
For Cold:
- Insulated Reservoir Covers: These sleeves help prevent your hydration bladder and hose from freezing.
- Carry Bladder Upside Down: Some hikers suggest storing their bladder upside down overnight or during cold weather hikes to allow water to drain from the hose.
- Insulate the Hose: Wrap the hose with foam insulation or a neoprene sleeve.
- Bite and Blow: After each sip from a reservoir, gently blow air back into the hose. This pushes water out of the tube and into the bladder, reducing the amount of water left to freeze in the line.
- Use Water Bottles: Rigid bottles are sometimes easier to manage in freezing conditions. You can place them upside down in your pack if you suspect the opening might freeze shut.
Easy Access and Drinking Techniques
The easier it is to drink, the more likely you are to do it regularly. Consistent sipping is more effective than chugging large amounts infrequently.
- Hydration Reservoir Hose Placement: Ensure your reservoir hose is routed comfortably over your shoulder or clipped to a sternum strap. It should be easily reachable with minimal fuss.
- Bottle Pocket Accessibility: For hikers using water bottles, place them in easily accessible side pockets or hip belt pockets. Test this access while wearing your loaded pack before you hit the trail.
- Sip Frequently: Make a conscious effort to take small sips every 15-20 minutes. This keeps your body consistently hydrated without the shock of drinking too much at once.
- Electrolyte Balance: For long or strenuous hikes, especially in hot weather, consider adding electrolyte supplements to your water. These help replace salts lost through sweat, which is crucial for maintaining fluid balance and preventing cramping. You can find various Electrolytes For Hiking options, from powders to tablets.
By paying attention to how and when you drink, and ensuring your water is at a comfortable temperature, you can significantly boost your hiking performance and enjoyment.
Keeping Your Water Gear Clean and Ready
Proper maintenance of your water bottles and hydration reservoirs is as important as choosing the right gear. Neglecting this can lead to unpleasant tastes, bacterial growth, and premature wear on your equipment, ultimately affecting the quality and safety of your drinking water.
Cleaning Water Bottles
Cleaning rigid water bottles is generally straightforward. Daily cleaning, especially if you use them for anything other than plain water, is recommended.
- Daily Rinse: After each hike, rinse your bottle thoroughly with warm water.
- Soap and Brush: For a deeper clean, use a bottle brush and a mild dish soap. Gently scrub the inside of the bottle, paying attention to the threads and the opening.
- Drying: Allow bottles to air dry completely with the cap off. Standing them upside down on a drying rack or towel works well. This prevents condensation build-up and potential mold growth.
- Tackling Odors/Stains: For stubborn odors or stains, a solution of baking soda and water left overnight can help. Some people also use denture cleaning tablets.
Cleaning Hydration Reservoirs and Hoses
This is where maintenance can be more involved, but it’s absolutely critical. A dirty bladder can harbor bacteria that are hard to remove.
- Rinse Immediately: As soon as you empty your reservoir, rinse it out with warm water.
- Use a Reservoir Brush Kit: Specialized long, flexible brushes are essential for cleaning the inside of the reservoir bag and the flexible hose.
- Cleaning Solution: Many manufacturers recommend using a mild dish soap diluted with water, or specific reservoir cleaning solutions. For tough odors, a diluted bleach solution (follow manufacturer guidelines carefully, as too much can damage materials) or a citric acid solution can be effective.
- Thorough Drying: This is the most critical step for reservoirs. Hang the bladder upside down using a reservoir hanger or specialized drying device. Ensure the hose is also completely dry, often by running a thin brush through it. Any lingering moisture can lead to mold.
- Bite Valve Care: The bite valve can accumulate grime. Remove it, clean it thoroughly with a small brush, and ensure it dries completely.
Important: Always check the specific cleaning instructions provided by the manufacturer of your water bottle or hydration reservoir. Materials and designs can vary, and using incorrect cleaning agents or methods could damage the gear. Regular cleaning not only ensures hygienic water but also extends the lifespan of your hydration system.
