
Finding the right hiking trail shouldn’t be a barrier to enjoying the outdoors. Knowing how to find accessible hiking trails means opening up a world of nature to everyone, regardless of their mobility needs. It’s about planning smart so your adventure is about exploration, not unexpected challenges.
In our research, we learned that many trails, while beautiful, can present obstacles. For instance, the Americans with Disabilities Act (ADA) guidelines suggest that accessible routes should have a consistent surface free of tripping hazards and a minimum width of 36 inches for travel. Without knowing these specifics, a seemingly simple path can quickly become impassable.
What “Accessible Hiking Trail” Really Means
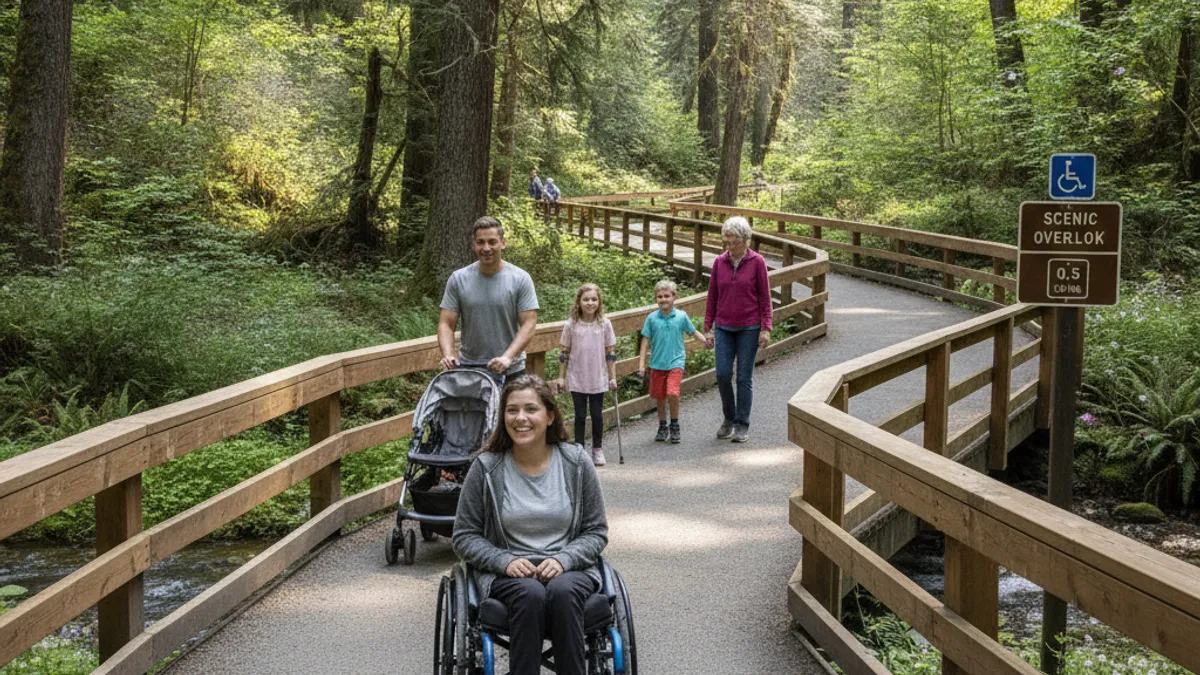
Accessible hiking trails are those thoughtfully designed or modified to accommodate people with varying mobility needs. This definition extends beyond just wheelchair users. It encompasses anyone who might find uneven terrain, steep inclines, or narrow paths difficult.
Our editorial analysis of park and recreation data indicates that “accessible” typically refers to trails meeting certain standards for surface, grade, and width. Common features include a firm, stable surface like packed gravel or pavement, gentle slopes, and ample width for mobility devices or assistance. The ultimate goal is to allow for independence and enjoyment of nature for a wider range of visitors.
Why Finding the Right Accessible Trail is Tricky

The biggest hurdle is that “accessible” can mean different things to different people; trail descriptions often lack the detail needed for informed choices. What one person finds manageable, another might not. Trail conditions can also change seasonally or even weekly due to weather.
Aggregate user reviews frequently highlight that online descriptions sometimes omit critical specifics. You might read “wheelchair friendly,” but not know if that means a smooth, paved path or a wider, compacted dirt trail. This is why digging deeper and understanding your own needs is so important.
Your Personal Accessibility Needs: What to Consider First

Before you start looking at trail maps, take a moment to define what “accessible” means for you. Are you using a manual wheelchair, a powered scooter, crutches, or a walker? Do you have visual impairments, or a condition that makes navigating uneven surfaces challenging without a steady hand?
Aggregate user feedback suggests that understanding your specific requirements upfront is key to avoiding frustration and disappointment. For a manual wheelchair user, a slight incline might be manageable with assistance, whereas a consistent 5% grade could be a significant challenge for someone with limited upper body strength. Thinking about your mobility aids and any physical limitations helps narrow down the trail features you’ll need.
Step 1: Identifying Your Mobility Requirements
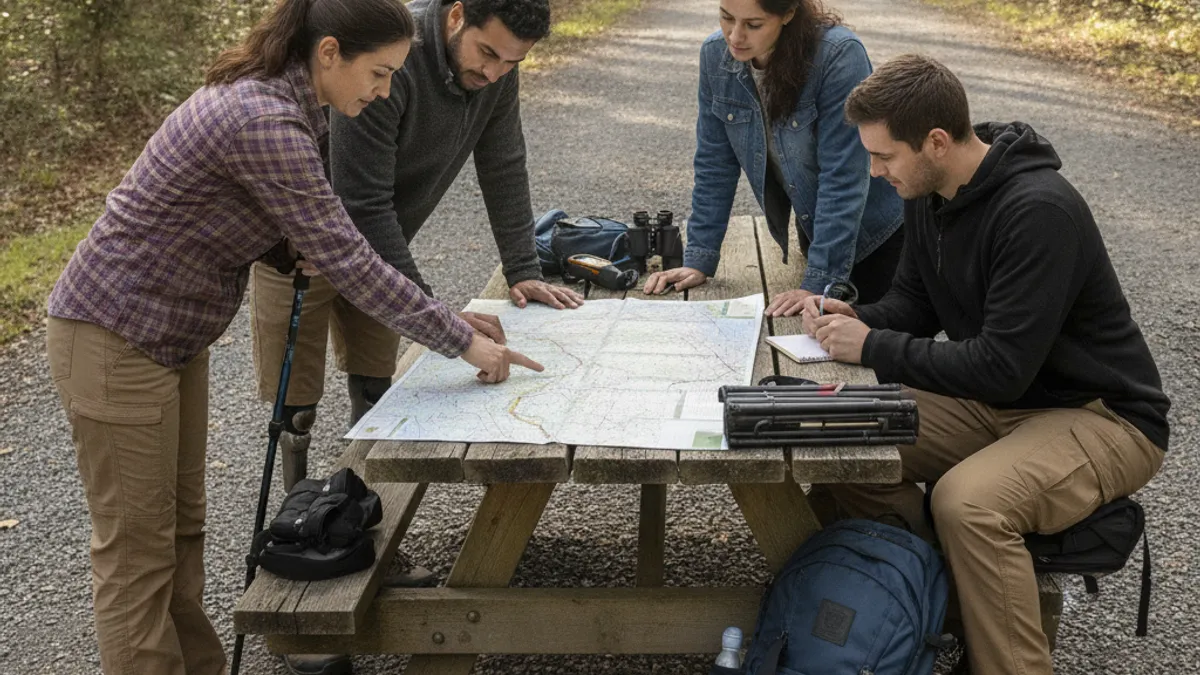
This is the foundational step in your planning process. Get clear on the equipment you use and your personal physical capabilities. For example, if you use a wheelchair, what kind of terrain can you comfortably navigate? Packed gravel is often cited as acceptable by many parks, but excessively loose or deep gravel presents a significant obstacle.
Mobility Aid Considerations & Trail Surfaces
- Wheelchairs (Manual/Powered): Prefer paved, boardwalk, or smoothly compacted gravel surfaces. Look for minimal cross-slope and gentle grades.
- Walkers/Crutches: Benefit from stable, relatively even surfaces. Wide, packed paths are ideal; avoid loose stones or deep mulch.
- Canes: Offer more flexibility but still appreciate firm ground over loose or slippery conditions.
- Visual Impairments: Trails with clear, well-defined edges, tactile warnings (if available), and minimal unexpected obstacles are crucial. Clear signage is paramount for navigation.
Your personal stamina level is also a critical factor. If you’re just starting out or returning from an injury, you’ll want shorter trails with plenty of opportunities to rest. This is also a good time to consider a hiking workout plan for beginners to help build your endurance.
Step 2: Researching Trail Features Online

Once you know what you need, it’s time to explore online resources. Most park systems and popular trail apps offer information, but you have to know what specific details to look for. Pay close attention to information about the trail surface, its gradient, width, and any potential obstructions like stairs or large rocks.
Trail Surface: Packed Gravel, Paved Paths, or Boardwalks?
The ground beneath your feet is perhaps the most significant factor in trail accessibility. Manufactured surfaces like paved paths or sturdy boardwalks are generally the most universally accessible options. These offer a smooth, firm foundation that is predictable and easier to traverse for most mobility aids.
Manufacturer specifications for trail materials often emphasize durability and stability. For instance, compacted fine gravel or crushed stone, when properly maintained, can provide a firm surface. However, our research indicates that loose or deep gravel, or surfaces littered with large, uneven stones, quickly become problematic. Many park websites will specify the trail material, so make it a point to look for that detail.
Trail Gradient: Keeping Slopes Manageable
Gradient, or slope, is how steep a trail is. Extremely steep trails can be impossible to navigate for wheelchair users and pose a significant challenge for walkers or those with limited mobility. Official guidelines, like those found in ADA standards, often suggest a maximum running slope of 5% for accessible routes, with any steeper sections requiring mechanisms like switchbacks or resting areas.
Your own physical ability plays a large role here. If you know you struggle with inclines, look for trails with gradients under 5%. Many park websites will provide this information, often in a technical specifications section. If they don’t, you might need to look for trail reviews that mention steepness.
Trail Width: Room to Maneuver
The width of a trail is crucial for accessibility. Wider trails allow for easier passage for wheelchairs, strollers, and for people to pass each other. The ADA suggests a minimum clear width of 36 inches for accessible routes, and many accessible trails aim for 48 inches or more to provide comfortable passing space.
When reviewing trail descriptions, look for mentions of width. If a trail is described as “wide,” try to find specific measurements. A trail that narrows significantly at points can still pose a problem, even if it starts out ample. Understanding these dimensions helps you avoid trails that might be too confined for your needs.
Obstructions and Resting Points: What to Watch For
Beyond the basic surface, grade, and width, other features can make or break an accessible trail experience. Obstructions are anything that blocks or hinders passage, such as stairs, large rocks, tree roots, or significant unevenness. Ideally, an accessible trail will be free of these, or any steps will have a parallel accessible route.
Equally important are resting points, like benches or clear, flat areas along the trail. These allow individuals to take breaks when needed without having to step off the main path. If you plan on longer walks, seeking out trails with frequent, well-placed rest stops can make the difference between an enjoyable outing and an exhausting ordeal.
Step 3: Where to Look for Trail Information

Once you’ve clarified your needs and know what features to look for, it’s time to start your search. The internet is your primary tool, but knowing where to direct your queries can save a lot of time. Start with official sources, as they are often the most reliable.
Official Park Websites and Guides
National Parks, State Parks, and many local park systems have dedicated websites with detailed information about their trails. Look for sections specifically labeled “Accessibility,” “Accessible Trails,” or “Visitor Information.” These pages often list trails that have been assessed for accessibility and provide important details on surface, grade, and width.
For example, the National Park Service often publishes trail descriptions that include accessibility notes, and some parks even offer tactile maps or audio descriptions. These resources are invaluable for pre-trip planning. As of 2026, many of these sites are continuously updating their accessibility information, making them a primary port of call.
Local Park Departments and Organizations
Beyond national and state systems, your local parks department is an excellent resource. They often manage smaller, community-focused trails that might be overlooked in broader searches. Don’t hesitate to contact them directly via phone or email with specific questions about trail conditions.
In addition to official bodies, look for organizations that focus on outdoor recreation for people with disabilities. These groups often maintain their own databases of accessible trails or provide reviews and recommendations based on direct experience. Their insights can be incredibly practical.
Step 4: What to Ask Park Rangers and Staff
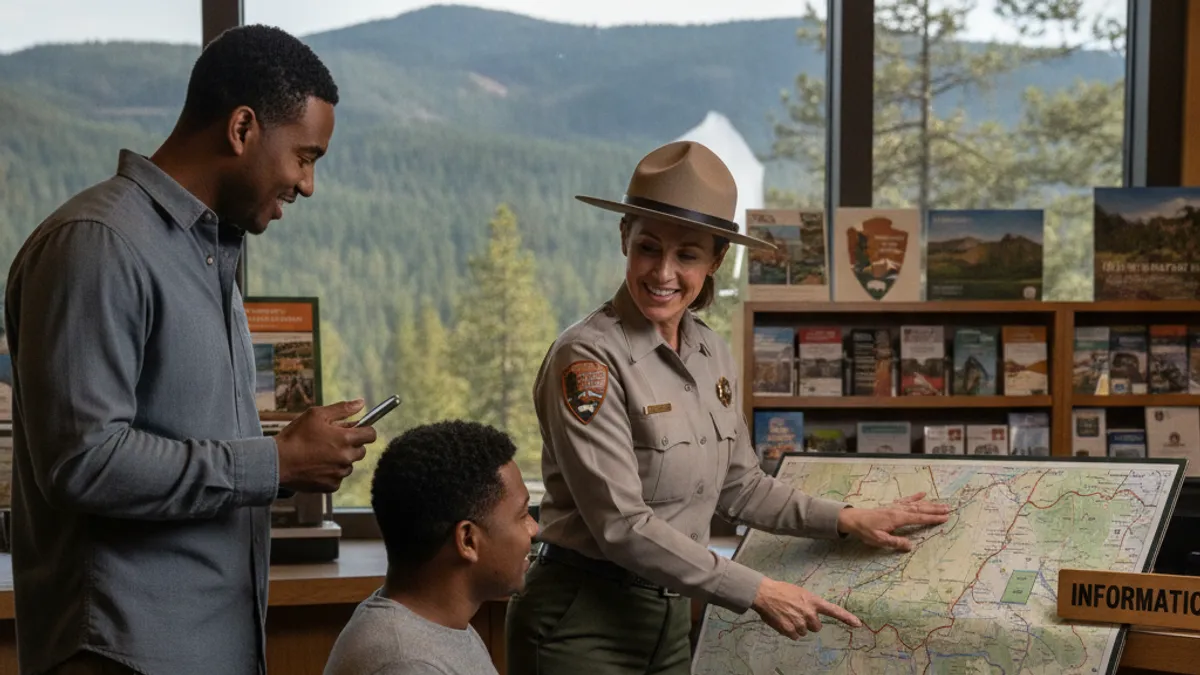
While websites and apps provide a good starting point, sometimes you need more up-to-the-minute information. Park rangers and visitor center staff are your on-the-ground experts. They know the trails intimately and can offer insights that you won’t find online.
When you call or visit, be specific about your needs. Instead of just asking for an “accessible trail,” ask about the trail surface condition, current obstacles, and any recent changes. For instance, you might ask, “I use a manual wheelchair. Is the Cedar Creek Loop trail paved all the way, or is it mostly compacted gravel?
Are there any sections with loose stones or a steep grade?” Their answers can help you make a more informed decision about whether a trail is truly suitable for you.
Step 5: Reading User Reviews with a Critical Eye

Online reviews from other hikers can be a goldmine of information, but they require a discerning approach. While many reviews focus on scenery or difficulty, look for those that specifically mention accessibility features or challenges. A comment like, “The path was really bumpy and full of roots near the halfway point,” is far more useful than general praise.
Pay attention to the date of the review, too. A review from five years ago might not reflect current trail conditions. Focus on detailed feedback that describes specific issues like terrain, unexpected steps, or areas where a wheelchair or mobility aid struggled. Remember that individual experiences can vary, so look for patterns in multiple reviews to get a balanced perspective.
Common Trail Accessibility Mistakes to Watch Out For
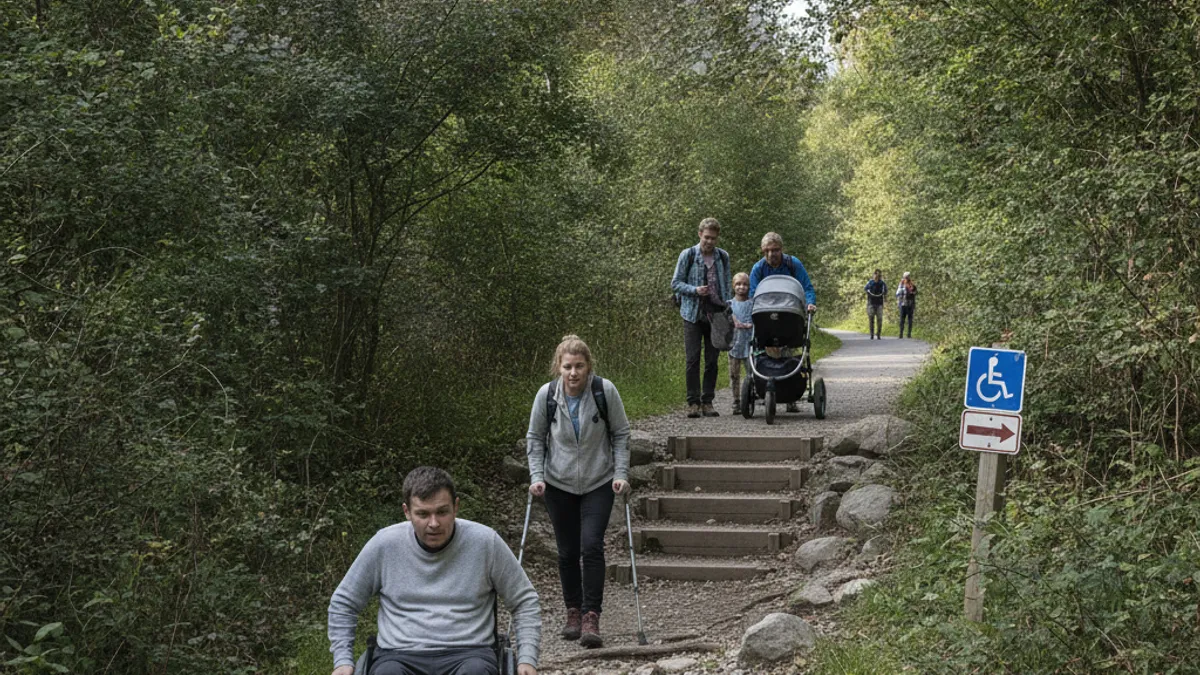
Even with careful planning, missteps can happen. One of the most common errors is relying solely on a trail being labeled “accessible” without verifying the specific features. A trail might be deemed accessible because it has picnic tables or restrooms nearby, rather than a truly passable path.
Another mistake is assuming that a trail that was accessible last year is still in perfect condition. Weather events, maintenance schedules, or heavy use can all impact a trail’s surface and introduce new obstacles. Always try to get the most current information available before you head out.
When a Trail Might Not Be What You Need

Sometimes, after your research, it becomes clear that a particular trail simply isn’t the right fit for your accessibility needs. This isn’t a failure; it’s successful planning. It’s better to discover this before you arrive at the trailhead than to face an impassable obstacle halfway through your intended route.
If a trail is too steep, the surface is too rough, or there are unexpected barriers, don’t force it. The goal is an enjoyable outdoor experience. It’s perfectly fine to pivot to another trail, visit a different park, or even opt for an accessible nature center or garden that day. Sometimes, a change of plans leads to a different, equally rewarding adventure.
