
You’ve probably encountered them on steeper trails: those zig-zag paths that make a mountain climb seem far less daunting. Wondering what are switchbacks in hiking and why trails are built this way? They’re a brilliant piece of trail engineering designed to ease the grade, making your journey more enjoyable and protecting the path itself.
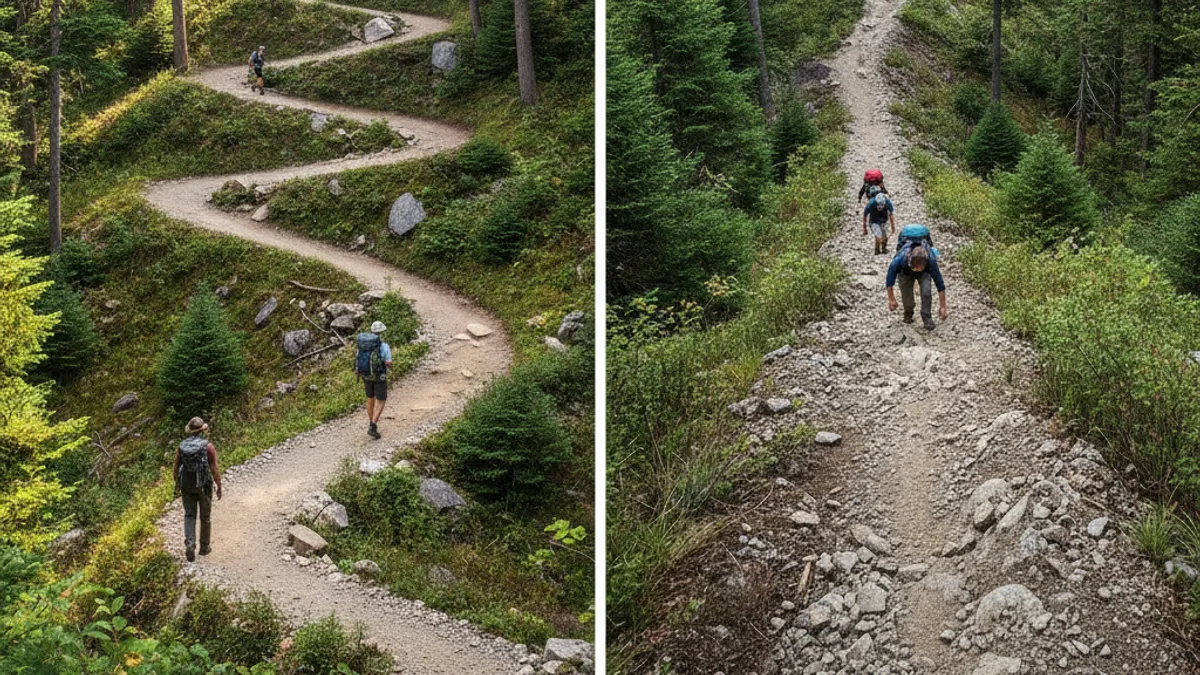
Switchbacks are essentially a series of connected turns that break up a steep incline. Instead of one direct, grueling ascent, the trail snakes back and forth, creating a much more gradual slope. Official trail construction guidelines, like those from the U.S. Forest Service, often recommend a maximum sustainable grade of around 8-15% for extended ascents, a target switchbacks help achieve.
What Exactly IS a Switchback on a Hiking Trail?
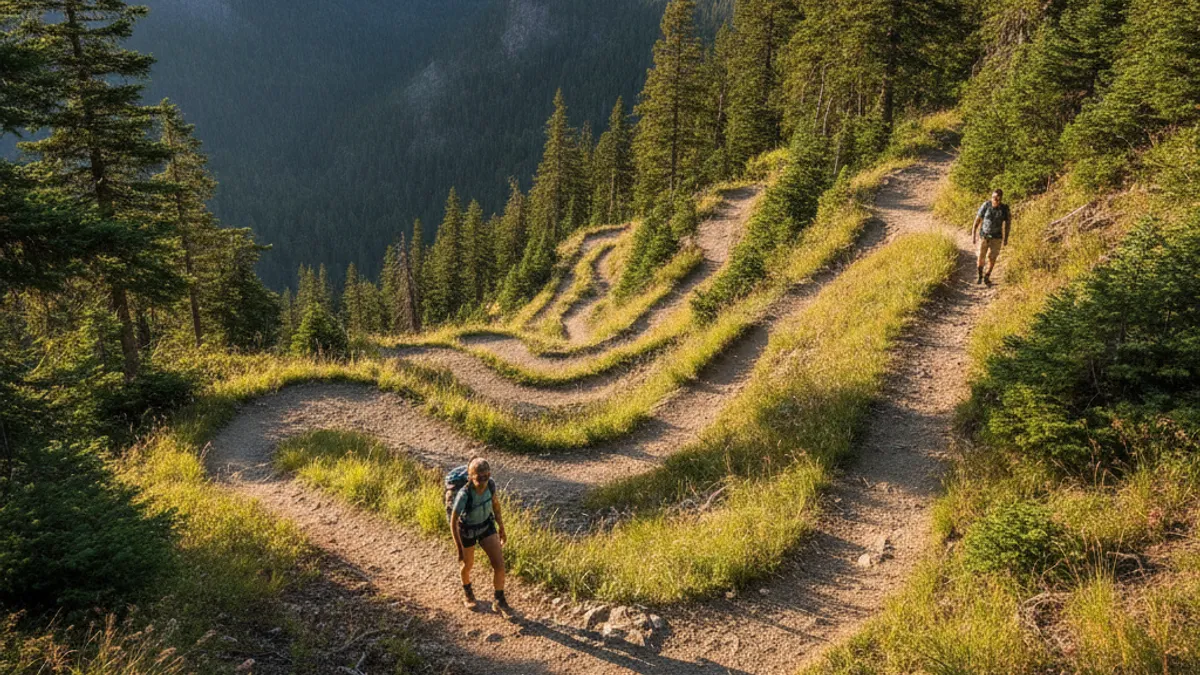
A switchback is a sharp turn on a hiking trail that allows it to ascend a steep slope without becoming too difficult or leading to rapid erosion. Instead of going straight up, the path doubles back on itself, creating a pattern that looks like a zig-zag or an “S” shape when viewed from above. This design is fundamental to how many mountainous trails are built, transforming what would be an almost vertical and impassable climb into a series of manageable ascents. It’s essentially a way for trail designers to cheat gravity, making your upward journey more gradual and less strenuous.
Essentially, trail builders use switchbacks to break down a significant vertical gain into a sequence of much shorter, less intensely sloped segments. Imagine trying to climb a pile of loose gravel straight up versus climbing a series of low, broad steps. The switchback creates those lower, broader steps on a natural hillside. This technique is particularly crucial for trails that traverse very steep terrain, as it provides a sustainable way to gain elevation while also preserving the trail’s physical integrity against natural forces like rain and foot traffic.
Spotting Switchbacks: Visual Cues on the Trail
When you’re out on a hike and the elevation starts to climb significantly, keep an eye out for these distinctive trail features. They’re not random curves; they’re deliberate design choices that signal a change in how the trail is navigating the terrain. Visually, they create a clear pattern that’s quite different from a winding path on gentler slopes.
Why Trails Use That Zig-Zag Pattern
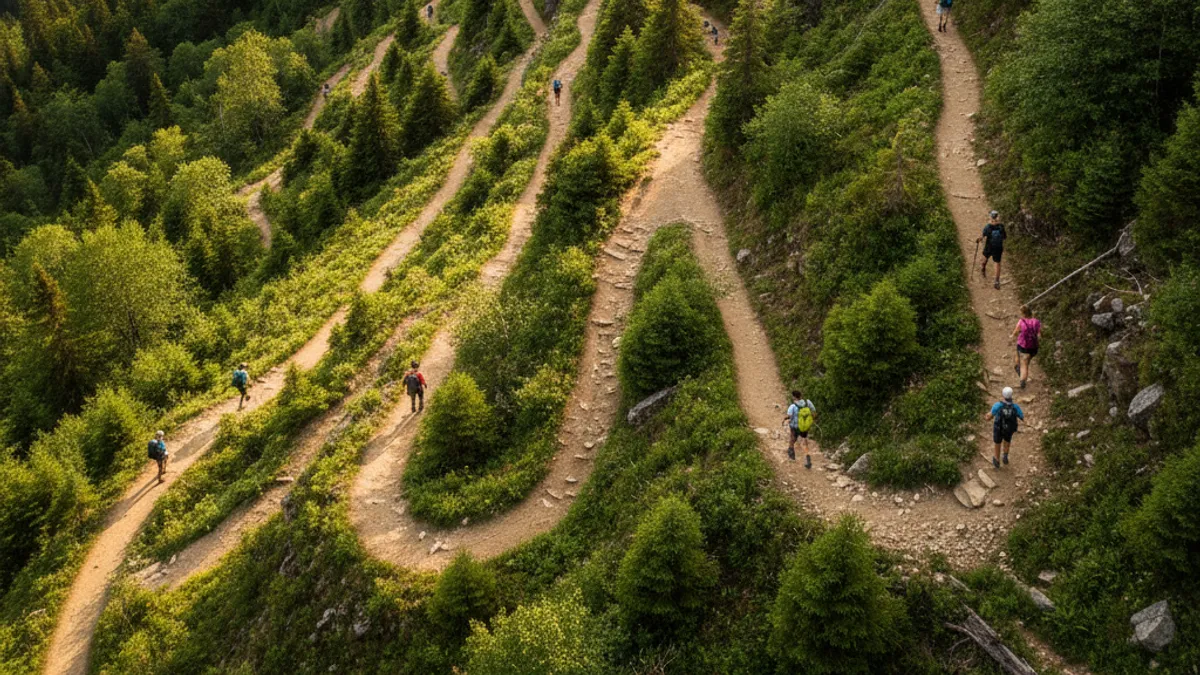
The reasons trail designers incorporate switchbacks are deeply practical, focusing on both the hiker’s experience and the long-term health of the trail system. It’s not just about aesthetics; it’s about making trails functional, accessible, and durable for years to come. These design elements directly address some of the biggest challenges in trail building.
How to Spot a Switchback on the Trail
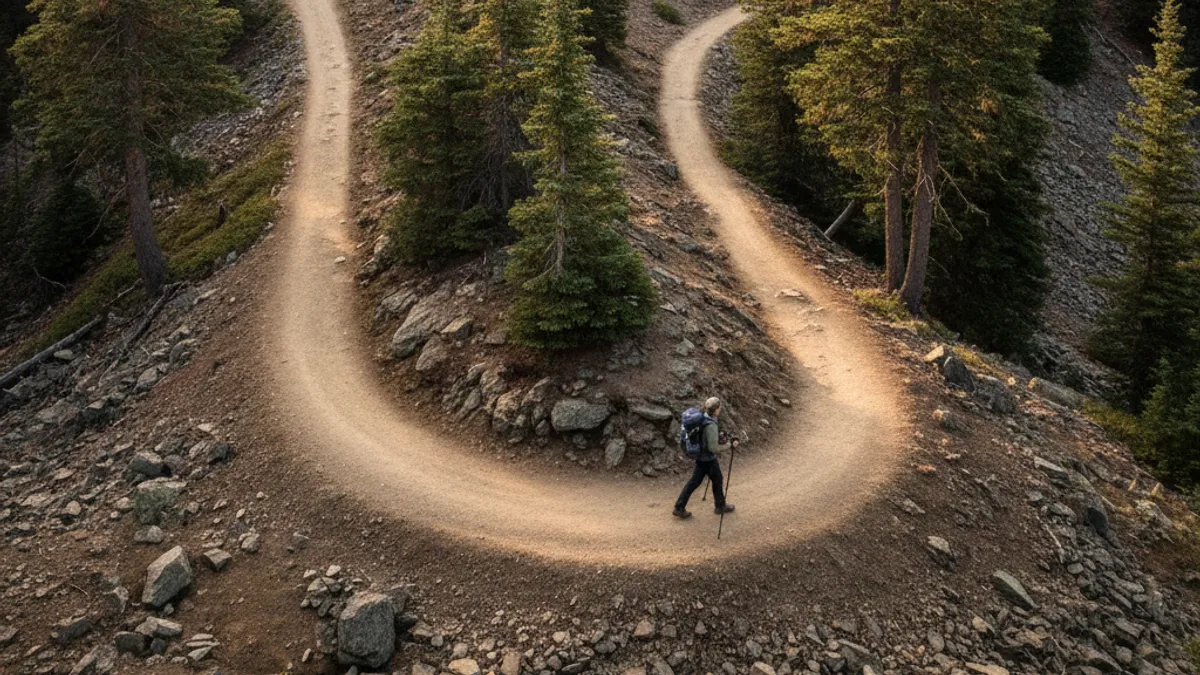
Once you understand the concept, spotting switchbacks becomes second nature. They’re not hidden; they’re a fundamental feature of many mountain trails. Recognizing them helps you anticipate changes in terrain and understand the trail builder’s intent. It’s like learning to read the map of the land as you walk.
The Purpose Behind the Turns: How Switchbacks Work
Switchbacks serve a dual purpose: making the hike physically manageable for us and ensuring the trail itself can withstand the elements and continued use. They are a fundamental technique in sustainable trail design. Without them, many steep routes would be nearly impassable or quickly degrade.
The Upsides of Switchbacks for Hikers
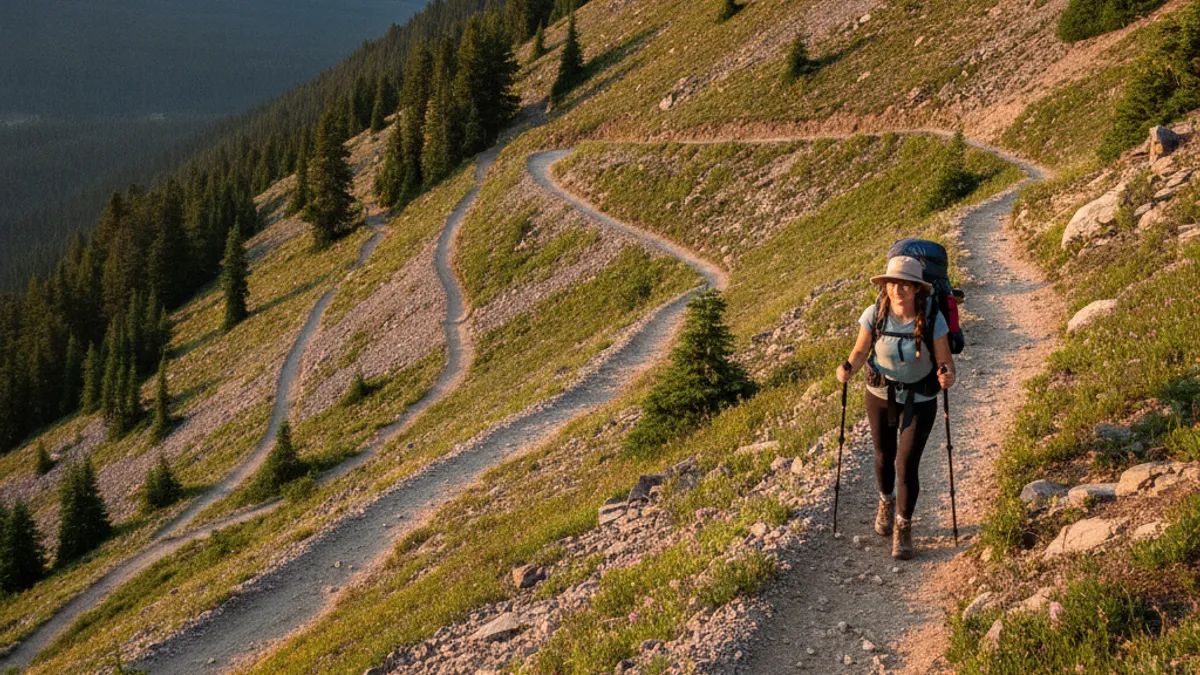
Switchbacks offer significant advantages for anyone heading out on the trail, making hiking more accessible and enjoyable. Their benefits primarily revolve around making the physical challenge of climbing a mountain more manageable and contributing to the trail’s longevity. These points are why trail builders consistently favor them in mountainous terrain.
Making the Climb Manageable
The primary function of a switchback is to reduce the steepness, or gradient, of a trail. By cutting across the slope, the trail’s incline is significantly lessened compared to a direct ascent. This means you’re not fighting gravity quite so hard with every step. Aggregate user reviews and common hiker feedback consistently highlight that trails with well-placed switchbacks feel considerably less strenuous, allowing for longer hikes and greater enjoyment.
Protecting the Trail from Erosion
When water flows down a steep, direct path, it picks up speed and carries soil with it, causing erosion. Switchbacks interrupt this flow. The turns help slow down water, allowing it to soak into the ground or drain more gently off the sides of the trail. Manufacturer specifications for trail building materials, such as appropriate rock retention and surface stabilization, are often implemented in conjunction with switchbacks to further combat erosion.
This protection preserves the trail’s integrity over time, preventing it from becoming widened or washed out.
Sometimes, Switchbacks Have Downsides
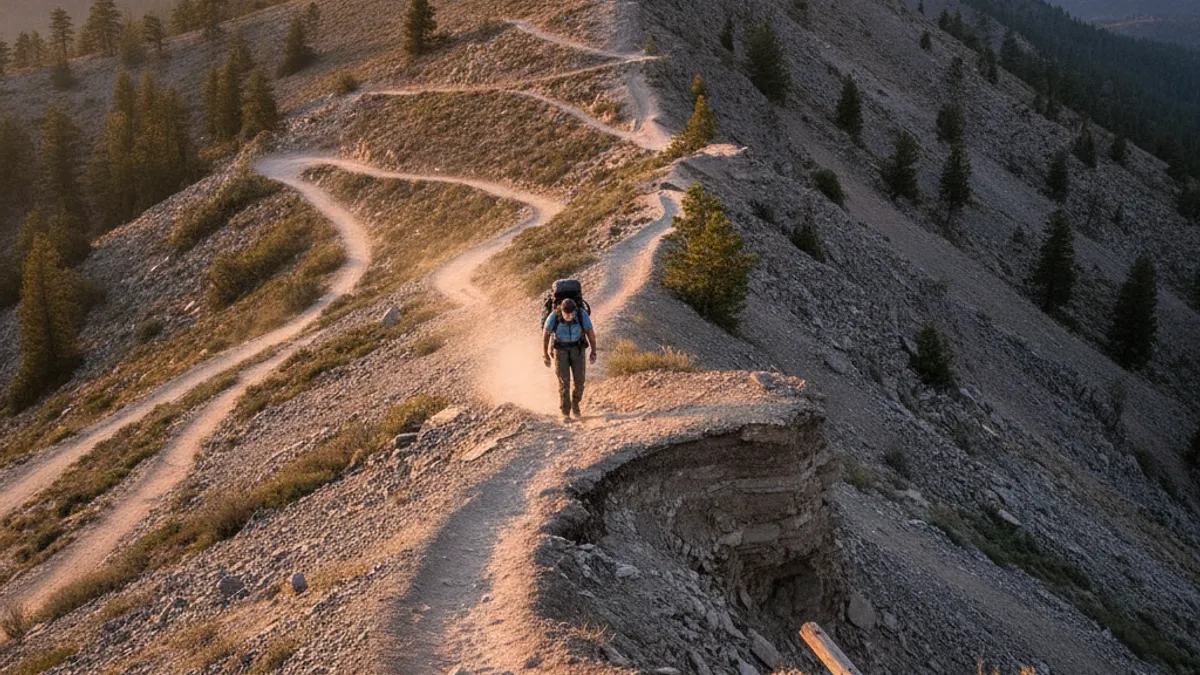
While switchbacks are incredibly practical, they aren’t always met with universal enthusiasm among all hikers. Like most things in life, they come with a trade-off, and some hikers might find them less than ideal for their personal preferences or a specific type of hike. Understanding these points can help manage expectations and appreciate the compromises involved in trail design.
When You’ll Encounter Switchbacks: Use Cases
Switchbacks aren’t just an abstract concept; they’re a practical solution you’ll find in specific hiking environments. Their presence indicates a particular type of terrain and a thoughtful approach to trail construction.
Steep Hillsides and Mountains
You’ll most commonly find switchbacks on trails that traverse genuinely steep terrain, such as mountain slopes, significant hillsides, or canyon walls. Anywhere a direct route would be excessively steep for sustained walking, trail designers employ switchbacks. For example, in areas where elevation gains exceed 1000 feet within a mile, switchbacks become almost a necessity.
Trails for All Abilities
Because switchbacks moderate the incline, they make trails accessible to a wider range of people. This includes families with young children, older hikers, or individuals who may have physical limitations that make steep, direct climbs challenging. Trails that incorporate numerous switchbacks are often more beginner-friendly and can be part of a broader trail network designed for varied skill levels, from leisurely walks to more demanding treks requiring a good hiking workout plan for beginners.
The Trade-Offs: Advantages and Drawbacks of Switchbacks
While switchbacks are largely seen as a positive addition to a trail, like any design choice, they come with their own set of benefits and a few minor drawbacks. Understanding these helps appreciate their role fully.
Loving the Gentler Slope
The most significant advantage is the reduced physical exertion. Trails with switchbacks feel less taxing on your legs and cardiovascular system. This allows hikers to conserve energy, enjoy the scenery more, and extend their hiking time. For longer excursions, like those where you might be considering what is thru hiking, efficient energy management is crucial.
Why Trails Aren’t Straight
The primary drawback of switchbacks is that they inherently add distance to a trail. To gain a certain amount of elevation, a switchbacking trail will be longer than a theoretical straight-line path. However, this “cost” of extra distance is almost always outweighed by the benefit of a manageable gradient. While a direct route might save a few hundred yards, it could also be impossible to ascend or descend safely and sustainably.
Expert Trail Design: Building Better Switchbacks
Trail builders use specific techniques to make switchbacks effective and long-lasting. The goal is to create a sustainable, safe, and enjoyable path. This involves careful planning and execution. For instance, U.S.
Forest Service guidelines often specify desired turn radii for switchbacks to accommodate users like hikers and equestrians.
Planning the Path
Before digging begins, designers assess the terrain. They identify the steepest sections and map out the most efficient, lowest-impact route for switchbacks. This planning ensures the turns are spaced correctly to maintain a manageable gradient. A well-planned switchback system can turn a dangerously steep slope into a moderate climb.
Trail Builders’ Smart Design: Switchbacks in Action
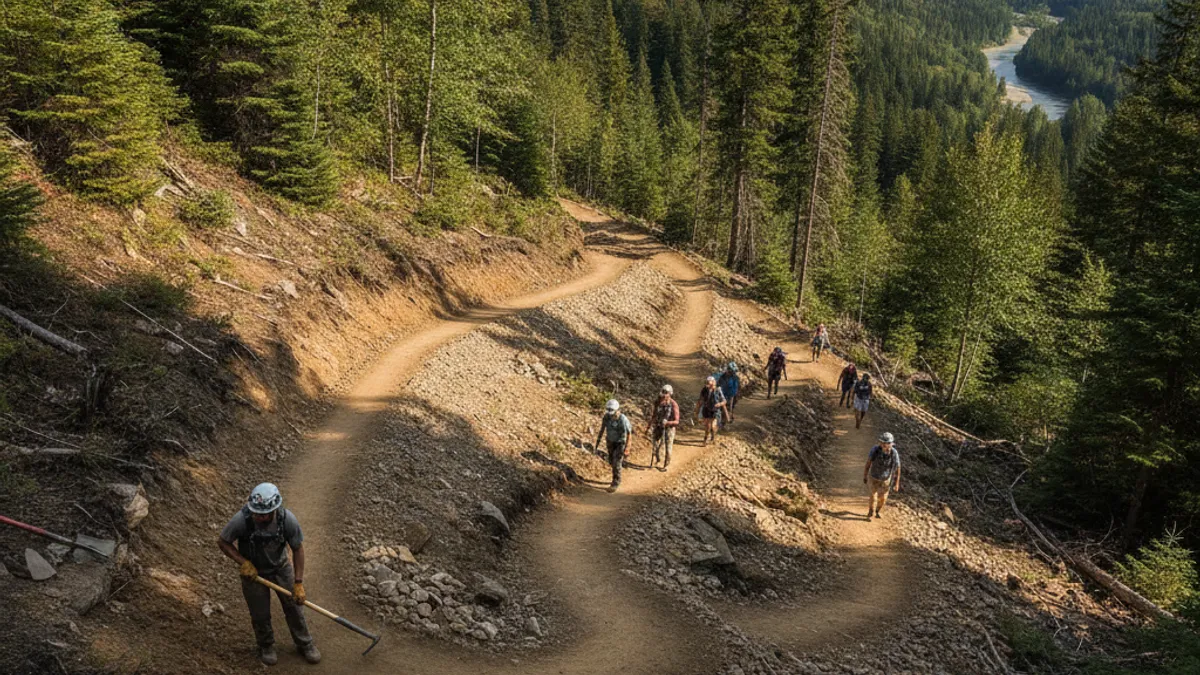
Trail builders and designers meticulously plan switchback placement to create the most efficient and sustainable routes. They consider the slope, soil type, water flow, and desired trail gradient, often aiming for a maximum sustained gradient of around 10-15% to ensure comfortable hiking and minimize erosion. (U.S. Forest Service trail construction standards) A well-executed switchback system will feel like a natural progression uphill, rather than an abrupt interruption.
The turns are typically designed to be wide enough for hikers to pass comfortably without stepping off the trail, and sometimes even wide enough for hikers with poles to navigate without too much trouble if they know how to use hiking poles effectively.
The effectiveness of a switchback system can be visualized by imagining a contour map. Each switchback effectively creates a segment of trail that follows the contour lines more closely, but at a steeper angle than a pure contour trail. This allows for much faster elevation gain compared to a trail designed to hug the curves of the land completely. For example, on a 30% gradient slope, a single switchback might reduce the immediate climbing angle to 15%, effectively halving the exertion for that short segment.
This careful planning is what makes challenging peaks accessible to a broader audience.
Expert Tips on Trail Design
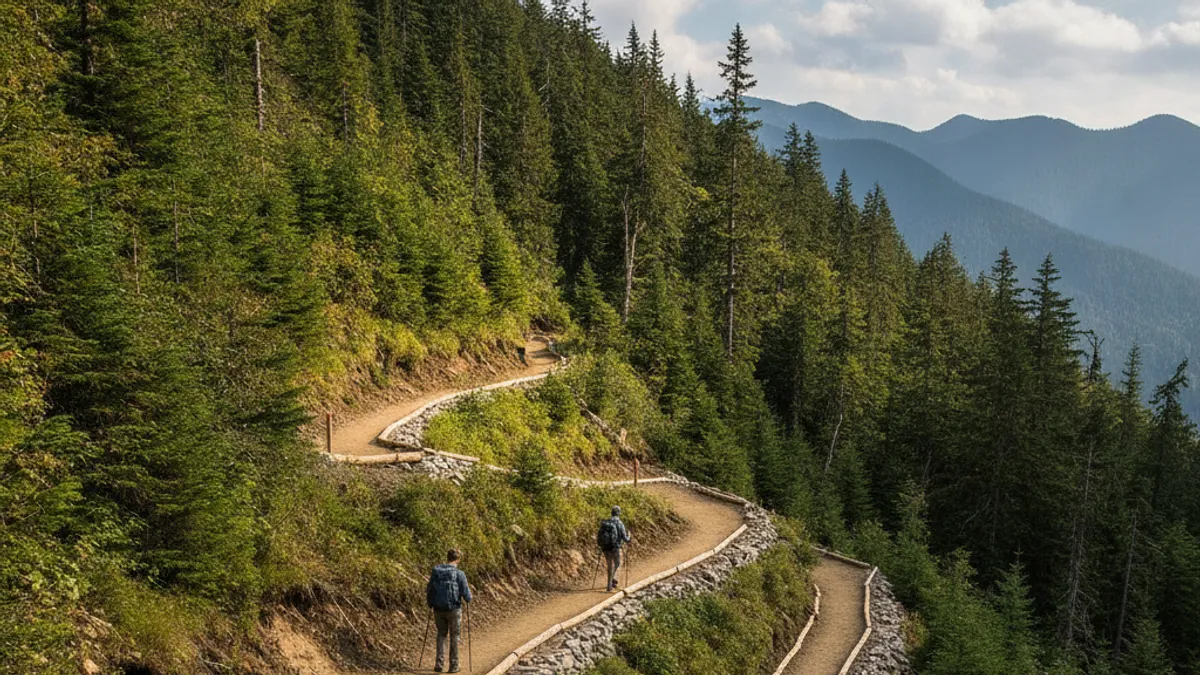
When it comes to building and maintaining trails with switchbacks, our research indicates a few key best practices that expert trail crews consistently employ. These aren’t just suggestions; they’re fundamental to creating trails that are both user-friendly and environmentally sound. Understanding these can give you a deeper appreciation for the trails you hike on.
When Does a Switchback Trail Make Sense?
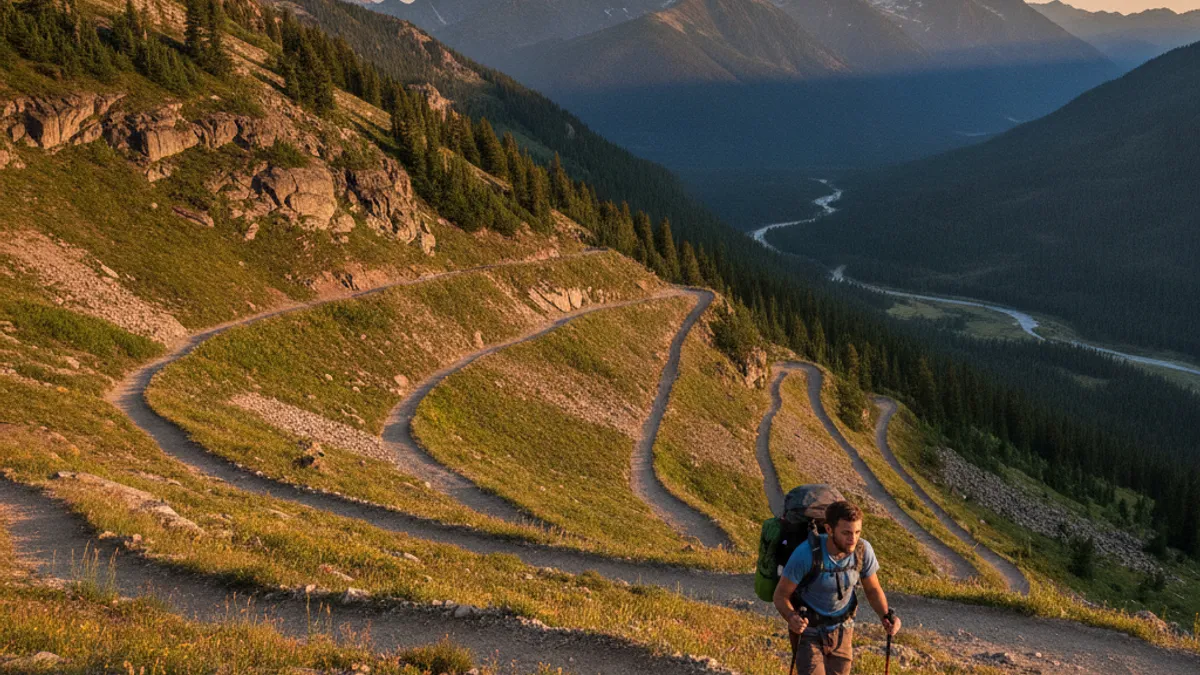
A switchback trail is generally the best option when you need to climb a significant amount of elevation over a relatively short horizontal distance. This is common in mountainous regions or areas with steep hillsides. If a trail needs to ascend more than approximately 10-15% gradient continuously, switchbacks become a near necessity for practicality. They are a solution to steepness, plain and simple.
If the terrain is relatively flat, you won’t see switchbacks because they’d be an unnecessary complication.
Consider a trail heading up a steep mountainside, aiming for a summit that’s 3,000 feet higher but only half a mile away horizontally. A direct path would be an extreme climber’s challenge, likely unpassable for most and unsustainable for the environment. By implementing switchbacks, the trail designer can reduce the gradient of each segment to a manageable 10-15%, making the ascent achievable for hikers preparing for events like a hiking marathon or simply wanting to enjoy the view. The choice is often between a very short, very difficult, and erosive trail, or a longer but sustainable and accessible one.
Switchbacks vs. Other Trail Designs
While switchbacks are a dominant feature on steep terrain, they aren’t the only way to build trails. Comparing them to other trail design approaches highlights why they are chosen for specific circumstances. Understanding these differences helps explain why you see certain features on certain trails.
Construction Techniques
Building a switchback involves shaping the earth. The inner side of the turn (cut bank) is dug into the hillside, while the outer side (fill slope) is built up. This creates a stable platform. The grade within the switchback itself should be shallower than the overall slope, typically between 4-8%.
This ensures good footing and further reduces erosion. Some heavy-duty trails might incorporate retaining walls or other structural elements at critical points.
Hiking Smart: Using Switchbacks Effectively
Understanding how switchbacks work can make your hiking experience much smoother. It’s all about recognizing their purpose and adapting your movement accordingly, both uphill and down.
Navigating Uphill Turns
When you’re hiking uphill, each leg of the switchback takes you generally away from your final destination before you turn back towards it. You’ll be moving across the slope, usually keeping the inside of the turn to your dominant hand if you’re right-handed (or left, if that feels more natural). This technique conserves energy by minimizing direct resistance against gravity. It’s a rhythm you’ll quickly find comfortable, especially if you’re using trekking poles, which are excellent tools for maintaining balance and reducing strain on your knees during ascents.
You can learn more about their use in our guide on how to use hiking poles.
Descending with Confidence
Going downhill on switchbacks requires a slightly different focus. You’ll typically want to trace the outside of the turns more, which often provides a more stable walking surface. Be mindful of the inside edge of the trail, as this area can accumulate loose soil, leaves, or moisture, making it slicker. Maintaining a controlled pace and using your legs like shock absorbers will help prevent jarring impacts on your knees.
For slippery conditions, appropriate footwear, like waterproof hiking boots, is essential; our research on waterproof hiking boots worth it can offer more insights.
Common Mistakes Hikers Make with Switchbacks
Even with the best intentions, hikers can sometimes make mistakes when navigating switchbacks. These errors can range from minor annoyances to actual safety hazards. Recognizing them helps you avoid them.
- Taking Shortcuts: It can be tempting, especially when tired, to cut across the switchbacks and go straight up the slope. This is a major contributor to trail erosion and can create difficult, unstable paths.
- Ignoring Trail Surface: Not paying attention to footing on the inside of corners can lead to slips and falls, particularly when the trail is wet or covered in loose debris.
- Speeding Downhill: Going too fast on descents, even on switchbacks, can lead to loss of control, especially if you encounter unexpected obstacles or slick spots.
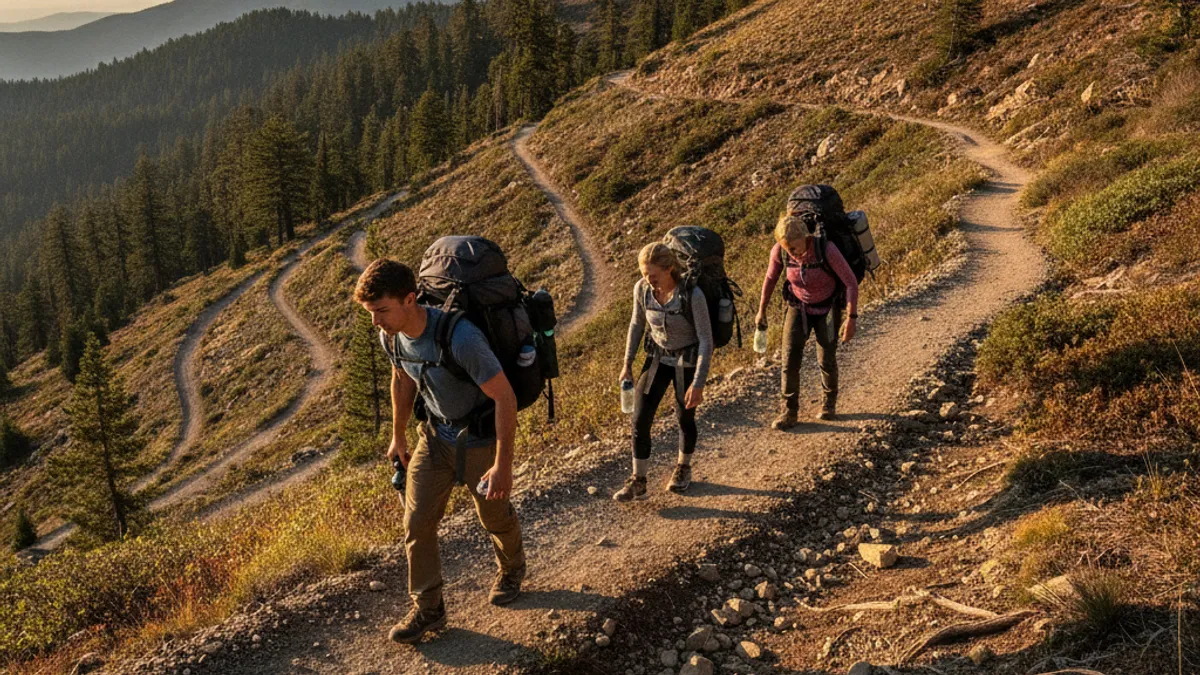
While switchbacks are designed for ease, hikers can sometimes make mistakes that either hinder their progress or impact the trail. Being aware of these common pitfalls can help you hike more efficiently and respectfully. It’s about understanding how the trail works and how your actions affect it.
Visualizing Switchbacks: Key Trail Identifiers
To truly understand switchbacks, it helps to know what visual cues to look for. These aren’t just random bends; they are structural elements that tell a story about the trail’s design and purpose. Imagine you’re looking at a trail map or a photo from above.
- The “S” or “Z” Shape: This is the most obvious characteristic. The trail appears to go in one direction, then sharply reverses course.
- Cut and Fill Features: On the ground, you’ll often see a distinct difference between the inner and outer edges of a turn. The inner edge might look like a cut into the hillside, while the outer edge appears more built-up.
- Change in View: As you traverse a switchback, your view of the surrounding landscape changes dramatically. You’ll often see the trail ahead of you or behind you, revealing its serpentine nature.
Trustworthy Resources for Trail Information
When you want to learn more about hiking and trails, or need official guidance, there are excellent places to turn. These sources offer reliable, research-backed information.
- Government Agencies: Organizations like the U.S. Forest Service and the National Park Service provide extensive resources on trail maintenance, design, and best practices. Their guidelines form the basis for much of what makes trails sustainable.
- Professional Organizations: The Professional TrailBuilders Association (PTBA) offers resources and training for trail professionals, setting standards for construction and maintenance.
- Manufacturer Documentation: For specific gear recommendations related to hiking on varied terrain, consulting official manufacturer specifications can be invaluable. For example, guidance on how to choose hiking boots often comes from these sources.
