
When you’re out on a hike and step a little too close to a coiled rattlesnake, that heart-stopping moment can quickly turn into a serious medical emergency. Knowing precisely what to do if bitten by a rattlesnake while hiking is crucial, not just for comfort, but for your safety. This isn’t a situation that requires complex analysis; it demands immediate, correct action to minimize harm.
In our research, the consensus among emergency medical professionals is clear: swift, informed response dramatically improves outcomes. According to guidelines from the U.S. National Park Service, approximately 20-30% of rattlesnake bites are “dry bites” with no venom injected, but you must always treat every bite as if venom has been introduced.
The Immediate Signs of a Rattlesnake Bite
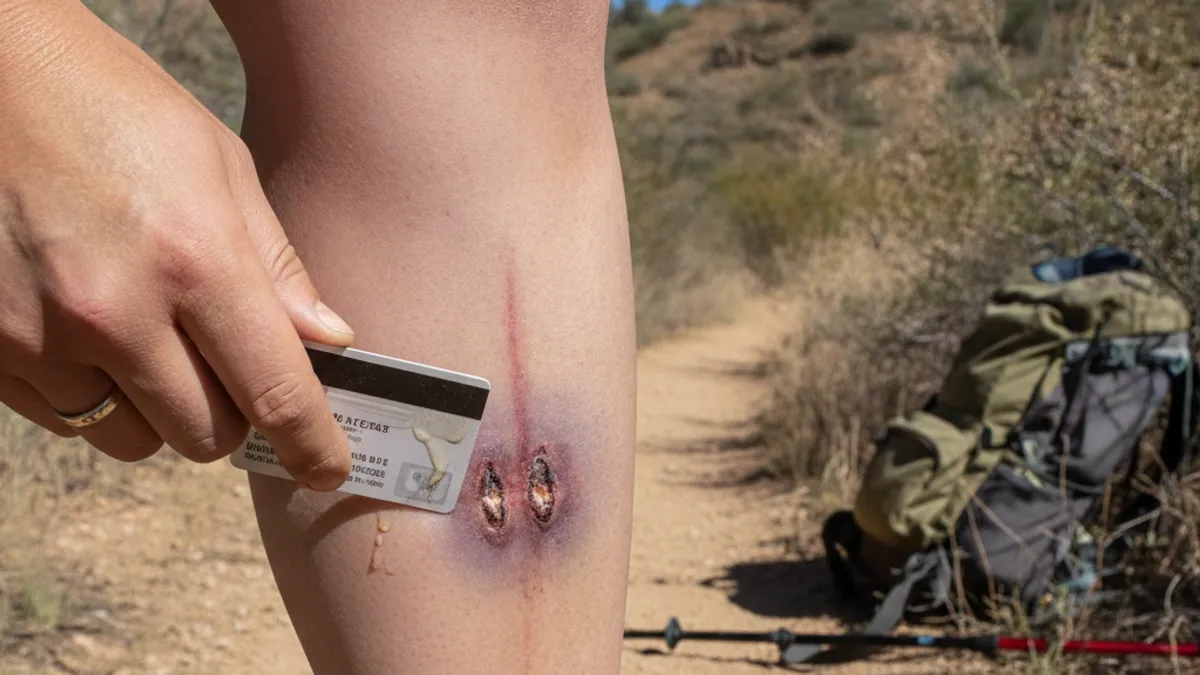
A rattlesnake bite isn’t always dramatic, but there are key indicators to watch for. Recognizing these early can help you understand the seriousness of the situation. The primary goal is to distinguish between a potential bite and other minor injuries, though any break in the skin from a snake warrants caution.
Recognizing the Bite
A rattlesnake bite typically presents with two distinct puncture marks from its fangs, often close together. You’ll likely feel immediate pain at the site, which can range from mild discomfort to severe, burning pain. Swelling usually begins to develop around the bite area within minutes or hours, and this swelling can spread progressively up the limb.
Other common symptoms you might notice, depending on the amount of venom injected and the specific snake species, include:
- Erythema (Redness): The skin around the bite will become red.
- Bruising: Discoloration may appear and intensify.
- Swollen Lymph Nodes: You might feel tender glands in the armpit or groin nearest to the bite.
- Nausea and Vomiting: These systemic effects can occur as venom impacts the body.
- Dizziness or Weakness: Feeling lightheaded or unable to stand steadily.
- Metallic Taste in Mouth: Some people report an unusual taste.
- Numbness or Tingling: Particularly around the bite site or extremities.
It’s important to remember that the absence of all these symptoms doesn’t guarantee no venom was injected. Always err on the side of caution and seek medical evaluation for any suspected bite.
Quick Action: Your First Steps After a Rattlesnake Bite
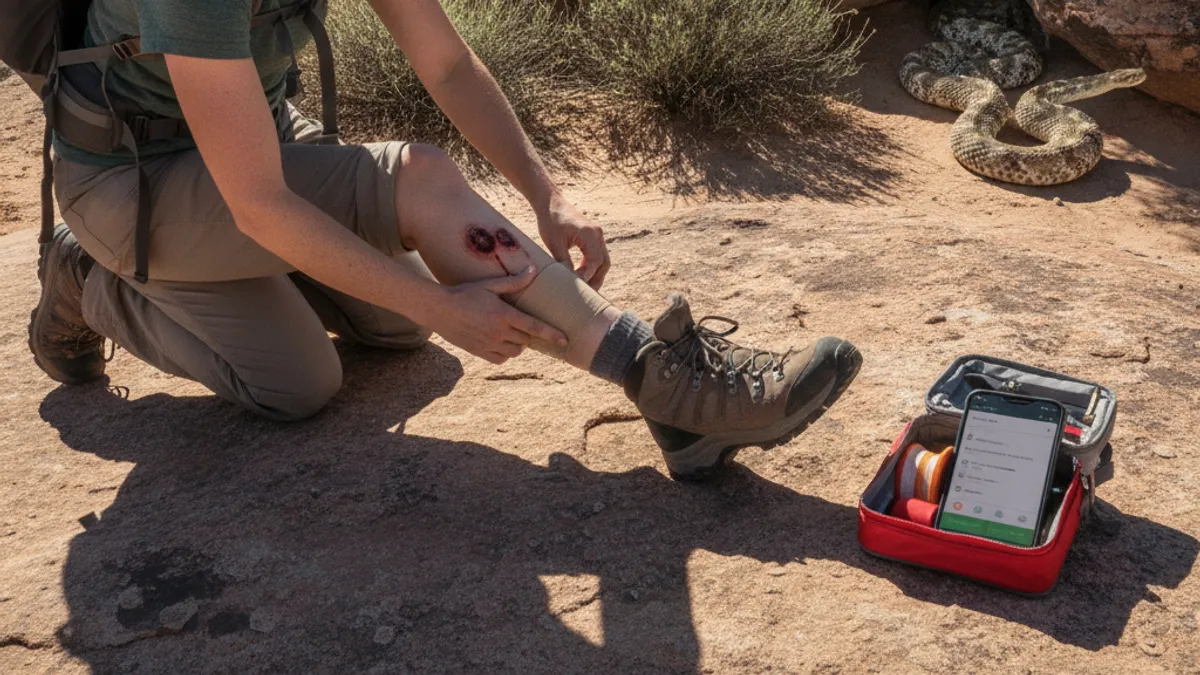
If you find yourself bitten, the absolute priority is to act swiftly and correctly. Panic can make things worse, so take a deep breath and focus on these critical first steps. Remember, your goal is to get professional medical attention as fast as possible.
Here’s the sequence of actions to take:
- Move Away from the Snake: Ensure you are out of striking range to prevent further bites.
- Call 911 (or Your Local Emergency Number) IMMEDIATELY: This is non-negotiable. Clearly state you’ve been bitten by a rattlesnake, describe your location accurately, and report any immediate symptoms.
- Remain Calm and Still: Minimize movement of the bitten limb. If possible, sit down; if you must move, walk slowly and deliberately. This helps slow the spread of venom.
- Position the Bite Below Heart Level: If feasible, keep the bitten limb lower than your heart. This can help reduce venom circulation.
- Remove Constricting Items: Take off rings, bracelets, watches, tight clothing, or anything that could become constricting as swelling occurs. This needs to be done quickly before swelling makes removal difficult or impossible.
- Do NOT Elevate the Limb: Counterintuitively, raising the bitten limb above the heart is generally not recommended. Medical guidance favors keeping it at or below heart level.
The faster you can initiate emergency medical services, the better your chances. Emergency responders are trained to handle venomous snakebites and can begin appropriate treatment en route to the hospital.
Essential Don’ts: Critical Mistakes to Avoid
There’s a lot of old, often dangerous, advice circulating about how to treat snakebites. Following these outdated or incorrect practices can actually cause more harm than good, leading to infection, increased tissue damage, or delayed effective treatment. It’s vital to know what not to do.
Here are the most important things to avoid after a rattlesnake bite:
- Don’t Cut the Wound: Resist the urge to make an incision at the bite site. This does not help remove venom and significantly increases the risk of infection and scarring.
- Don’t Attempt to Suck Out Venom: This is ineffective and can introduce bacteria into the wound from your mouth, potentially causing a dangerous infection. Suction devices also show minimal benefit in clinical settings.
- Don’t Apply a Tourniquet or Constricting Band: Tying off the limb can severely restrict blood flow, leading to tissue death, nerve damage, and potentially requiring amputation. This is a dangerous practice.
- Don’t Apply Ice or Heat: Neither ice packs nor heat help neutralize venom. Ice can exacerbate tissue damage, and heat can increase blood flow, potentially speeding venom spread.
- Don’t Drink Alcohol or Caffeine: These substances can potentially increase venom absorption and complicate medical assessment. Stick to water if you are thirsty, but avoid excessive fluid intake.
- Don’t Try to Capture or Kill the Snake: While identifying the snake can be helpful, your safety is paramount. Do not risk another bite trying to apprehend the animal. If you can safely take a picture from a distance, that might be helpful, but it’s never worth putting yourself in further danger.
Harmful Myths and Misconceptions About Rattlesnake Bites
Many folk remedies and old-school approaches to snakebites are still around, but they are not supported by modern medical science. For example, the idea of applying a muddy poultice or using a hot rock to draw out venom is pure folklore. Similarly, administering electric shocks or alcohol rubs is ineffective and harmful.
Aggregate user feedback and editorial analysis of medical literature consistently warn against these practices. The primary, evidence-based approach for rattlesnake bites in the US involves immediate medical evaluation and, if necessary, antivenom administration at a hospital. Relying on any other method can waste critical time and lead to severe complications.
Getting Professional Help: When and How to Call for Support
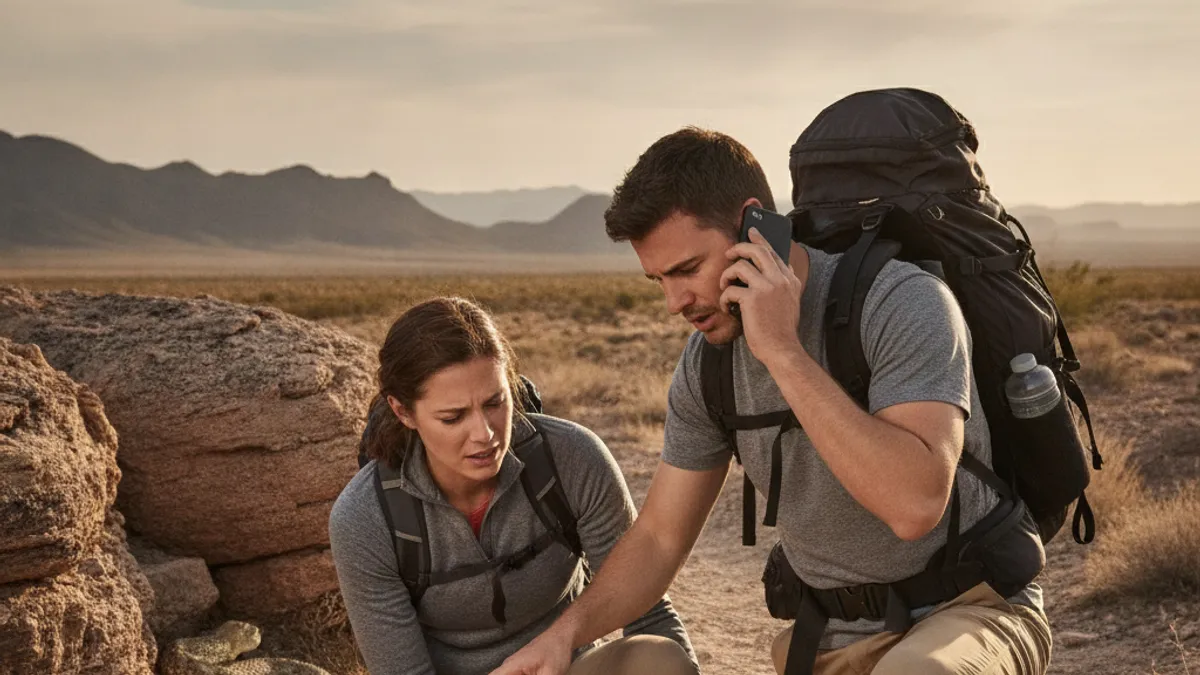
The moment you suspect a rattlesnake bite, your primary action must be to contact emergency medical services. Delaying this call is one of the most significant risks in managing a venomous snakebite. Professional medical intervention is the cornerstone of effective treatment.
When you call for help, be ready to provide the following information as clearly and calmly as you can:
- Your Exact Location: Be as specific as possible. Provide the trail name, nearest landmark, GPS coordinates if you have them, or mile marker.
- Nature of the Incident: State clearly that you have been bitten by a rattlesnake.
- Time of the Bite (if known): Estimate the time it occurred.
- Symptoms: Describe any pain, swelling, dizziness, nausea, or other physical sensations you are experiencing.
- Your Condition: If you are with others, have them relay this information if you are too incapacitated to speak.
- Any First Aid Administered: Mention if you have removed restrictive items or kept the limb still.
If you are out of cell service range, you may need to send someone for help or consider carefully if you can move to a location with service without exacerbating your condition. However, self-evacuation without critical medical guidance is generally discouraged due to the risk of increasing venom spread.
What to Tell Emergency Services
Beyond the initial report, communicate any changes in your condition to the emergency dispatcher or responding medical team. If you notice increased swelling, spreading pain, or new symptoms like difficulty breathing or blurred vision, it’s vital that they know. Be honest about any chronic medical conditions you have or medications you are taking, as this can inform their treatment decisions before you reach the hospital. Aggregating information accurately can significantly speed up the medical care process once you connect with professionals.
At the Hospital: Understanding Treatment

Once you arrive at a medical facility, a team of healthcare professionals will take over. Their primary goal is to stabilize your condition, assess the severity of the envenomation, and administer the appropriate treatment to counteract the effects of the rattlesnake venom. This phase is critical and relies on specialized medical knowledge and resources.
The initial assessment will focus on several key areas:
- Vital Signs: Blood pressure, heart rate, respiratory rate, and temperature will be monitored closely.
- Bite Site Examination: Doctors will examine the bite area for signs of swelling, redness, bruising, and fang marks.
- Symptom Evaluation: They will ask about and look for signs of systemic effects like nausea, vomiting, dizziness, or breathing difficulties.
- Laboratory Tests: Blood and urine samples may be taken to assess blood clotting, kidney function, and other indicators of venom’s impact. Coagulation studies are particularly important, as snake venom can interfere with blood clotting.
The Role of Antivenom
The most effective treatment for a significant rattlesnake envenomation is antivenom. This is a life-saving medication derived from antibodies that can neutralize the venom circulating in your body. Medical professionals will determine if antivenom is necessary based on the severity of your symptoms, the rate of swelling, and lab results.
- When is Antivenom Given? Antivenom is typically administered if there is evidence of significant swelling spreading rapidly, systemic symptoms, or laboratory abnormalities indicating coagulopathy (problems with blood clotting). As of 2026, current medical protocols emphasize prompt administration once indicated.
- Administration: Antivenom is usually given intravenously (through an IV drip). The dosage depends on the specific antivenom being used and the severity of the envenomation.
- Potential Side Effects: Like any medication, antivenom can have side effects, including allergic reactions. This is why it must be administered in a controlled medical environment where such reactions can be managed. The benefits of antivenom for serious bites far outweigh the risks.
Supportive care, such as pain management, intravenous fluids to maintain hydration and blood pressure, and tetanus shots, will also be provided as needed.
Wilderness Context: Hiking and Backcountry Safety
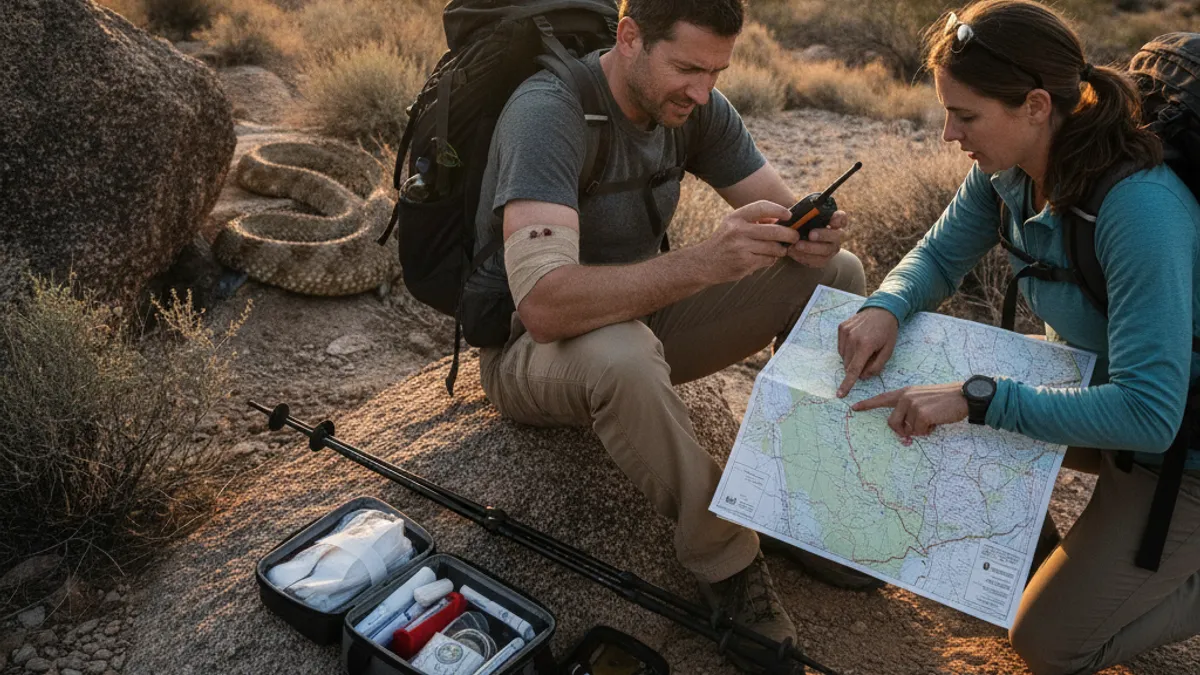
When you’re deep in a national park or venturing off the beaten path, your preparedness level needs to be extra high, especially if you’re in rattlesnake territory. Cell service can be spotty, and the nearest medical facility might be hours away. This elevates the stakes considerably compared to a bite in a suburban backyard.
Here’s why being prepared for rattlesnake encounters while hiking is so important:
- Increased Risk of Isolation: In the backcountry, you’re often further from immediate help. This means your self-reliance and knowledge of safety protocols become paramount.
- Limited Access to Medical Care: If a bite occurs, the time it takes to get to a hospital can be significantly longer than in urban areas. This makes prompt, correct first aid even more critical.
- Varied Terrain: Hiking trails can take you through habitats where rattlesnakes are common, such as rocky outcrops, dense brush, or areas with abundant rodent populations (a food source for snakes). You might be more likely to encounter them on the ground where you place your feet.
- Environmental Factors: Warmer weather typically means increased snake activity. Understanding when and where rattlesnakes are most active can help you take extra precautions during certain seasons or times of day.
What Trails Are Most Risky?
Certain regions in the United States have higher populations of rattlesnakes. These include:
- Southwestern Deserts: Arizona, California, Nevada, New Mexico, and Utah are home to several species, including the Mojave rattlesnake and diamondbacks.
- Great Plains: States like Kansas, Oklahoma, and Texas have prairie rattlesnakes.
- Rocky Mountain States: Colorado, Wyoming, and Montana may have various rattlesnake species in specific habitats.
- Southeastern United States: Coastal plains and woodlands can be home to venomous snakes like the Eastern diamondback and Timber rattlesnake.
Always research the specific area you plan to hike. Trail guides or ranger stations can often provide information about local wildlife, including venomous snakes, and any specific warnings or recommended precautions.
Expert Tips for Rattlesnake Bite Preparedness
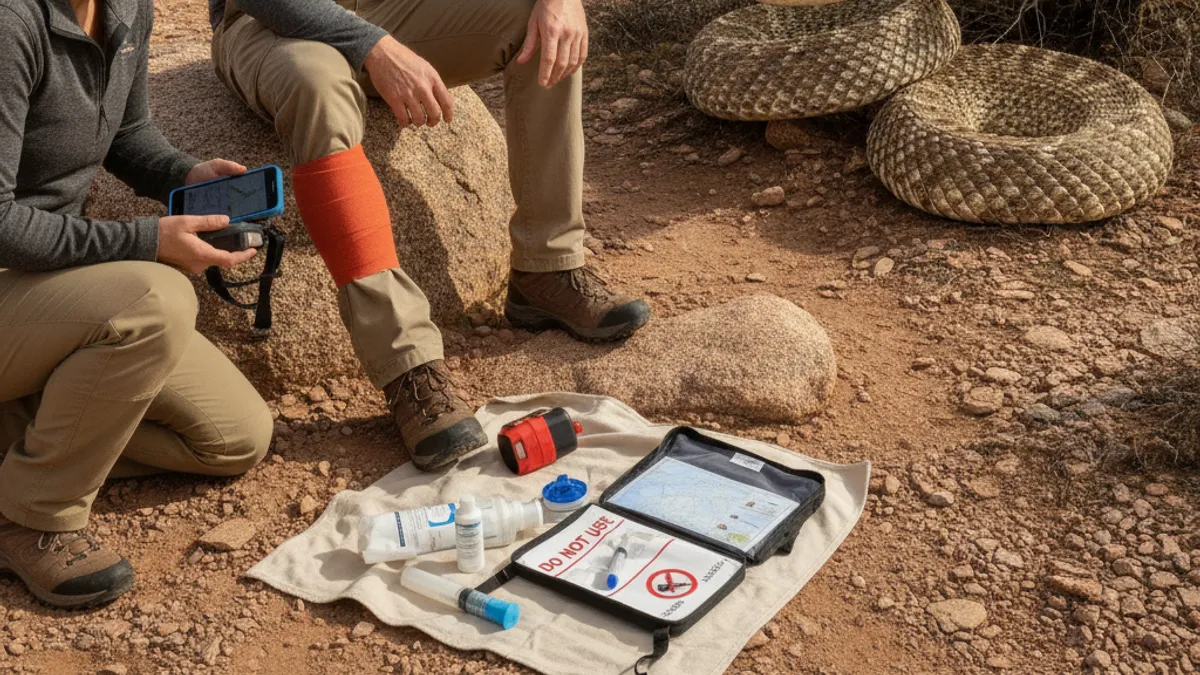
Being prepared isn’t just about knowing what to do after a bite; it’s also about proactively reducing your risk and having the right gear. A little bit of forethought can go a long way in ensuring a safe and enjoyable hiking experience.
Here’s what our research suggests helps hikers stay as safe as possible:
- Wear Appropriate Footwear: Always wear sturdy, closed-toe hiking boots that provide good ankle support and are made of thick material. This offers a physical barrier against bites, especially when stepping near rocks or logs. Gaiters can provide an extra layer of protection.
- Stay on Trails: While tempting to explore off-path, sticking to marked trails minimizes your chances of stepping into unseen hazards. Most snakebites happen when people accidentally disturb a snake.
- Be Alert! Watch Where You Step and Place Your Hands: This is probably the single most important piece of advice. Look carefully before stepping over logs, rocks, or thick vegetation. Never put your hands into areas you can’t see.
- Carry a First-Aid Kit: Ensure your kit is well-stocked and includes items like bandages, gauze, antiseptic wipes, and any personal medications. While you can’t treat a rattlesnake bite effectively in the field, a basic kit is essential for other injuries and can be used for wound care post-bite once medical professionals have cleared it.
- Have a Communication Device: A fully charged cell phone is a must. For remote areas, consider a satellite messenger or personal locator beacon (PLB) for emergency communication where cell service is unavailable.
- Know the Local Wildlife: Familiarize yourself with the types of rattlesnakes common in the region you’ll be hiking. Knowing how to identify them can help you avoid them and help medical professionals if a bite occurs.
- Hike with a Buddy: If possible, hike with at least one other person. This ensures someone can call for help or administer aid if you are bitten.
Pre-Planning for the Unexpected
Before any hike in snake territory, take a few minutes to familiarize yourself with the specific risks of the area. Check with local park rangers or visit official park websites for any advisories regarding wildlife. Packing a printed map and understanding your route can also prevent you from wandering into less-traveled areas where encounters might be more likely.
Understanding Rattlesnake Behavior
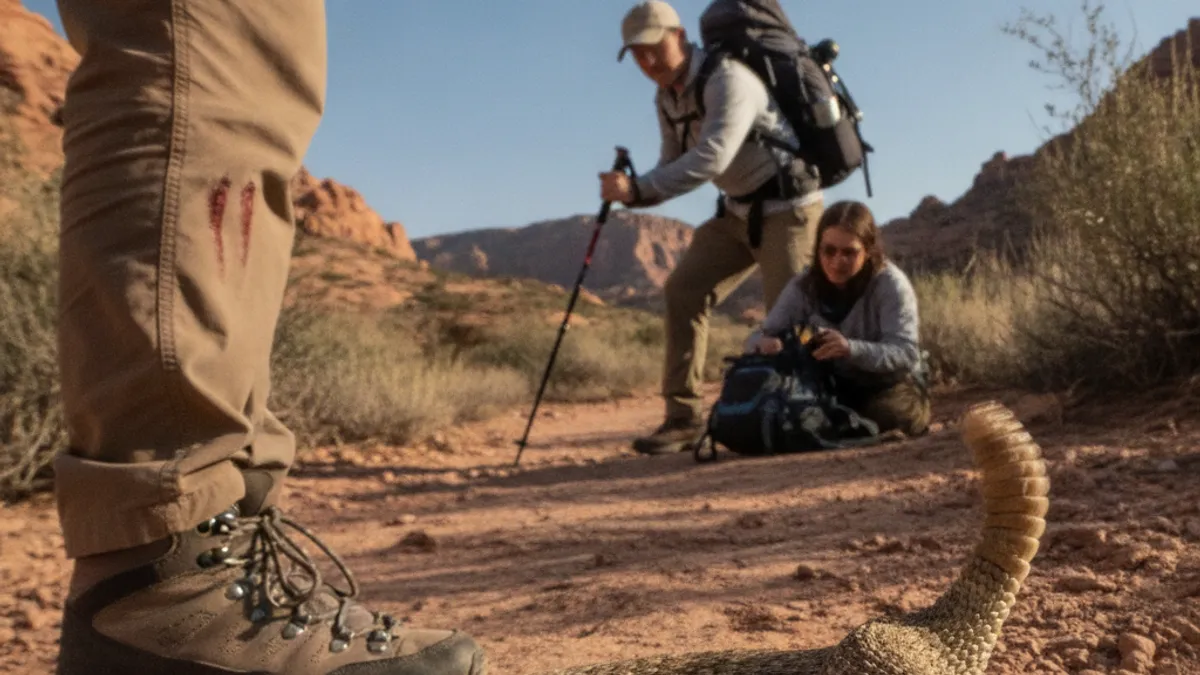
Knowing how rattlesnakes behave can help you avoid encounters in the first place. They are generally not aggressive and will try to avoid confrontation. Their famous rattle is a warning, a last resort before they feel they need to defend themselves.
Rattlesnakes are most active during warmer months. They prefer to bask in the sun during cooler parts of the day, often on rocks or trail edges. At hotter times, they may seek shade or retreat into burrows.
Why Do They Strike?
A strike is almost always a defensive action where a rattlesnake perceives a threat when you get too close and it can’t escape. This is why the “watch where you step” rule is so critical; it aims to prevent you from getting close enough to be perceived as a threat.
- Accidental Encounters: Most bites occur when a person unintentionally steps on or near a snake, or reaches into an area where a snake is hidden.
- Provoking Behavior: Trying to handle, capture, or kill a snake, even if it’s already been bitten, greatly increases your risk of suffering additional bites. It’s best to leave them alone.
How to Coexist Safely
The best approach to rattlesnakes on the trail is one of respect and awareness. Recognize that you are in their habitat. By being mindful of your surroundings and taking logical precautions, you can significantly reduce the chances of an unwanted encounter. Remember the snake’s primary instinct is avoidance.
Identifying a Rattlesnake
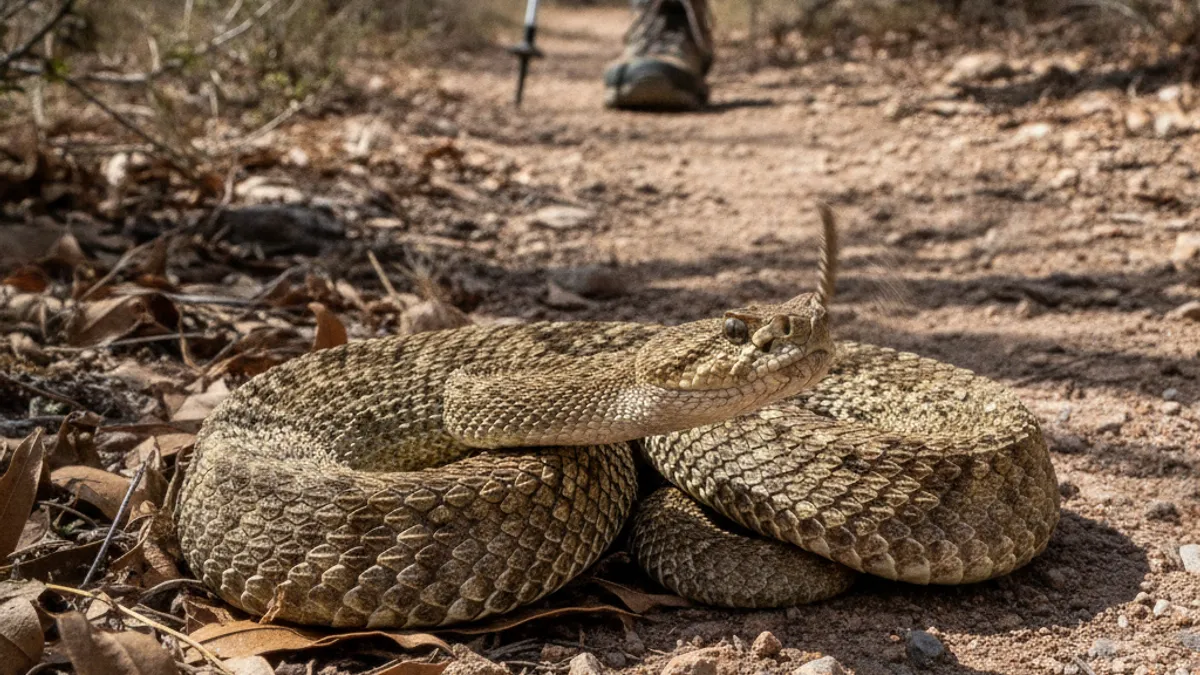
Knowing what a rattlesnake looks like is key to both identification and avoidance. While specific species vary in color and size, there are common features that set them apart. Importantly, understanding these characteristics helps you recognize a potential threat without needing to rely on the sound of the rattle alone, which may not always be audible.
Key identifying features of rattlesnakes include:
- Triangular Head: Their heads are noticeably wider than their necks, giving them a distinctly triangular or arrowhead shape. This is a common characteristic of venomous snakes.
- Rattle: The most famous feature is the rattle at the end of their tail. This is made of segments of keratin that vibrate together to produce a buzzing or rattling sound when the snake feels threatened. However, the rattle can break off, or a snake may not always rattle before striking.
- Pupils: Most pit vipers, including rattlesnakes, have elliptical, or cat-like, pupils. However, pupil shape can be difficult to discern at a distance or in varying light.
- Coloration and Patterns: Rattlesnakes come in a variety of colors, often blending with their environment (brown, gray, tan, olive). They typically have dark, diamond-shaped or rectangular patterns running down their back.
- Body Shape: They tend to have stout, heavy bodies compared to non-venomous snakes.
What About Non-Venomous Snakes?
It’s also helpful to know that many non-venomous snakes in the US can mimic the tail-shaking behavior of a rattlesnake to deter predators. They might shake their tails in dry leaves, producing a rattling sound. However, these snakes typically have round heads and round pupils, and they lack the distinctive rattle structure. If you are unsure, it’s always best to assume it could be venomous and keep your distance.
