
That favorite pair of hiking boots has seen some miles, but how do you know when they’ve officially given up the ghost? Figuring out when to replace hiking boots isn’t just about aesthetics; it’s crucial for your safety and comfort on the trail. Pushing beyond their limits can lead to unexpected injuries, like blisters or even serious falls.
Our research indicates that while many boots can offer several hundred miles of reliable use, their actual lifespan varies wildly. A key indicator is the midsole’s integrity; according to many outdoor gear manufacturers, when this cushioning layer compresses significantly, it loses its shock absorption capabilities, sometimes after as few as 500 miles of heavy use. Let’s break down the signs and decide if it’s time for a new trusty pair.
Signs Your Hiking Boots Are Past Their Prime
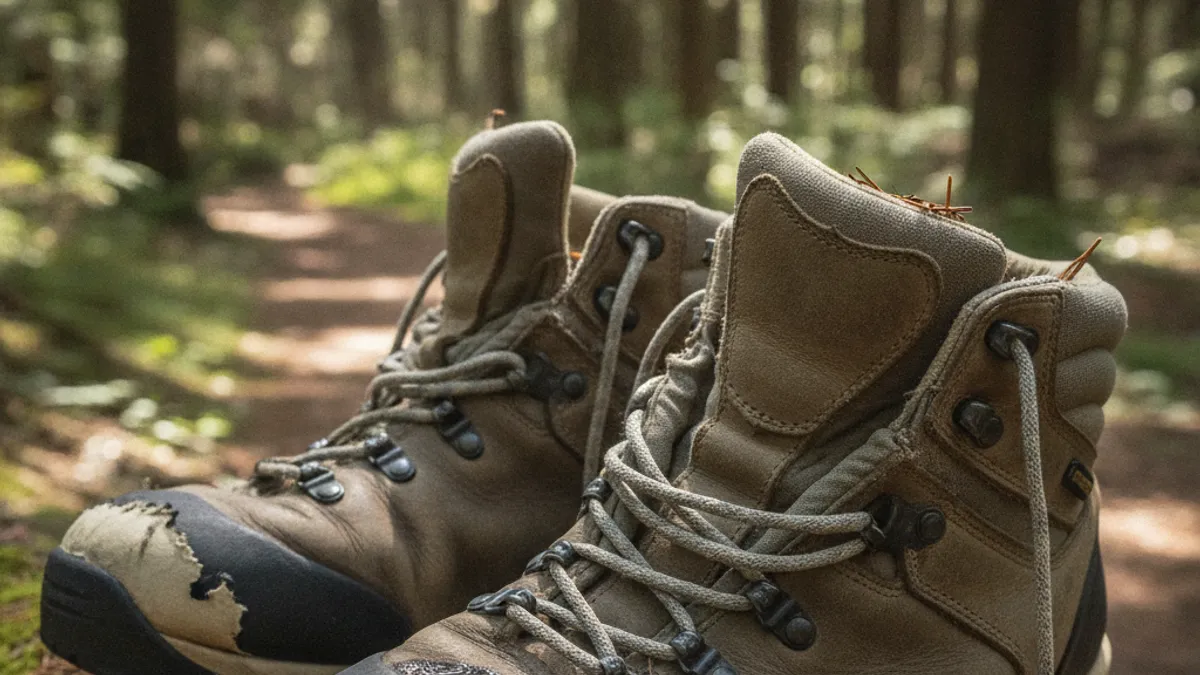
Your hiking boots might not look completely destroyed, but subtle changes can signal they’re ready for retirement. Over time, the materials break down, and the support they once offered diminishes. Ignoring these cues means accepting more discomfort and a higher risk of injury.
Checking the Soles for Wear
The outsole, the part of the boot that grips the trail, is your first line of defense against slipping. As you hike, the tread pattern wears down, especially in high-contact areas like the heel and forefoot. Aggregates of user feedback report that a loss of an obvious tread pattern significantly reduces traction on slick or uneven surfaces.
- What to look for:
- Smooth, worn-down areas on the heel or the ball of the foot.
- A visibly flattened or rounded tread pattern that no longer has sharp edges.
- Any chunks missing from the rubber, creating uneven surfaces.
- The sole feeling slippery on surfaces where it previously had good grip.
Inspecting for Midsole Compression
The midsole is the unsung hero of boot comfort and support, providing essential cushioning and shock absorption. It’s typically made of EVA (ethyl vinyl acetate) or polyurethane foam. Over time, this material compresses under repeated impact, losing its ability to bounce back.
- What it feels like:
- The boots feel “dead” or less responsive underfoot.
- You feel more impact from rocks and roots than you used to.
- The boots might feel “flat” even when new, indicating the midsole has already compressed.
- Visual cues (if you can see it):
- Permanent indentations or crushing in the midsole material.
- The boot might lean inward or outward due to uneven compression.
Evaluating Cushioning and Support Loss
Directly related to midsole compression is the overall feeling of cushioning and support. Even if the outsole still has some grip left and the midsole doesn’t show obvious signs of crushing, the boot’s ability to comfort your feet can fade. This is often one of the first things hikers notice, especially on longer treks.
- How to test:
- Wear your boots around the house for an extended period. If you feel new aches or fatigue setting in much faster than before, that’s a sign.
- Compare the feeling to a newer pair of shoes or even your old boots when they were in their prime; the difference in plushness and support can be striking.
- Notice if your feet feel more tired or sore at the end of a hike.
Assessing Upper Material Integrity
The upper part of your hiking boot, made from materials like leather, synthetic fabrics, or mesh, provides protection and structure. It’s also responsible for housing the waterproofing membrane, like Gore-Tex, which can degrade over time or be damaged. Tears, cracks, or failing seams can compromise the boot’s ability to protect your feet.
- Common issues:
- Leather: Cracking, drying out, or delamination, especially around flex points. While leather can often be conditioned, deep cracks mean the material has lost its structural integrity.
- Synthetics/Mesh: Rips, tears, or fraying, particularly where the upper meets the sole or around the toe box.
- Seams: Loose or broken stitching can allow water and debris to enter, and it weakens the overall structure of the boot. If you see stitching unraveling, it’s a clear sign of wear.
- Waterproofing: If your boots used to be waterproof, but now your feet get wet even in light rain or damp conditions, the membrane has likely failed. This is common after prolonged exposure to water and grit.
How Many Miles or Years Can You Expect?
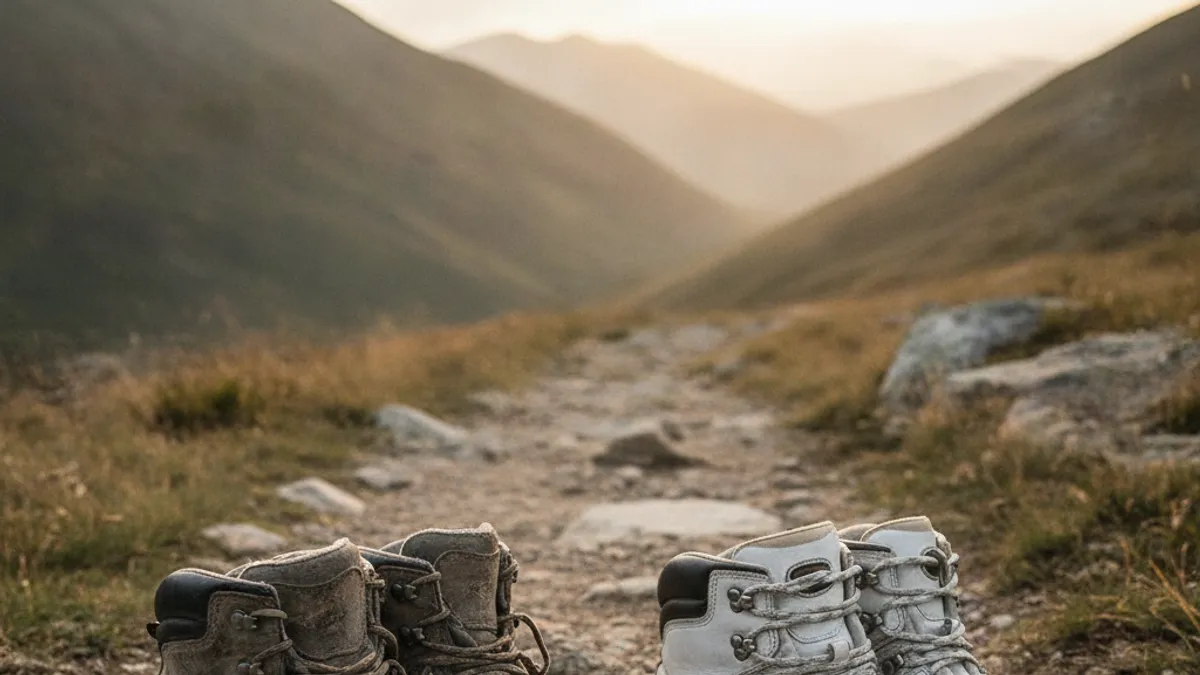
It’s the million-dollar question, and the honest answer is: it depends. There’s no single magic number for when to replace hiking boots because so many factors influence their lifespan. However, we’ve got some general benchmarks based on common usage patterns and manufacturer insights.
Mileage Expectations by Boot Type
The type of boot you use plays a significant role. Lighter trail shoes, designed for speed and agility, will naturally wear out faster than robust backpacking boots built for heavy loads and rugged terrain.
- Trail Shoes/Light Hikers: These often see less mileage before needing replacement, generally in the range of 300 to 500 miles. Their lighter construction and less substantial soles are optimized for performance over peak durability.
- Mid-Weight Backpacking Boots: Built for more serious endeavors, these can handle more, typically 500 to 800 miles. Their construction offers better support and a more durable sole. You can often find internal specifications from brands like Lowa or Merrell that detail their intended use and expected durability.
- Heavy-Duty Mountaineering Boots: These are the workhorses, designed for extreme conditions. With proper care, they can last well over 800 to 1,000 miles, though their specialized materials might require specific maintenance.
Average Lifespan in Years
If you’re not tracking your mileage religiously, and let’s be honest, most of us aren’t, then the number of years you’ve owned your boots becomes a rougher, but still useful, metric. A pair of hiking boots that are frequently worn might only last 1 to 3 years, while a pair used only a few times a year could potentially last 5 to 10 years, provided they are cared for properly.
- Key takeaway: Miles are a more accurate measure than years. A boot that sits in your closet for five years might be perfectly fine, while a boot used weekly for strenuous hikes could be shot in a year or two.
The Real Impact of Terrain and Usage
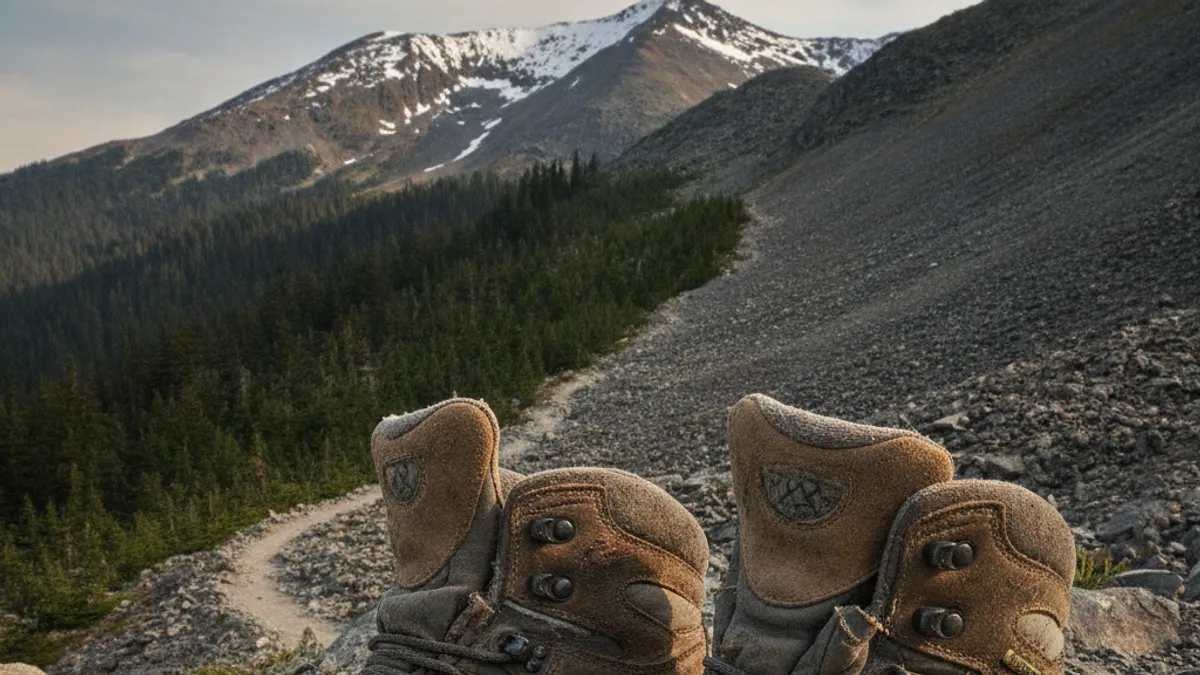
You can’t talk about hiking boot longevity without talking about where and how you use them. A boot that lives a pampered life on well-maintained trails will last significantly longer than one constantly battling sharp rocks, mud, and steep inclines.
How Rugged Trails Affect Durability
Traversing rocky, abrasive terrain is like sandpaper for your boot soles and uppers. Constant contact with sharp rocks, scree, and roots will wear down the rubber much faster and can cause scuffs and tears on the protective layers. The midsole also takes a bigger beating, as it has to absorb more impactful forces from uneven surfaces.
- Example scenarios:
- Desert Hiking: Sandy conditions can act like an abrasive, wearing down soles and getting into seams. Sharp rocks can cause nicks and gouges.
- Mountainous Terrain: Steep ascents and descents mean constant friction on toe and heel, and the impact on the midsole is higher. Sharp rocks are a constant threat.
- Wet Trails: Mud and water can degrade leather over time if not properly maintained and can affect the adhesion of the sole.
- Consider this: If your typical hikes involve scrambling over boulder fields or navigating steep, gravelly slopes, expect your boots to wear out noticeably faster than someone who sticks to groomed paths.
Frequent Hikes vs. Occasional Use
The more you use your boots, the faster they’ll accumulate miles and show signs of wear. This is straightforward physics; more use equals more stress on the materials. However, it’s not just about the quantity of hikes, but also the intensity and duration.
- Weekend Warrior: A hiker who goes out for a 5-10 mile hike every weekend will rack up miles quicker and therefore see their boots wear out within a few years.
- Thru-Hiker: Someone undertaking a long-distance journey, like the Appalachian Trail, will put astronomical mileage on their boots, potentially wearing them out in a single trip of several months. For these dedicated hikers, understanding boot life is critical for planning resupply points.
- Occasional Hiker: If you only manage a few short hikes per year, your boots might last a decade or more, primarily limited by the degradation of materials over time (like the midsole foam hardening or the waterproofing failing) rather than outright wear and tear.
Waterproofing Woes: When They Stop Keeping You Dry
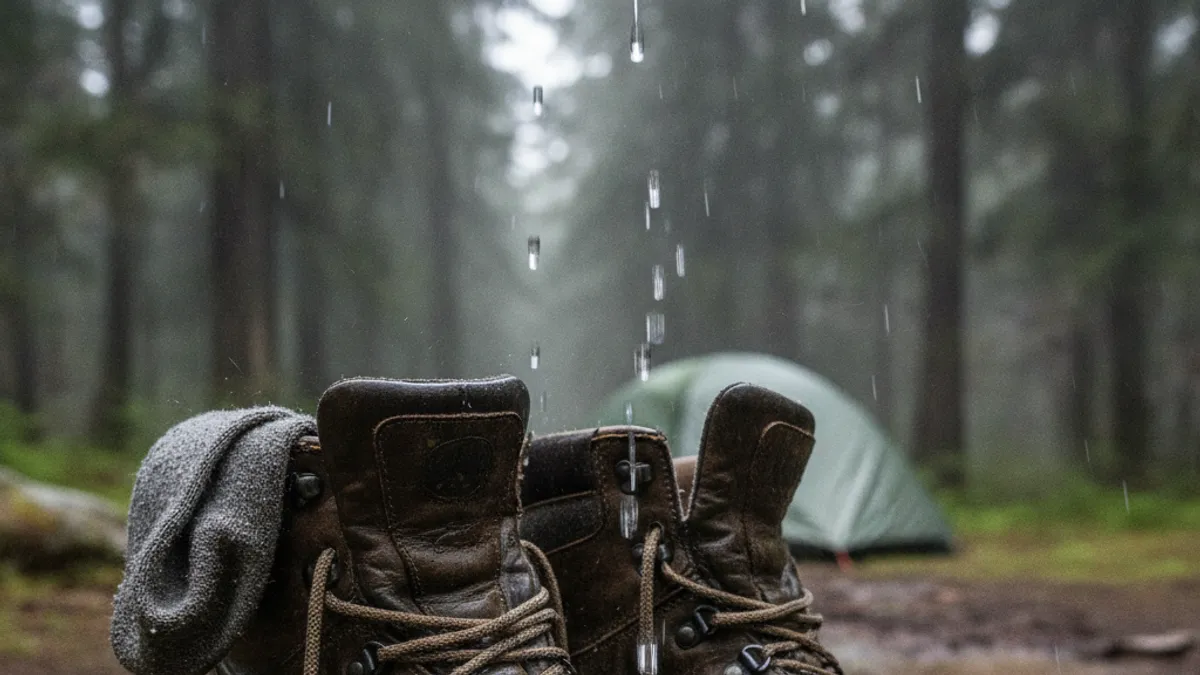
Few things ruin a hike faster than a pair of soaked feet. Many hiking boots come with built-in waterproof membranes, like Gore-Tex, designed to keep water out while allowing sweat vapor to escape. However, these membranes aren’t invincible and can fail over time, or the boot’s construction can be compromised.
- How membranes fail:
- Age and Wear: The membrane itself can degrade with repeated flexing and exposure to grit, leading to micro-tears.
- Damage: Punctures from sharp objects or abrasion can create holes.
- Contamination: Dirt and oils from sweat can clog the pores of the membrane, reducing breathability and eventually leading to saturation from the inside.
- Beyond the membrane: The boot’s seams are also critical. If the stitching holding the boot together begins to unravel, water can seep in directly through those openings. The protective coatings on the exterior materials can also wear off, making the boot absorb water like a sponge.
- The test: The simplest test? Go for a hike in damp conditions. If your feet feel clammy or you notice moisture inside the boot, even after a recent cleaning and conditioning, it’s a strong indicator that your waterproofing is gone. For more serious boots, waterproof hiking boots worth it is a question many ask, and the answer is often yes, until they fail.
The Blister’s Tale: When Fit and Support Fail
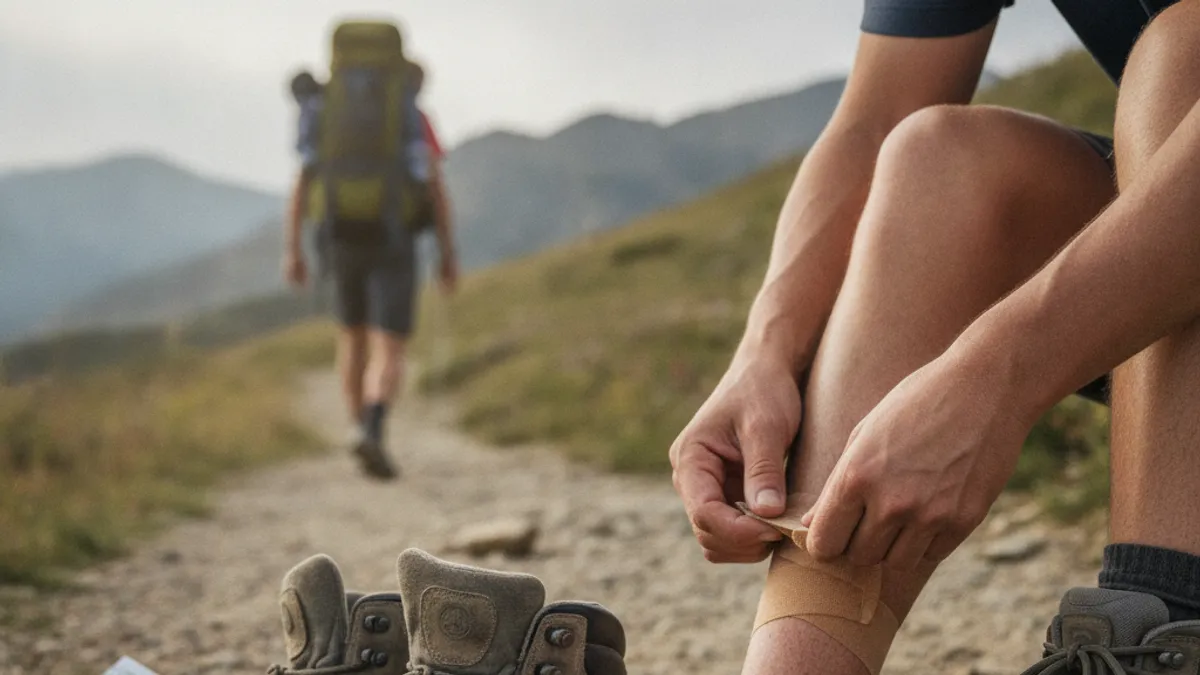
Your hiking boots are designed to provide a snug, supportive fit that prevents your feet from sliding around. When that support fades, either through wear or because the boot was never quite the right fit to begin with, blisters become a common, painful outcome. This isn’t just about discomfort; it’s a sign your footwear is no longer doing its fundamental job.
- How poor support leads to blisters:
- Foot Slippage: If the heel lifts or your forefoot slides forward and back with each step, friction develops between your skin and the sock/boot. This repetitive rubbing, especially on demanding terrain or warmer days, is a primary cause of blisters.
- Loss of Cushioning: When the midsole compresses, it means the boot isn’t absorbing shock as effectively. This increased impact force can lead to foot fatigue, which in turn can cause your foot to swell or shift inside the boot, increasing friction points.
- Arch Collapse: Boots that have lost their structural integrity might not adequately support your arches. This can lead to pronation or supination (rolling inward or outward), causing uneven stress on your feet and potential hot spots.
- When to worry: Experiencing more frequent blisters or hot spots than you used to, even with high-quality socks and proper lacing, is a major red flag. It suggests the boot’s internal structure, its fit, or its cushioning has degraded significantly. This also ties into general advice, where proper footwear fit and support are paramount.
Common Mistakes That Shorten Boot Life
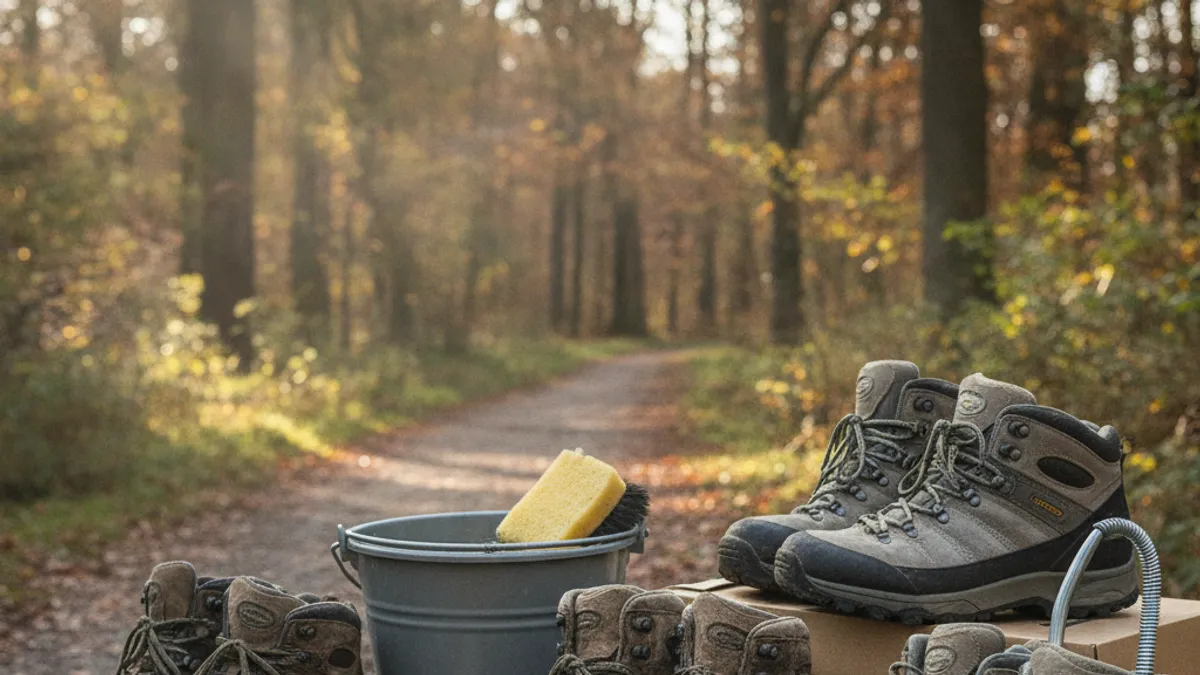
It’s easy to extend the life of your hiking boots with a little awareness. Many hikers inadvertently shorten their boot’s lifespan through simple oversights in care or by ignoring early signs of wear. Avoiding these common missteps can save you money and keep your favorite pair performing for longer.
Improper Care and Maintenance
Just like any piece of gear, hiking boots require regular cleaning and conditioning to stay in top shape. Leaving them caked with mud and sweat can degrade materials and clog waterproof membranes. Improper drying is also a big issue.
- Drying disasters:
- Direct heat: Never place wet boots directly by a campfire, on a radiator, or in a hot car. This can dry out leather, making it brittle and prone to cracking, and can also damage adhesives and synthetic materials.
- Stuffing with newspaper: While better than direct heat, old newspapers can leave ink residue and aren’t always the most efficient drying method.
- Cleaning neglect: Not rinsing boots after muddy hikes allows dirt to grind into seams and materials. Letting them air dry without a proper clean can lead to mold and mildew in extreme cases, weakening fabric and leather.
Ignoring Early Warning Signs
This is perhaps the most common mistake. A hiker might notice a little less cushioning, a slight reduction in grip, or a small tear, but they push on, thinking “they’ve still got some life in them.” This often leads to more severe damage or an unwanted injury on the trail.
- The “just one more hike” mentality:
- If a boot is causing consistent hot spots or you feel like you’ve lost significant ankle support, continuing to wear them can lead to blisters, sprains, or other foot ailments.
- A small tear that’s ignored can quickly become a large one, compromising waterproofing and protection.
- A sole with worn treads might be fine on dry pavement, but on slick rock or wet trails, it becomes a serious safety hazard.
Step-by-Step: Your Boot Replacement Decision Guide
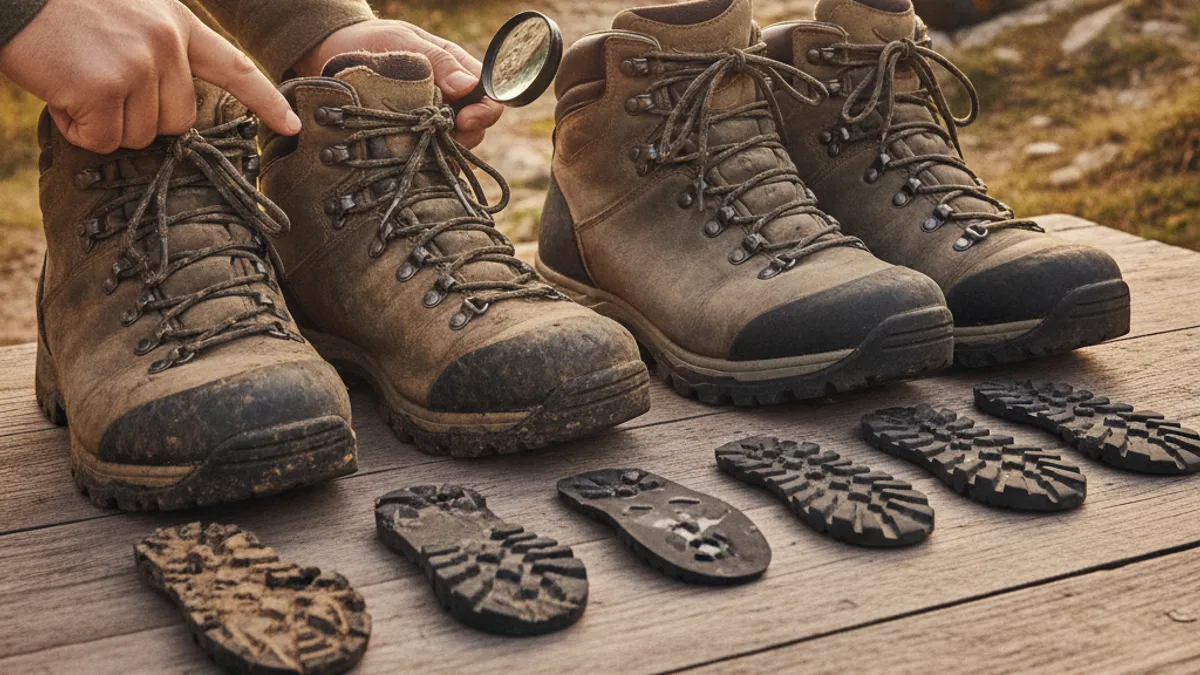
Deciding when to hang up your old hiking boots can feel tricky, but following a systematic evaluation process makes it much clearer. It’s about looking at the tangible signs of wear and assessing their performance. Think of this as a structured checklist to guide your decision.
Visual Inspection Checklist
Start with a thorough visual once your boots are clean. This is where you’ll spot many of the most obvious signs of wear and tear detailed earlier. Grab a brush and run through these points systematically.
- Soles: Hold the boot at arm’s length and look down. Is the tread pattern still well-defined, or is it rounded smooth? Check the edges, especially around the heel and ball of the foot.
- Uppers: Inspect for cracks, deep scuffs, tears, or loose stitching. Pay close attention to where the sole meets the upper, particularly at the toe and heel.
- Waterproofing: If you have waterproof boots, check for visible damage to the membrane or any signs of seam separation.
Performance Test: How They Feel Now
After the visual check, it’s time to see how they perform. Wearing them around the house or on a short, familiar walk can reveal issues that aren’t apparent from a static inspection.
- Feel underfoot: Do they still have that springy cushioning, or do you feel every little pebble?
- Ankle support: Lace them up snugly. Do they feel firm and supportive around your ankle, or do they feel floppy and less secure? Try walking on inclines or uneven surfaces if possible during your test.
- Grip: On a smooth, slightly slick surface (like a tile floor or a smooth rock), do they grip as you expect, or do you feel them sliding more than they used to?
Beyond Replacement: Can Boots Be Repaired?
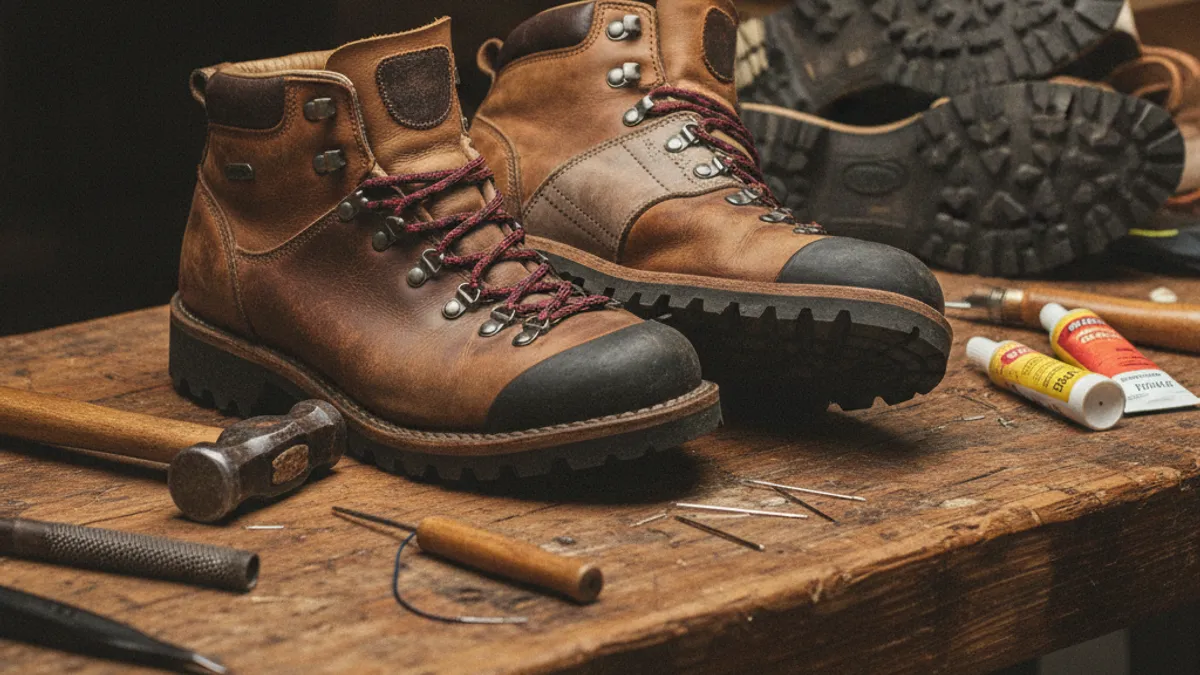
Sometimes, your hiking boots aren’t quite ready for the trash bin, but they do need some attention. While full replacement is often the only option for severely worn-out boots, certain components can be repaired or rejuvenated. This can be a cost-effective way to get more life out of your trusty footwear, especially for higher-end backpacking boots.
- Sole replacement (resoleing): This is the most common and effective repair for well-made boots. Many outdoor brands and specialized cobblers offer resoling services, where they remove the old outsole and attach a new one. This is particularly viable for leather backpacking boots.
- Re-waterproofing: For boots that have lost their water resistance, applying a quality waterproofing treatment can often restore their performance. This involves cleaning the boots thoroughly and then applying a spray or wax designed for the specific upper material.
- Minor repairs: Small tears in synthetic uppers or minor seam separations can sometimes be patched or stitched by a professional or even with a DIY repair kit. Eyelets or lace hooks can also often be replaced if they break.
- What generally can’t be fixed: Deeply compressed midsole foam, significant cracking in leather uppers, or complete failure of waterproof membranes are usually beyond repair. Once these core elements are compromised, the boot’s primary function is lost.
Pro Tips for Extending Your Hiking Boots’ Life
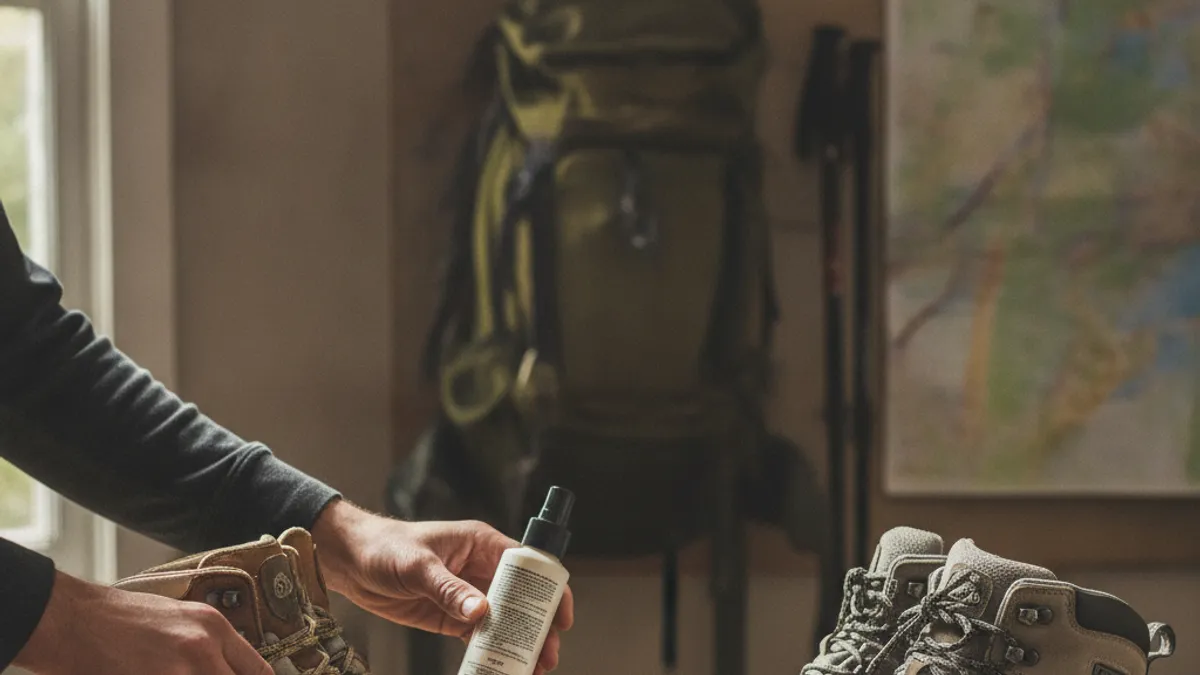
Making your hiking boots last longer is all about mindful use and consistent care. Implementing a few simple habits can make a significant difference in how many miles and seasons you get out of them. It’s less about fancy products and more about consistent, basic attention.
- Clean them promptly: After each hike, especially muddy or dusty ones, rinse your boots with water. Use a soft brush to remove caked-on dirt. This prevents abrasive particles from working into the materials.
- Dry them properly: Always air dry your boots away from direct heat sources. Stuffing them with newspaper or using boot dryers can speed up the process without damaging materials.
- Condition leather boots: If you have leather boots, regularly apply a leather conditioner or wax specifically designed for footwear. This keeps the leather supple, prevents cracking, and helps maintain water resistance.
- Inspect laces and hardware: Check your laces for fraying and your eyelets or hooks for rust or damage. Replacing worn laces or securing loose hardware is a minor task that prevents bigger issues.
- Store them wisely: When not in use for extended periods, store your boots in a cool, dry place, ideally with their original insoles or shoe trees to help them retain their shape.
When It’s Definitely Time for New Boots
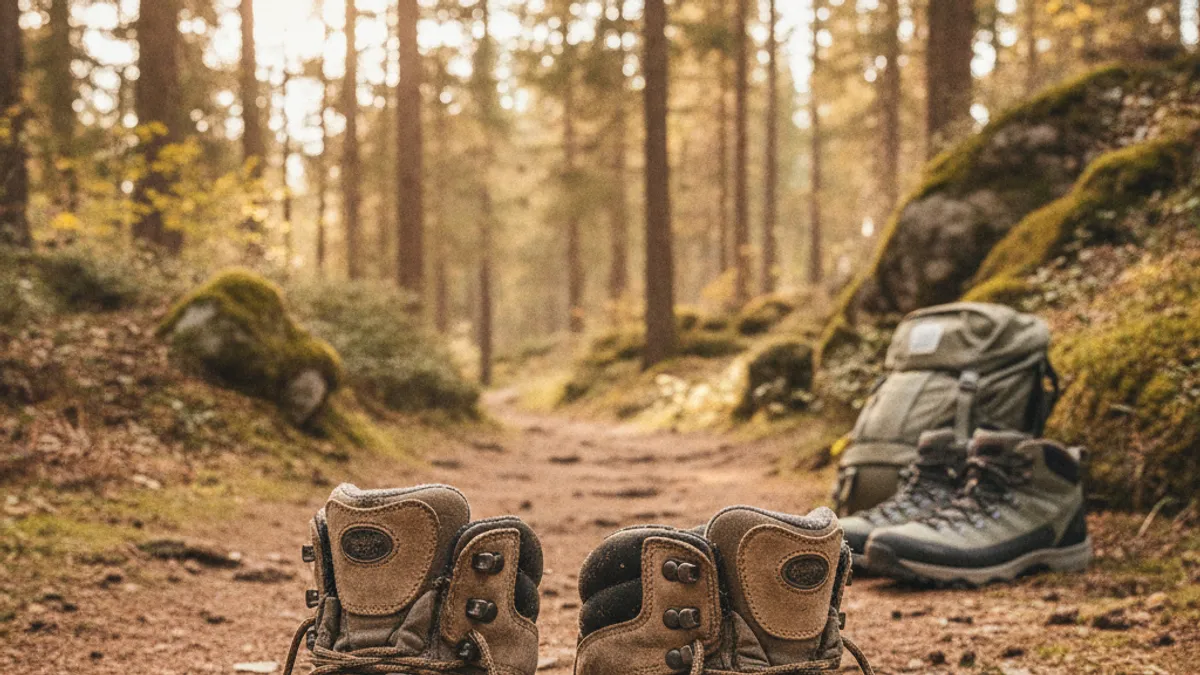
There comes a point where signs of wear are no longer minor inconveniences but critical failures that threaten your safety and comfort. If you tick off several of these serious indicators, it’s time to start shopping for a new pair of hiking boots. This is less about economics and more about preventing injury and maintaining enjoyment on the trail.
- Critical wear indicators:
- Sole has zero tread: If the bottom of your boots is slick and smooth like a new shoe sole, your traction is severely compromised. This is especially dangerous on wet or uneven terrain.
- Midsole feels like a brick: When the cushioning is completely gone, and you feel every rock and root, the shock absorption is nil. This drastically increases foot fatigue and impact stress.
- Major structural damage: Large tears in the uppers, completely separated seams, or significant delamination between the sole and upper body mean the boot can no longer offer adequate protection or support.
- Persistent wet feet: Despite your best efforts at cleaning, conditioning, and re-waterproofing, if your feet consistently get wet on hikes, the waterproof membrane has likely failed beyond repair.
- Chronic pain: If you’ve tried everything and your boots continue to cause significant pain, blisters, or discomfort, they are no longer serving you. Your feet and ankles deserve better. If you’re looking at investing in new gear, consider your beginner hiking checklist to ensure you’re prepared for your next adventure.
Choosing Your Next Pair: What to Look For
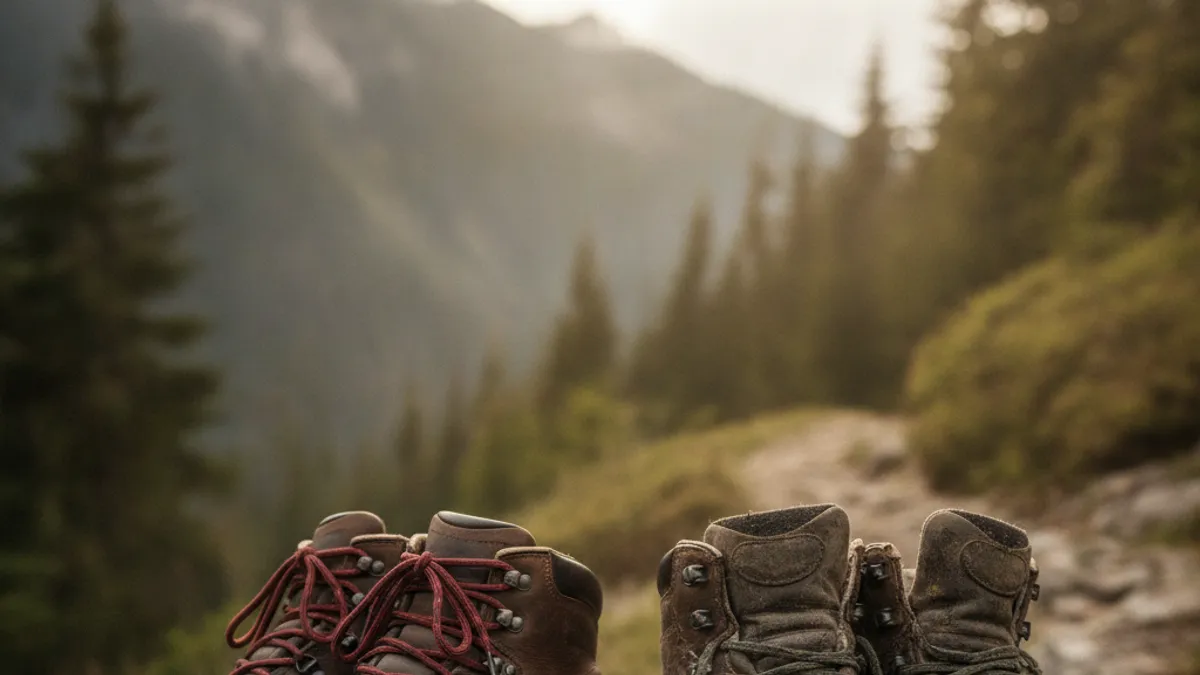
When you’ve decided it’s time for new hiking boots, the process itself can feel a bit overwhelming with all the options. It’s about finding the right balance of comfort, support, durability, and suitability for your typical hiking adventures. Think about your past boots and what you liked or disliked, then use that to inform your next purchase.
- Fit is paramount: This can’t be stressed enough. Try on boots at the end of the day when your feet are slightly swollen. Wear the socks you typically hike in. There should be no pinching, hot spots, or excessive heel lift. A good hike on a treadmill or a test walk outside the store is advisable if possible.
- Match boot to trail: Consider your primary use. For day hikes on moderate trails, lighter-weight trail runners vs hiking boots might suffice, offering more flexibility. For backpacking with a heavy load, you’ll want a more robust, supportive boot. If you’re a beginner, looking at best hiking boots for beginners can help narrow down your options.
- Material matters: Leather offers excellent durability and water resistance but requires more break-in time. Synthetics are lighter, require less break-in, and dry faster but may not be as long-lasting as full-grain leather. Waterproof membranes like Gore-Tex are beneficial in wet climates but can reduce breathability. The waterproof hiking boots worth it discussion is worth revisiting here.
- Sole and traction: Examine the lug pattern on the outsole. Deeper, more aggressive lugs provide better grip on varied terrain, while shallower ones are better suited for packed trails. The midsole’s stiffness also plays a role; stiffer Midsoles offer more support on rough ground.
Frequently Asked Questions
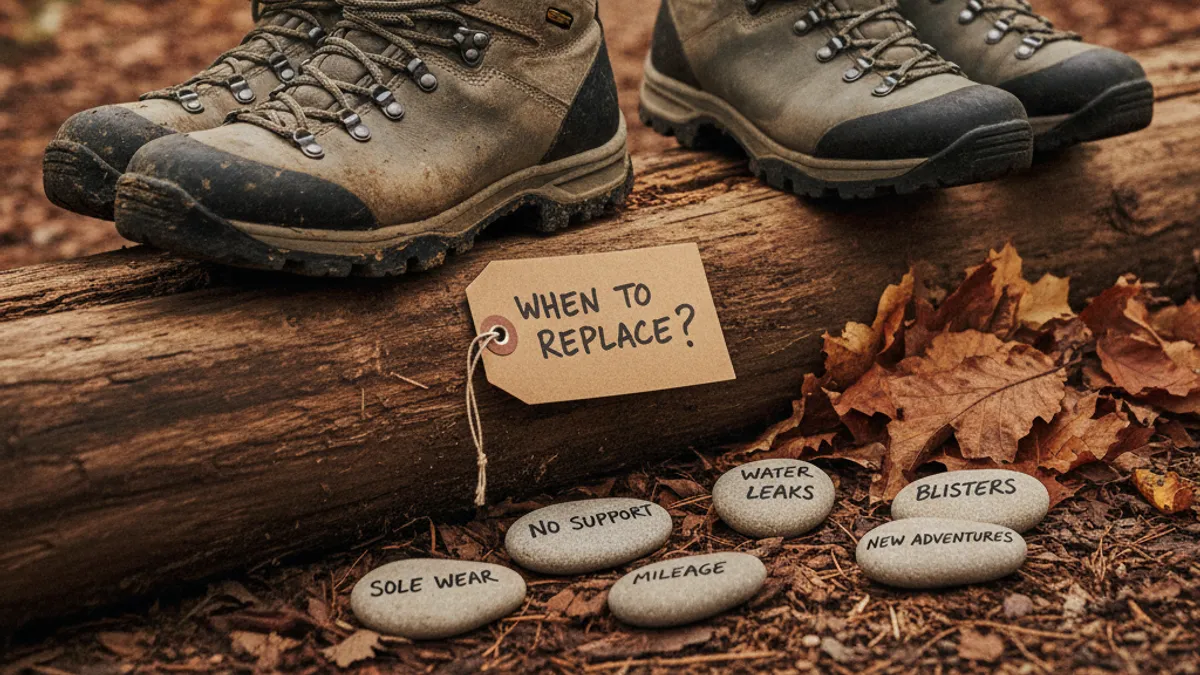
How often should I replace my hiking boots?
Our research indicates that mileage is a better indicator than time. For light hikers, aim to replace boots around 300-500 miles. For more robust backpacking boots, this extends to 500-800 miles, with heavy-duty mountaineering boots potentially lasting over 1,000 miles with proper care. Visually inspect them regularly, as specific use and terrain can alter these numbers.
Can I resole my hiking boots?
Yes, resoling is often a viable and cost-effective repair for well-constructed boots, particularly leather backpacking boots. Specialized cobblers can replace worn-out outsoles, giving your boots a second life. However, this is generally not recommended for lighter, less expensive boots where the cost of resoling might approach that of a new pair. The midsole integrity is usually the limiting factor.
How can I tell if my boot’s waterproofing has failed?
The most straightforward test is to hike in damp conditions. If you notice your feet getting wet, either from external moisture or internal sweat (if breathability is also gone), the waterproof membrane has likely failed. Look for visible damage to seams, small punctures, or accelerated saturation of the upper materials. Even if they were once waterproof, that functionality degrades over time.
What is the average lifespan of hiking boot insoles?
While not the main structure of the boot, insoles play a huge role in comfort and cushioning. They typically degrade much faster than the boot itself, often within 300-500 miles. If your boots still have good soles and uppers but feel flat and lack support, replacing the insoles with a quality aftermarket pair can be a budget-friendly way to extend their useful life. This is a quick win before considering full boot replacement.
How do I dry wet hiking boots properly?
Never dry hiking boots near direct heat sources like fires or radiators, as this can damage leather and adhesives. Instead, remove excess water, take out the insoles, and let them air dry at room temperature. Stuffing them with newspaper or using a boot dryer can help speed up the process safely. Ensure they are completely dry before storing them to prevent mold and mildew.
