
Figuring out what size hiking backpack you need can feel like a guessing game, but it doesn’t have to be. The right pack isn’t just about carrying your stuff; it’s crucial for comfort, safety, and enjoying your time outdoors. An ill-fitting or wrong-sized backpack can quickly turn an amazing hike into a miserable experience.
In our research, most reputable manufacturers categorize hiking backpacks by their capacity in liters, ranging from small daypacks starting around 10-20 liters up to large expedition packs that can exceed 80 liters. Understanding these categories is your first step towards making an informed choice. Let’s break down why this decision is so important.
Why Your Backpack Size Truly Matters
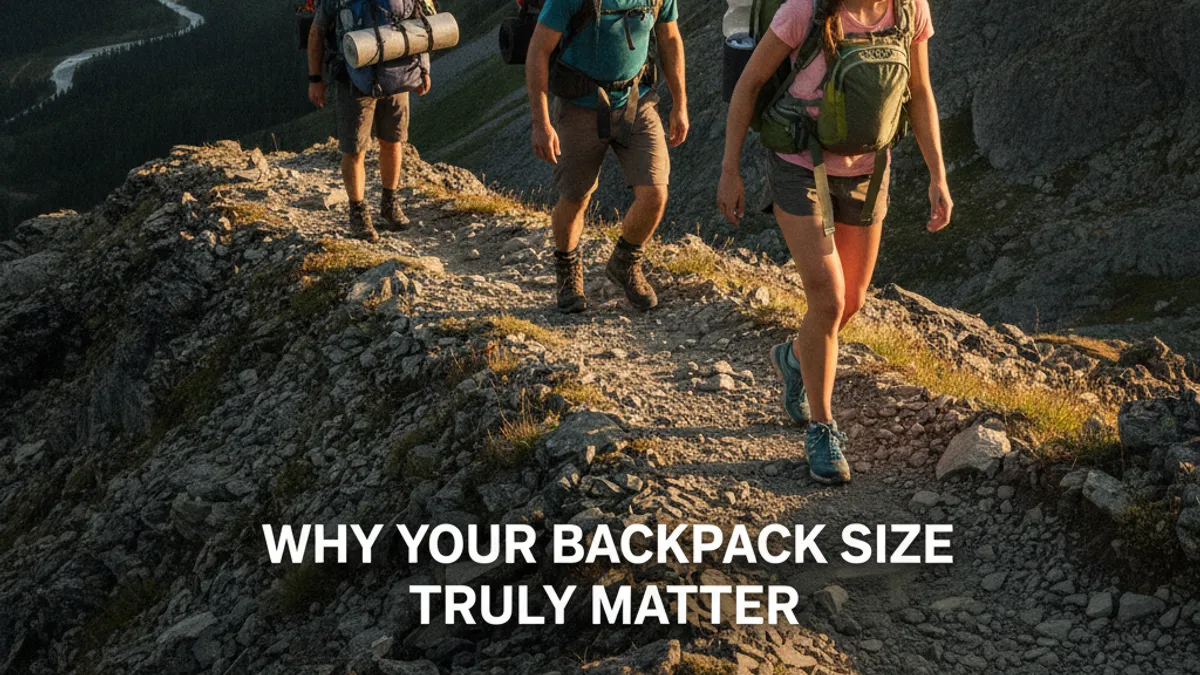
Your backpack is more than just a bag; it’s a critical piece of gear that directly impacts your comfort and efficiency on the trail. Choosing the wrong size can lead to a whole host of problems, from nagging discomfort to outright pain. It can even make your hiking experience less safe. We’re talking about everything from awkward balance to not being able to carry essential safety items.
An undersized backpack means you’ll either have to leave critical gear behind or strap items awkwardly to the outside. This can throw off your center of gravity and make movement difficult. Conversely, an oversized backpack, even if you don’t fill it, can be unnecessarily heavy as an empty pack. Its bulk can snag on branches or make navigating tight spots a real headache.
It’s all about finding that sweet spot for your planned adventure.
Quick Guide: Backpack Size at a Glance
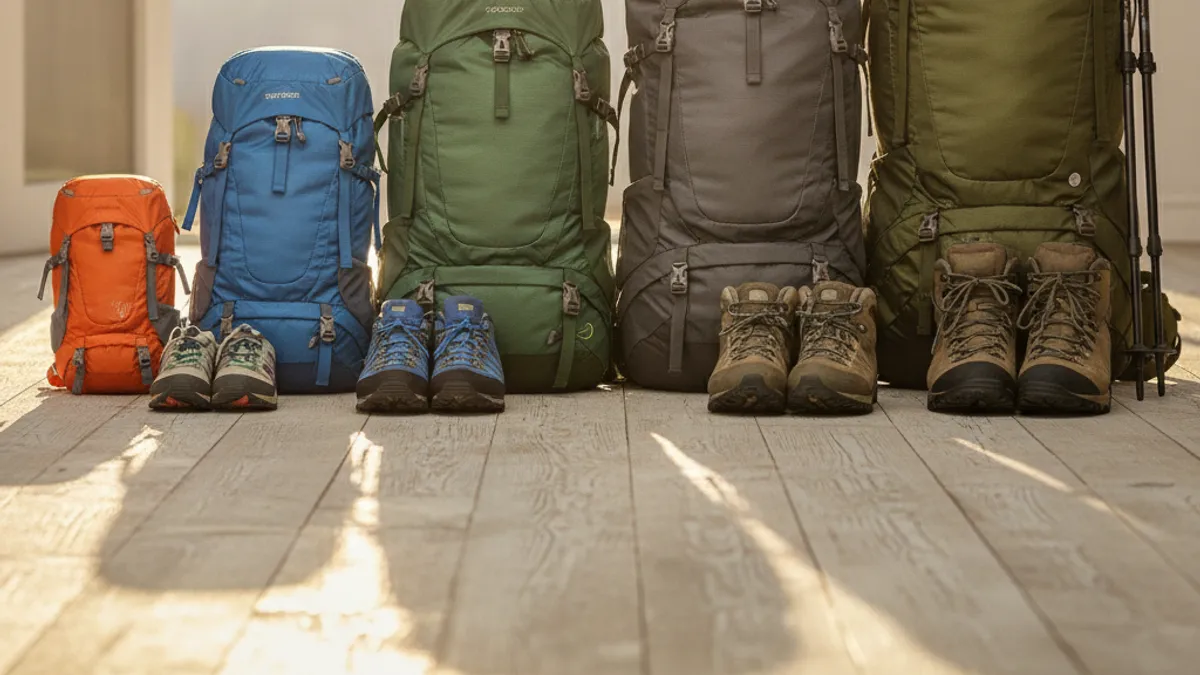
We know you’re eager to get some concrete numbers, so here’s a quick overview to get you started. This table provides typical liter ranges for common hiking scenarios. Think of this as a starting point. We’ll dive into the details shortly.
The right size often comes down to balancing trip length with how much gear you genuinely need to carry.
| Trip Type | Typical Backpack Capacity (Liters) | What It’s Good For |
|---|---|---|
| Day Hike | 10-30 Liters | Snacks, water, light jacket, first aid, small essentials. |
| Overnighter | 30-50 Liters | Day hike essentials plus sleeping bag, shelter, food. |
| Weekend (2-3 days) | 45-65 Liters | Overnight gear, extra clothing, more food, cooking gear. |
| Multi-Day (3-5 days) | 60-80 Liters | Ample space for longer trips, extra layers, more food. |
| Extended/Expedition | 80+ Liters | Winter trips, thru-hikes, specialty gear, large loads. |
Remember, these are general guidelines. Your personal packing style and the specific conditions of your hike, as of 2026, will always play a role in fine-tuning your choice.
The Core Factors: What Influences Your Pack Needs?
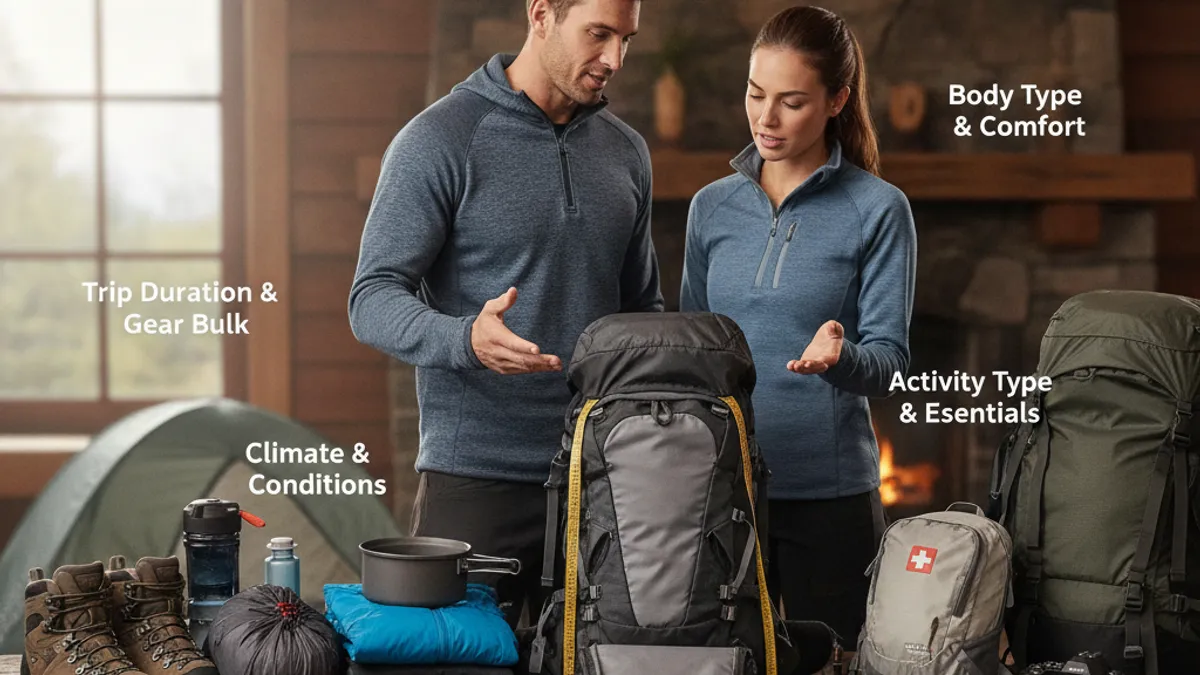
Choosing the right pack isn’t just about picking a number from a table. It’s a decision influenced by several key factors. Think of it like a mini decision tree where each question leads you closer to your ideal backpack. Let’s break down these core elements so you can make a truly informed choice.
Trip Duration: Day Hike, Overnight, or Longer?
This is probably the most significant factor in determining your backpack’s capacity. The longer you’re out there, the more gear, food, and water you’ll generally need, and thus, a larger pack.
- Day Hiking: If you’re planning a hike that starts and ends on the same day, you’ll need a smaller pack, often called a daypack. You’re mostly carrying water, snacks, a light jacket or rain shell, and perhaps a first-aid kit.
- Overnight or Weekend Trips: These require essentials for sleeping outdoors, like a sleeping bag, sleeping pad, and some form of shelter (tent or hammock). You’ll also need more food and cooking gear. This dramatically increases the volume you need to carry.
- Multi-Day or Thru-Hiking: For trips lasting several days to weeks, you’ll be carrying significant amounts of food, additional clothing layers, potentially more robust cooking systems, and possibly specialized gear. This is where larger expedition packs come into play.
Gear Volume: What Are You Actually Carrying?
Beyond just the type of trip, consider the actual gear you’re bringing. This varies wildly even for the same trip duration. For instance, an ultralight backpacker’s gear list for an overnight trip will look very different from someone new to backpacking who’s bringing more creature comforts.
- Bulky Items: Pay attention to the bulk of your sleeping bag (especially if it’s synthetic rather than down), sleeping pad (inflatable pads pack smaller than foam ones), and tent. These items alone can dictate a significant portion of your pack’s volume.
- Specialty Gear: Are you carrying climbing gear, a camera setup, fishing rods, or a bear canister? These items take up considerable space and will push you towards a higher liter capacity. Even a simple change like adding trekking poles might require external attachment points on your pack.
- Food and Water: The longer your trip and the less access to water sources, the more you’ll need to carry. Food is surprisingly voluminous, and often the heaviest item overall.
Personal Comfort and Packing Style
We all pack a little differently, and what feels right to one person might not for another. Some hikers prefer to carry as little as possible, embracing ultralight strategies. Others prioritize comfort items or simply pack more generously.
- Minimalist vs. Comfort-Oriented: If you’re a minimalist, you might squeeze a multiple-day trip into a pack that others would use for a single overnight. If you prefer more creature comforts, you’ll definitely need more space.
- External vs. Internal Storage: Do you like lots of external pockets for quick access, or do you prefer everything neatly tucked away inside your main compartment? This affects how usable a pack’s stated liter capacity feels. A pack with many external pockets might feel smaller internally but can hold more accessible gear.
Seasonal Considerations: Winter vs. Summer
The time of year you’re hiking profoundly affects your gear choices, especially clothing and sleeping insulation. This, in turn, impacts the necessary pack size.
- Winter Hiking: Cold weather means bulkier clothing layers (puffy jackets, thick fleeces), warmer sleeping bags, and potentially more robust shelters. You might also need to carry specialized gear like crampons or an ice axe. All of this extra bulk and weight points to a larger backpack, often 60 liters or more for even short overnight trips.
- Summer Hiking: Warmer weather allows for lighter clothing and less insulation, leading to significantly less bulk in your pack. You can often get away with a smaller liter capacity for the same duration of trip compared to winter. However, remember that hydration needs can be higher in summer, so plenty of water capacity is always a must.
How to Estimate Your Gear Volume and Choose the Right Liter Range
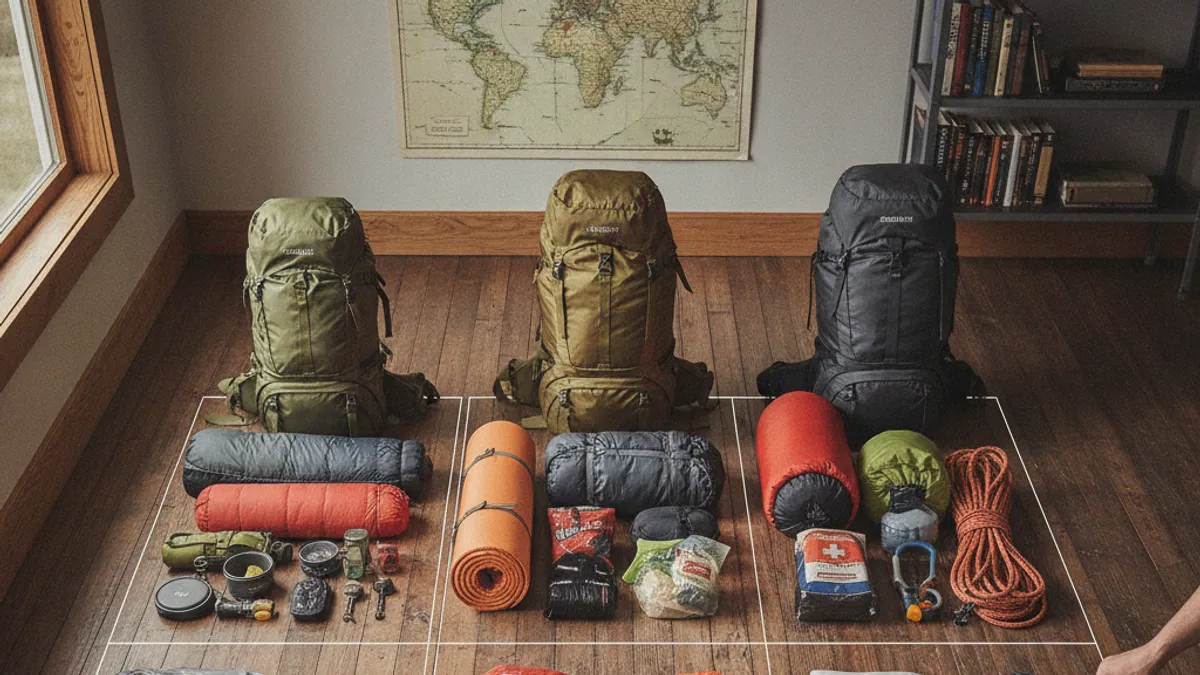
Once you’ve considered the key factors, it’s time to translate those needs into a specific liter range for your backpack. This isn’t an exact science, but you can get pretty close by thinking about your core gear. A good tip is to lay out all your planned gear for a typical trip and visualize the space it takes up.
Day Hiking Backpacks (10-30 Liters)
These packs are perfect for short outings where you only need to carry essentials. Think of them as your primary tool for a few hours on the trail. In this range, capacity is usually straightforward.
- Best for: Short hikes, trail running, quick walks, or as a summit pack for longer expeditions.
- What fits: Water bottle or hydration reservoir, snacks, a light jacket or rain shell, first-aid kit, navigation tools, phone, keys.
- Features to look for: Comfortable shoulder straps, maybe a small hip belt for stability, hydration sleeve, exterior pockets for quick access.
Overnight and Weekend Packs (30-50 Liters)
When you introduce sleeping gear, a simple daypack quickly becomes too small. These packs are designed to comfortably carry everything needed for a night or two outdoors. Many hikers find this range incredibly versatile.
- Best for: One-night backpacking trips, longer day hikes where you need more layers, or minimalist two-night trips in warm weather.
- What fits: All day-hike items, plus a sleeping bag, sleeping pad, small tent or tarp, cooking system (stove, pot, fuel), a day’s worth of food, extra change of clothes.
- Features to look for: A more robust hip belt to transfer weight to your hips, adjustable torso length, load lifters, compression straps, multiple access points (top and maybe bottom).
Multi-Day and Expedition Packs (50-80+ Liters)
These are the workhorses for extended adventures, where every item counts and space is at a premium. They’re built to handle heavier loads over longer distances. If your trip involves serious elevation or remote areas, this is your category.
- Best for: Trips lasting three days or more, winter camping (where gear is bulkier), carrying specialized equipment, or when you’re contributing more to group gear.
- What fits: All items from smaller packs, plus more significant amounts of food, additional clothing layers for varied conditions, larger sleeping systems, mountaineering gear, bear canisters, and sometimes even snowshoes or skis.
- Features to look for: Strong internal or external frame, heavily padded and adjustable hip belt, full adjustability for torso length and shoulder straps, multiple large pockets, gear loops, hydration system compatibility, and robust compression straps. Manufacturer specifications for these larger packs often include a maximum comfortable carrying weight.
Beyond Liters: The Importance of a Proper Backpack Fit
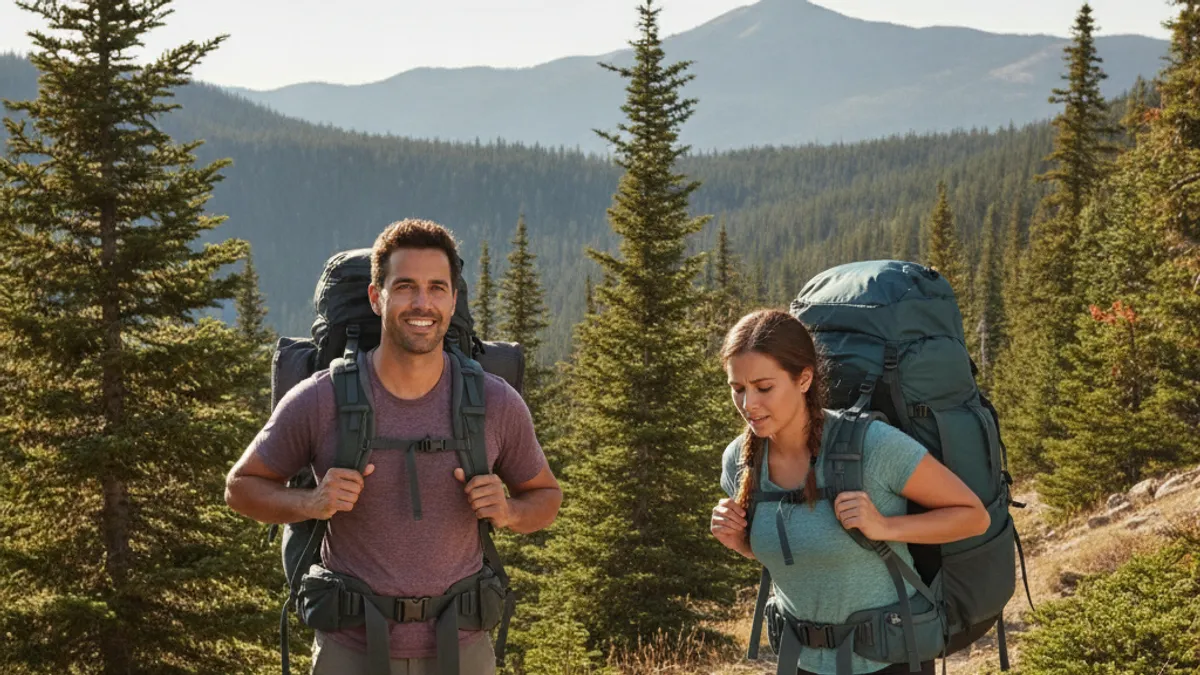
Liter capacity gets all the attention, but a proper backpack fit is arguably even more critical for comfort and preventing injury. A backpack that doesn’t fit your body correctly, regardless of its size in liters, will be uncomfortable and could lead to back or shoulder pain. You can stuff the perfect amount of gear into a pack, but if it doesn’t move with your body, it’s all for nothing.
Research consistently shows that transferring the majority of the weight to your hips, rather than your shoulders, is key for comfort on the trail. A well-fitted pack makes this possible. Never underestimate the difference a few proper adjustments can make.
Measuring Your Torso Length
Measuring your torso length is the single most important step in finding a properly fitting backpack. This isn’t about your height; it’s about the distance from your neck to your lower back. Most quality hiking backpacks come in different torso sizes (e.g., small, medium, large, or specific inch/cm ranges).
Here’s how you can do it accurately:
- Find your C7 vertebra: This is the bony knob at the base of your neck that protrudes most when you tip your head forward.
- Locate your Iliac Crest: This is the top of your hip bone, which feels like a shelf-like bone. Find the highest point on both sides.
- Measure: Have a friend measure the distance from your C7 vertebra straight down your spine to an imaginary line connecting the tops of your iliac crests. This measurement is your torso length.
Compare this number to the manufacturer’s sizing chart. For example, a Gregory Mountain Products sizing guide might specify a medium torso length as 18-20 inches (46-51 cm). If you fall between sizes, it’s often better to go with the smaller size for a tighter, more controllable fit, provided the pack has some adjustability.
Understanding Hip Belt and Shoulder Strap Adjustment
Even after you’ve got the right torso length, fine-tuning the hip belt and shoulder straps is crucial. These adjustments allow the pack to distribute weight effectively and move with your body.
- The Hip Belt: This is where 70-80% of your pack’s weight should rest. When you try on a pack, the center of the hip belt padding should sit directly over your iliac crests (hip bones). It should feel snug and secure, without digging in or slipping down.
- The Shoulder Straps: These primarily keep the top of the pack close to your body and stabilize the load. They should curve over your shoulders without any gaps between the strap and your body. The load lifter straps, which connect the top of the shoulder straps to the pack body, should be at roughly a 45-degree angle. These fine-tune how close the pack rides to your upper back.
- Sternum Strap: This strap connects the two shoulder straps across your chest. It prevents the shoulder straps from sliding off and helps with minor load stability. It shouldn’t carry any significant weight.
Common Mistakes to Avoid When Sizing Your Pack
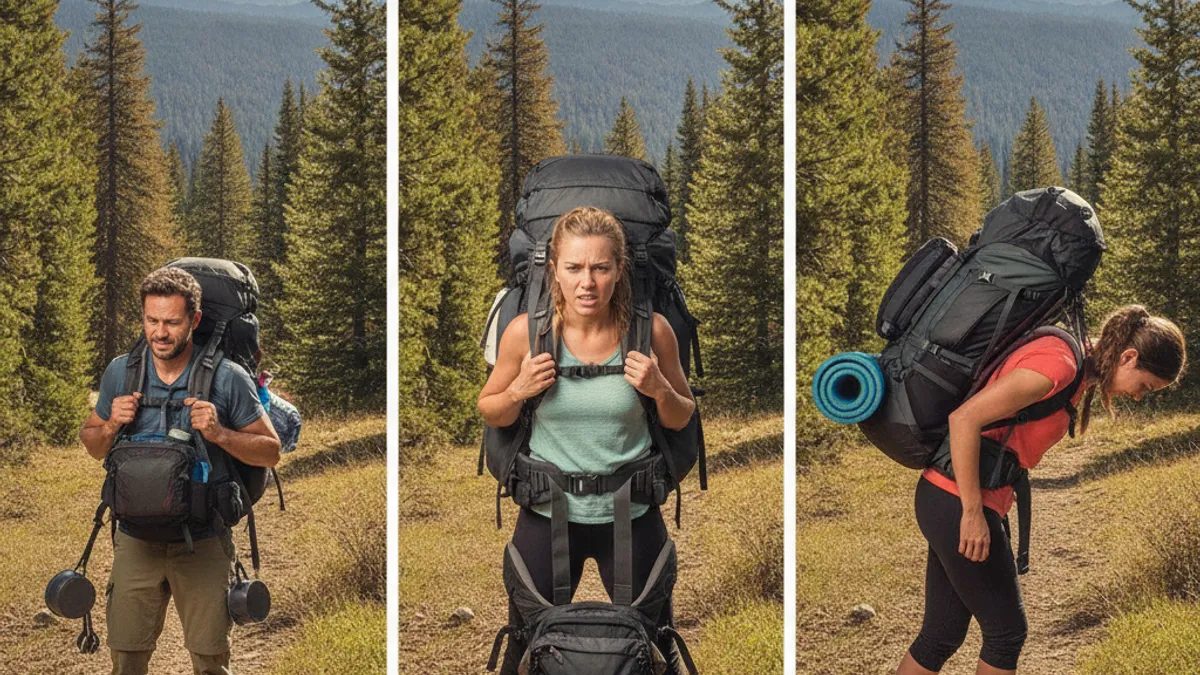
It’s easy to make a few missteps when choosing a backpack, especially if you’re new to hiking. Being aware of these common errors can save you a lot of discomfort and regret. Our research confirms these are frequent pain points for hikers.
- Buying Online Without Trying On: While convenient, purchasing a backpack online without trying it on first can be a big gamble, especially for larger packs. Torso length and hip belt fit vary significantly between brands. What looks good on a screen might not feel right on your body.
- Ignoring Torso Length for Overall Height: As we’ve discussed, your height doesn’t consistently correlate with your torso length. Relying on height alone for sizing is a common mistake that leads to an ill-fitting pack, often too long or too short for your frame.
- Overpacking a Small Pack: Trying to squeeze too much gear into a pack that’s too small makes everything awkward. Zippers strain, items get crushed, and external attachments become a hazard. It’s better to choose a slightly larger pack and pack it efficiently than to force a too-small pack.
- Underpacking a Large Pack: While a large pack offers plenty of space, an empty or lightly packed oversized bag can feel floppy and unstable. The extra weight of the pack itself becomes dead weight, and ineffective compression straps can’t always make up for a lack of internal volume.
- Not Testing with Weight: A backpack feels very different empty versus loaded with 20, 30, or 40 pounds of gear. Always try on a pack with a realistic amount of weight inside. Many outdoor stores have weighted bags or sandbags for this purpose. Walk around the store for a few minutes, bounce slightly, and notice how the pack moves with you.
Expert Tips for an Optimized Pack Load and Fit
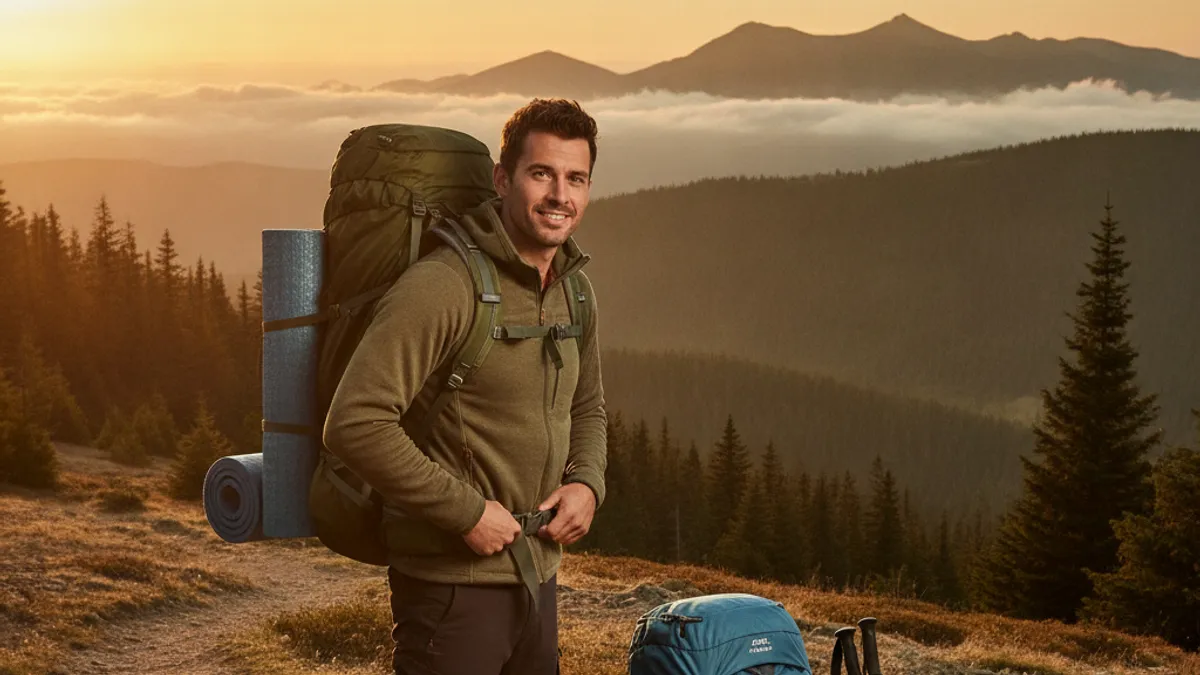
Beyond just selecting the right size, how you load and adjust your backpack makes a world of difference. Even the most perfectly fitted pack can feel terrible if the weight isn’t distributed correctly. These tips come from years of trail experience and manufacturer recommendations.
- Heavy Items Close to Your Back: Always pack your heaviest items, like water reservoirs, food, or dense gear, as close to your back as possible and centered between your shoulder blades. This keeps your center of gravity stable and prevents the pack from pulling you backward.
- Medium Weight Items Around the Core: Place medium-weight gear, such as extra clothing or cooking supplies, around the heavier items. This fills out the pack and helps maintain a compact, stable load.
- Lightweight, Bulky Items at the Bottom and Top: Your sleeping bag, sleeping pad, and other compressible, lightweight items are great for stuffing into the bottom of the pack. Items you’ll need quick access to, like a rain jacket or navigation tools, belong in the top lid or accessible outer pockets.
- Use Compression Straps: Cinch down those compression straps on the sides and bottom of your pack once it’s loaded. This prevents items from shifting, reduces bulk, and keeps the load compact and stable.
- Adjust on the Go: Your body changes, and so does your pack as you use up food and water. Periodically adjust your hip belt, shoulder straps, and load lifters throughout your hike to maintain comfort. A good rule of thumb is to check and re-adjust after the first 15-20 minutes of hiking, and then whenever you feel discomfort.
Backpack Sizing Decision Guide: Answer These Questions
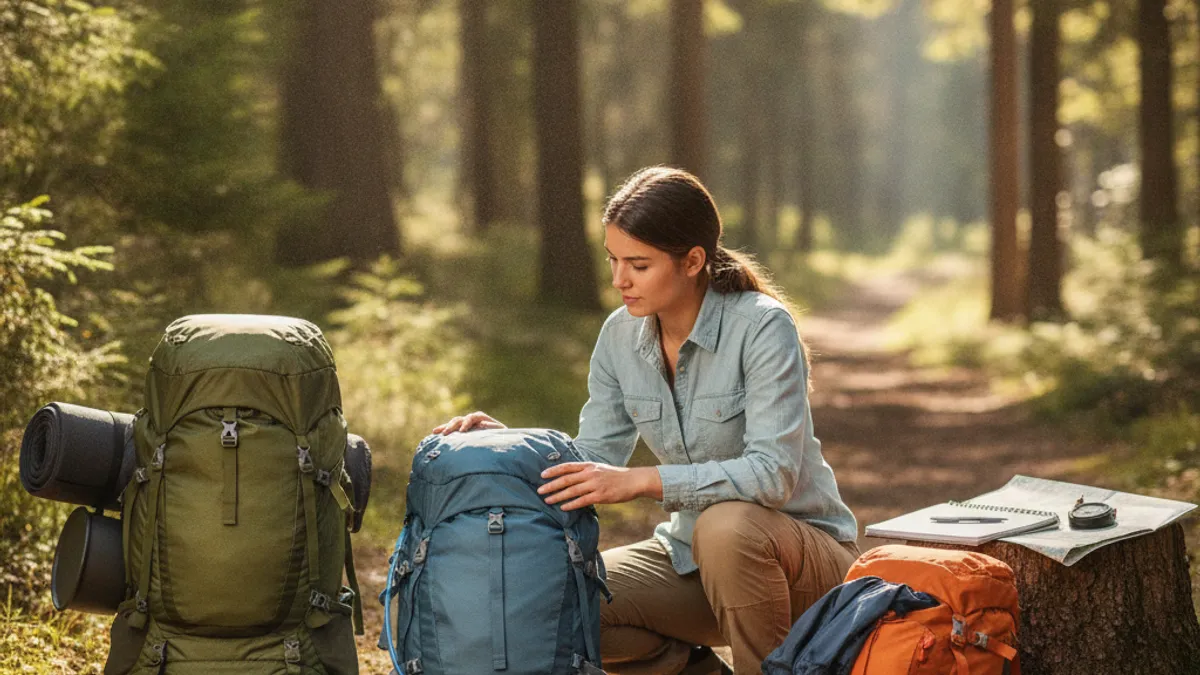
To help you land on the most appropriate backpack size, walk through these questions. Your answers will funnel you toward a liter range that suits your specific hiking needs. This interactive approach helps you personalize the general guidelines we’ve already covered.
-
What’s the longest trip duration you plan to take with this specific pack?
- Day Hikes Only (under 8 hours, no overnight gear): Start looking at 10-25 liter packs.
- Overnight or Weekend Trips (1-2 nights): Focus on 30-50 liter packs.
- Multi-Day Trips (3-5 nights): Consider 50-70 liter packs.
- Extended Expeditions or Thru-Hikes (5+ nights or winter trips): Explore 70+ liter packs.
-
How bulky is your sleeping system (bag/quilt and pad)?
- Very compact (e.g., down sleeping bag, inflatable pad): You can lean towards the lower end of the recommended liter range for your trip duration.
- Standard (e.g., synthetic sleeping bag, self-inflating pad): You’ll probably need the middle to upper end of the range.
- Bulky (e.g., older synthetic bag, foam pad): Opt for the higher end of the range, or even one size up.
-
Are you an ultralight packer, or do you prefer more comfort items?
- Ultralight (minimalist, everything multi-use): You can often shave 5-10 liters off typical recommendations.
- Standard (balanced approach): Stick to the mid-range recommendations.
- Comfort-focused (extra layers, luxury items): You’ll likely need 5-10 liters more capacity than standard.
-
Are you typically hiking in warm or cold weather?
- Warm weather (summer, deserts): Smaller pack.
- Mixed/Cool weather (spring/fall, mountains): Mid-range pack.
- Cold weather (winter, high altitude): Larger pack, often 10-20 liters more than warm-weather equivalent due to bulkier insulated gear.
-
How much shared gear will you be carrying for a group?
- None (solo hiker, every person carries their own): Your pack size primarily reflects your personal gear.
- Some (e.g., group tent, shared stove, bear canister): Account for an additional 5-15 liters for these shared items.
FAQs About Hiking Backpack Sizing
These are some of the most common questions hikers ask about choosing the right backpack size. We’ve gathered insights to provide clear, actionable answers.
Can I use a larger pack for shorter trips?
Yes, you can certainly use a larger pack for shorter trips, but it’s often not ideal. An empty large pack means you’re carrying unnecessary weight from the pack itself. It also tends to feel less stable and ergonomic compared to a smaller, more compact pack. For optimal comfort and efficiency, matching the pack size to the trip length is best.
Does backpack weight count towards capacity?
Backpack weight refers to the empty weight of the backpack itself, while capacity is the volume it can hold, typically measured in liters. These are distinct concepts, but both are relevant. A heavier empty pack reduces the total amount of gear weight you can comfortably carry. Ultralight backpackers pay close attention to both.
How does frame type (internal vs. external) affect sizing?
Frame type doesn’t directly change the liter capacity of a pack, but it affects how that capacity is carried and distributed. Internal frame packs hug your body closely, offering greater stability on uneven terrain. External frame packs stand off your back, providing excellent ventilation and often better load-hauling capabilities for bulky or awkwardly shaped items. The choice influences personal comfort more than raw volume.
Is it better to have a slightly larger or slightly smaller pack?
Generally, it’s better to err slightly on the side of a larger pack if you’re torn between two sizes. You can always use compression straps to cinch down a lightly loaded larger pack. An overly small pack, however, forces you to strap gear externally or leave essentials behind, compromising safety and comfort.
How often should I re-measure my torso length?
Your torso length typically stabilizes after adolescence. Once you’ve measured it accurately, you likely won’t need to re-measure unless you’ve experienced significant changes in body composition or posture. However, it’s always a good idea to confirm your measurements when purchasing a new pack, as different brands might have slightly varied sizing charts.
Your Ideal Hiking Backpack: A Personalized Recommendation
Choosing your ideal hiking backpack isn’t about finding the single “best” pack on the market; it’s about identifying the best pack for you, given your unique needs and preferences. Start by honestly assessing your typical trip duration, the gear you intend to carry, and the conditions you’ll face. These factors will guide you toward the right liter range.
Once you have a liter range in mind, prioritize fit above all else. A well-fitting pack, even if it’s not the absolute lightest or most feature-rich, will be exponentially more comfortable on the trail. Take the time to measure your torso length, try on packs with weight, and don’t be afraid to adjust until it feels like an extension of your body. Investing this effort upfront will pay dividends in enjoyable, pain-free adventures for years to come.
