

I remember the first time I tried to pick a hike for the weekend. I opened a trail app, stared at hundreds of green lines, and felt totally overwhelmed. Should I pick a three-mile loop? A ten-mile out-and-back? What does “moderate” even mean? If you are wondering how to choose a hiking trail without getting in over your head, you are in the right place.
Here’s the thing. Picking the right trail is the most important step for a safe and fun day outside. Pick something too easy, and you might get bored. Pick something too hard, and you could end up exhausted, out of water, or hiking in the dark.
In this guide, I am going to walk you through my simple process for picking a route. We will look at distance, elevation gain, weather planning, and how to match a trail to your current fitness level. Let’s get started.
Quick Answer
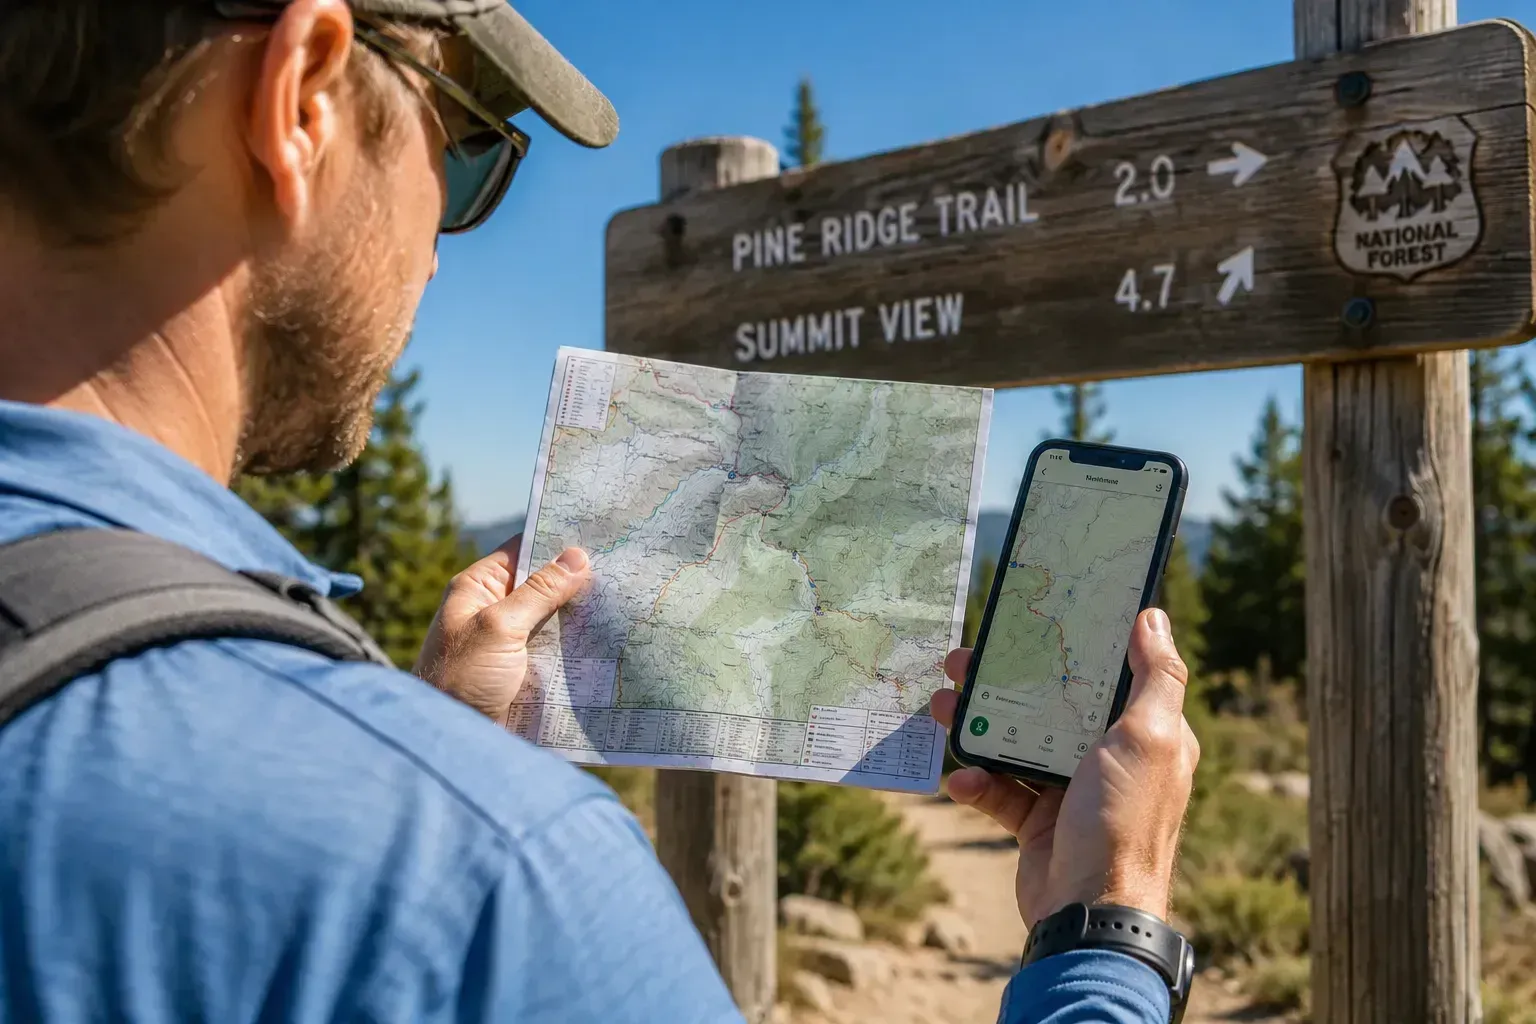
To know how to choose a hiking trail, start by assessing your current fitness level and the amount of time you have available. Look for a trail that matches your distance limit, and pay close attention to the total elevation gain, as steep hills make a short hike feel much longer. Always read recent trail reviews for current conditions, and check the official weather forecast before you finalize your choice.
What Hikers Should Know About Trail Difficulty
Before we dive into the steps, let me explain how trails are actually graded. You will usually see trails marked as easy, moderate, or hard. But these labels can be very tricky.
An “easy” trail in the flatlands of the Midwest is very different from an “easy” trail in the Rocky Mountains. The difficulty depends on three main things: distance, elevation gain, and terrain type. Distance is easy to understand. Elevation gain is the total amount of climbing you will do. Terrain type means looking at whether the trail is a smooth dirt path, a rocky scramble, or full of slippery tree roots.
As a general rule, a healthy beginner can comfortably hike about two miles per hour on a mostly flat trail. But if you add a lot of uphill climbing, that pace will drop quickly. That is why you should never look at distance alone when picking your hike.
- Distance: Total miles from start to finish.
- Elevation Gain: The total vertical feet you will climb.
- Terrain: The surface of the trail (dirt, rock, mud, sand).
- Route Type: Loop (a circle), out-and-back (go out, turn around), or point-to-point (start at A, end at B).
Signs You Should Adjust Your Hiking Plan, Gear, or Trail Choice
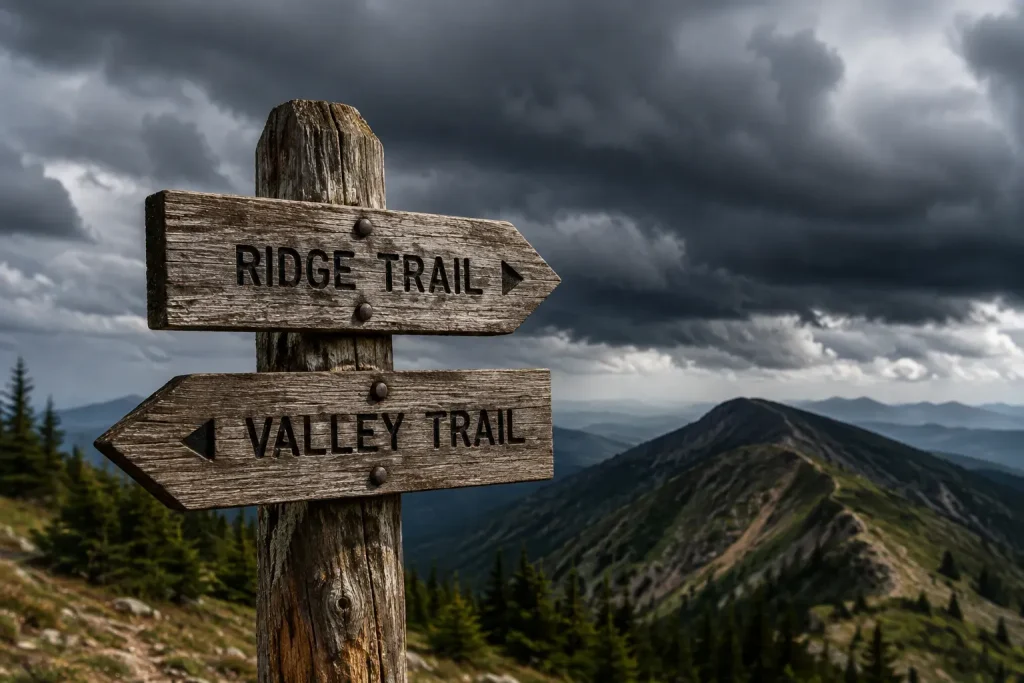
Sometimes, the trail you want to hike is not the trail you should hike on a given day. Weather changes, energy levels drop, and trail conditions shift. Knowing when to pivot is a huge part of outdoor safety.
If you see signs of bad weather or if a trail is closed by the park service, do not push your luck. It is always better to turn around or pick a different trail than to risk getting stuck in a dangerous situation.
| Sign or Condition | What It Means | What You Should Do |
|---|---|---|
| Heavy rain or thunderstorms in the forecast | High risk of lightning, flash floods, or slippery rocks. | Choose a lower-elevation trail, delay the hike, or stay home. |
| “Trail Closed” sign at the trailhead | Unsafe conditions like washouts, aggressive wildlife, or active fires. | Never ignore closures. Pick your backup trail immediately. |
| Feeling unusually tired or unwell before starting | Your body is not ready for a strenuous effort today. | Pick a shorter, flatter trail, or just take a rest day. |
| Recent reviews report deep snow or heavy mud | Slow, difficult hiking that might require special gear like microspikes. | Switch to a drier trail at a lower elevation. |
How to Choose a Hiking Trail Step by Step
Ready to pick your route? Follow these steps to find a hike that fits your group, your schedule, and your skill level.
- Be honest about your fitness. If you have not exercised in a few months, do not pick a 10-mile mountain hike. Start with a 2-mile to 4-mile trail with less than 500 feet of elevation gain. See how your body feels, and step it up next time.
- Decide how much time you have. Factor in the drive to the trailhead. If you only have three hours total, and the drive takes an hour each way, you only have one hour to hike. Plan to hike at a pace of about 1.5 to 2 miles per hour.
- Use a trail app or park website to search. Open a trail guide app or look at the official National Park Service website for your area. Filter the options by distance and difficulty.
- Check the elevation gain. This is the secret to happy hiking. For beginners, try to keep elevation gain under 200 feet per mile. Anything over 500 feet per mile is going to feel like climbing a steep staircase.
- Read recent trail reports. Trail conditions change weekly. Look at recent comments from other hikers to see if the trail is muddy, blocked by fallen trees, or if the parking lot fills up by 7:00 AM.
- Check the official weather forecast. Don’t just look at a generic weather app. Use NOAA Weather and search for the specific town or peak you are hiking near. Mountain weather changes fast.
Common Mistakes to Avoid
I have made plenty of mistakes while picking trails over the years. Here are a few common pitfalls you should try to avoid when you are planning your trip.
- Ignoring elevation: A 5-mile flat hike is a pleasant walk. A 5-mile hike with 3,000 feet of elevation gain is a grueling workout.
- Forgetting daylight hours: In the fall and winter, the sun sets early. Always check sunset times and carry a headlamp just in case.
- Not downloading a map: Cell service often disappears at the trailhead. Download your map for offline use before you leave your house.
- Relying entirely on crowd-sourced apps: Apps are great, but official park websites have the most accurate safety alerts and closure information.
- Skipping the backup plan: Trailhead parking lots get full. Always have a “Plan B” trail in mind in case you can’t park at your first choice.
Practical Tips from Oscar
When you are figuring out how to choose a hiking trail, it is easy to get bogged down in the data. Here are a few practical tips from my own time on the trail to make things easier.
Trail Safety Note:
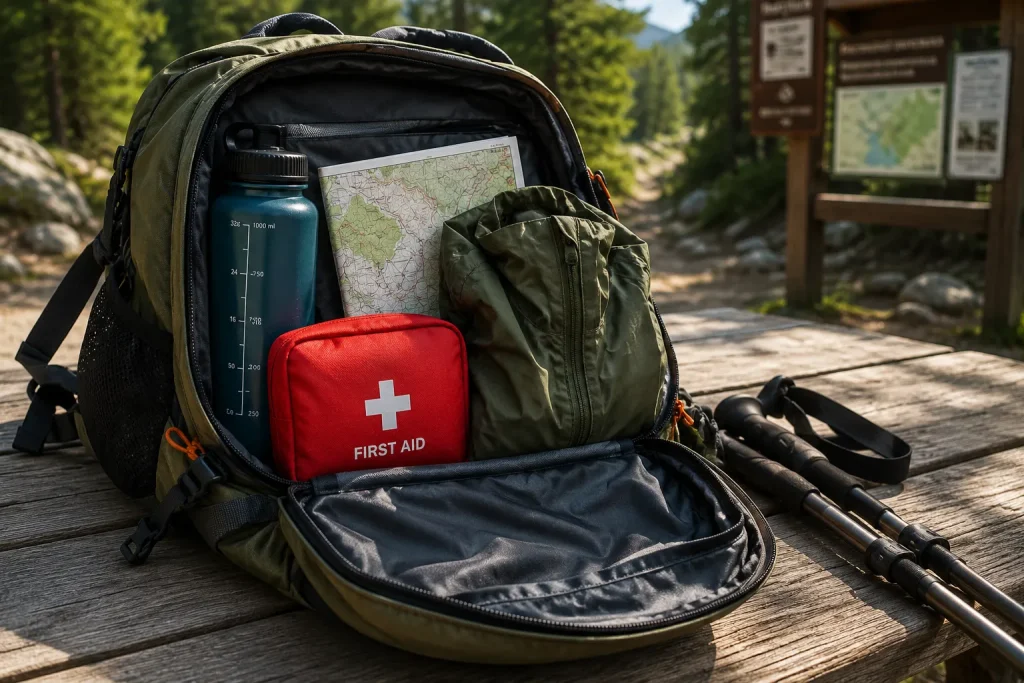
If you are heading into a remote area, tell someone where you are going. Text a friend your chosen trail name, the parking lot location, and the time you expect to be back. If something goes wrong, they will know exactly where to send help.
Trail Types Explained
When picking a hike, the shape of the route matters just as much as the distance. Here is a quick breakdown of what you will see on trail maps.
| Trail Type | What It Means | Best For |
|---|---|---|
| Loop | Starts and ends at the same place, making a circle. You never see the same scenery twice. | Hikers who want varied scenery without turning around. |
| Out-and-Back | You hike to a destination (like a waterfall), then turn around and walk back the same way. | Beginners, because it is very hard to get lost. |
| Point-to-Point | Starts at Trailhead A and ends at Trailhead B. | Longer trips, but requires two cars or a shuttle system. |
Key Takeaways
- Look at both distance and elevation gain to understand how hard a trail actually is.
- Read recent trail reviews to check for mud, bugs, or closed parking lots.
- Always check the weather forecast for the specific trail location, not just your hometown.
- Have a backup trail picked out in case your first choice is closed or too crowded.
- Follow the Leave No Trace principles to keep trails beautiful for the next person.
Frequently Asked Questions
How do I find hiking trails near me?
The easiest way to find local trails is by using hiking apps or searching official state park and national park websites. You can filter these searches by distance, difficulty, and your current location to find the best options nearby.
What is considered a beginner hiking distance?
For most healthy adults, a good beginner hiking distance is between 2 to 5 miles. It is best to start on the shorter end to see how your body reacts to walking on uneven terrain before tackling longer routes.
How much elevation gain is a lot for a beginner?
Generally, anything under 500 feet of total elevation gain is comfortable for a beginner. If a trail gains more than 300 to 500 feet per mile, it will feel very steep and require a good level of physical fitness.
How long does a 3-mile hike take?
On a relatively flat trail, a 3-mile hike takes the average adult about 1.5 to 2 hours. If the trail is steep, rocky, or muddy, you should budget at least 2.5 hours.
Should I pick a loop or an out-and-back trail?
Loops are great because you get new scenery the entire time. However, out-and-back trails are excellent for beginners because they are easy to navigate, and you can turn around at any point if you get tired.
Wrapping Up Your Trail Planning
Figuring out how to choose a hiking trail doesn’t have to be stressful. It just takes a little bit of common sense and a few minutes of research. By checking your fitness, understanding elevation gain, and reading up on current trail conditions, you are setting yourself up for a great day outdoors.
The good news is that the more you hike, the easier this planning process becomes. You will start to quickly recognize what a 1,000-foot climb feels like, and you will know exactly what your body can handle. Remember, there is no shame in picking an easy trail just to enjoy the fresh air.
Now that you know how to pick your route, make sure your bag is packed right. Head over to my guide on hiking gear essentials for beginners to make sure you have the right water, snacks, and safety gear before you hit the trailhead. Stay safe, have fun, and I will see you out there.
