
Making your own hiking sticks can be a deeply satisfying project, offering a personalized connection to your outdoor gear. If you’ve ever looked at pricey store-bought options and thought “I could probably make that,” you’re in luck. This guide walks you through how to make hiking sticks that are as functional as they are unique.
Our research indicates that properly made wooden hiking sticks can offer significant benefits in terms of stability and joint support, comparable to commercially produced trekking poles. Manufacturers’ specifications for commercial poles often highlight adjustable lengths, typically ranging from 100 cm to 135 cm, a key measurement you’ll aim for when crafting your own. Let’s get started on building your perfect trail companions.
Why Make Your Own Hiking Sticks?

Choosing to craft your own hiking sticks isn’t just about saving some cash. It’s about creating a tool perfectly suited to your needs. You get to control every aspect from start to finish, ensuring a result that feels just right for your body and your hiking style.
The DIY Advantage
The allure of DIY gear lies in its inherent customization and personal touch. You’re not limited by pre-set sizes or common grip designs. Aggregate reviews show that homemade items, when crafted with care, often carry a higher perceived value and offer a unique functional benefit precisely because they were made to order for the user. This approach lets you integrate features that commercial products might overlook entirely.
What You’ll Need for Your Custom Sticks
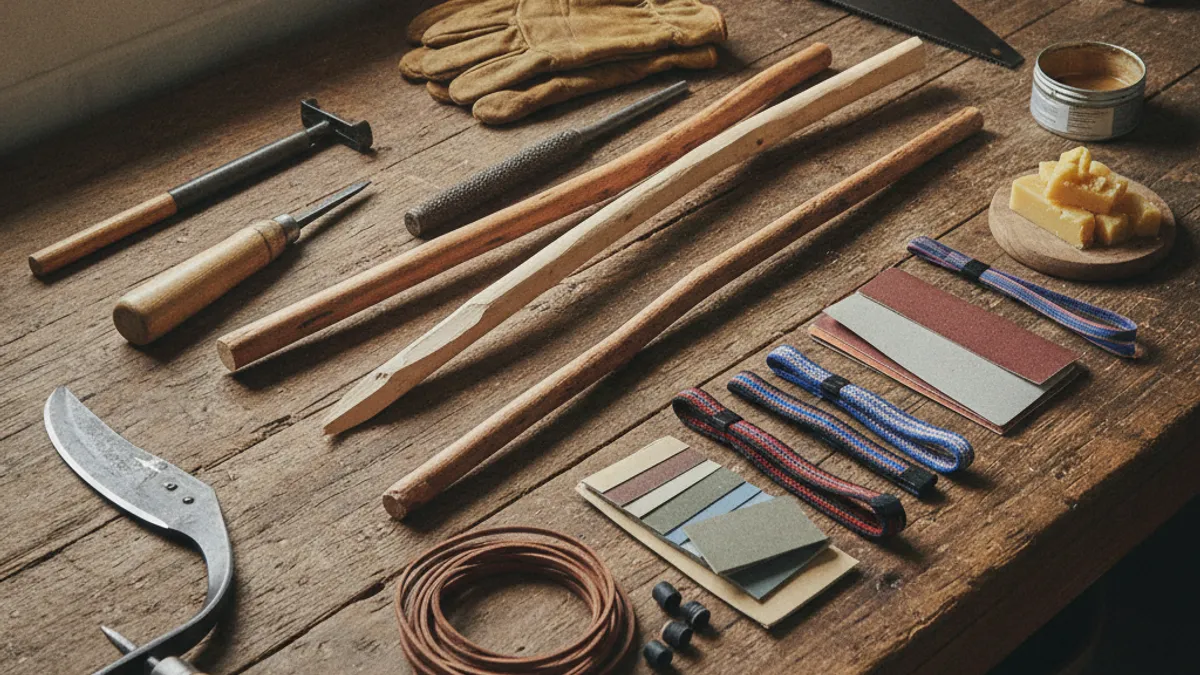
Gathering the right materials sets you up for success. Think about what feels comfortable in your hand and what will stand up to the rigors of the trail. The primary components are straightforward, but the details you choose will make a big difference in the final product.
Selecting the Right Wood Shafts
The foundation of your hiking stick is the shaft itself, and wood offers a fantastic blend of strength and natural feel. For durability and resilience, hardwoods like oak, ash, or hickory are top contenders. However, well-seasoned maple or even a sturdy, straight piece of pine can also perform admirably. You’ll want branches or saplings that are roughly 1 to 1.5 inches in diameter.
Research from woodworking forums indicates that selecting wood that has been allowed to cure properly, often for several months in a dry, shaded area, is crucial. This seasoning process helps prevent the wood from warping or cracking once it’s shaped and finished, ensuring your sticks remain stable and reliable on varied terrain.
Choosing Your Ideal Handle Material
The handle is where most of your direct contact with the stick will happen, so comfort and grip are paramount. You have several excellent options to consider, each offering a different feel and aesthetic.
- Carved Wood: You can shape the very top of your chosen shaft into a smooth, ergonomic grip that fits your hand perfectly. This is the most elemental approach.
- Cork Grips: Natural cork offers excellent shock absorption and a comfortable, non-slip texture even when wet. These are widely available from outdoor gear suppliers.
- Leather Strips: Wrapping leather around the top provides a classic look and a secure, tactile grip. The material softens and conforms to your hand over time.
- Rope or Paracord: A more rugged, utilitarian option. Wrapping tightly can create a very secure grip, and it’s easily replaceable if it wears out.
Step-by-Step: Building Your Hiking Sticks
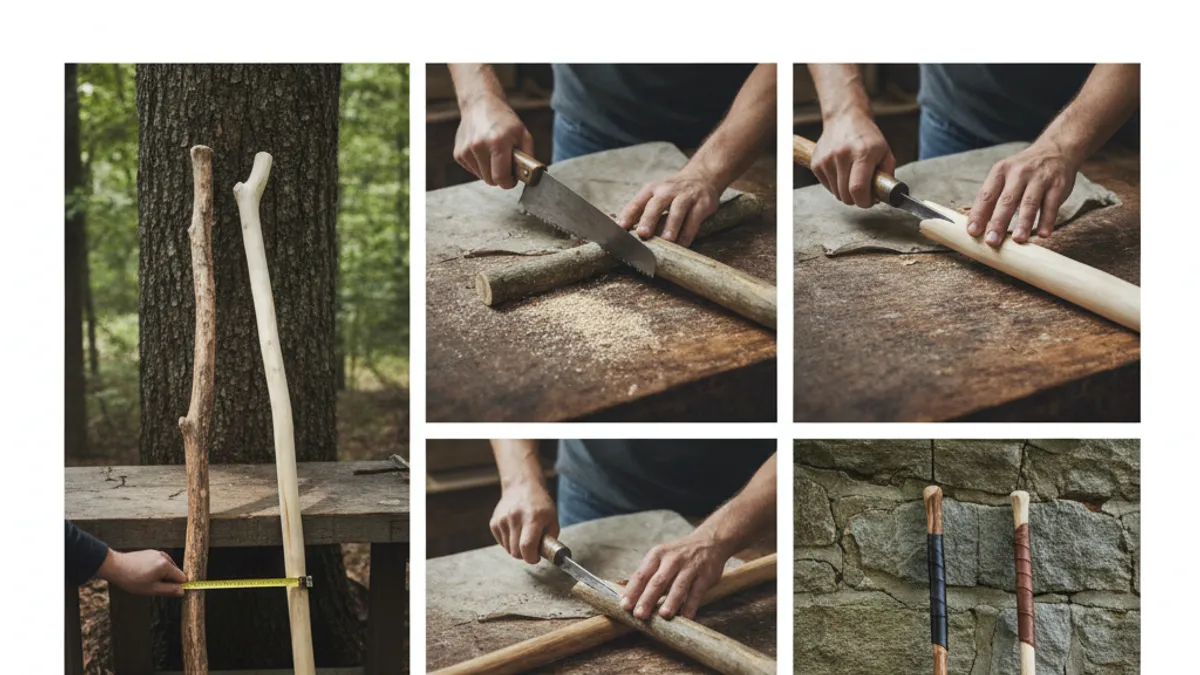
This is where the magic happens. We’ll break down the process into manageable steps, focusing on techniques that ensure a strong, comfortable, and long-lasting pair of hiking sticks. Following these steps will help you avoid common pitfalls and produce a result you’ll be proud to carry.
Step 1: Finding and Preparing Your Wood
Start by scouting for sturdy, fallen branches or saplings. Look for pieces that are as straight as possible, with a diameter of about 1 to 1.5 inches. The wood should feel solid, with no signs of rot or insect damage. Once you’ve found suitable candidates, you’ll need to clean them up by removing any bark.
A sturdy knife or a drawknife works well for this task. Ensure you’re working on dry wood; green wood can warp or crack significantly as it dries. If you have to cut green wood, plan to let it season for several months in a dry, shaded area before proceeding with construction.
Step 2: Cutting Your Shafts to the Perfect Length
Getting the length right is critical for ergonomic use and stability. The general rule of thumb, as confirmed by various outdoor equipment guides, is to measure from the ground to your wrist bone while your arm is bent at a 90-degree angle. This provides a comfortable stance for most moderate inclines. It’s wise to cut your shafts a few inches longer than this measurement.
This extra length gives you flexibility for shaping the top and ensures you don’t accidentally cut too short. You can always trim more off later, but you can’t add wood back.
Step 3: Shaping and Smoothing the Shafts
After cutting your shafts to approximate length, it’s time to make them smooth and comfortable to hold. Start by using a coarse grit sandpaper, perhaps 80 or 100 grit, to remove any remaining rough patches, splinters, or small imperfections left from the bark removal process. Gradually move to finer grits, such as 150, then 220 grit. The goal is a surface that is pleasant to touch, even for extended periods.
A smooth shaft prevents blisters and ensures a secure grip, especially if your hands get sweaty on the trail.
Step 4: Creating Comfortable and Secure Handles
The handle is your main point of interaction with the stick, so investing time here pays off. A well-designed handle enhances control and reduces hand fatigue.
Carving Your Own Grip
If you opt for a carved grip, carefully work down the top few inches of your shaft using a sharp knife or woodworking tools. You can create a simple taper that fits naturally into your palm, or add finger grooves for a more personalized fit. Always carve away from your body to maintain safety. Take your time and periodically test the feel in your hand until it feels just right.
Attaching Pre-Made Handles (Cork, Leather, Rope)
For pre-made handles, preparation often involves slightly sanding the top of your shaft to ensure a snug fit within the handle’s central hole.
- Cork Grips: Apply a strong wood glue or epoxy inside the cork grip’s opening or to the top of the shaft. Press the cork on firmly, aligning it as desired. Wipe away any excess glue immediately.
- Leather or Rope: Begin wrapping your material tightly around the top of the shaft, working your way down a few inches. Secure the starting and ending points with strong adhesive or small, hammered-in tacks. Building up layers can create a thicker, more cushioned grip.
Step 5: Adding Essential Rubber Tips
Rubber tips are crucial for providing traction on hard surfaces like rock or pavement, and they also protect the wooden tips of your sticks from damage. They prevent the wood from digging into softer ground and significantly improve grip. Most rubber tips designed for trekking poles have a hollow end that slides onto the bottom of the shaft. Ensure a tight fit; if it’s a little loose, a dab of strong adhesive or epoxy can hold it securely in place.
Common Mistakes to Avoid When Making Hiking Sticks
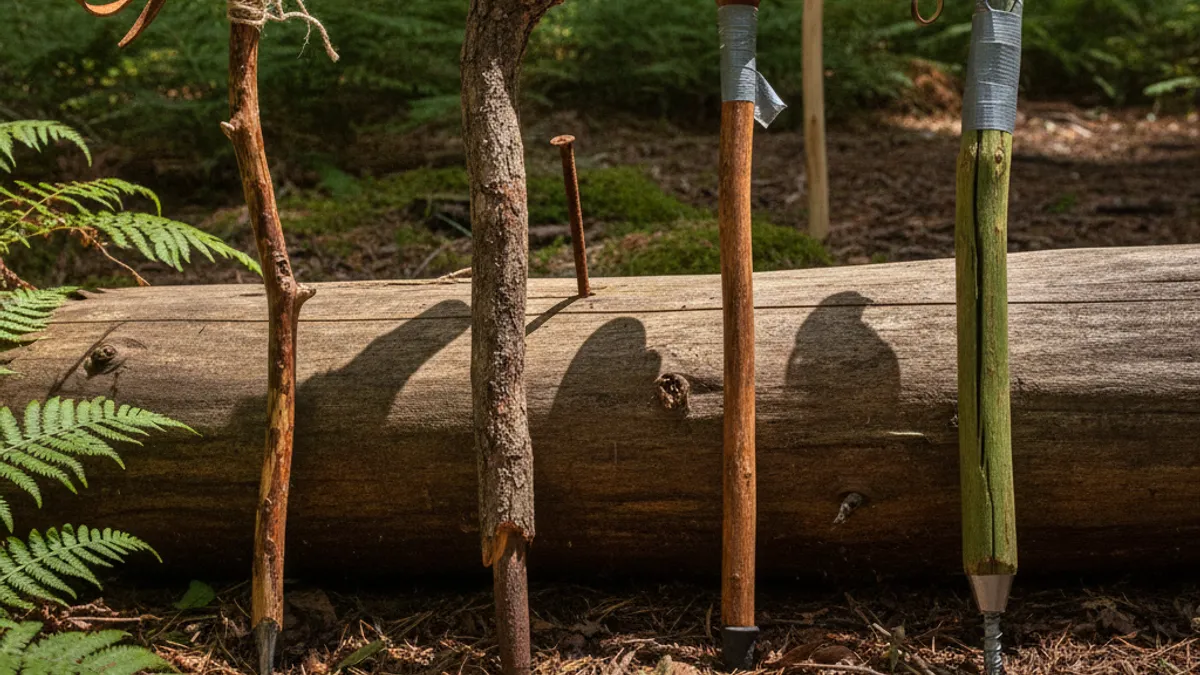
Even with the best intentions, a few common errors can turn a promising DIY project into a disappointing failure. Recognizing these potential pitfalls beforehand can save you a lot of frustration and ensure your hiking sticks are built to last.
Issues with Wood Selection
Picking wood that isn’t properly seasoned or is already compromised is a primary mistake. Using green wood, for instance, means your sticks might warp or develop cracks as they dry out later, weakening their structure. Manufacturer specifications for hardwoods often emphasize kiln-drying or extended air-drying periods, typically 6 months to over a year, to achieve a moisture content below 15%. Opting for wood with visible rot, insect holes, or large, deep cracks also guarantees trouble down the trail.
Errors in Handle Attachment
A handle that comes loose mid-hike is not only inconvenient but can also be a safety hazard. Over-reliance on weak glue or improper preparation of both the shaft and the handle material are frequent culprits. For example, if you’re using cork grips, manufacturer instructions usually stress cleaning the shaft surface to remove any oils or dust that could prevent a strong bond. Similarly, when wrapping leather or rope, insufficient tension or poor adhesion at the ends can lead to unraveling.
Neglecting Proper Finishing
Failing to seal and protect the wood is another common oversight. Wood is susceptible to moisture damage, rot, and UV degradation, all of which can shorten the lifespan of your hiking sticks. Even hardwoods can degrade if left unprotected, especially when exposed to rain, snow, and sweat. A good quality sealant, applied in multiple thin coats, creates a barrier that repels water and protects the wood’s integrity.
As of 2026, advanced waterproof wood finishes are readily available that offer superior protection compared to older varnishes.
Expert Tips for Durable and Functional Hiking Sticks
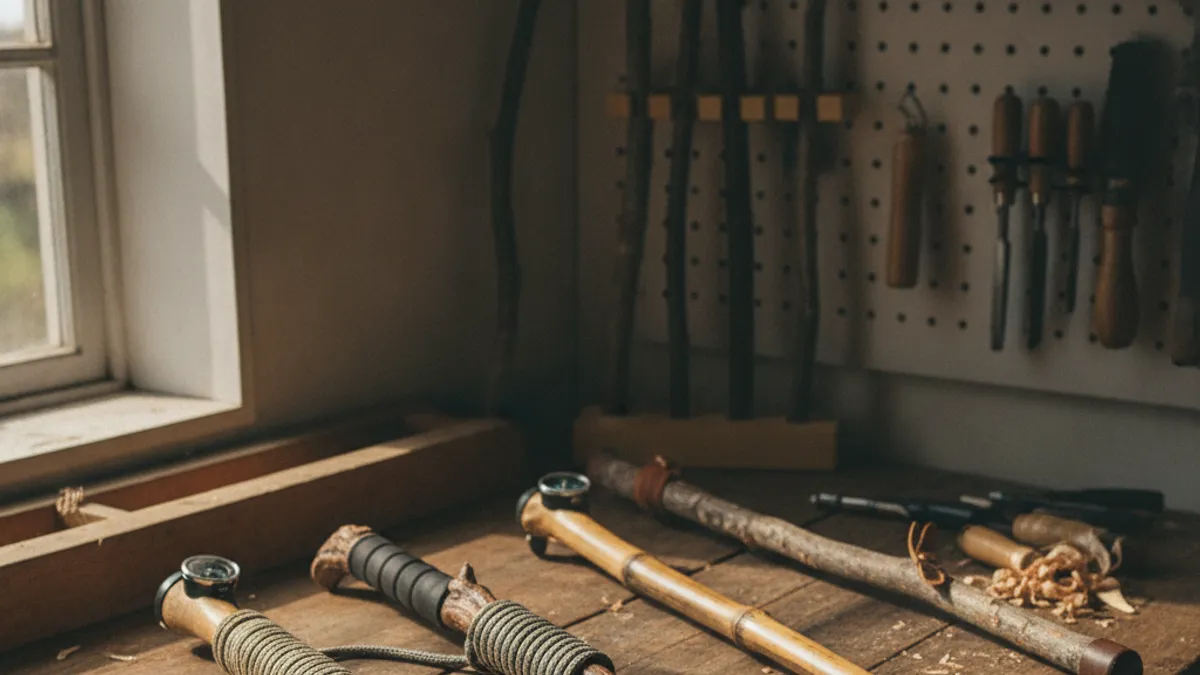
To elevate your homemade hiking sticks from basic tools to reliable trail companions, consider these expert-backed suggestions. These tips focus on enhancing both durability and user experience, ensuring your sticks serve you well on countless adventures.
- Balance is Key: When shaping, try to keep the weight distribution even. A stick that feels too heavy at the top or bottom can be tiring and awkward to use. Periodically hold the stick as if you were hiking to gauge its balance.
- Consider Wrist Straps: While not strictly part of the stick itself, adding adjustable wrist straps can significantly improve control and reduce hand strain. Manufacturers of commercial trekking poles often include them for this reason.
- Reinforce the Tip: For extra durability on rocky terrain, you can wrap the very bottom of the shaft with a bit of strong cord or even a metal ferrule before attaching the rubber tip, if the tip doesn’t fully cover the end. This adds another layer of protection against impact.
- Match Stick Height to Terrain: For general hiking, the 90-degree elbow rule is great. However, for steep ascents, slightly shorter sticks can be helpful, and for steep descents, slightly longer ones might offer more stability. Your DIY sticks allow for this personal tweakability.
Maintenance for Long-Lasting Hiking Sticks
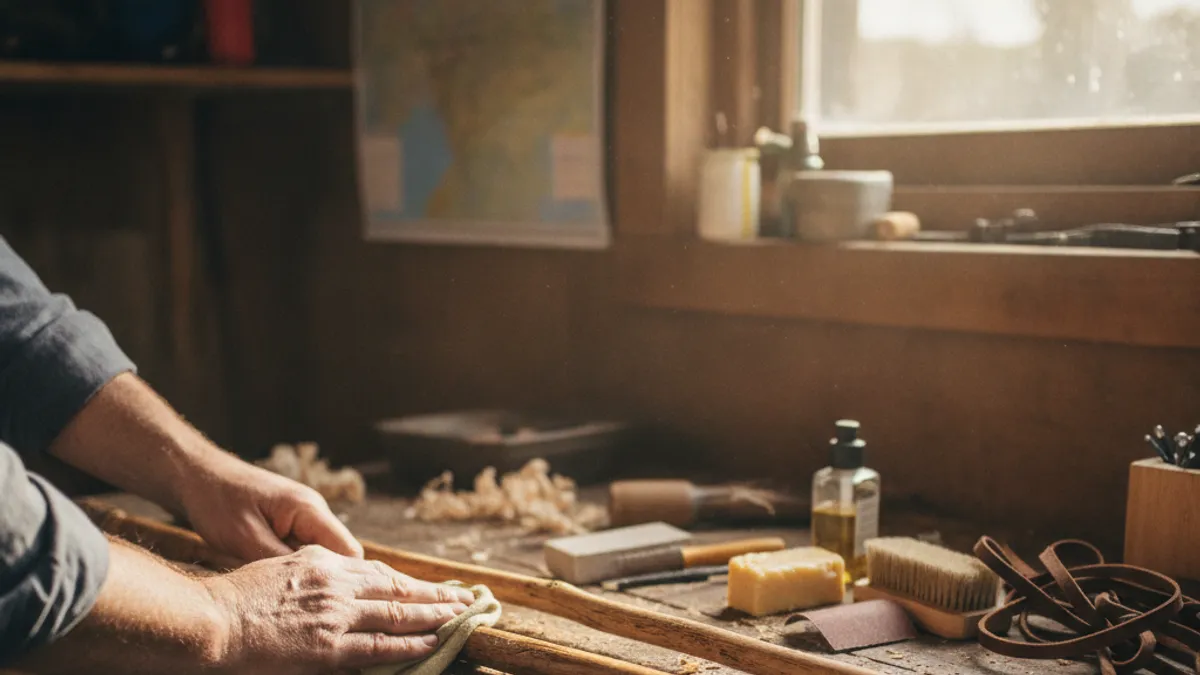
Just like any reliable piece of gear, your homemade hiking sticks require some basic care to ensure they perform well over time. Proper maintenance means fewer unexpected issues on the trail and a longer useful life for your handcrafted equipment.
- Regular Cleaning: After each hike, wipe down your sticks to remove mud, dirt, and debris. Pay attention to the tips, as packed-in mud can reduce traction. A simple wipe with a damp cloth is usually sufficient.
- Inspect for Damage: Periodically check the shafts for new cracks or splinters. Examine the handles to ensure they are still securely attached and the rubber tips are not excessively worn down. If a tip is compromised, it’s best to replace it before your next hike.
- Reapply Sealant: Depending on the sealant used and the intensity of your hiking, you might need to reapply a fresh coat of finish every year or two. This is especially true for the handle areas that receive the most consistent contact with your hands. A light sanding between coats helps the new sealant adhere well.
- Storage: Store your hiking sticks in a dry place, away from extreme temperatures or direct sunlight when not in use. Hanging them upright or laying them flat in a cool, dry shed or garage is ideal.
