
Ever felt that crushing weight on your shoulders, or rummaged through your pack for ages trying to find one small item? That’s usually a sign that your backpack isn’t packed right. Knowing how to pack a backpack for hiking is less about cramming more in and more about smart, strategic placement. It directly impacts your comfort, energy levels, and overall enjoyment on the trail.
When your gear is organized and balanced, you’ll be able to hike further and feel better doing it. For example, manufacturer specifications for many multi-day packs, typically ranging from 50 to 70 liters in capacity, emphasize weight distribution as a key comfort factor. Getting this wrong can turn a beautiful day hike into a regretful slog.
Why How You Pack Matters More Than What You Pack
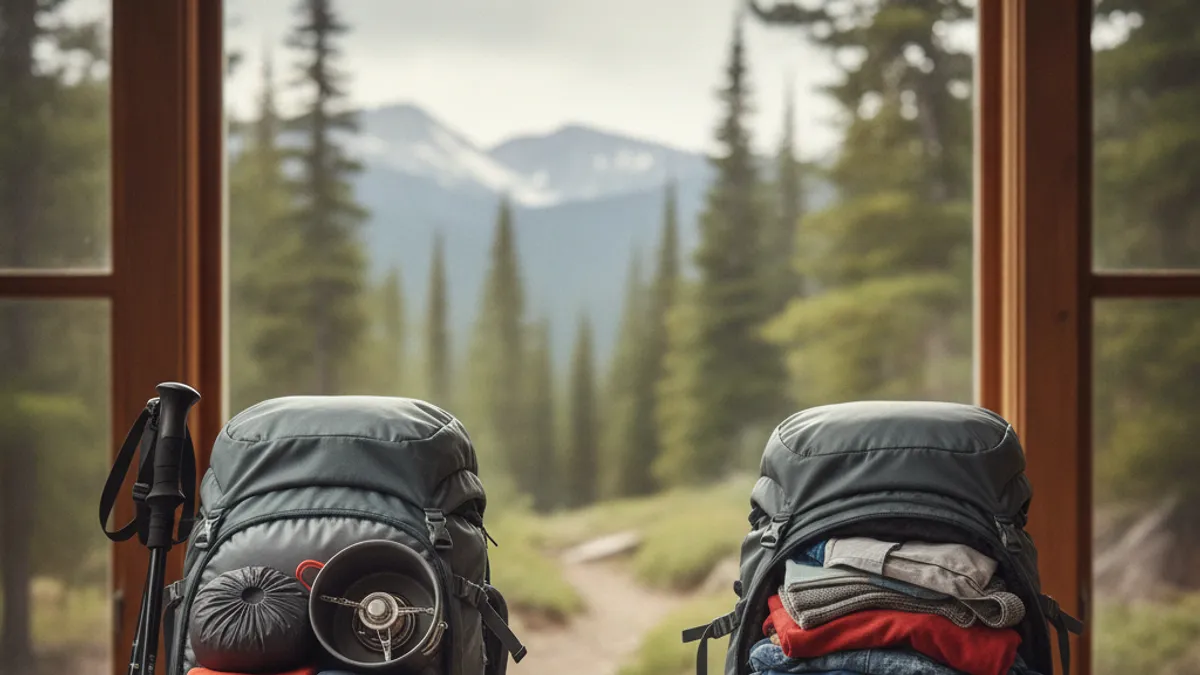
It’s a common mistake for new hikers to focus solely on the list of gear they need for a hike. While having the right items is critical, think shelter, navigation tools, extra layers, and sufficient water, how you arrange them inside your backpack makes a huge difference. Aggregate user feedback consistently reports significant improvements in comfort and perceived effort when packs are loaded correctly.
Proper packing means placing heavier items close to your back and midway up your torso. This utilizes your body’s natural leverage, preventing the pack from pulling you backward. Lighter, bulkier items go on the bottom, and smaller, frequently needed items go into easily accessible pockets. It’s all about creating a balanced, stable load that feels like an extension of your body, not a burden.
What Goes In Your Hiking Pack (The Essentials List)
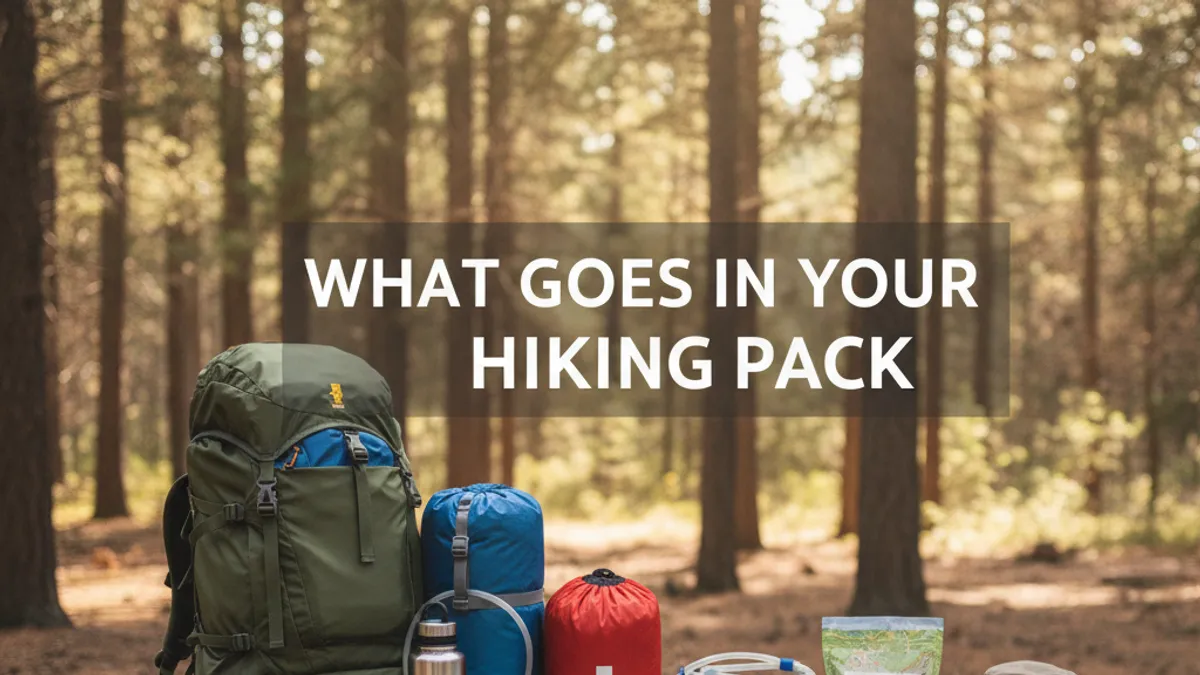
Before you even think about how to pack, you need to know what to pack. This list might seem obvious, but missing even one key item can lead to discomfort or a safety issue. Manufacturer guidelines and camping organizations stress that essential gear falls into a few categories.
- Shelter: This includes your tent, tarp, or bivy sack, and possibly a sleeping bag and pad for overnight trips.
- Navigation: Always carry a map and compass, and a GPS device or app as a backup. Don’t rely solely on electronics.
- Sun Protection: Sunglasses, sunscreen, and a hat are crucial, even on cloudy days.
- Insulation: Extra layers of clothing, like a fleece jacket or puffy coat, are essential for changing weather.
- Illumination: A reliable headlamp or flashlight with extra batteries is a must, even for day hikes. Check out hiking headlamp reviews for recommendations.
- First-Aid: A well-stocked first-aid kit should be in every pack.
- Fire: Waterproof matches, a lighter, or a ferro rod for emergencies.
- Repair Kit & Tools: Duct tape, a multi-tool, cordage, and gear repair patches.
- Nutrition: Enough food for your trip, plus an extra day’s worth in case of delays. Consider hiking meal prep ideas and best energy bars for hiking.
- Hydration: Enough water for your planned trek, and a plan for filtering or treating more. Knowing how much water to drink hiking is vital.
- Emergency Bivy/Blanket: A lightweight option for unexpected overnight stays.
- Communication: A fully charged cell phone and/or personal locator beacon (PLB).
This baseline list ensures you’re prepared for most standard hiking scenarios. For specific trips, you might add specialized gear like hiking gaiters what are they for, or best hiking gloves for cold weather.
Backpack Capacity: Choosing the Right Size for Your Trip
The volume of your backpack, measured in liters, is perhaps the most critical factor when deciding what to bring and how your pack will feel. A pack that’s too big encourages overpacking, making it heavy and unwieldy. Conversely, a pack that’s too small forces you to strap gear externally, which can snag on branches and throw off your balance.
Our research indicates typical capacities depending on trip length:
- Day Hikes (Up to 6-8 hours): 15-30 liters. This is enough space for water, snacks, a light jacket, a first-aid kit, and a few other essentials. A simple beginner hiking checklist can help you gauge needs for a day trip.
- Overnight Trips (1-2 nights): 30-50 liters. You’ll need room for a sleeping bag, pad, tent or shelter, and more food and clothing.
- Weekend Trips (2-3 nights): 50-65 liters. More food, fuel, and potentially more clothing layers come into play here.
- Extended Trips (3+ nights or thru-hiking): 65+ liters. These larger packs are for carrying significant amounts of food and supplies. What is thru hiking guides suggest packs in this range are common.
Keep in mind that “capacity” is a guideline. A minimalist packer might get away with a smaller pack, while someone carrying heavier or bulkier items might need more volume. Always consider your personal gear and the specific demands of your intended hike.
Weight Distribution: The Secret to a Comfortable Hike
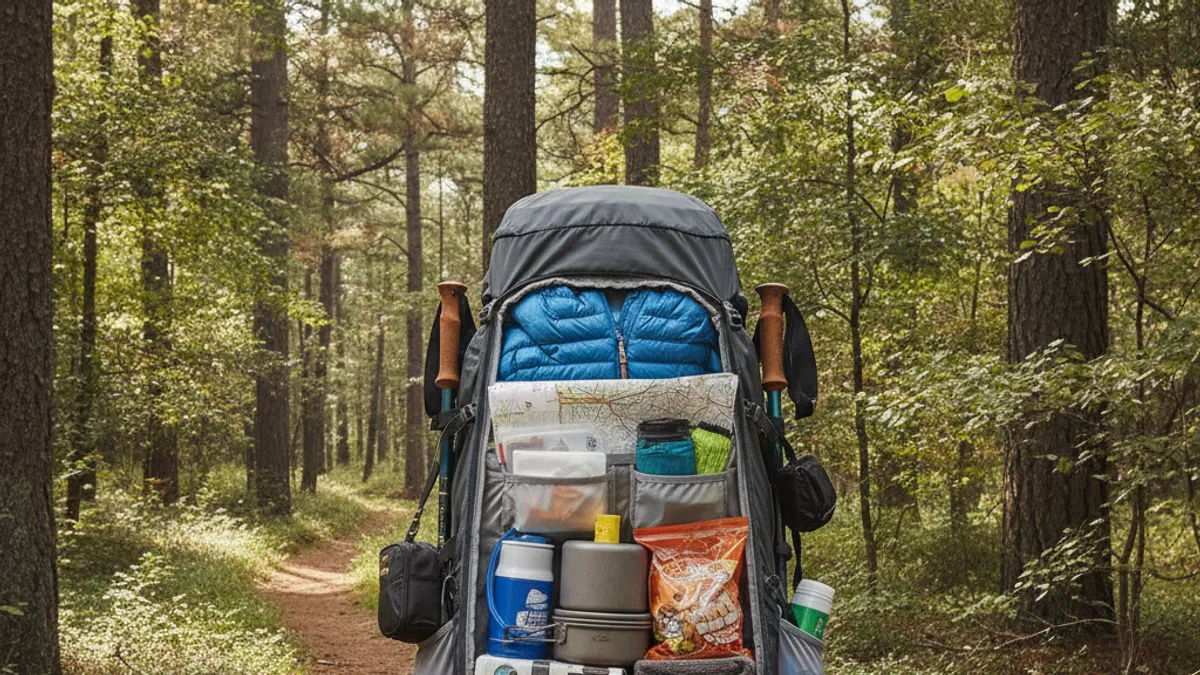
Think of your backpack as a carefully balanced system. The goal is to place weight so it works with your body, rather than against it. Poor weight distribution is a leading cause of discomfort, back pain, and fatigue on the trail. Aggregate user feedback consistently highlights how a well-balanced pack feels lighter and makes the hiker feel more capable.
Here’s the general principle:
- Heavy Gear (The Core): Items like your tent, food bag, stove, and water reservoir should go in the middle of your pack, directly against your back. This keeps the center of gravity close to your body, promoting better balance and reducing strain. If your pack has a dedicated sleeve for a hydration reservoir, it’s often the ideal spot for the heaviest items, keeping them stable.
- Medium Weight Gear: Items such as extra clothing layers, a first-aid kit, and cooking pots can go in front of the heavy items. This helps to “cushion” the load and prevents it from shifting too much.
- Lightweight & Bulky Gear: Sleeping bags, camp shoes, or a puffy jacket often go at the very bottom of the pack. This creates a stable base.
- Small, Frequently Needed Items: Snacks, sunscreen, a map, a headlamp, and your phone should be in easily accessible external pockets, lid pockets, hip belt pockets, or side pockets. This avoids having to unpack your entire bag to grab something small.
Getting this distribution right is paramount for comfort on longer excursions. For day hikes, while less critical, it still helps prevent strain and allows for easier access to essentials.
Packing Your Pack: A Step-by-Step Workflow
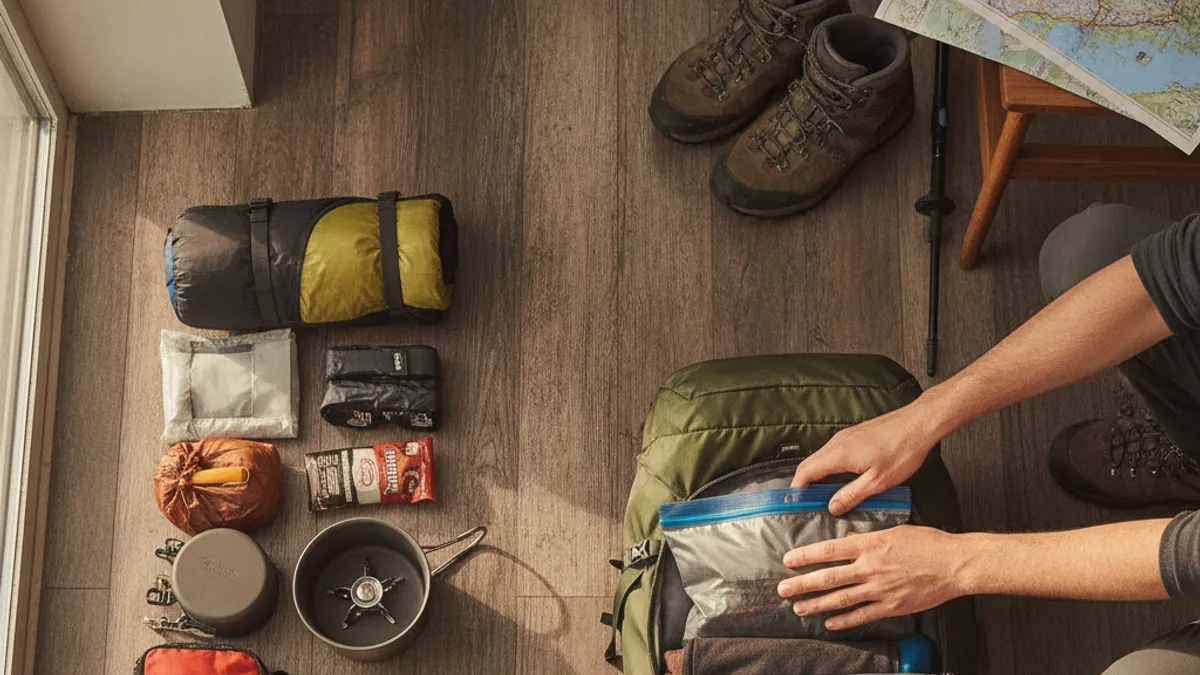
Knowing the principles of weight distribution is one thing; actually doing it is another. This workflow breaks down the process into manageable steps so you can pack efficiently and effectively every time.
- Lay Everything Out: Before you start stuffing, spread all your gear on a clean surface. This allows you to see everything you’re bringing and helps you catch anything you’ve forgotten or anything you could remove. Consider creating a packing list based on your planned hike, a beginner hiking checklist is a great starting point.
- Pack the Bottom Layer: Place bulky, lightweight items like your sleeping bag and sleeping pad at the very bottom of the main compartment. If you have a bottom access zipper, ensure these items can still be accessed if needed.
- Load the Core Weight: Pack your heaviest items, food, water reservoir (if using one inside), stove, fuel, and tent body, close to your back, ideally in the middle third of the main compartment. Fill any gaps around these items with softer gear to prevent shifting.
- Fill in the Middle: Add your medium-weight items, such as spare clothing, a first-aid kit, and cooking pots, in front of the core weight items.
- Top Off the Main Compartment: Place items you might need quickly once you’ve set up camp, like a rain jacket or sleeping pad, on top of the main load, but still within the main compartment.
- Organize External Pockets:
- Lid Pocket: Store map, compass, headlamp, snacks, and other small essentials you need to access frequently.
- Side Pockets: Water bottles, tent poles (if they fit securely), or a trekking umbrella.
- Hip Belt Pockets: Lip balm, phone, energy bar, small camera, or a multi-tool.
- Secure External Attachments: Use compression straps to cinch down any gear strapped to the outside of your pack. This keeps it from flapping around and maintains balance. Trekking poles can often be attached to loops on the pack for hands-free carrying when not in use.
This systematic approach ensures that your pack is not only organized but also balanced for optimal comfort.
Quick Access Gear: What Needs to Be Grabbed Fast
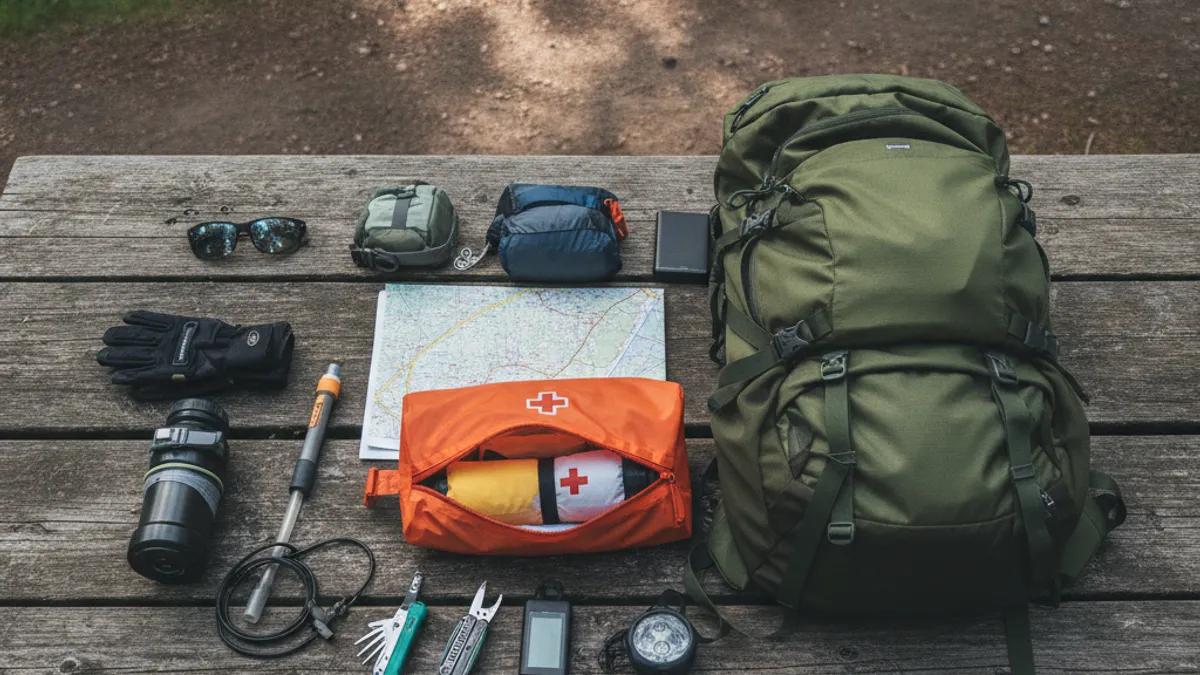
When you’re out on the trail, fumbling for things you need urgently can be frustrating and inefficient. The concept of “quick access gear” is all about smart placement, putting items you’ll need throughout the day, or in a pinch, where you can reach them without unpacking your entire bag. It’s a key part of knowing how to pack a backpack for hiking efficiently.
Think about what you use most on a typical hike:
- Water: This is paramount. Full water bottles or a hydration reservoir with an easily accessible hose should be within reach. Side pockets or dedicated hydration sleeves are perfect for this. Knowing how to stay hydrated on a hike means having water readily available.
- Snacks: Energy bars, trail mix, or fruit are your trail fuel. Hip belt pockets or the top lid of your pack are ideal locations so you can grab a bite without stopping to take your pack off. Consider best hiking snacks for energy.
- Navigation Tools: Map, compass, or GPS device. You might need these to check your route or orient yourself. Stash them in the top lid or a dedicated front pocket.
- Sun Protection: Sunscreen, sunglasses, and a lip balm are often needed on the go. Hip belt pockets or the top lid are good spots.
- Rain Gear: If the weather forecast is unpredictable, having your rain jacket or poncho easily accessible is a lifesaver. It should be near the top of your main compartment or in an external mesh pocket.
- Headlamp/Flashlight: Even on day hikes, unexpected delays can happen. Having a light source readily available is a safety must. The top lid is a common place for this.
By strategically placing these items, you minimize disruptions to your hike and keep your momentum going. It’s a small detail that significantly improves your trail experience.
