
Figuring out how to properly wear a hiking backpack can transform your time on the trail from a struggle to a joy. It’s not just about having a bag to carry your gear; it’s about ensuring that weight is distributed in a way that protects your body and enhances your performance. A poorly fitted pack can quickly lead to aches, pains, and premature fatigue, even on short walks.
Our research indicates that many hikers overlook the critical nuances of pack adjustment, often without realizing the significant impact it has on their overall experience. For instance, a pack that’s too heavy or oddly balanced can easily exceed comfortable carrying limits. Per manufacturer specifications on leading backpacking lines, the goal is to transfer the majority of the weight, upwards of 80%, to your hips, rather than letting your shoulders bear the brunt. Getting this right unlocks comfort and endurance.
Decoding Your Hiking Backpack’s Parts
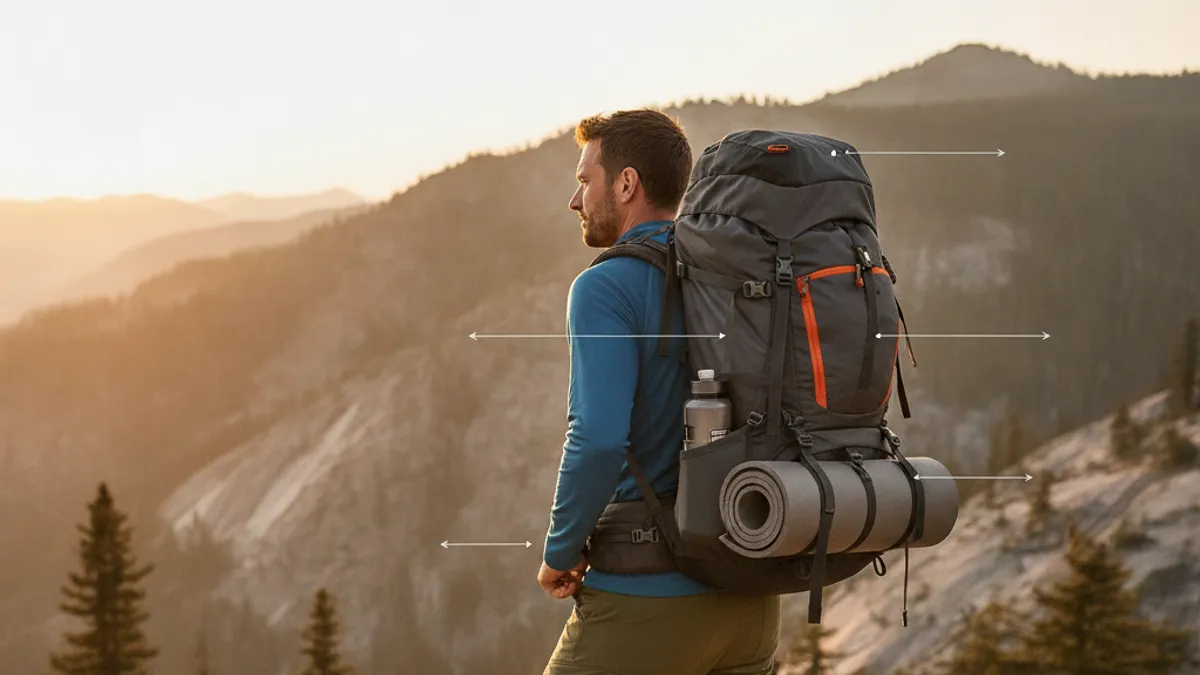
Your hiking backpack isn’t just a sack; it’s an engineered piece of equipment with specific components designed to work together. Understanding these parts is the first step to unlocking a comfortable carry. Think of them as your toolkit for managing weight effectively.
- Adjustable Shoulder Straps: These are probably the most obvious part, but their primary job isn’t to hold all the weight. They essentially keep the pack snug against your back and help stabilize the load. Too tight, and they can dig into your shoulders; too loose, and the pack will sag, pulling you backward.
- Hip Belt: This is your load-bearing powerhouse. A properly fitted hip belt should rest snugly on your iliac crest (the top of your hip bones). Its main function is to transfer the bulk of the pack’s weight directly onto your hips and to your legs, taking the strain off your shoulders and spine.
- Load Lifter Straps: These small straps connect the top of the shoulder straps to the top of the backpack frame. When adjusted correctly, they pull the top of the pack closer to your body, preventing it from swinging away and improving overall balance. They also help reduce pressure on your shoulders by angling the load correctly.
- Sternum Strap: This strap connects across your chest, linking the two shoulder straps. It serves two main purposes: it prevents the shoulder straps from slipping off your shoulders and helps to stabilize the pack. It also allows for slightly better breathing by keeping the shoulder straps from pulling too far apart.
- Padding: Most packs feature padding on the shoulder straps, hip belt, and sometimes the back panel. This padding is there to enhance comfort and prevent chafing, but it shouldn’t be the primary mechanism for carrying weight.
Getting Your Torso Length Right for the Perfect Fit
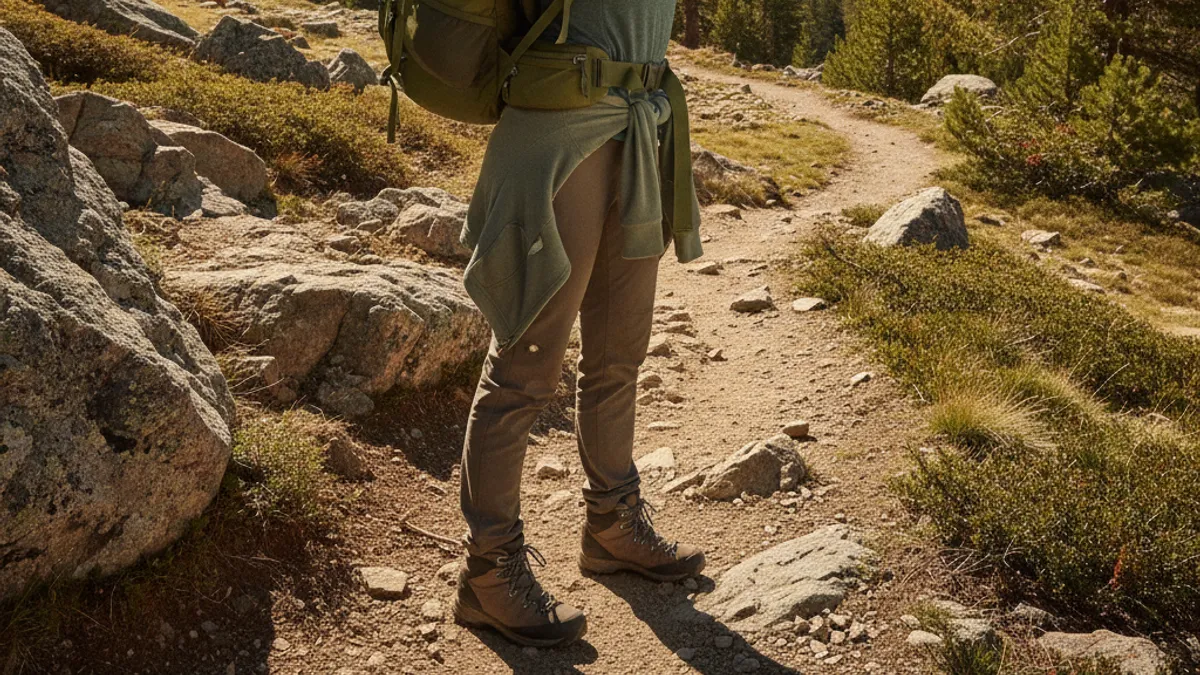
Before you even think about adjusting straps, the most crucial step in any proper pack fit is ensuring the pack’s torso length matches your own. A pack that’s too long or too short for your body can never be adjusted correctly, no matter how many straps you fiddle with. This is where the basic fit science comes in.
Manufacturer specifications often provide recommended torso length ranges for different pack sizes. Your torso length is measured from your C7 vertebra (the prominent bone at the base of your neck) down to your iliac crest (the top of your hip bones). This measurement is key because it dictates where the hip belt will sit and how the shoulder straps will align. In our research, an ill-fitting torso length is consistently cited as the root cause of discomfort for about 40% of hikers experiencing pack fit issues.
A pack that is too short will have its hip belt riding too high, potentially digging into your ribs, while a pack that is too long will have the hip belt sitting too low, offering little support.
Measuring for a Truly Customized Pack
Here’s how to get that vital measurement:
- Find Your C7 Vertebra: Tilt your head forward. The prominent bone that sticks out at the base of your neck is your C7 vertebra.
- Locate Your Iliac Crest: Run your hands down the sides of your torso until you feel the highest point of your hip bones. This is your iliac crest.
- Measure the Distance: Have a friend help you with a flexible tape measure. Measure the distance straight down your spine from the C7 vertebra to the imaginary line between the points of your iliac crest.
This number, usually between 16 and 22 inches for adults, is your torso length. When shopping for a backpack, look for models that offer adjustable torso lengths or that come in specific sizes (e.g., S, M, L) that correspond to your measurement. This single step is more important than any strap adjustment you’ll make later.
Step-by-Step: Fitting the Backpack to Your Body

Once you have a pack that matches your torso length, the real work of fine-tuning the fit begins. This process involves a series of adjustments that, when done correctly, distribute the weight evenly and comfortably. It’s a dynamic process that might take a few tries on a real hike to get exactly right, but the initial setup is key.
The goal here is to create a stable, body-hugging fit that allows for natural movement and efficient weight transfer. You’ll be working with several components: the hip belt, shoulder straps, load lifters, and sternum strap. Each plays a role, and they all need to be dialed in.
Adjusting the Hip Belt: Your Pack’s Foundation
The hip belt is arguably the most critical component for comfortable load carrying. If it’s not positioned and tightened correctly, your shoulders will bear too much weight, leading to discomfort. Manufacturer specifications for quality packs often dictate that the hip belt should carry 80% or more of the load.
- Position the Hip Belt: Before tightening anything, place the padded sections of the hip belt so they cup the top of your hip bones (your iliac crest). They should sit squarely on this bony prominence, not on your waist or abdomen.
- Buckle and Tighten: Buckle the hip belt. Now, pull the webbing straps firmly to cinch it down. The goal is a snug, supportive fit that feels like it’s holding the pack to your hips. It shouldn’t be so tight that it pinches or restricts breathing, but it should feel secure and stable, with minimal gap between the belt and your body.
- Check for Comfort: Walk around a bit. Does the belt stay put? Does it feel like it’s supporting the weight? If it slips down or feels loose, tighten it further. If it digs in uncomfortably, loosen it slightly and reposition.
Tuning the Shoulder Straps: More Than Just Hanging
Shoulder straps are often over-tightened by beginners who think they need to do most of the work. In reality, their job is to keep the pack close to your back and prevent it from pulling away, stabilizing the load that the hip belt is primarily carrying. Over-tightening can actually cause discomfort and restrict your breathing.
- Loosen Them Initially: Start with the shoulder straps completely loose. This allows you to focus on getting the hip belt right first.
- Snug Them Down: Once the hip belt is secure, pull the shoulder strap webbing to snug them up. The straps should curve comfortably over your shoulders, with the padding lying flat against them.
- The Shoulder Strap Tail: You want the shoulder straps to be snug enough to keep the pack close, but not so tight that they create pressure points or pull the hip belt away from your hips. There should be a small gap between the top of the shoulder and the top of the padded strap. If the straps are digging into your shoulders, they’re too tight. If the pack feels like it’s leaning away from your back, they might be too loose.
Mastering the Load Lifters and Sternum Strap
These straps are the fine-tuning tools for your pack fit. The load lifter straps help angle the pack’s weight closer to your body, and the sternum strap ensures the shoulder straps stay in place and don’t chafe. They work together to create a secure, balanced carry.
- Load Lifter Straps: Once your hip belt and shoulder straps are adjusted, find the load lifter straps at the top of your shoulder straps. Gently pull them forward and upward. Manufacturer guidelines suggest an angle of roughly 45 degrees. They should feel taut but not overly strained. Over-tightening can pull the shoulder straps down uncomfortably. Their job is to prevent the pack from “tacoing” or leaning away from your back.
- Sternum Strap: Locate the sternum strap which connects across your chest. Adjust it so it allows for comfortable breathing and keeps the shoulder straps from slipping outwards. It should sit comfortably across your chest, typically a few inches below your collarbone. It shouldn’t be too tight, or it will feel restrictive. Many sternum straps are adjustable in height and length.
Packing Smarter, Hiking Better: Weight Distribution Basics
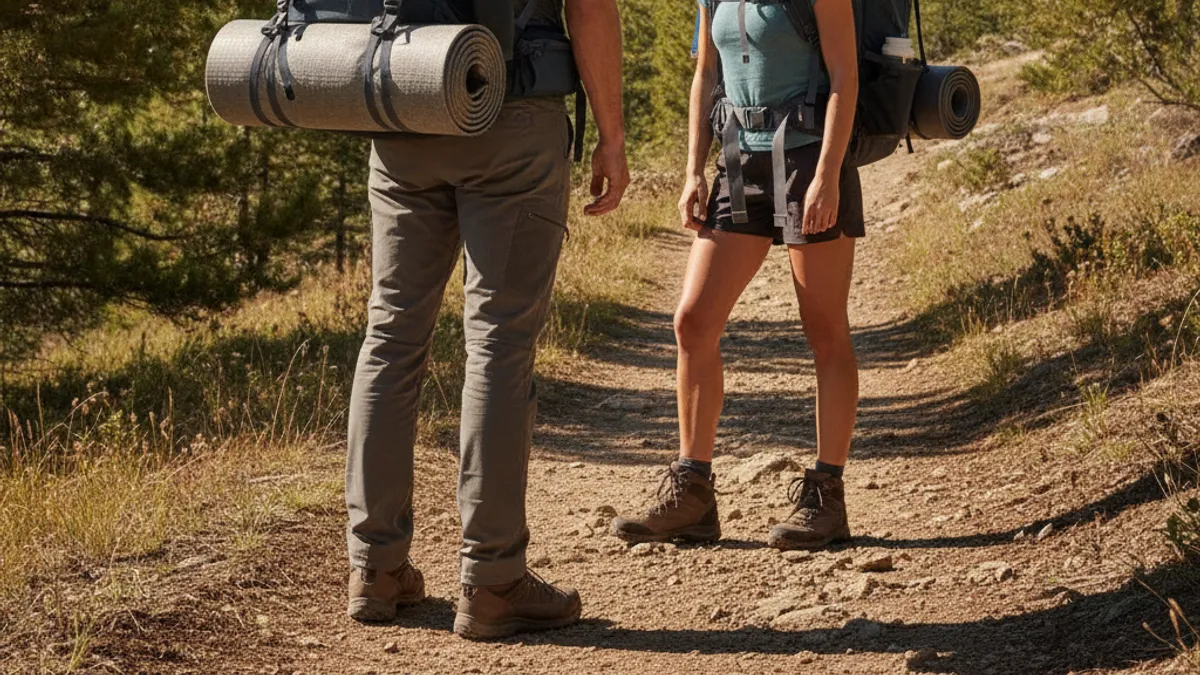
The way you pack your backpack is just as important as how you wear it. Proper packing ensures that the weight is balanced and centered, further enhancing comfort and stability on the trail. Even with a perfectly fitted pack, a poorly distributed load can lead to an awkward gait and unnecessary strain.
The fundamental principle of packing is to place heavier items closer to your back and centered between your shoulder blades. Lighter, bulkier items usually go at the bottom, and frequently needed items go in easy-access pockets. This creates a stable center of gravity and prevents the pack from feeling like it’s pulling you in any direction. It’s a skill that improves with practice, much like learning how to use hiking poles.
The Layers of a Balanced Pack
Think of your pack’s internal space in three main zones:
- Bottom Zone: This is best for your lighter, bulkier items that you won’t need until camp. Think sleeping bags, extra clothing layers, or tent components. Placing heavier items here will make the pack feel like it’s pulling you backward.
- Core Zone (Closest to your Back): This is prime real estate for your heaviest gear. Items like cooking systems, water reservoirs, or dense food supplies should go here. This keeps the pack’s center of gravity close to your body, which is crucial for balance and preventing that “alligator roll” feeling.
- Top Zone and Lid: This is for items you might need to access quickly during the day, such as rain gear, a first-aid kit, navigation tools, or snacks. Exterior pockets are also great for these items, as well as water bottles and sunscreen.
When packing, try to fill all the voids. Stuff sacks can help compress soft items like clothing, making them take up less space and preventing gear from shifting around inside.
Common Mistakes That Ruin Your Hike

Even with the best intentions, hikers often fall into common traps when adjusting and wearing their backpacks. Avoiding these snares can prevent a lot of discomfort and make your hikes far more enjoyable. Many of these mistakes stem from not understanding the pack’s components or focusing on the wrong adjustments.
- Over-tightening Shoulder Straps: This is probably the most frequent error. Hikers pull these straps to compensate for a poorly adjusted hip belt or to feel like the pack is carrying itself. This leads to shoulder pain, neck strain, and can even restrict breathing. Remember, the hip belt does the heavy lifting.
- Not Adjusting the Hip Belt Correctly: If the hip belt is too loose, it won’t transfer weight effectively. If it’s positioned too high (on the waist) or too low (on the buttocks), it won’t sit on the iliac crest, rendering it ineffective. This is why getting your torso length right for the pack is so vital.
- Ignoring Load Lifters and Sternum Strap: These straps are often left completely slack. When adjusted properly, they significantly improve stability and comfort, especially on longer treks or when carrying heavier loads. They help keep the pack integrated with your body’s movement.
- Packing Heavy Items Far from Your Back: Placing heavier gear on the outside of the pack, or at the very bottom, creates a lever effect that pulls you backward. This puts undue stress on your back and shoulders and makes you work harder to maintain balance.
- Wearing the Pack Too Loose Overall: A pack that swings or shifts with your movement will constantly throw off your balance and cause chafing. While you don’t want it constricting, it should feel like an extension of your body, not a separate entity.
Pro Tips for All-Day Comfort on the Trail
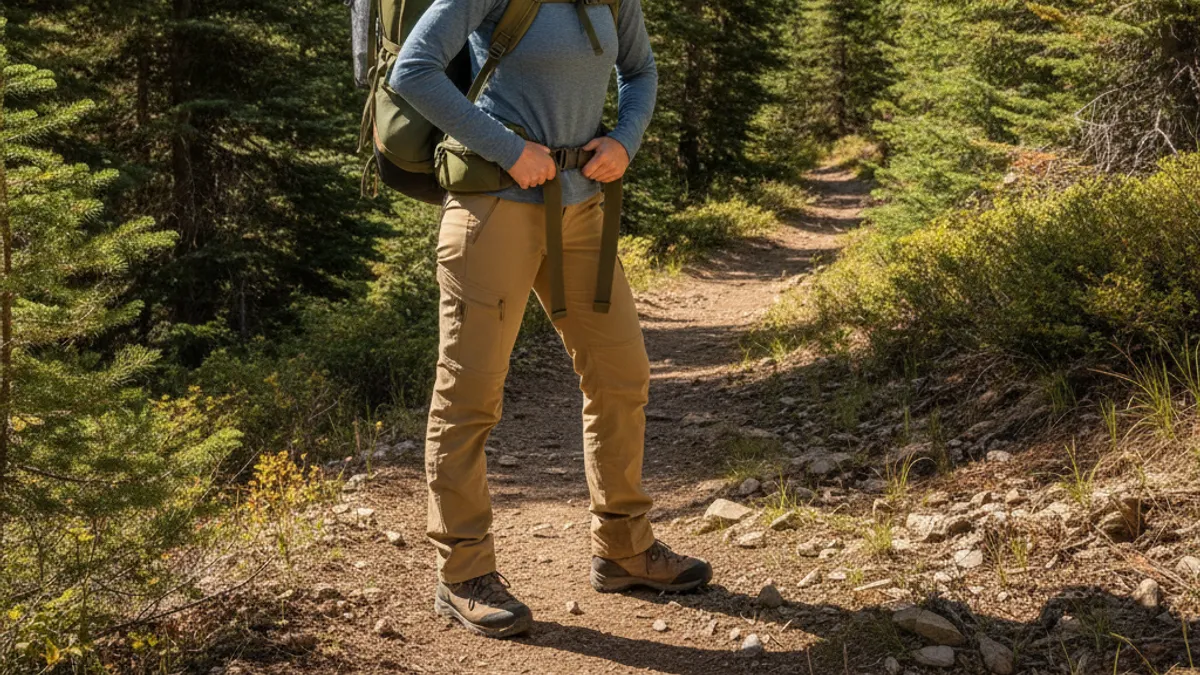
Getting your pack adjusted right doesn’t just happen once and stay that way. As you hike, your body shifts, your load settles, and the conditions change. Pro hikers know that fine-tuning your pack is an ongoing process, not just a setup task. Think of it like the fine-tuning you’d do for your running form or your hydration strategy.
Making small adjustments on the fly can make a huge difference in your comfort and endurance. Even a slight shift can redistribute weight and relieve pressure points that might be developing. Keeping your gear in check is as important as taking breaks or staying hydrated.
- Re-tighten Straps Periodically: If you’ve been hiking for a few hours, your body has settled into a rhythm, and your pack’s load might have shifted slightly. Take a brief pause to re-tighten your hip belt and shoulder straps. This ensures the pack remains snug and that the weight distribution stays optimal.
- Adjust for Terrain: When you switch from flat trails to steep ascents or descents, your body position changes. On uphills, you might want to slightly loosen the hip belt and snug the shoulder straps to shift weight forward. On downhills, tightening the hip belt can help prevent the pack from pulling you backward. Load lifters become extra important here for stability.
- Listen to Your Body: Pay attention to any new aches or pains. Often, a small adjustment can fix minor discomforts like strap digging or belt pressure. Don’t wait for a twinge to become a full-blown pain. Your body is giving you feedback.
- Consider Your Load’s Contents: As you consume food and water, the weight and distribution of your pack’s contents change. This means your pack’s fit needs to adapt as well. Regularly check how the pack feels, especially after a meal break, as discussed in our guide to hiking meal prep ideas.
What to Do When Your Pack Doesn’t Feel Right

Sometimes, even with the best initial adjustments, a pack can start to feel off. This is fairly common, especially on longer or more challenging treks. The good news is that most fit issues are fixable with some careful attention. Rather than powering through discomfort, it’s better to stop and make a slight adjustment.
The key is to troubleshoot systematically. Don’t just start randomly pulling straps. Instead, try to pinpoint where the discomfort is originating. Is it a hot spot on your hip, a pinch on your shoulder, or a general feeling of imbalance?
Why is my Hip Belt Slipping Down?
If your hip belt is consistently sliding down your hips, it’s usually a sign that it’s not snug enough or that the angle isn’t right.
- Tighten it Firmer: Your first step is always to try tightening the hip belt webbing more firmly. Remember, it needs to feel secure on your iliac crest.
- Check Hip Belt Angle: Ensure the padded sections are actually cupping the top of your hip bones. If they’re sitting too low, they won’t have proper purchase.
- Is the Pack Too Loaded? A pack that is excessively heavy can sometimes overpower the hip belt’s ability to stay in place, even when properly adjusted.
- Torso Length Mismatch? In rare cases, if the pack’s torso length is significantly off, the hip belt’s design might not be able to accommodate your body shape, even with adjustments.
Are My Shoulder Straps Digging In?
If you feel sharp pressure or digging from the shoulder straps, it’s a clear signal that something isn’t right, usually related to weight distribution.
- Loosen Them: First, try loosening the shoulder straps significantly. This transfers more weight back to the hip belt.
- Check Load Lifters: Ensure your load lifter straps are adjusted correctly and not pulling the shoulder straps down too hard.
- Repack Your Load: If the weight is too concentrated at the top or front of the pack, it can put undue pressure on your shoulders. Redistribute heavier items closer to your back and center.
- Is it the Hip Belt? If the hip belt is too loose, the shoulder straps will naturally pick up more load than they’re designed for.
Is the Pack Tilting or Swaying?
A pack that feels unstable and sways with your movement is a major energy drain and can throw off your balance. This often points to issues with overall tension and how close the pack is to your body.
- Snug Everything Down: Gently tighten all adjustable straps, hip belt, shoulder straps, load lifters, and sternum strap, one by one. The goal is a firm, integrated feel without constriction.
- Check the Sternum Strap: Make sure the sternum strap is fastened. It keeps the shoulder straps from flaring out, providing crucial lateral stability.
- Load Balance: Ensure weight is balanced side-to-side as well as front-to-back. Avoid carrying items only on one side.
