
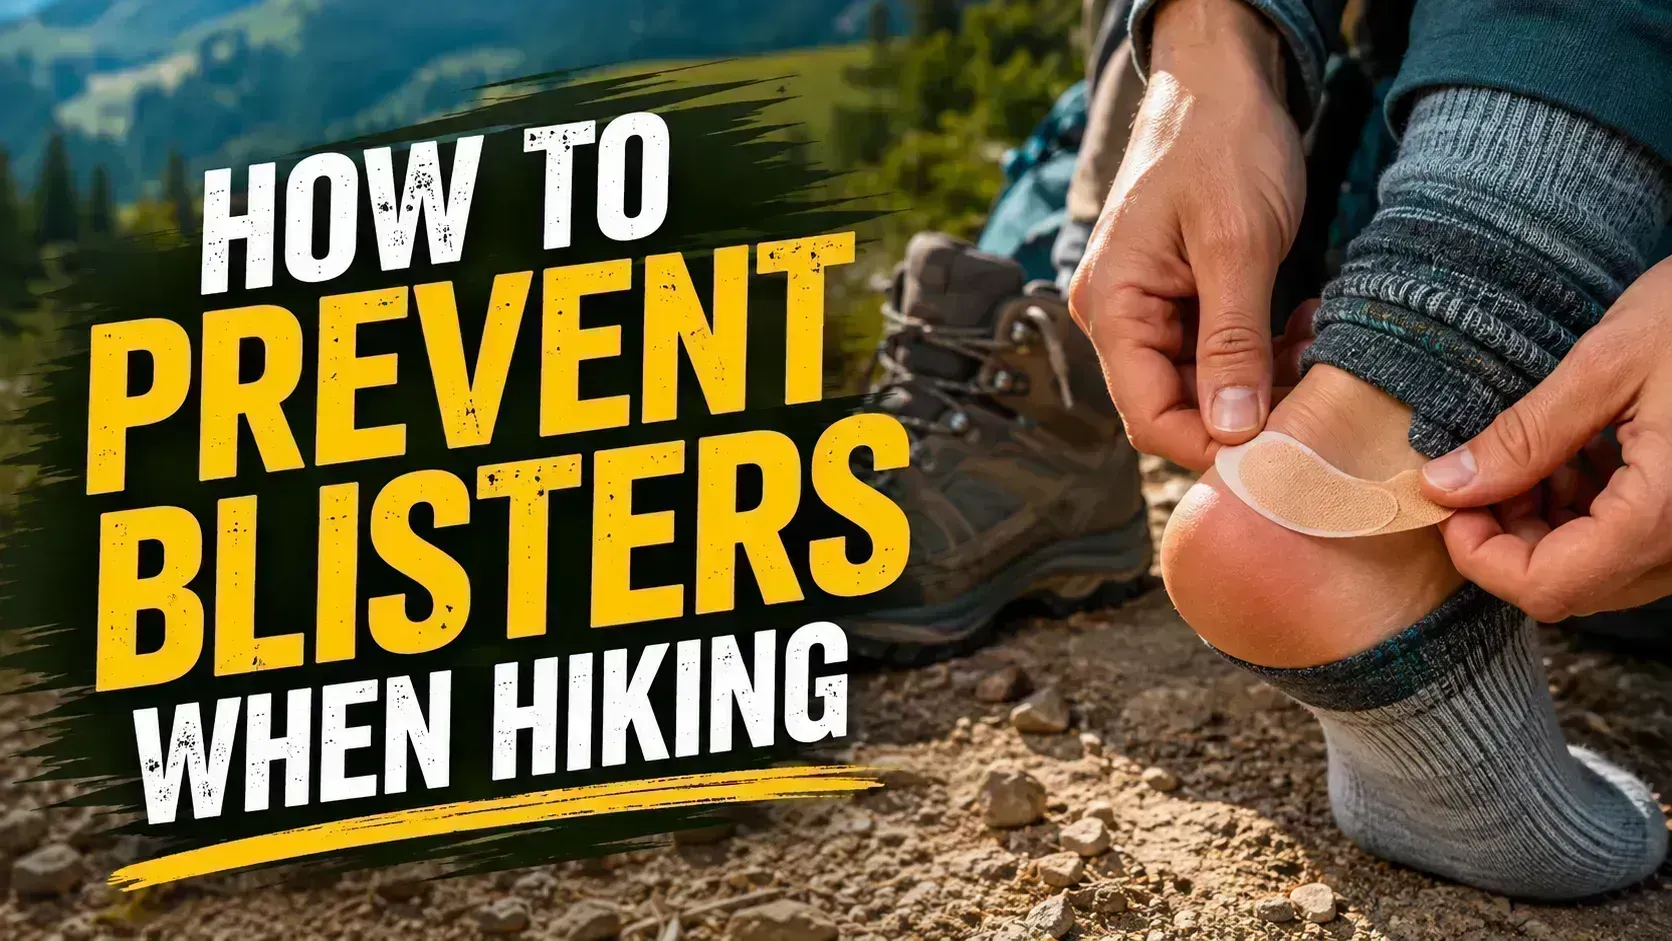
Hey there, I’m Oscar. If there is one thing that can turn a beautiful day on the trail into a miserable march back to the car, it is a blister. I have been there, hobbling down the last three miles of a trail because I ignored a tiny rubbing feeling on my heel. It is not fun, and it is completely avoidable.
When I first started hiking, I thought blisters were just a normal part of the outdoor experience. I assumed my feet just had to get tougher. But over the years, I learned that sore, blistered feet usually mean something is wrong with your gear, your fit, or your moisture control. You do not have to suffer to enjoy the outdoors.
In this guide, we are going to look at exactly how to prevent blisters when hiking. We will cover the best socks, how your shoes should fit, and what to do the second you feel that dreaded “hot spot.” Let’s get your feet ready for a comfortable adventure.
Quick Answer
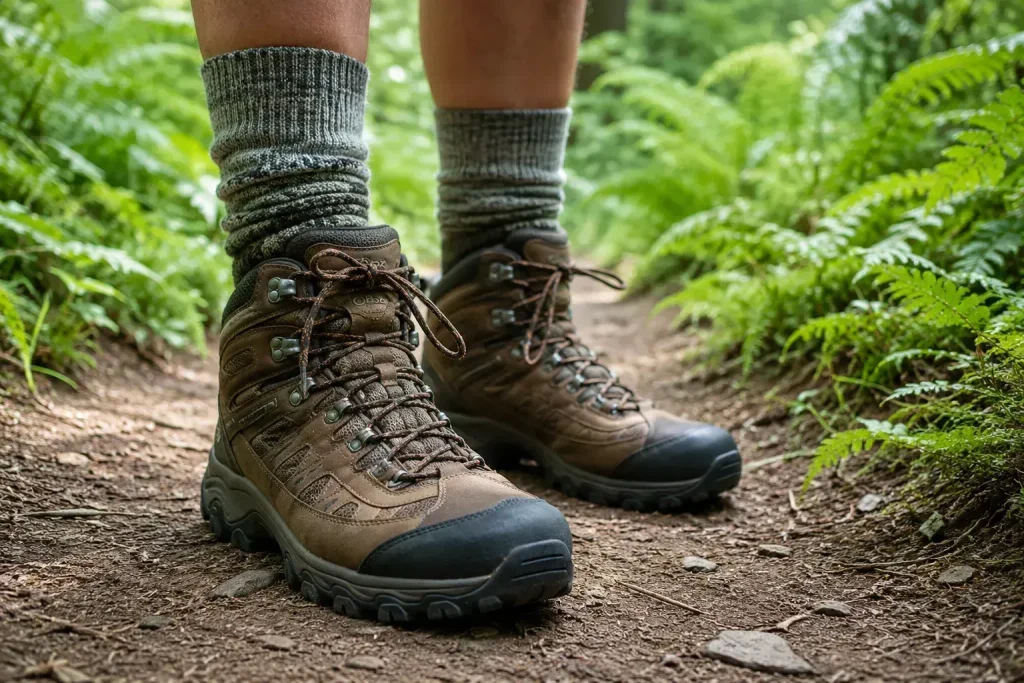
To prevent blisters when hiking, you need to eliminate friction, moisture, and excess heat. Start by wearing properly fitting hiking shoes that are fully broken in before your trip. Always wear moisture-wicking socks made of merino wool or synthetic blends, and completely avoid cotton. If you feel a warm, rubbing sensation on your foot while walking, stop immediately and apply blister tape or moleskin to the area before a blister forms.
What Hikers Should Know About Blisters
Before we can stop a blister, we need to know how it forms. Blisters are caused by a combination of three things: heat, moisture, and friction. When your sock rubs against your skin, or your shoe rubs against your sock, it creates friction. This friction generates heat.
When you hike, your feet also sweat. Moisture makes your skin softer and more fragile. It also increases the stickiness of your socks against your skin, which creates even more friction. Once the skin layers separate from this rubbing, fluid fills the gap to protect the raw tissue underneath. That fluid-filled bubble is your blister.
Here is what you need to focus on to stop this cycle:
- Keep feet dry: Manage sweat and trail water.
- Reduce friction: Create a smooth barrier between your skin and your boot.
- Improve fit: Stop your foot from sliding around inside your shoe.
Also, remember to pack out all your used tape and moleskin wrappers. Following the Leave No Trace principles means taking all medical and foot care waste back home with you, keeping our trails clean for everyone.
Signs You Should Adjust Your Hiking Plan, Gear, or Trail Choice
Paying attention to your body is a huge part of trail safety. Many beginners try to push through foot pain, thinking it makes them tough. Pushing through a hot spot only guarantees a worse injury. If you get a severe blister far from the trailhead, it can completely ruin your mobility, which can become a real safety issue if weather turns bad or you lose daylight.
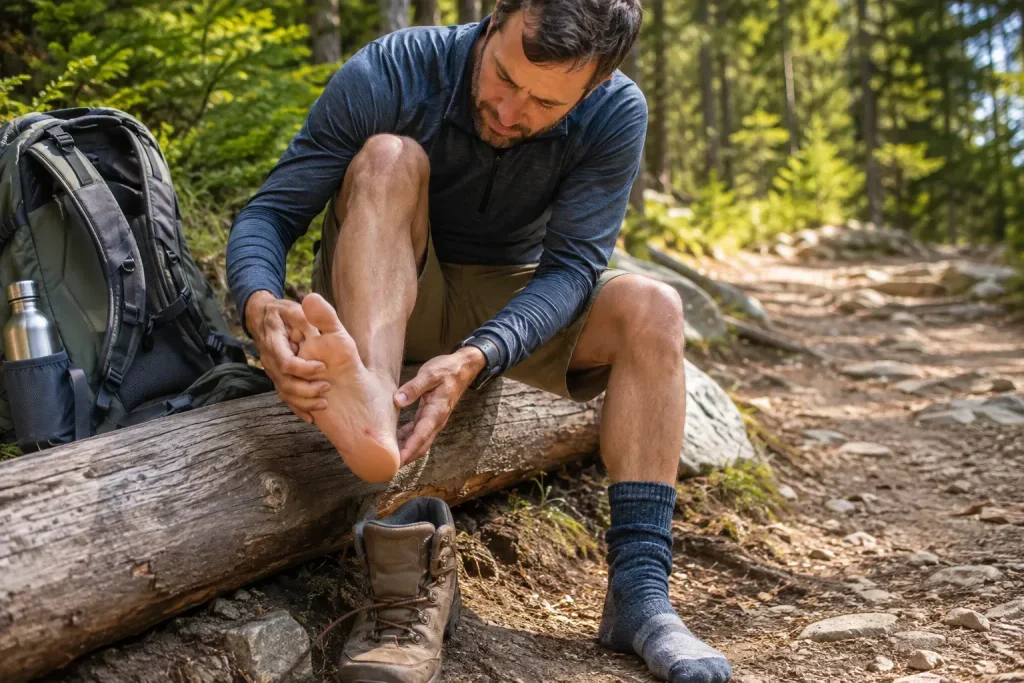
You need to know the difference between normal foot fatigue and a problem that needs immediate action. Here is a simple breakdown of what your feet might tell you on the trail and what you should do about it.
| What You Feel | What It Means | What You Should Do |
|---|---|---|
| General tiredness or dull ache | Normal foot fatigue from walking. | Take a short break, loosen laces slightly if swollen, keep hiking. |
| A warm, localized rubbing feeling | A “hot spot.” A blister is about to form. | Stop immediately. Apply tape or moleskin over the spot. |
| Pinching toes on downhill sections | Your foot is sliding forward in your boot. | Stop and re-tie your shoes using a heel-lock lacing method. |
| A sharp, stinging pain on the heel or toe | A blister has fully formed and may have popped. | Stop, clean the area, apply a blister pad, and consider turning back if it alters your walking gait. |
| Sopping wet feet from a stream crossing | Skin will soften quickly, leading to fast blisters. | Stop, dry feet thoroughly, and change into a dry pair of socks. |
How to Prevent Blisters When Hiking Step by Step
Taking care of your feet starts days before you actually hit the trail. Here is the safest, most practical method for keeping your feet blister-free from the trailhead to the summit and back.
- Buy the right size hiking shoes: Your hiking boots or trail runners should be about a half size larger than your daily street shoes. Your feet swell during a hike, and you need extra room in the toe box so your toes do not smash against the front when walking downhill.
- Break in your footwear: Never take brand-new boots on a long hike. Wear them around your house, to the grocery store, and on short neighborhood walks for at least a week. Let the materials soften and mold to your feet.
- Wear the correct socks: Ditch the cotton. Wear merino wool or synthetic hiking socks. These materials pull sweat away from your skin and dry quickly. Many hikers like a medium cushion sock for extra padding.
- Lace up tight, but not too tight: Your heel should feel locked into the back of the shoe. If your heel lifts up every time you take a step, that friction will cause a heel blister. Adjust your laces to keep your foot secure without cutting off circulation.
- Pre-tape known problem areas: If you know you always get a blister on your pinky toe or the back of your heel, do not wait for it to hurt. Put a piece of kinesiology tape or medical tape over that area before you even start hiking.
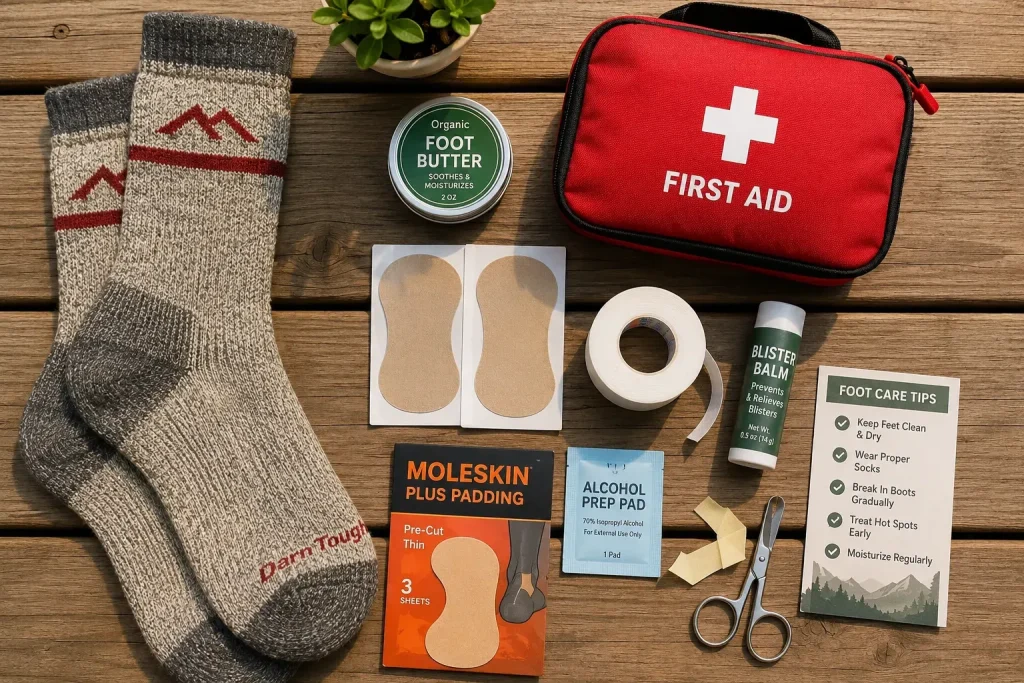
- Stop for hot spots immediately: This is the most important step. When you feel a warm, stinging spot, stop walking. Take off your shoe and sock. Put a piece of moleskin, blister tape, or a specialized blister bandage directly over the red area. Put your sock back on and continue.
Common Mistakes to Avoid
Even smart hikers make mistakes when they are in a hurry. Avoid these common foot care traps to keep your hike enjoyable.
- Wearing cotton socks: Cotton absorbs sweat like a sponge, stays wet, and causes massive friction. It is the number one cause of hiking blisters.
- Ignoring a hot spot: Saying “I will just fix it at the top of the hill” is a bad idea. In ten minutes, that hot spot will be a painful blister. Fix it right away.
- Buying tight shoes: Tight shoes might feel secure in the store, but after five miles, your swollen feet will rub against the sides, causing blisters on your toes.
- Tying shoes too loosely: Lazy lacing lets your foot slide side-to-side and front-to-back, which creates friction. Take the time to lace up properly.
- Not clipping your toenails: Long toenails will catch on your socks and grind against the front of your boot, leading to toe blisters and bruised nails. Clip them straight across before your trip.
Practical Tips from Oscar
Over the miles, I have picked up a few extra tricks that always save my feet. Foot care is personal, so try a few of these methods to see what works best for your hiking style.
Key Takeaways
- Friction, moisture, and heat are the three enemies of your feet.
- Always choose moisture-wicking wool or synthetic socks instead of cotton.
- Make sure your hiking shoes have enough room for foot swelling but hold your heel firmly in place.
- Break in new boots before taking them on a long hike.
- Never ignore a hot spot. Stop and apply tape or moleskin immediately.
Frequently Asked Questions
Should I pop a hiking blister?
Generally, it is best to leave a blister intact. The bubble of skin is a sterile environment that protects the raw skin underneath from infection. Only pop it if it is so large and painful that it prevents you from walking, and always use a clean, sterilized needle if you do.
Does wearing two pairs of socks prevent blisters?
It can help. Wearing a thin liner sock under a thicker hiking sock allows the friction to happen between the two layers of fabric rather than against your skin. However, make sure your shoes have enough room to handle the extra bulk without squeezing your foot.
What is the best tape for hiking blisters?
Kinesiology tape (like KT tape) and rigid zinc oxide tape (like Leukotape) are very popular among hikers because they stick extremely well to sweaty skin. Standard moleskin is also good, but it sometimes peels off if your feet get too wet.
Why do I get blisters on the back of my heel?
Heel blisters usually happen because your shoe is slipping up and down as you walk. This is called heel lift. You can prevent this by using a heel-lock lacing technique to secure your foot tightly into the back of the boot.
Are trail runners better than boots for avoiding blisters?
Many hikers find that trail runners cause fewer blisters because they are lighter, more breathable, and require almost no break-in time compared to heavy leather boots. However, the best shoe is always the one that fits your specific foot shape perfectly.
What is a hot spot on a foot?
A hot spot is a warm, slightly painful, or red area on your skin caused by friction. It is the early warning sign that a blister is forming. Treating a hot spot immediately prevents the blister from developing.
Conclusion
Keeping your feet happy is the secret to a great hiking trip. You do not need to tough it out or suffer through the pain. By choosing the right socks, securing your laces, and being proactive about hot spots, you can stop blisters before they ever form.
Remember, taking a five-minute break on the trail to apply a piece of tape will save you hours of discomfort later. Listen to your body, pack a good foot care kit, and do not be afraid to take your boots off to let your feet breathe.
Now that your feet are sorted, make sure the rest of your pack is ready for the trail. Check out our complete beginner hiking gear checklist to make sure you have all the essentials for a safe and comfortable adventure. I’ll see you out on the trail!
