Picking the wrong hiking boots can turn an amazing day outdoors into a painful slog. That’s why knowing how to select hiking boots that fit your feet and your adventures is so crucial. You’re not just buying shoes; you’re investing in your comfort and safety on the trail.
Our research indicates that as of 2026, material durability and sole flexibility remain key differentiators across the board. Understanding these specifications, alongside what your specific hiking plans entail, is the first step to finding a boot that truly works for you. Let’s dive into the types of boots available and what makes them suitable for different scenarios.
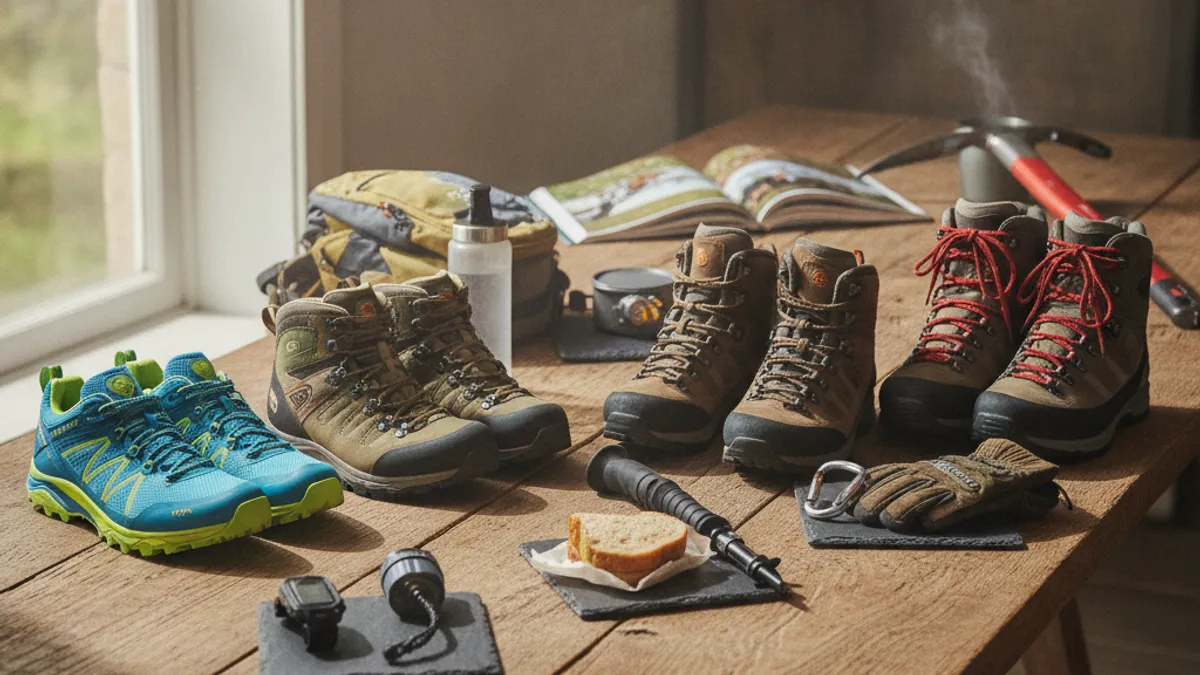
Trail Shoe vs. Mid-Weight vs. Backpacking Boot: What’s the Difference?
When you’re out shopping, you’ll quickly see that not all hiking footwear is created equal. The primary distinctions boil down to how much support they offer, their overall stiffness, and their intended use. Understanding these fundamental differences helps narrow down your options significantly, ensuring you pick a boot that matches your planned adventures.
Low-Cut Trail Shoes
Trail shoes, sometimes called trail runners or low-cut hikers, are the most flexible and lightweight option. They typically don’t go past the ankle bone. Manufacturer specifications often highlight their breathability and the rapid drying time of synthetic materials.
- Best For: Well-maintained trails, day hikes, fast-paced walking, and situations where you’re carrying minimal gear.
- Support Level: Minimal ankle support; focus is on cushioning and ground feel.
- Break-in Time: Generally requires very little, often comfortable right out of the box.
- What to Expect: Good for lighter loads and less technical terrain, offering a feel closer to a sturdy athletic shoe.
Mid-Height Hiking Boots
These boots rise above the ankle, providing a noticeable increase in support. They’re the most versatile category and a solid choice for many hikers. Their construction usually involves a stiffer sole than trail shoes, designed to handle more varied and demanding terrain.
- Best For: Day hikes with a moderate pack, weekend backpacking trips, and trails that are not perfectly groomed.
- Support Level: Moderate to good ankle support; offers better stability on uneven surfaces.
- Break-in Time: Usually requires some break-in period, typically a week or two of moderate use.
- What to Expect: A good balance of support, durability, and comfort for a wide range of hiking activities.
Heavy-Duty Backpacking Boots
These are the tanks of the hiking boot world. They are tall, stiff, and built for serious mileage with significant weight. Their primary job is to provide maximum support and protection when you’re carrying a full pack for extended periods over challenging ground.
- Best For: Multi-day backpacking trips, off-trail excursions, and carrying heavy loads (40 lbs or more).
- Support Level: Maximum ankle support and overall foot stability; very rigid soles.
- Break-in Time: Can require a significant break-in period, sometimes several weeks of consistent use.
- What to Expect: Unparalleled support and durability, but they can feel overbuilt for lighter loads or shorter hikes. If you’re considering a long-distance trek, these are often recommended.
Fit is Everything: How to Get It Right
Even the most feature-packed boots won’t serve you well if they don’t fit your paws properly. Poor fit is more than just uncomfortable; it can lead to blisters, twisted ankles, and a miserable experience. Our research confirms that fit is overwhelmingly the most cited factor for satisfaction among hikers.
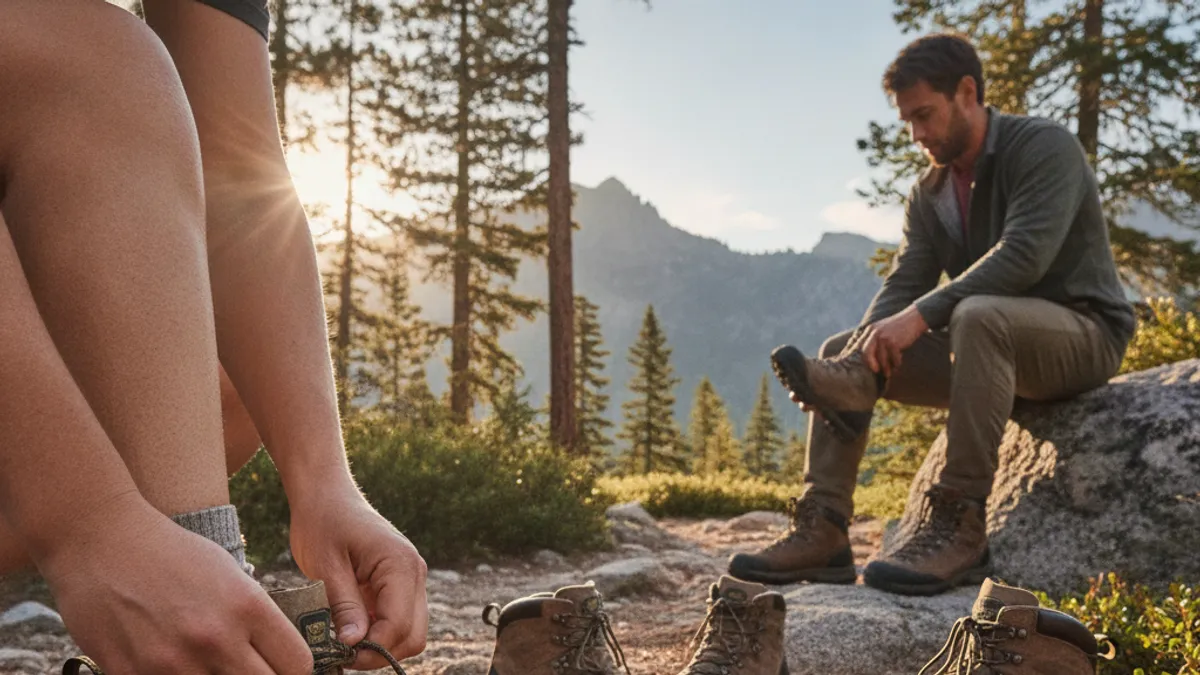
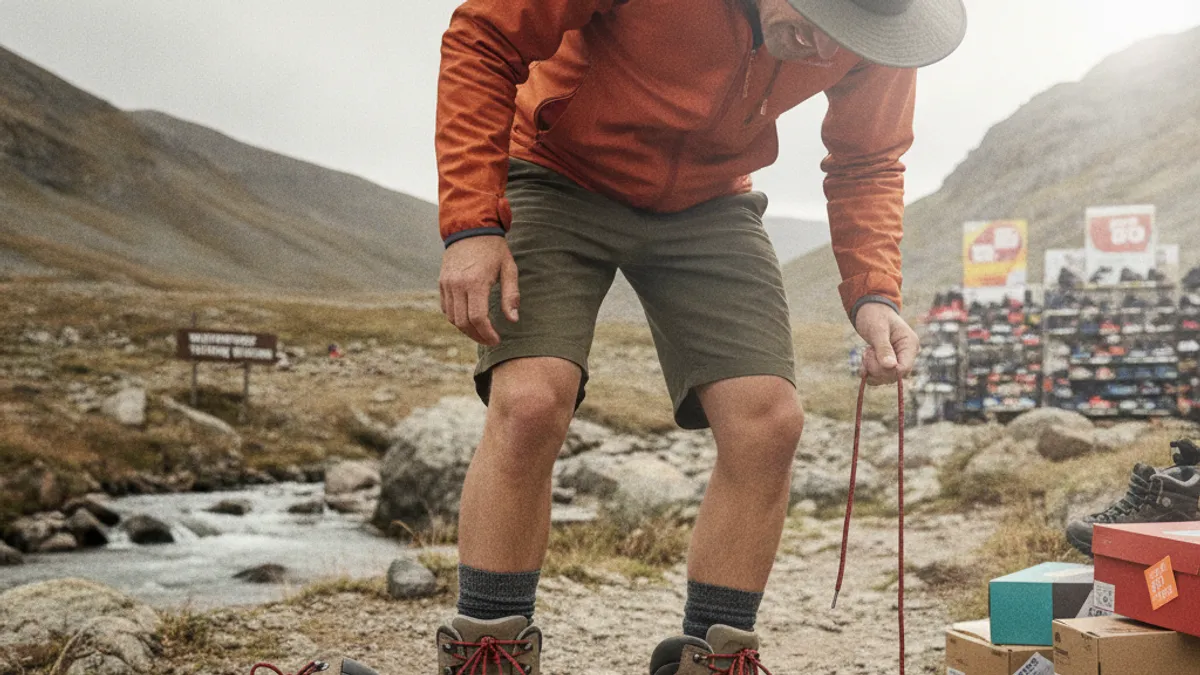
Timing Your Try-On
When is the best time to try on new hiking boots? Make it late in the day. Your feet naturally swell throughout the day, especially after prolonged periods of walking or standing. Trying boots on when they’re at their largest mimics how they’ll feel during a hike.
This simple step can prevent you from buying boots that feel fine in the morning but pinch by lunchtime on the trail.
Socks and Fit Assessment
Always wear the exact type of socks you plan to use for hiking when trying on boots. Standard cotton socks are a poor choice for hiking; you should be using moisture-wicking synthetic or wool blends. These socks can add a surprising amount of volume, affecting the boot’s fit.
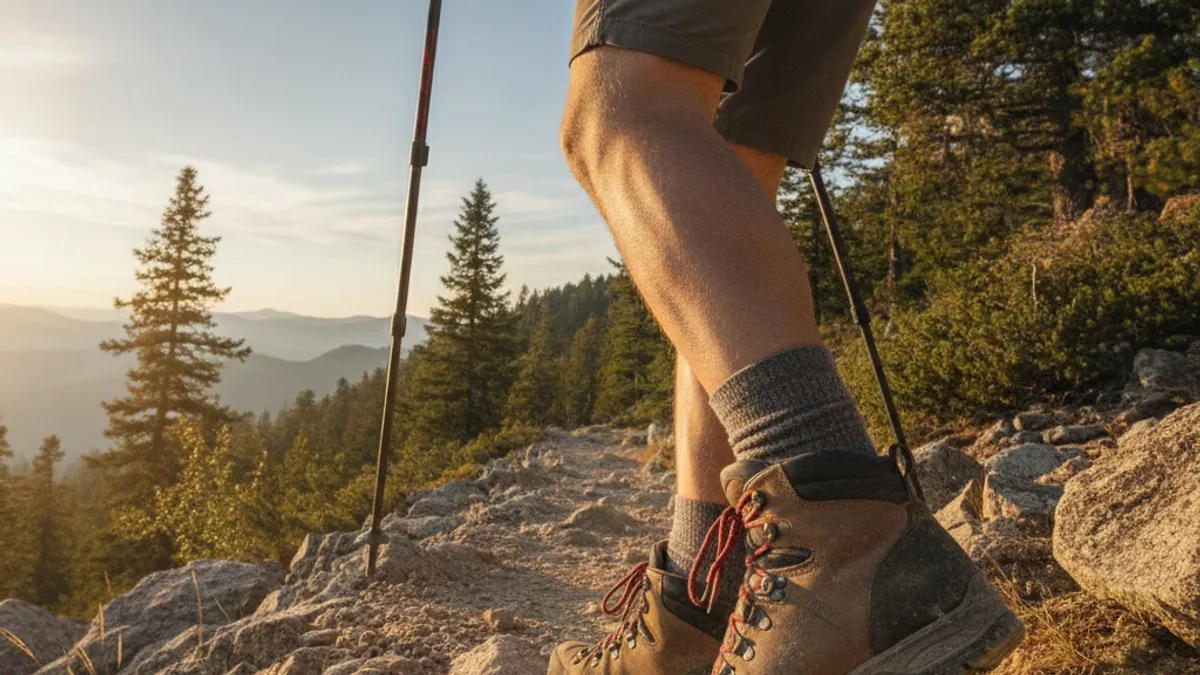
- The One-Finger Rule: With the boot unlaced, slide your foot forward until your toes gently touch the front. You should be able to comfortably slide one finger between your heel and the back of the boot. Too much space means the boot is too long; too little indicates it’s too short.
- Heel Lift Check: Lace the boots up snugly, simulating hiking tension. Walk around the store and pay close attention to your heel. Ideally, you should feel only minimal to no lifting of your heel with each step. Excessive heel lift is a major cause of blisters.
- Roomy Toe Box: You should have enough room to wiggle your toes freely, even when the boots are fully laced. Your toes shouldn’t jam into the front when going downhill.
Recognizing a Good (and Bad) Fit
A good fit means the boots feel secure without being constricting. You shouldn’t feel any immediate pressure points, rubbing, or pinching. They should feel supportive around your ankle and midfoot.
- Signs of a Good Fit:
- Comfortable, snug heel hold with minimal lift.
- Enough volume to wiggle toes.
- No pinching or rubbing against the sides or top of your foot.
- Overall feeling of support and stability.
- Signs of a Bad Fit:
- Toes jamming into the front.
- Heel lifting significantly with each step.
- Hot spots or immediate discomfort when walking.
- Tightness across the width or top of your foot.
- Excessive pressure on any specific part of your foot.
Essential Hiking Boot Features to Consider
Once you’ve got the fit dialed in, it’s time to look at the specific features that make a hiking boot perform on the trail. These elements directly influence how much support, traction, and protection you get. Understanding these components is key to making an informed choice.
What to Look for in Ankle Support
Ankle support is a primary differentiator between boot types. Low-cut trail shoes offer almost none, while heavy-duty backpacking boots provide maximum stability to prevent injuries on unpredictable terrain.
- Low-Cut Trail Shoes: Lace up below the ankle bone, offering no direct ankle support. Best for experienced hikers with strong ankles or easy terrain where ankle stability is less critical.
- Mid-Height Hiking Boots: Rise above the ankle bone, providing moderate to good support. This is a great compromise for many hikers, preventing excessive ankle roll on uneven ground.
- Heavy-Duty Backpacking Boots: Extend well above the ankle, offering maximum support. Crucial for carrying heavy loads or navigating very rough, uneven, or scree-filled terrain where maximum stability is paramount.
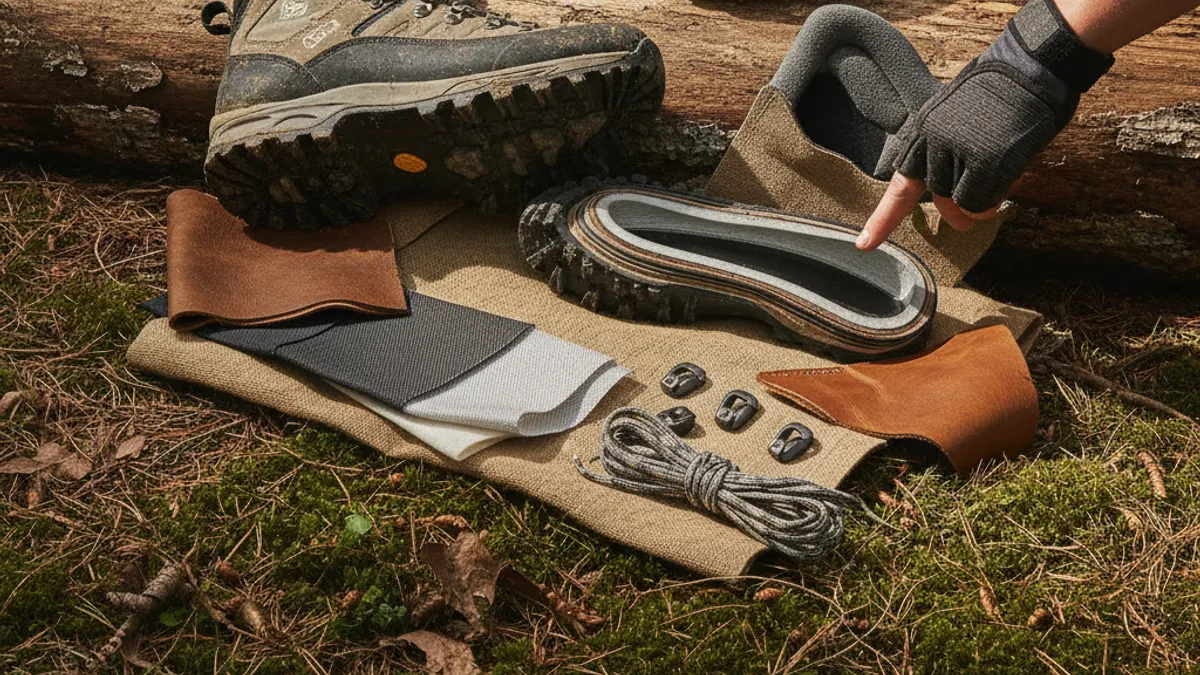
Understanding Sole Stiffness and Traction
The sole is your connection to the ground. Its stiffness and tread pattern directly impact your grip, stability, and comfort over varied terrain. A well-designed sole is as vital as a good fit.
- Outsole Tread: Look for deep, widely spaced lugs (the aggressive patterns on the bottom). This helps shed mud and provides good grip on dirt, rocks, and roots. Aggressive treads are generally better for off-trail or muddy conditions, offering superior bite.
- Sole Stiffness: This refers to how much the boot bends underfoot.
- Flexible Soles (Trail Shoes): Bend easily, offering a more natural feel and better ground articulation. Good for smooth trails and when agility is prioritized.
- Moderately Stiff Soles (Mid-Weight Boots): Offer more support and reduce foot fatigue on longer hikes. They resist conforming to every single pebble, providing a more stable platform over mixed surfaces.
- Very Stiff Soles (Backpacking Boots): Offer maximum support and protection from sharp rocks. They distribute pressure evenly, which is essential when carrying heavy packs over long distances, but can feel tiring on flat ground.
- Midsole Cushioning: This layer absorbs shock. EVA (ethylene-vinyl acetate) foam is lighter and more cushioned, while polyurethane (PU) is denser, more durable, and offers better support under heavy loads, making it ideal for rugged trips.
Waterproofing: Essential or Optional?
Waterproof hiking boots are a popular choice, especially for unpredictable weather. They typically feature a waterproof, breathable membrane, like Gore-Tex, sandwiched between the outer material and the inner lining. However, they come with trade-offs that are important to weigh.
- Pros of Waterproofing:
- Keeps feet dry in rain, puddles, and stream crossings.
- Helps maintain foot warmth in wet conditions, preventing chill.
- Can offer a slight boost in durability and wind resistance for added protection.
- Cons of Waterproofing:
- Reduced breathability: Feet can get very hot and sweaty in warm weather, leading to internal moisture buildup.
- Longer drying time: If water does get inside (over the top or through a breach), waterproof boots can take much longer to dry thoroughly.
- Can be more expensive than non-waterproof alternatives.
Manufacturer specifications often state a boot’s waterproof rating, but our analysis of aggregate user feedback indicates that breathability is a significant concern for many hikers in warmer climates. For those who hike primarily in dry, cool conditions or don’t anticipate frequent water encounters, non-waterproof boots might offer superior comfort by allowing better airflow. The decision often hinges on your typical hiking environment. If you frequently hike in wet climates or need assured protection against unexpected downpours, a waterproof option (like those discussed in our article on Waterproof Hiking Boots Worth It) might be a strong contender.
Putting Them to the Test: Breaking In Your Boots
This is a critical step, especially for stiffer leather boots, and requires patience. Skimping on break-in can lead to discomfort and blisters on your first actual hike. The goal is to allow the materials to conform to your feet and for you to identify any potential hot spots before you’re miles from the trailhead.
Home and Neighborhood Tests
Start by wearing your new boots around the house. Do this for a few hours each day for a week or two. This allows the materials to begin softening and your feet to get accustomed to the feel. Pay attention to any areas that feel tight, rub, or pinch.
If you notice a potential issue, you can sometimes address it with wider lacing patterns or by wearing thicker socks around the house temporarily.
Gradual Trail Integration
Once they feel relatively comfortable indoors, take them out for short, easy walks. This is where you start to simulate trail conditions.
- First Outing: A walk around your block or a very short, flat paved path. This lightly tests the sole and initial comfort.
- Second Outing: A slightly longer walk, perhaps a mile or two on a local park trail with gentle inclines. This introduces a bit more varied terrain.
- Subsequent Outings: Gradually increase the distance and terrain difficulty. If you plan on carrying a pack, start incorporating short hikes with your pack on, gradually adding weight as you go. This prepares your feet and ankles for the loads they’ll bear.
Throughout this process, wear the same hiking socks you intend to use on your actual treks and keep an eye on your feet for any budding hot spots, which could signify trouble down the line. This methodical approach helps ensure your boots are ready for your longer adventures and minimizes the risk of painful blisters.
Common Pitfalls: Mistakes Hikers Make When Buying Boots
Buying hiking boots isn’t always straightforward, and many people make simple errors that lead to regret down the trail. One of the most frequent mistakes is prioritizing looks or brand name over actual fit and function. Our analysis of user feedback reveals that ignoring the nuances of fit early on leads to the most significant long-term problems.
- Ignoring Fit: Buying boots based solely on online reviews or a friend’s recommendation without trying them on is a recipe for disaster. What works for one person’s foot shape might be torture for another’s. For example, a boot praised for its wide toe box might feel too loose for someone with a narrow foot.
- Buying Too Small: This is incredibly common. People often buy boots that feel snug, assuming they’ll “break in” to be looser. Usually, footwear meant for strenuous activity needs to start comfortable; extra space for toe splay and foot swelling during movement is essential.
- Not Considering the Hike: Purchasing rugged backpacking boots for light, paved trail walks is overkill and can feel clunky and heavy. Conversely, wearing flimsy trail runners on a demanding, rocky multi-day trek can leave your feet and ankles vulnerable to injury. This misjudgment can be a direct cause of common hiking complaints.
Who Needs What? Matching Boots to Your Hiking Style
The best hiking boot isn’t a universal product; it’s the one that aligns with your primary use case. Think about your most frequent hiking activities and choose a boot that excels in those conditions. Our review of usage patterns shows that aligning boot type with the intended activity maximizes satisfaction and performance.
Best Boots for Day Hikes
For day hikes, especially those on well-maintained trails, comfort and breathability often take priority. If you’re carrying a light daypack (typically under 20 lbs) and sticking to established paths, low-cut trail shoes or lighter mid-height hiking boots are excellent options. These allow for greater flexibility and better ventilation, keeping your feet cooler.
- Key Features: Lightweight, flexible sole, good cushioning, breathable materials.
- Ankle Support: Minimal to moderate, as impact is lower.
- Consider If: You average 3-10 miles per hike and prefer a nimble feel. You are looking for something similar to your athletic shoes but with more grip and support. You might also want to check out our guide on What To Wear Hiking For Beginners for complementary advice.
Best Boots for Weekend Treks
A weekend trip often involves carrying a bit more gear, meaning you’ll need more support. Mid-height hiking boots are the sweet spot here. They provide enough ankle stability to handle moderate loads and rougher terrain encountered over 1-3 days. Their construction typically balances flexibility with the necessary rigidity for varied trails.
- Key Features: Moderately stiff sole, good ankle cuff, durable materials, balanced cushioning.
- Ankle Support: Moderate to substantial, crucial for preventing twists on uneven ground.
- Consider If: You typically hike 5-15 miles per day with a pack weighing 20-35 lbs. These boots offer a reliable balance for varied conditions and shorter multi-day adventures. They represent a step up in support that makes a real difference for longer efforts.
Best Boots for Serious Backpacking
When the goal is multi-day expeditions with full packs, heavy-duty backpacking boots become essential. These boots are built for the long haul, providing maximum support to your ankles and feet through strenuous conditions. Their stiff soles and robust construction are designed to manage heavy loads (40 lbs+) over challenging, off-trail, or highly variable terrain. This type of boot is a significant investment in foot protection for long-distance efforts.
- Key Features: Very stiff sole, extended ankle collar, robust construction, high durability materials.
- Ankle Support: Maximum, critical for preventing injuries when fatigued.
- Consider If: You are embarking on thru-hikes, extended backcountry trips, or often carry substantial weight. These boots are an investment in protecting your feet and joints over long distances. If you’re curious about the commitment of such trips, exploring What Is Thru Hiking can offer context on the demands these boots are built for.
Your Next Step: Making Your Decision

So, you’ve got a clearer picture of the types of boots available and how they match different hiking needs. The decision boils down to a few key factors: your typical trail conditions, the weight you usually carry, and crucially, the unique shape and needs of your own feet. It’s about finding the right blend of support, comfort, and durability for your adventures.
- Revisit Your Hiking Habits: Honestly assess the terrain you cover most often and the typical duration of your hikes. Are you mostly doing short day trips or longer, multi-day excursions? Aggregating your past hiking logs can help quantify this for a more precise selection.
- Consider Pack Weight: If you often carry a heavy backpack, prioritize boots with higher ankle support and stiffer soles, as these distribute pressure more effectively, reducing foot strain. Manufacturer specifications will often note intended load weights for their models.
- Prioritize Fit Above All Else: Remember that detailed advice on materials or waterproofing is secondary to a boot that fits your foot perfectly. Try on multiple brands and models, and don’t hesitate to spend time walking around the store, even going up and down stairs if available.
Ultimately, the boot that feels best and performs reliably on your chosen trails is the right boot for you. Think of this as an investment in your future hiking comfort and safety.