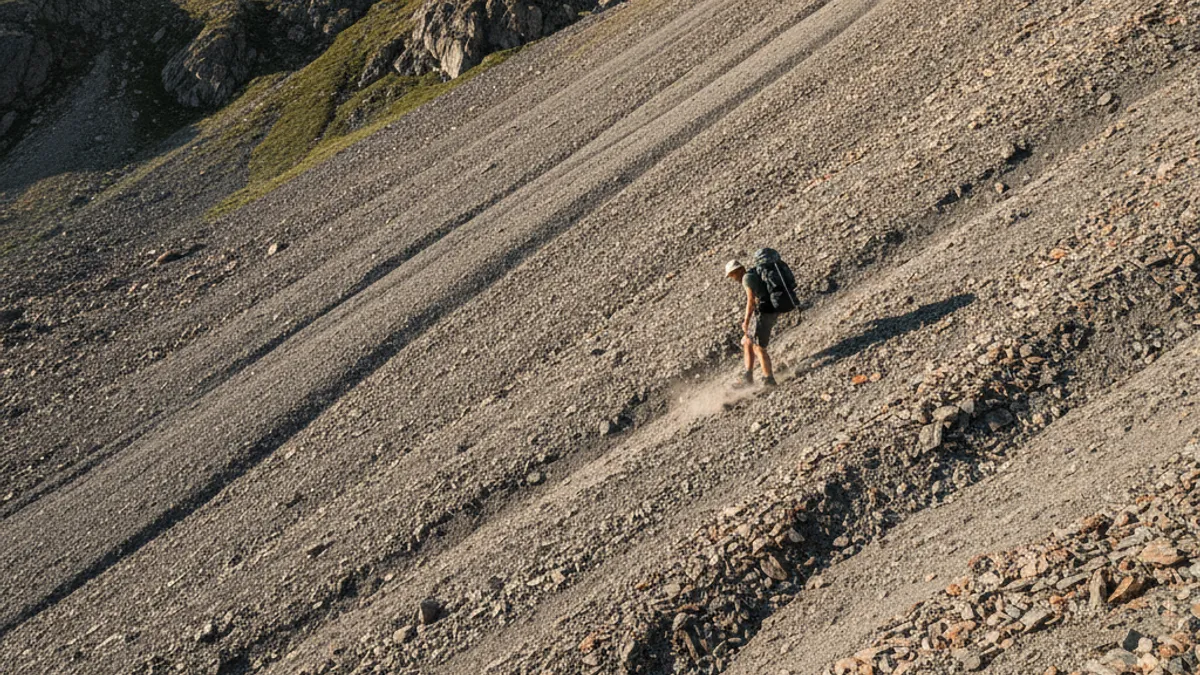
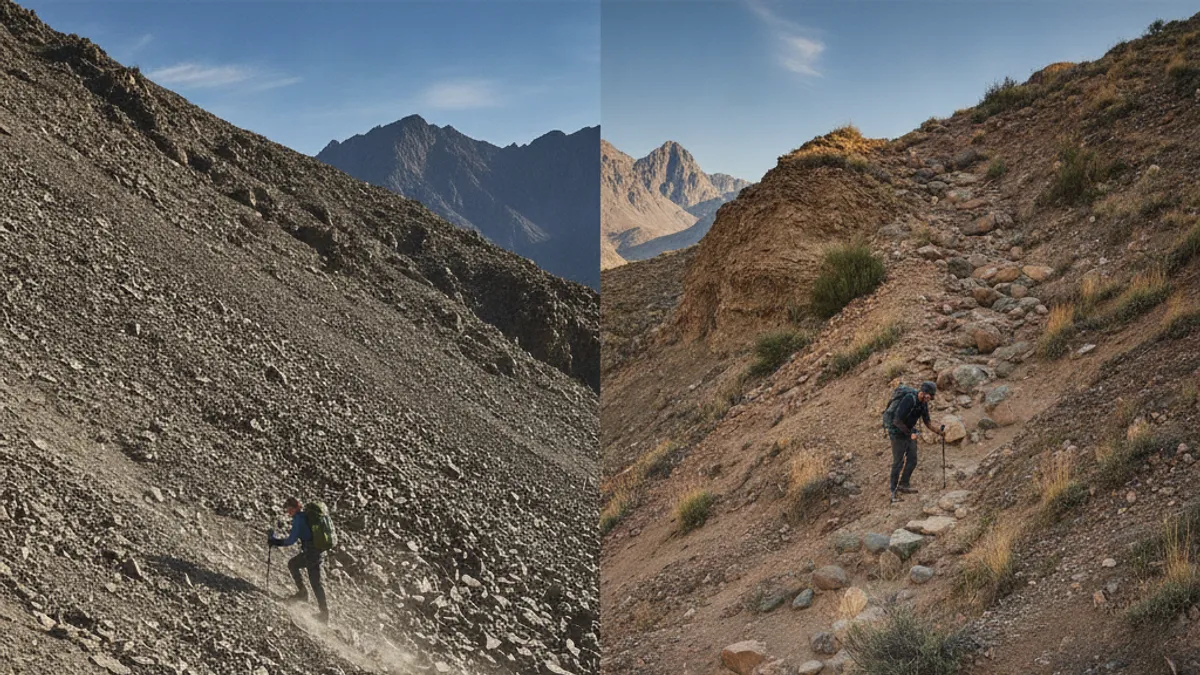
When you’re out on the trail and your feet start sliding, or the ground seems to shift with every step, you’re probably dealing with scree. Understanding what this kind of terrain is all about is a game-changer for your hiking safety and enjoyment. It’s one of those natural features that demands a little respect and the right approach.
Basically, what is scree in hiking refers to a slope covered in small, angular pieces of broken rock. Think of it as a natural Jenga pile made of stone. According to aggregate geological data, these rock fragments typically range from a few inches to about a foot in size, and they tend to accumulate at the base of steep slopes or cliffs. This kind of surface requires specific techniques and gear to navigate effectively.
What Exactly Is Scree on a Hike?
Scree is a geological feature defined by its composition and form: it’s a collection of loose, angular rock fragments that have been broken off from larger rock formations. Unlike smooth gravel or rounded pebbles, the edges of scree are sharp, and the pieces don’t fit snugly together. This creates an unstable surface where footing can be unpredictable.
You’ll often find scree on steep slopes, at the base of cliffs, or along mountain passes where weathering, like freeze-thaw cycles and erosion, has broken down rock over time. When you’re hiking, recognizing scree is crucial because it directly impacts your stability and pace. A path covered in scree feels entirely different from a dirt trail or a gravel road.
The Rock Fragments Up Close
When we talk about scree, we mean the individual pieces of rock. These aren’t smooth, water-worn stones. Instead, they are sharp, angular chunks, often looking like they were recently broken off a larger rock face. Their size can vary, but generally, they range from the size of your fist to roughly a foot in length.
This angularity is key because it means the pieces don’t “lock” together easily, allowing them to shift and slide.
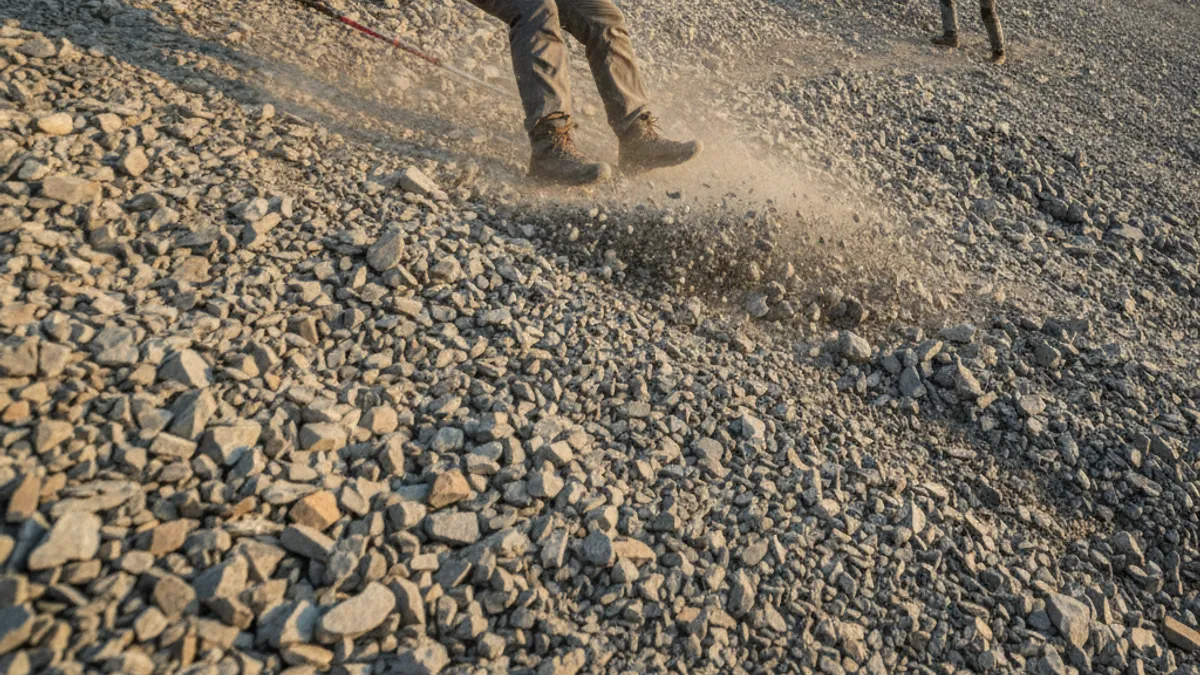
The Slope Underfoot
The way scree forms a slope is what makes it challenging. Because the rock fragments are loose and don’t nestle together, the entire surface can move. When you step on scree, your weight can cause the rocks beneath you to shift downwards. This lack of stable, compacted ground means you might take a step expecting solid support, only for the rocks to slide, making you lose balance or forcing you to expend extra energy to maintain your footing.
Why Scree Matters for Your Hiking Plans

Knowing what scree is and how it behaves is fundamental to planning and executing a safe hike, especially in mountainous or rugged terrain. It’s not just a visual obstacle; it dictates your gear choices, your pace, and your entire approach to navigating a trail. Ignoring the presence of scree can lead to frustration, fatigue, and potential injury.
For instance, if a section of your planned route is known to be scree, you’ll need to adjust your expectations. Instead of powering through, you’ll need to slow down and focus on each step. This terrain demands more concentration than a well-trodden path. Our research indicates that hikers who understand scree are better prepared to select appropriate footwear, adopt safer movement techniques, and manage their overall energy expenditure on challenging ascents and descents.
This foresight can make the difference between a triumphant trek and a grueling ordeal.
Essential Gear for Tackling Scree
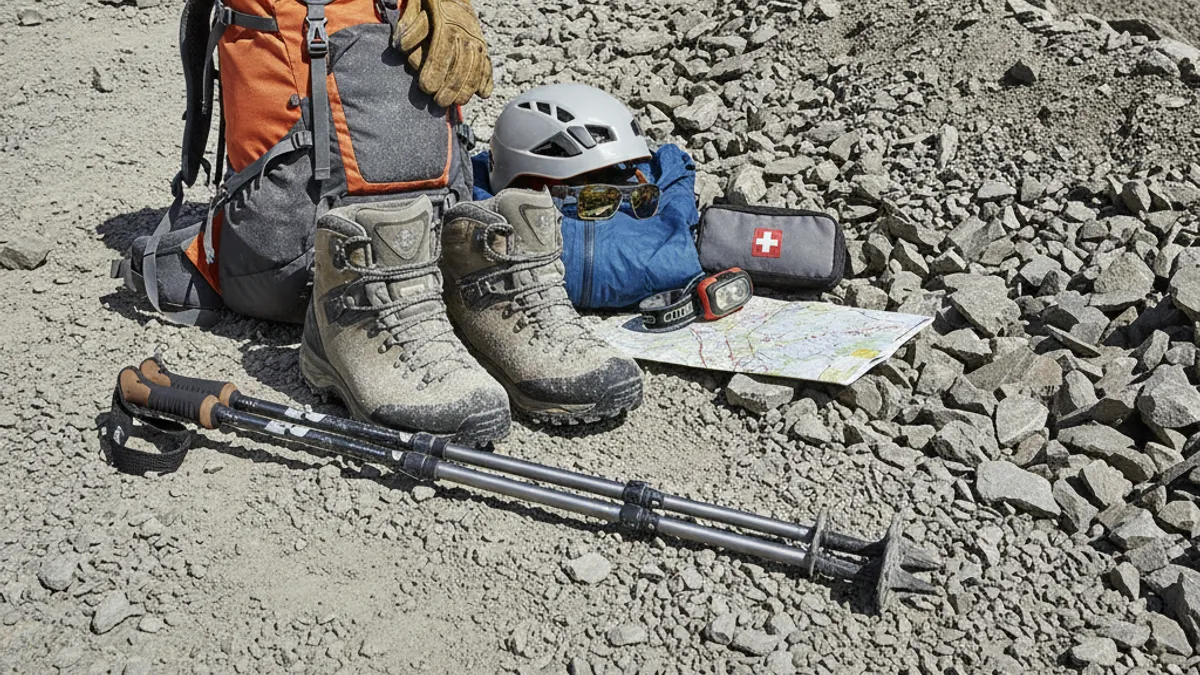
When your route is going to involve scree passages, paying attention to your gear becomes even more important. While sturdy hiking boots are a good idea on most trails, they’re non-negotiable here, and specific features matter a lot.
Footwear: Your First Line of Defense
Your hiking boots are your primary contact with the terrain, and on scree, this connection needs to be solid. Look for boots that offer excellent ankle support. This is critical because the shifting nature of scree dramatically increases the risk of ankle sprains. Aggressive tread patterns on the sole are also vital; they provide the necessary grip to prevent your feet from sliding out from under you.
Materials that offer some water resistance can also be a plus, as scree can sometimes be damp, and dry feet are happier feet. If you’re unsure about boot selection, reviewing how to choose hiking boots can offer valuable insights into finding the right fit and features for varied conditions.
Trekking Poles: An Extra Pair of Legs
While not strictly mandatory, trekking poles can be an absolute lifesaver on scree. They provide crucial additional points of contact with the ground, offering enhanced stability and balance. When you’re moving over loose, shifting rock, poles help distribute your weight more evenly. They allow you to push yourself forward or brace yourself without putting all the strain on your legs and ankles.
Think of them as giving you an extra set of legs to steady yourself. If you’re new to them, learning how to use hiking poles effectively will maximize their benefit.
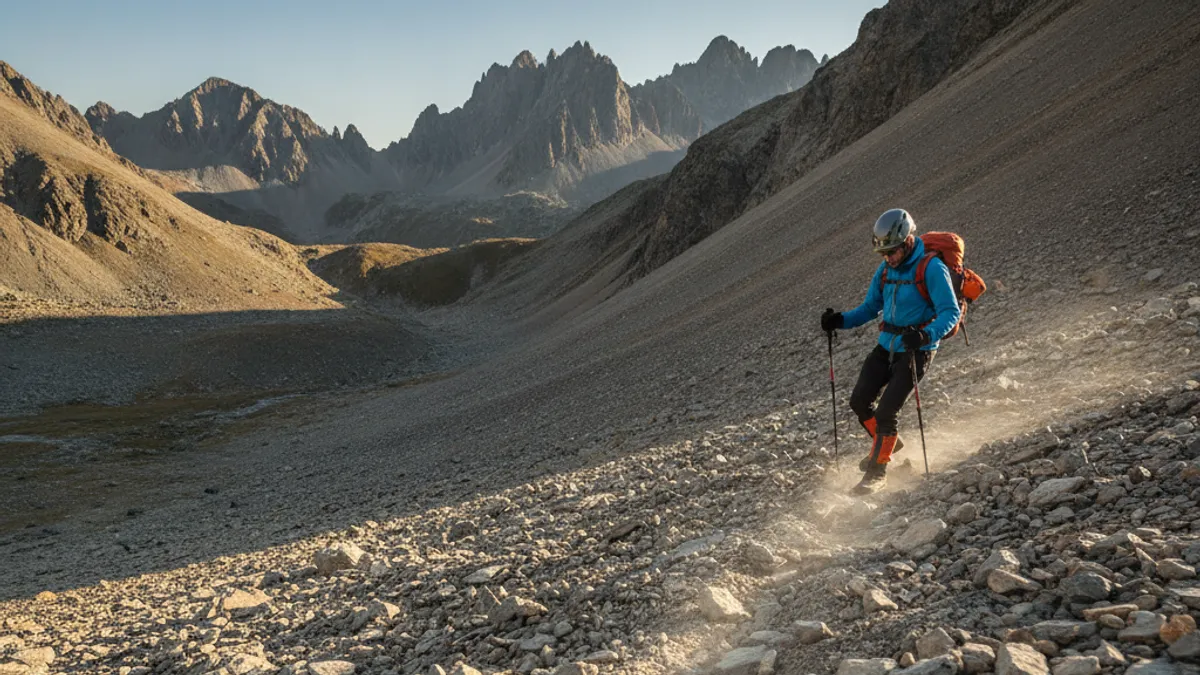
How to Walk Safely on Scree
Moving across scree requires a different approach than walking on firm ground. It’s all about minimizing slippage and maximizing stability with each step. This means adopting specific techniques for both going uphill and downhill.
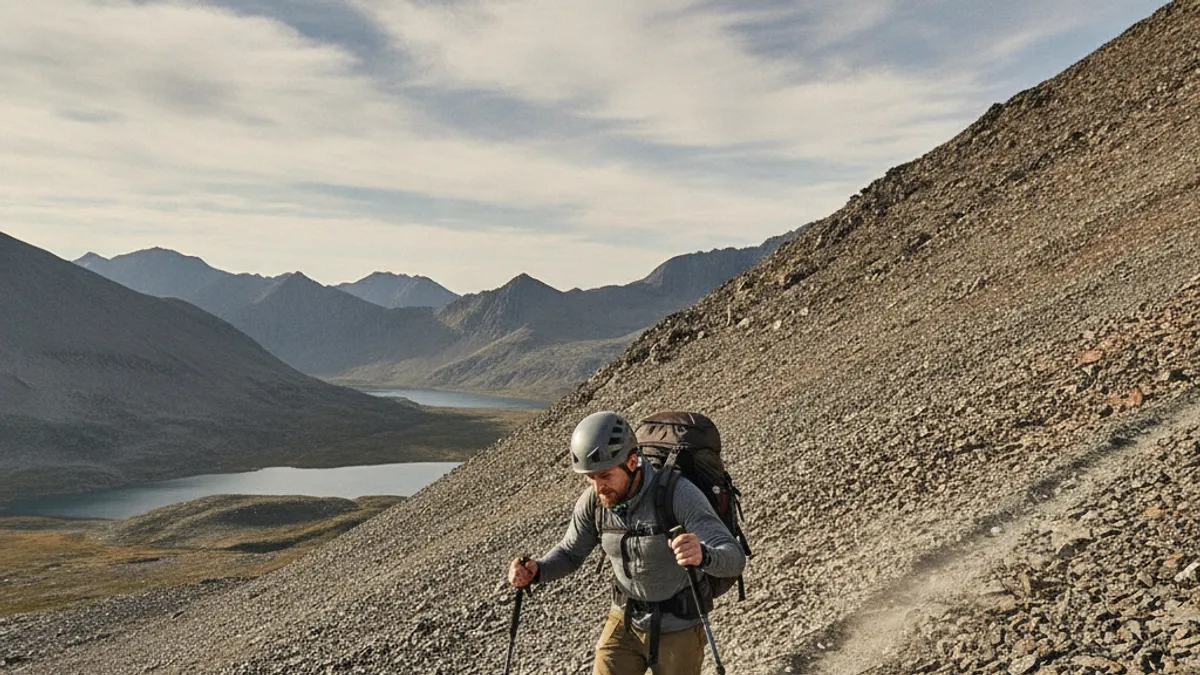
Ascending Strategy
When climbing over scree, try to aim for the most stable-looking rocks. Look for larger fragments or areas where several rocks seem to be more firmly embedded. Instead of walking in a straight, fast line, it’s often more energy-efficient and safer to employ a zig-zag pattern. This allows you to assess the stability of each step and maintain better balance.
Avoid kicking your feet too hard into the scree, as this can dislodge rocks and send them tumbling downhill. Aim to place your feet deliberately and with moderate pressure.
Descending Tactics
Going down scree can be particularly tricky. The key is controlled speed and awareness of your center of gravity. Many hikers find it helpful to take smaller, more cautious steps. Placing your feet so that the sole contacts the rock surface firmly can help prevent slipping.
Some people even find it beneficial to face partially sideways, almost like skiing or snowplowing, to keep their weight balanced and control their descent. Again, trekking poles are invaluable here, helping you brace yourself and control your momentum. Never underestimate how quickly loose rocks can move, potentially causing a slide.
Common Mistakes Hikers Make on Scree
Even experienced hikers can stumble into common missteps when encountering scree. Recognizing these pitfalls is the first step to avoiding them and ensuring a safer mountain journey. It often boils down to underestimating the terrain or relying on habits that work on other surfaces.
- Rushing: The biggest mistake is trying to move too fast. Scree demands a slower, more deliberate pace. Trying to cover ground quickly leads to loss of footing and increases the risk of falls.
- Not Using Poles: Many hikers leave their trekking poles behind on what they perceive as shorter scree sections. However, even brief patches can be treacherous, and poles offer stabilization that significantly reduces the risk of injury.
- Improper Footwear: Wearing trail runners or casual shoes without adequate ankle support or aggressive tread is a recipe for trouble. Aggregate user reviews show that footwear unsuitable for loose terrain is a major contributor to sprains and falls on scree. For context on footwear choices, consult guides on waterproof hiking boots worth it or compare trail runners vs hiking boots.
- Overlooking Stability: Simply stepping on the first available rock without assessing its embedment or size can be problematic. Larger, more rooted rocks offer better support.
- Panicked Movements: If you start to slip, the natural instinct can be to flail. However, controlled movements and using your poles or leaning into the slope (if safe) are more effective than sudden, jerky actions, which can worsen the situation.
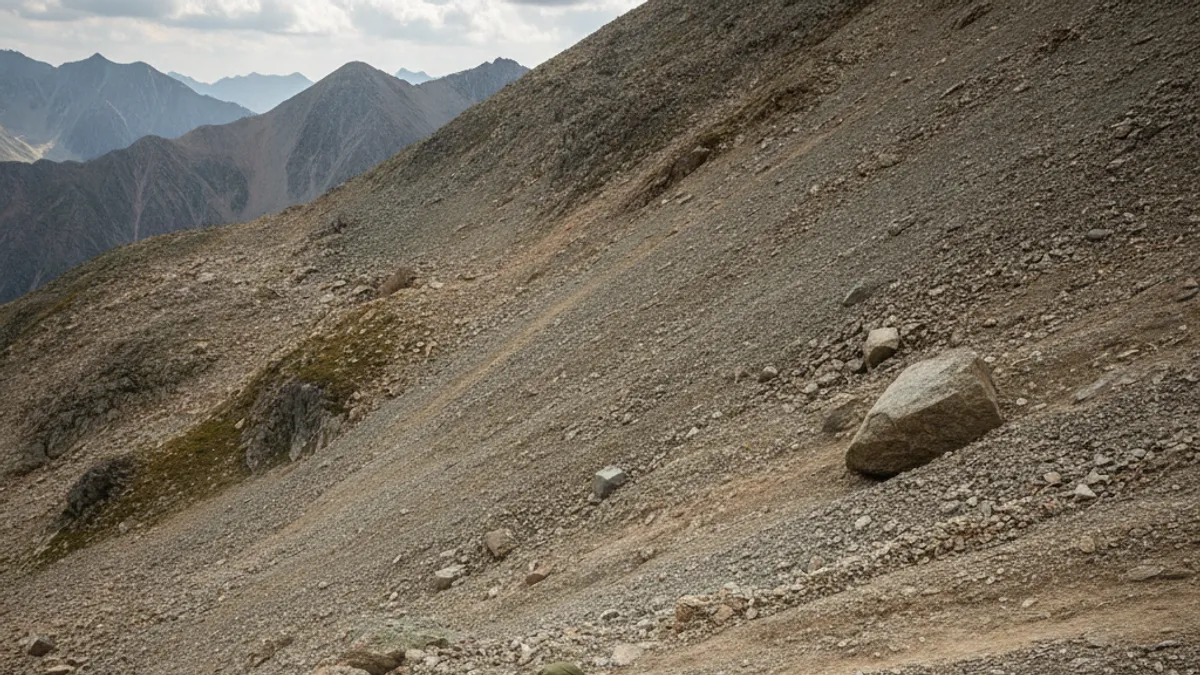
Scree vs. Other Loose Terrain
While “scree” is the specific term for the small, angular rock fragments, hikers often encounter other types of loose terrain. Understanding the differences helps you recognize what you’re dealing with and how to adjust your approach. Often, these terms are used interchangeably, but geologically, they’re distinct.
Talus is one of the most common distinctions. Talus slopes are typically steeper and composed of larger, angular rocks than scree. Think of massive boulders that have tumbled down a mountainside. While scree is a mass of smaller debris, talus suggests a more recent and significant rockfall event, creating a slope of considerable size.
Navigating talus often involves hopping between larger rocks and can be more strenuous due to the size of the obstacles. Visualizing a talus field is like seeing a mountain’s broken teeth, while scree is more like a rocky landfill.
Another related term is rubble. Rubble is generally a more disordered collection of broken rock, often mixed with soil or other debris. It might be less uniform than scree and can vary greatly in particle size. Think of construction site rubble; trails that pass through areas affected by landslides or significant erosion might feature rubble.
It’s broad and less precise than scree, which has a more defined characteristic of smaller, sharp fragments.
Finally, gravel refers to rounded fragments of rock, typically smaller than scree and often smoothed by water or natural abrasion. While gravel can also be loose underfoot, the rounded nature provides a different kind of traction. It tends to shift less predictably than the angular pieces of scree, which can dig into each other and offer poor grip. So, while all these describe loose ground, scree’s defining feature is its sharp, angular, and unstable nature.
Use Cases & Target Audience

Understanding scree is essential for a wide range of outdoor enthusiasts who venture into mountainous or uneven landscapes. It’s not just for elite climbers; even casual hikers can encounter it. The specific audience that needs to be most aware includes anyone planning to hike in hilly or mountainous regions.
For day hikers, encountering a scree slope means being prepared to slow down and pay attention. A short patch might just be a minor inconvenience, requiring careful foot placement. For backpackers and those undertaking longer treks, extensive scree sections can significantly impact travel time and energy reserves. This is where having appropriate gear, like sturdy hiking boots and potentially poles, becomes critical for minimizing fatigue and preventing injuries over multiple days.
Trail runners often face scree, and their need for speed means they must develop specific techniques to maintain momentum while staying safe. They often opt for lighter footwear with good grip, prioritizing agility. Even scramblers and those approaching more technical mountaineering will encounter scree as a transitional terrain between easier paths and actual rock climbing. Essentially, any activity that takes you off smooth, established trails into steeper, more natural environments needs to account for what scree is and how to handle it.
Expert Tips for Confident Scree Travel
Navigating scree becomes much more manageable when you incorporate a few key strategies and mindsets. It’s less about brute force and more about finesse and preparation. These tips can help you move more confidently and safely across those shaky slopes.
- Scan Ahead: Before you even step onto a scree section, take a moment to look at the entire slope. Identify the most stable-looking path, looking for larger embedded rocks or sections that appear more consolidated. Visualizing your route can save a lot of missteps.
- Engage Your Core: A strong core provides better balance, which is crucial on unstable ground. Engaging your abdominal muscles helps you make small adjustments to stay upright when the ground shifts unexpectedly.
- Maintain a Lower Center of Gravity: When possible, slightly bending your knees and keeping your weight centered over your feet can improve stability. This makes you less likely to topple if rocks give way.
- Test Footing: If you’re unsure about a rock’s stability, give it a gentle test press with your boot before committing your full weight. This is especially important if a rock looks loose or oddly perched.
- Listen to Your Body: Scree travel is energy-intensive. If you feel fatigue setting in, take a break. Pushing yourself when tired significantly increases your risk of errors and injury. Proper fueling and hydration are also key, so consider electrolytes for hiking or best food to bring on a long hike.
When to Be Extra Cautious on Scree
While scree is always a terrain to be mindful of, certain conditions significantly increase the risk. Knowing when to exercise heightened caution can prevent accidents. These situations often involve environmental factors that exacerbate the natural instability of scree.
- After Rain or Snowmelt: Wet scree is notoriously slippery. Water acts as a lubricant between the rock fragments, making them slide even more easily. If the ground is saturated, expect even more challenging footing.
- During High Winds: Strong winds can throw you off balance, especially on exposed slopes. Combined with unstable ground, wind can make navigating scree incredibly dangerous. Prioritize finding sheltered routes or waiting out severe gusts.
- In Low Light or Darkness: Visibility is paramount on scree. Trying to navigate it with just a headlamp, as any hiking headlamp review would note, in poor light means you can’t properly assess footing or potential hazards. If you must hike in these conditions, slow down to an absolute crawl and rely heavily on your sense of touch and sound.
- On Very Steep Inclines: The steeper the slope, the more potential energy is stored in the scree. A minor dislodged rock can start a cascade. If a scree slope appears excessively steep, consider if there’s an alternative route.
If any of these conditions are present, it’s a strong signal to increase your awareness, slow your pace even further, and perhaps re-evaluate if continuing is wise, especially for less experienced hikers.