When you’re eager to hit the trail, figuring out exactly how to plan a hiking trip can feel overwhelming. It’s more than just lacing up your boots; smart planning ensures you have a safe, enjoyable, and memorable experience in the great outdoors. Think of it as building the foundation for a great adventure.
Our research shows that the approach to planning shifts significantly based on the type of hike you’re aiming for, from a quick day trip to a multi-day wilderness trek. For instance, research indicates that while a typical day hike might require carrying around 3-5 liters of water, a multi-day backpacker might need to plan for upwards of 5-7 liters per day, depending on conditions and exertion. Let’s start by figuring out what kind of hike you’re envisioning.
What’s Driving Your Hike? Day Trip or Overnight Adventure?
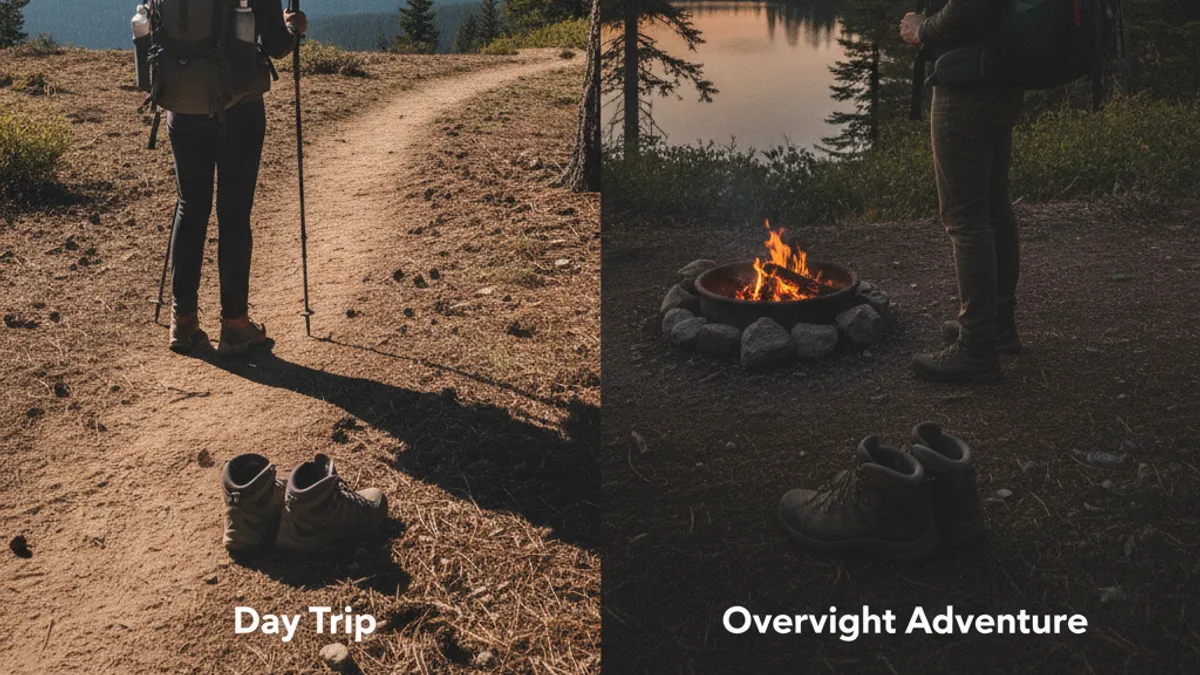
Deciding whether your next adventure will be a short jaunt or an extended expedition is the first critical step. This choice dictates everything from the amount of gear you’ll carry to the food you’ll pack and the safety precautions you’ll need to take. Getting this right sets the stage for a truly successful outing and helps you avoid carrying unnecessary weight or being underprepared.
Day Hiking: Quick Escapes & Local Trails
A day hike is generally defined as an outing where you return to your starting point within the same calendar day, typically without overnight camping. These are fantastic for getting a dose of nature, fitting in exercise, and exploring new terrain without the extensive commitment of backpacking. The focus here is efficiency and enjoyment for a shorter duration.
Our research indicates that for most day hikes, the goal is to carry enough supplies for 8 to 12 hours of activity, accounting for meals, snacks, and ample hydration. Many sources, like the U.S. Forest Service, recommend carrying at least 2 liters of water per person for a moderate day hike, and more in hot or strenuous conditions. The weight of your pack will likely be manageable, often between 10-20 pounds (4.5-9 kg) with essentials.
Backpacking: Multi-Day Immersions & Wilderness Travel
Backpacking takes your hiking to the next level, involving carrying all your essential gear, including shelter, sleeping bag, and cooking equipment, to spend one or more nights away from civilization. This format allows you to reach more remote locations, experience the tranquility of wilderness camping, and immerse yourself more deeply in your surroundings. It requires a more thorough and thoughtful planning process.
Planning for backpacking means thinking in terms of days, not hours. Manufacturer specifications for many popular backpacking tents, for example, highlight weights ranging from 2 to 5 pounds (0.9 to 2.3 kg) for 1-2 person models, affecting your overall pack load. This type of trip demands careful consideration of calorie intake, often requiring 2,500-4,500 calories per person per day, depending on exertion levels, as you’ll be covering more ground and carrying significantly more weight, typically 30-50 pounds (13.5-22.7 kg). You can learn more about the nuances of what is thru hiking if you’re considering truly extended journeys.
Trail Toughness: Matching the Hike to Your Fitness
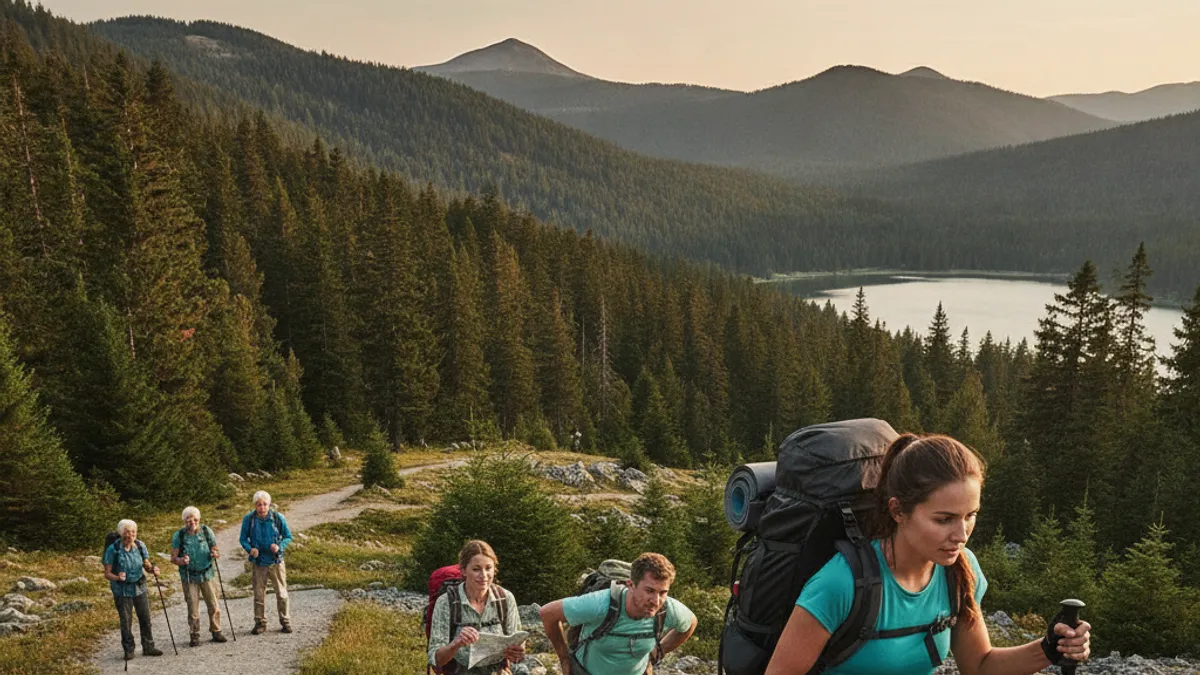
Once you’ve decided on the duration of your trip, day hike or overnight backpacking, the next crucial step is selecting a trail that aligns with your physical capabilities and experience level. Pushing yourself too hard can turn a fun outing into a dangerous ordeal, while choosing a trail that’s too easy might not provide the challenge or satisfaction you’re seeking. It’s all about a responsible assessment of your current fitness and skill. A solid hiking workout plan for beginners can prepare you for tougher challenges.
Easy Trails: Gentle Slopes & Short Distances
Easy trails are ideal for beginners, families with young children, or those looking for a relaxed experience. They typically feature minimal elevation gain, well-maintained surfaces (often paved, gravel, or smooth dirt), and clear signage. The terrain is generally even, with few obstacles like large rocks or roots.
These trails are usually shorter in length, often ranging from 1 to 5 miles (1.6 to 8 km). The entire hike can often be completed in under 2-3 hours. They offer a great introduction to hiking without overwhelming your body. Many local parks and nature preserves offer these accessible options.
Moderate Trails: Notable Inclines & Longer Stretches
Moderate trails present a step up in difficulty and require a bit more stamina and preparedness. You’ll encounter more significant elevation changes, meaning steeper ascents and descents. The trail surface might be less predictable, with more rocks, roots, and uneven ground to navigate.
These hikes typically span between 5 to 10 miles (8 to 16 km) and can take anywhere from 3 to 6 hours to complete. You’ll definitely feel the workout, especially on the climbs. Planning for a moderate hike means carrying more water and snacks than you would for an easy outing, and perhaps considering a lightweight backpack. If you’re new to moderate hikes, ensure you’re comfortable with your footwear; for instance, trail runners vs hiking boots can be a key decision.
Strenuous Trails: Steep Climbs, Technical Terrain & Extended Durations
Strenuous trails are designed for experienced hikers with a high level of fitness and an excellent understanding of navigation and self-sufficiency. Expect continuous steep climbs, potentially requiring scrambling over rocks or navigating very rough, technical terrain. These hikes can be long, physically demanding, and may involve significant elevation gains.
Strenuous hikes often exceed 10 miles (16 km) and can last anywhere from 6 hours to multiple days if part of a backpacking trip. These are the trails where proper conditioning, specialized gear, and excellent wilderness awareness are not just recommended, they’re essential for safety. If you’re considering such a hike, ensure you’ve undergone suitable training and prepared meticulously. Researching the specific trail conditions and potential hazards is paramount.
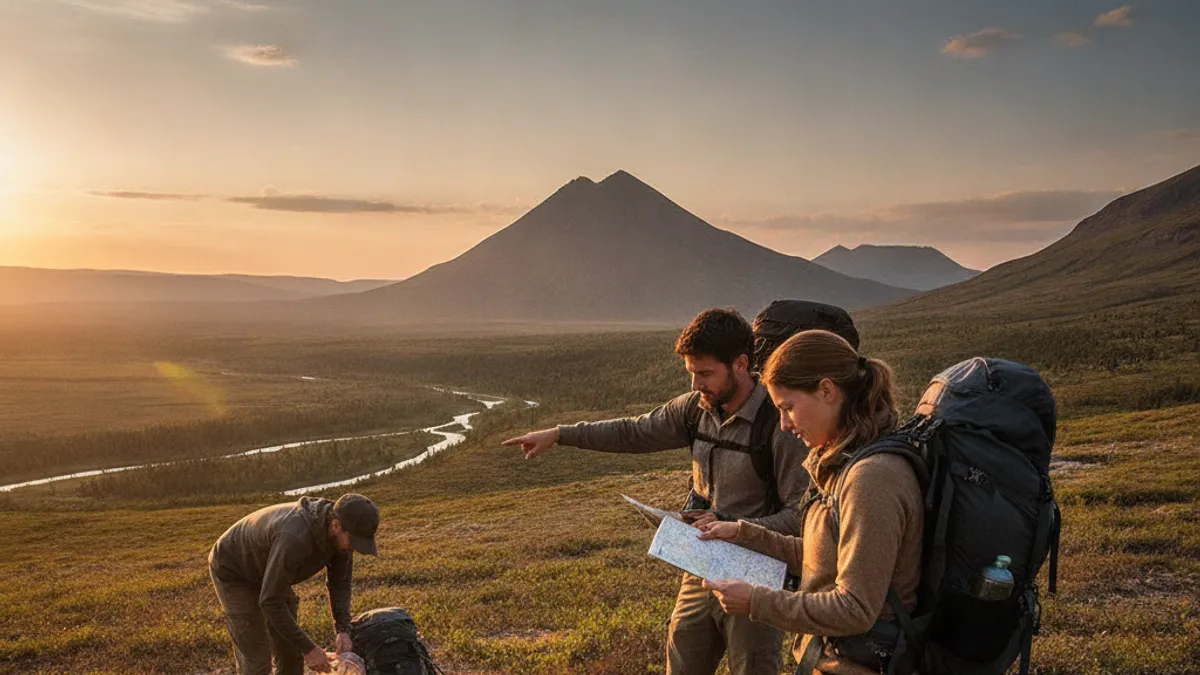
The Map is Your Friend: Choosing Your Route
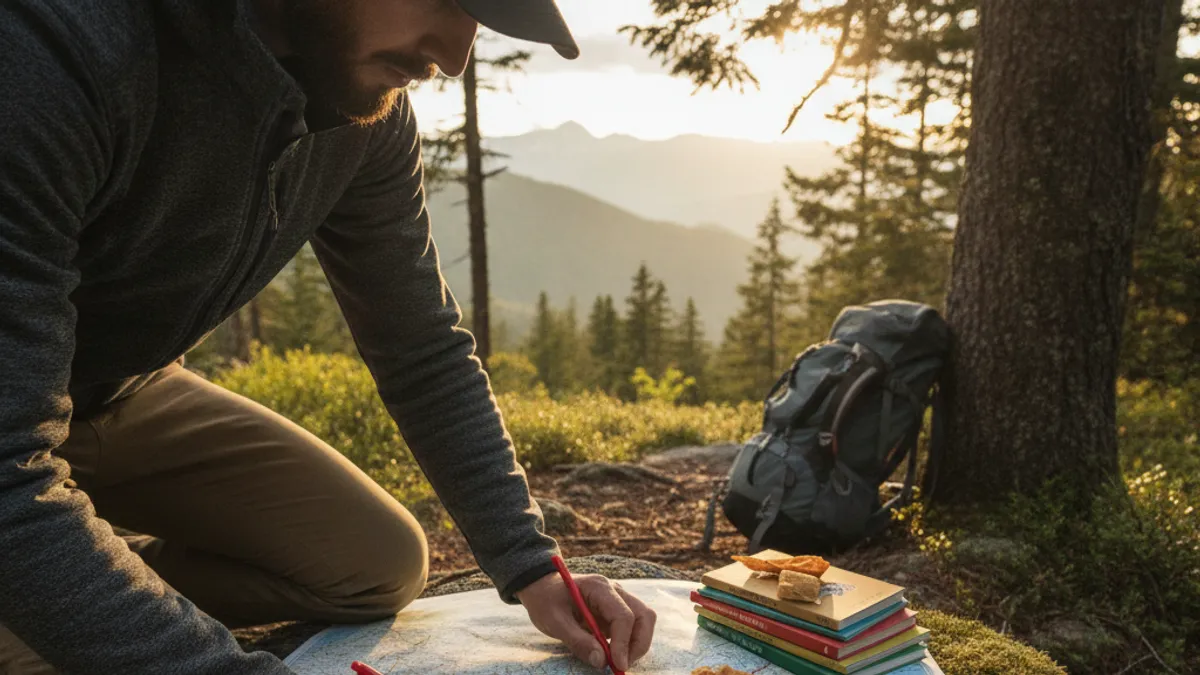
Navigation is a cornerstone of safe and enjoyable hiking. Even on well-marked trails, understanding your route and how to read the terrain is vital. Relying solely on a phone app can be risky, as batteries die and signals fail. Developing foundational map and compass skills, or at least knowing how to interpret a topographic map, significantly enhances your confidence and security on the trail.
For beginners, printed maps are often recommended.
Understanding Trail Maps & Topography
A good trail map shows you not just the path but also the surrounding landscape. Topographic maps, in particular, use contour lines to represent elevation, dense lines mean steep slopes, while widely spaced lines indicate flatter terrain. Learning to read these lines helps you anticipate climbs and descents, identify potential water sources, and understand the overall shape of the land.
Trail maps also indicate trail numbers, names, distances between junctions, and points of interest. They are your primary tool for planning your specific route, estimating time, and making informed decisions if you need to alter your plan on the fly. Knowing where you are and where you’re going prevents you from getting lost and allows you to enjoy the journey without constant worry.
Digital Navigation vs. Traditional Tools
Today, many hikers rely on GPS devices or smartphone apps, which offer convenience and real-time location tracking. Popular apps can download maps for offline use, provide elevation profiles, and even offer turn-by-turn directions. Manufacturer specifications often highlight battery life, sometimes offering 15-20 hours of continuous use, but this can be quickly depleted by screen brightness or frequent use.
However, these digital tools are not foolproof. Batteries can die, devices can be dropped and damaged, and reception can be spotty or non-existent in remote areas. This is why our research strongly emphasizes the importance of understanding traditional navigation tools. A compass and a paper topographic map are reliable backup systems that don’t depend on power or signal.
Learning to use them in conjunction with digital tools provides a robust safety net. For instance, understanding how to orient your map with a compass is a fundamental skill that complements any digital navigation app.
Gear Up: What You Absolutely Need
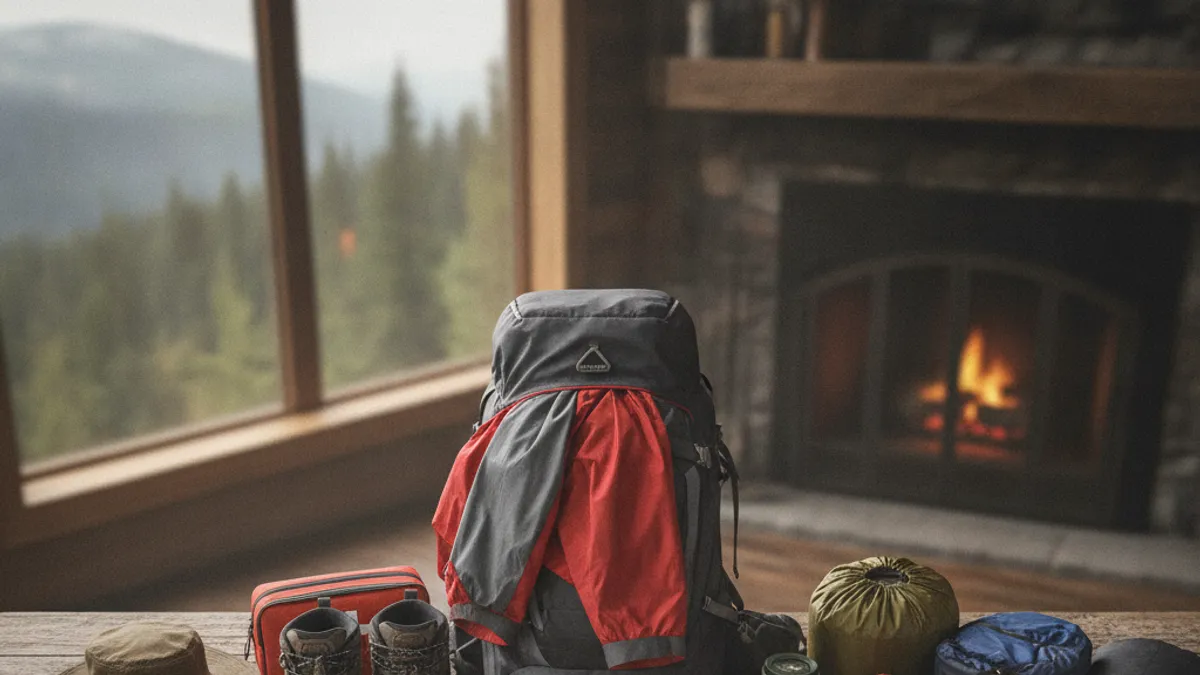
Appropriate gear is essential for comfort and safety on any hike. The specific items you’ll need depend heavily on the length of your trip, the expected weather, and the terrain. However, there’s a core set of equipment that forms the basis for most hiking excursions. Investing in quality gear that fits well and is appropriate for your intended use will make a significant difference in your experience.
Remember that while some items might seem optional, they could be critical in an emergency. Learn more about beginner hiking checklist for a solid foundation.
Essential Day Hiking Pack
For a day hike, the primary gear carrier is a daypack, typically ranging from 15 to 30 liters in capacity. This pack should comfortably hold your essentials without being bulky. Our analysis of common daypack features reveals that key elements include padded shoulder straps, a breathable back panel, and adjustable sternum and waist straps for stability.
Inside your daypack, you’ll want to pack the “Ten Essentials,” a widely recognized list of items for outdoor safety. These include:
- Navigation tools (map, compass, GPS device)
- Headlamp or flashlight (with extra batteries)
- Sun protection (sunglasses, sunscreen, hat)
- First-aid kit
- Knife or multi-tool
- Fire starter (waterproof matches, lighter, fire starter material)
- Emergency shelter (e.g., lightweight bivy sack or space blanket)
- Extra food
- Extra water (or a way to purify it)
- Extra clothes (layers appropriate for the conditions)
Beyond the Ten Essentials, consider comfort items like insect repellent, trekking poles (check out how to use hiking poles if you’re unsure), and personal items. Remember to carry out everything you pack in.
Overnight Backpacking Essentials
Backpacking gear is heavier and more extensive due to the need for self-sufficiency over multiple days. Your primary piece of equipment will be a larger backpack, usually between 50 and 80 liters, designed to distribute weight comfortably for extended periods. Manufacturer specifications often detail capacity in liters and suggest optimal load ranges.
Key additions to your daypack essentials for backpacking include:
- Shelter: A lightweight tent, tarp, or hammock system.
- Sleeping System: A sleeping bag rated for the expected nighttime temperatures and a sleeping pad for insulation and comfort. Our aggregate reviews indicate that sleeping pads with an R-value of 2 or higher are generally sufficient for 3-season use.
- Cooking System: A portable stove, fuel, pot, utensils, and biodegradable soap for cleaning.
- Food: Sufficient meals and snacks planned for the duration of the trip. Refer to hiking meal prep ideas and best food to bring on a long hike for guidance.
- Water Purification: A filter, purification tablets, or a chemical treatment system, in addition to carrying capacity.
- Clothing Layers: A comprehensive layering system including moisture-wicking base layers, insulating mid-layers, and a waterproof/windproof outer shell. What to wear hiking for beginners covers foundational principles.
This list is not exhaustive, and you’ll need to tailor it to your specific trip. For instance, in colder conditions, you might need best hiking gloves for cold weather.
Fueling Your Adventure: Food & Water
Proper nutrition and hydration are paramount for sustained energy, preventing fatigue, and overall well-being on the trail. Underestimating your needs in either category is a common mistake that can quickly turn a fun hike into a miserable or even dangerous situation. Planning your food and water intake isn’t just about carrying enough; it’s about carrying the right kinds of fuel and knowing how and when to consume them.
Hydration Strategies on the Trail
Staying hydrated is arguably the most critical element of fueling your hike. Dehydration can lead to headaches, fatigue, muscle cramps, and in severe cases, heatstroke or hyponatremia. Dehydration also impairs cognitive function, making decision-making more difficult. As of 2026, research from organizations like the Centers for Disease Control and Prevention (CDC) consistently emphasizes regular fluid intake.
Recommended Water Intake:
- General Guideline: Aim to drink about 0.5 to 1 liter of water per hour of moderate hiking in moderate temperatures.
- Hot Weather/Strenuous Activity: Increase intake to 1 to 2 liters per hour.
- Listen to Your Body: Don’t wait until you’re thirsty to drink. Sip water consistently throughout your hike.
Carrying Water:
- Day Hikes: Water bottles (e.g., Nalgene, 1-liter capacity) or hydration reservoirs (like CamelBak or Platypus bladders) are common. A 2-3 liter capacity is usually sufficient for a day trip.
- Backpacking: You’ll need larger carrying capacity, and often a robust water filter or purification system (like Sawyer Squeeze or Katadyn) to replenish from natural sources such as streams or lakes. You can explore how to stay hydrated on a hike for more in-depth strategies.
Meal Planning for Different Trip Lengths
What you eat fuels your body and your mind on the trail. The ideal food balances calories, carbohydrates, protein, and fats for sustained energy release. For longer or more strenuous hikes, calorie density is a key consideration. Planning meals in advance ensures you have enough food without carrying excessive weight.
Day Hike Nutrition:
For a day hike, think about your typical meal timing. You’ll likely need snacks to maintain energy levels between meals and potentially a packed lunch.
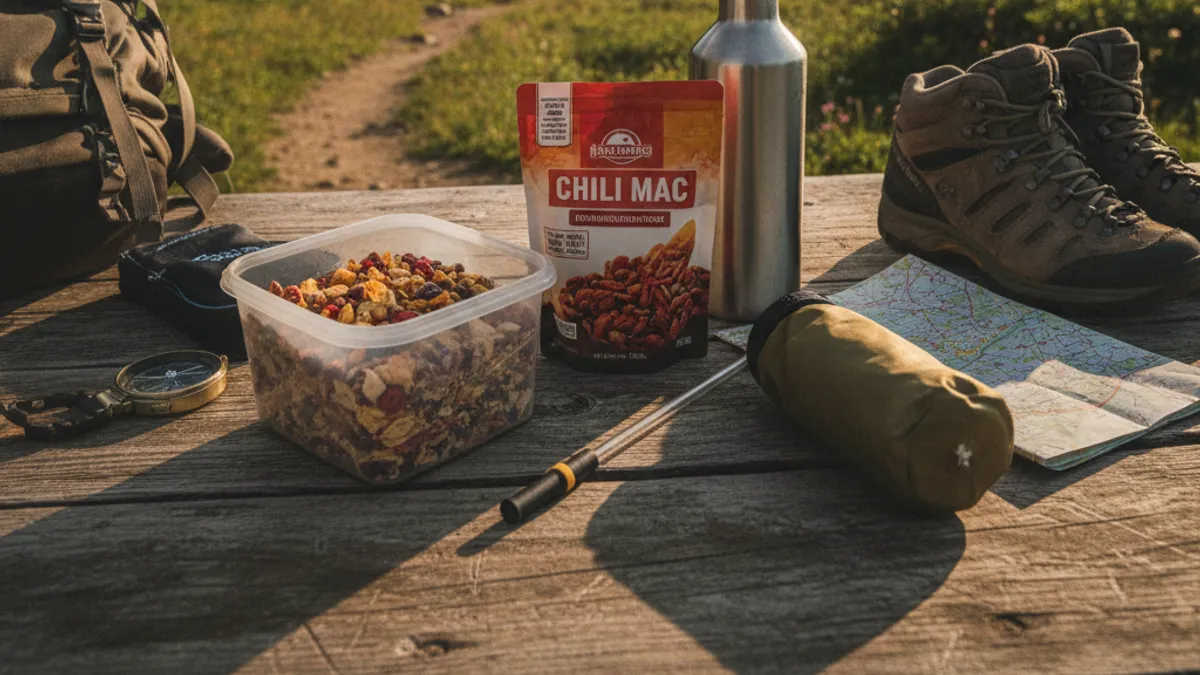
- Snacks: Easy-to-eat, calorie-dense options are best. Examples include dried fruit, nuts, seeds, best energy bars for hiking, jerky, and energy chews.
- Lunch: A sandwich, wrap, or even a sturdy pasta salad can work well. Aim for something that holds up well and is satisfying. Good ideas can be found in hiking meal prep ideas.
Backpacking Nutrition:
For multi-day trips, meal planning is more complex as you need to account for breakfast, lunch, dinner, and snacks for each day, plus a buffer.
- Breakfast: Oatmeal, granola with powdered milk, or breakfast bars are common choices, providing a solid start to the day.
- Lunch: Often eaten on the go, requiring no cooking. Think trail mix, dried fruit, jerky, energy bars, peanut butter packets. The best food to bring on a long hike offers more specific recommendations.
- Dinner: Dehydrated or freeze-dried meals are popular for their lightweight and easy preparation. Alternatively, you can prepare your own dehydrated meals. Think pasta, rice dishes, or couscous with added protein.
- Snacks: Crucial for maintaining energy. Pack plenty of best hiking snacks for energy.
Electrolytes: In addition to water, consider electrolyte supplements, especially during strenuous hikes or in hot weather, to replace salts lost through sweat. This is particularly important for longer efforts. You can find more information on electrolytes for hiking and hiking calorie calculator for detailed planning.
Safety First: Navigating Risks
Hiking, while rewarding, inherently carries risks. Proper safety planning isn’t about being fearful; it’s about being prepared and informed so you can confidently handle unexpected situations. Understanding potential hazards and having the right equipment and knowledge can prevent minor inconveniences from becoming serious problems. Our expert analysis consistently highlights a proactive approach to safety as the most effective strategy.
Weather Preparedness & Watches
Weather can change rapidly in the outdoors, especially in mountainous regions. Before you even step onto the trail, check the forecast for your specific hiking area. Pay attention to temperature fluctuations, wind speeds, and the probability of precipitation. Many national meteorological services offer detailed forecasts specifically for hiking and mountain areas.
What to Monitor:
- Temperature: Essential for choosing appropriate clothing layers.
- Precipitation: Rain, snow, or hail can impact trail conditions and create hazards like flash floods or slippery surfaces.
- Wind: High winds can be dangerous, especially at exposed ridges or higher elevations, and can increase the risk of hypothermia.
- Thunderstorms: In the afternoon, particularly in summer, thunderstorms are a significant risk. If you see dark clouds and hear thunder, seek lower ground and avoid exposed areas and tall, isolated trees.
Resources: Utilize reputable weather services and check local park advisories. The National Park Service, for example, often provides specific weather alerts for its managed areas. For extended trips, consider a weather radio or satellite communicator that provides real-time updates.
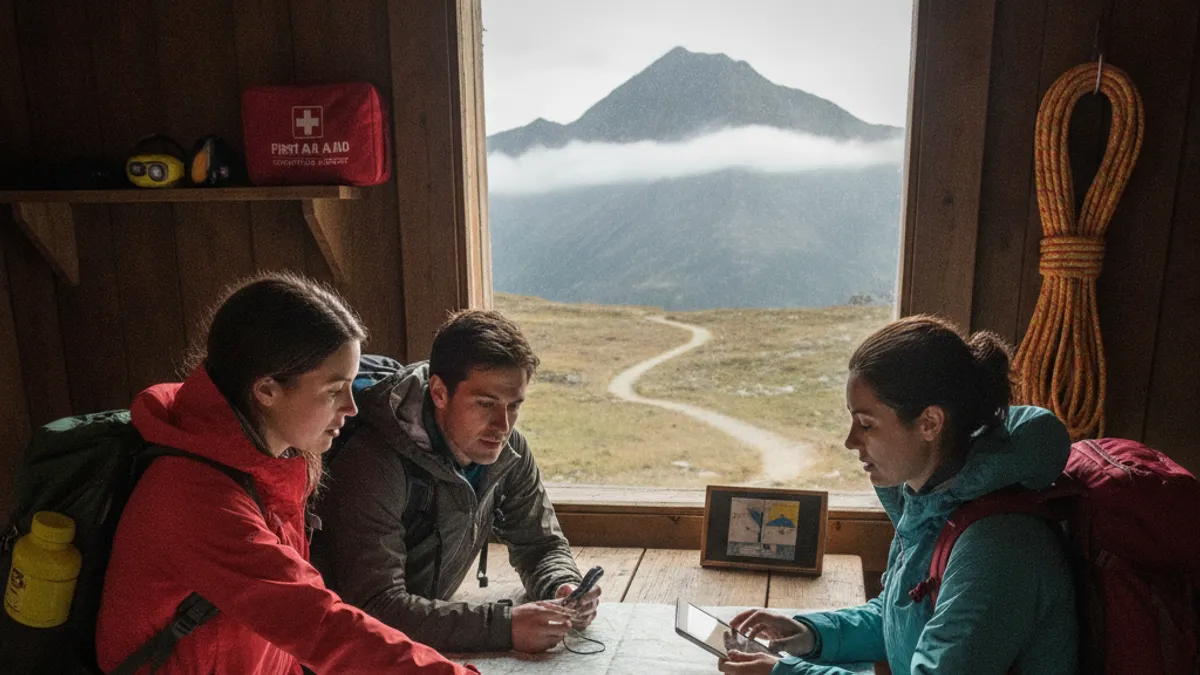
Basic First Aid & Emergency Gear
A well-stocked first-aid kit is non-negotiable for any hike, whether it’s a short walk or a multi-day expedition. The kit should be tailored to the risks you might encounter on your specific hike, but always include basics for wound care, pain relief, and common ailments. Aggregated product reviews for first-aid kits often point to the need for customization beyond the pre-packaged contents.
Key First-Aid Kit Components:
- Assorted bandages and sterile gauze pads
- Adhesive tape
- Antiseptic wipes and antibiotic ointment
- Pain relievers (e.g., ibuprofen, acetaminophen)
- Antihistamines for allergic reactions
- Moleskin or blister treatment
- Tweezers for splinters or tick removal
- Any personal medications
Beyond the kit, know how to use its contents. Consider taking a basic first-aid course. In addition to the kit, carry an emergency shelter (like a mylar space blanket) and fire-starting materials. These can be lifesavers if you’re unexpectedly stranded overnight.
Letting Someone Know Where You’re Going
This simple act is one of the most crucial safety measures you can take. Before you leave, always inform a reliable person where you are going, your planned route, your expected return time, and who to contact if you don’t check in. This creates a safety net that can be critical if something goes wrong.
What to Share:
- Destination: The specific trail name, park, or area you’ll be hiking in.
- Route: Your planned itinerary, including any specific trail numbers or junctions.
- Vehicle Information: Where you plan to park your car.
- Expected Return Time: Be specific, including a grace period for delays.
- Contact Information: Details of the park service or local authorities to notify if you don’t return on time.
This notification process is a standard recommendation from agencies like the American Hiking Society and is a fundamental part of responsible outdoor recreation. It ensures that if you encounter an issue and cannot self-rescue, help will be dispatched promptly.
Leave No Trace: Respecting the Outdoors
When you venture into the wilderness, you become a steward of that environment. The Leave No Trace (LNT) principles are a set of seven guidelines designed to help us minimize our impact on the natural world, ensuring it remains pristine for future generations. Adhering to these principles is not just about being polite; it’s about responsible citizenship and preserving the places we love to explore. Our editorial analysis shows that LNT is a fundamental component of any well-planned hiking trip, regardless of duration.
The Core Principles Explained
These principles are actionable guides that help you tread lightly. They cover everything from where you walk to how you manage waste, aiming to leave a place looking as if you were never there. Understanding each principle allows for informed decisions on the trail.
- Plan Ahead and Prepare: This is the bedrock of LNT, tying directly into how to plan a hiking trip. It involves knowing your route, checking regulations, packing appropriate gear, and understanding potential hazards. As noted by the Leave No Trace Center for Outdoor Ethics, poor planning is the root cause of many impacts.
- Travel and Camp on Durable Surfaces: This means staying on marked trails and established campsites. Walking off-trail can cause erosion, damage vegetation, and disturb wildlife habitats. For camping, choose sites that are already worn or can withstand your presence without creating new impact.
- Dispose of Waste Properly: “Pack it in, pack it out” is the mantra here. This includes all trash, food scraps, and even biodegradable items like fruit peels and nutshells. Human waste, too, requires proper disposal, typically by digging catholes at least 200 feet from water sources, trails, and campsites.
- Leave What You Find: Resist the urge to take rocks, plants, or cultural artifacts. These items have a place in their natural setting. The goal is to preserve the natural and cultural heritage of a place.
- Minimize Campfire Impacts: Campfires can cause lasting damage to landscapes. If fires are permitted, use established fire rings and keep them small. Always ensure fires are completely extinguished and cold before leaving. In many areas, camp stoves are a preferred alternative to open fires.
- Respect Wildlife: Observe animals from a distance and never feed them. Feeding wildlife can alter their natural behaviors, make them dependent on humans, and pose risks to both the animals and future visitors. Secure your food and trash properly to avoid attracting animals to your camp.
- Be Considerate of Other Visitors: Hike and travel at a moderate pace, yield to other hikers, and keep noise levels down. Enjoying nature doesn’t mean disturbing others’ experiences. Respecting other visitors enhances everyone’s enjoyment of the outdoors.
Common Pitfalls to Sidestep
Even with good intentions, it’s easy to make mistakes when planning and executing a hiking trip. Recognizing these common errors beforehand can help you avoid them, saving you from potential discomfort, frustration, or even dangerous situations. Our editorial analysis of hiking forums and incident reports highlights several recurring issues that new and even experienced hikers sometimes face.
Misjudging Time & Distance
This is perhaps the most frequent planning error. Hikers often underestimate how long it will take to cover a certain distance, especially if the trail has significant elevation gain or technical terrain. A 5-mile hike that looks quick on paper can easily take 4-6 hours if it involves steep climbs and rocky sections.
What to Do Instead:
- Research Thoroughly: Look for detailed trail descriptions that mention elevation profile and terrain type.
- Add a Buffer: Always add at least 30-50% more time to your estimated hiking duration.
- Consider Your Group: If you’re hiking with others, factor in the slowest member’s pace.
- Check Sunset Times: Ensure you have enough daylight to complete your hike, including a buffer.
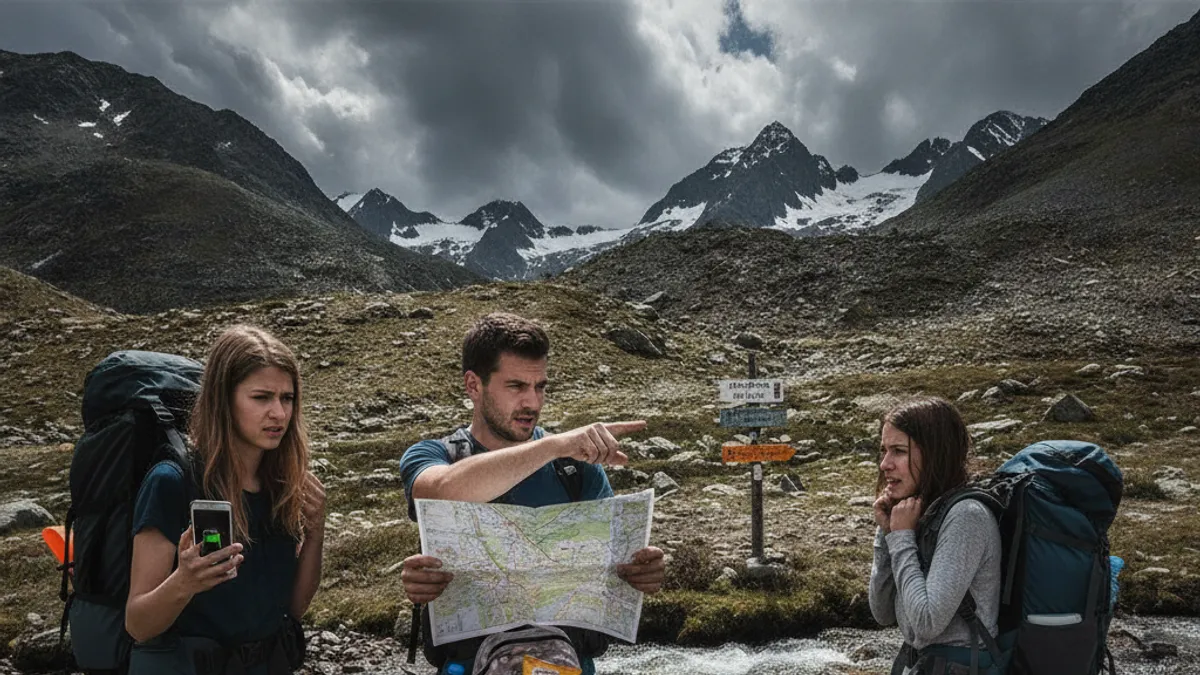
Underestimating Weather
People often check the forecast for their starting point but forget that weather can be dramatically different at higher elevations or in different microclimates along the trail. Also, forecasts can be wrong. Relying solely on a single weather app prediction is a mistake.
What to Do Instead:
- Check Multiple Sources: Use several reputable weather services.
- Look at Mountain-Specific Forecasts: Websites and apps often provide forecasts tailored to specific peaks or ranges.
- Pack for the Worst: Always bring layers, rain gear, and sun protection, even if the forecast is clear. Conditions can change rapidly.
Improper Gear Packing
You might have all the right gear, but if it’s packed poorly, it can be a problem. Heavy items too high or too low in your pack can throw off your balance, making hiking more strenuous and increasing the risk of a fall. Alternatively, critical items might be buried so deep you can’t access them when needed.
What to Do Instead:
- Distribute Weight Sensibly: Place heavier items close to your back and in the middle of the pack. Lighter, bulkier items can go at the bottom, and items needed quickly should be in accessible top or outer pockets.
- Use Dry Bags: Protect essential gear like electronics, extra clothes, and sleeping bags from moisture.
- Organize: Keep similar items together. For example, maintain a dedicated pocket for your first-aid kit.
Making Your Decision: Which Hike Is Right For You?
After walking through the considerations, duration, difficulty, route, gear, sustenance, and safety, it’s time to make a commitment. This isn’t just about picking a trail; it’s about matching your available time, fitness level, and desired experience to the realities of what different hiking trips entail.
If you’re looking for:
- A quick, accessible nature break: Focus on Day Hiking with Easy or Moderate difficulty trails. Prioritize packing essentials for a few hours, with ample water and snacks.
- A more immersive outdoor experience without overnight stays: Lean towards longer Day Hikes on Moderate to Strenuous trails. Ensure you have a well-packed daypack with all the Ten Essentials.
- An extended wilderness adventure involving camping: Commit to Backpacking. This requires meticulous planning of gear, food, and water purification, and selecting trails appropriate for multi-day efforts and your backpacking fitness.
Use this simple workflow:
- Assess Your Time: How many hours or days do you have?
- Assess Your Fitness: Honestly evaluate your current strength, cardiovascular health, and stamina. Remember, you can always build up to tougher hikes. Check out resources on hiking workout plans if you need guidance on improving.
- Assess Your Experience: Are you a beginner or an experienced hiker? This influences the complexity of the trail and navigation you can handle.
- Match to Trail Type: Use the difficulty ratings (Easy, Moderate, Strenuous) and trail length to find your match.
- Review Safety & Gear: Ensure you have the necessary safety items and gear for the chosen trip duration and conditions.
By following these steps, you can confidently select a hiking trip that aligns with your capabilities and intentions, setting the stage for a safe and enjoyable adventure.