
Knowing how to avoid getting lost while hiking is a fundamental skill for anyone heading into the outdoors. It’s the difference between a fantastic adventure and a potentially dangerous situation. Our research shows that preparedness and awareness are your best allies when you’re miles from the trailhead.
This guide focuses on practical, actionable advice, drawing from established outdoor safety principles. We’ll break down essential preparation steps, the tools that can save you, and the mindset needed to stay oriented. Adhering to best practices, like carrying a map and compass and knowing how to use them, significantly reduces risk, as confirmed by organizations like the National Park Service.
Why Staying Found Matters on the Trail
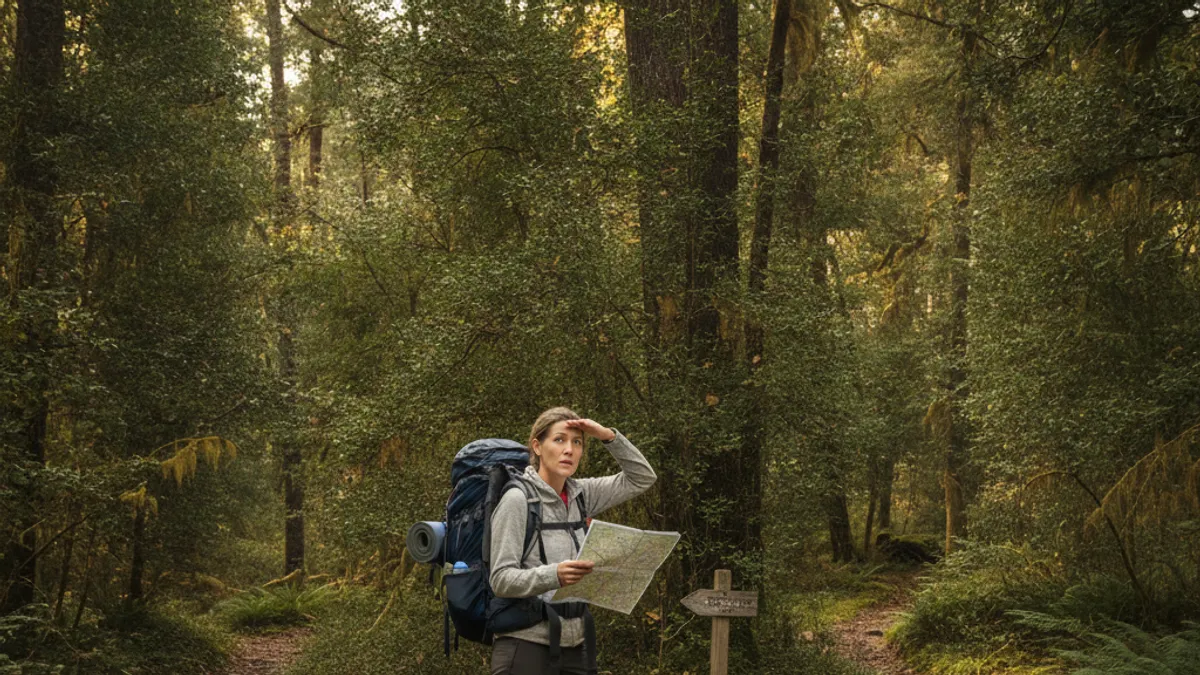
The backcountry is beautiful, but it demands respect. When you’re out hiking, especially on less-traveled trails or in unfamiliar territory, the risk of becoming disoriented is real. It’s not about fear-mongering; it’s about recognizing the stakes. A simple wrong turn can escalate quickly.
The Real Risks of Getting Lost
Getting lost isn’t just about being inconvenienced. The dangers are significant and can impact your safety and well-being. Exposure to the elements, dehydration, exhaustion, and the psychological toll of being lost can all contribute to a bad outcome.
- Exposure: Hypothermia or heatstroke can set in rapidly, especially if weather conditions are severe or you’re unprepared for temperature shifts.
- Dehydration and Hunger: Without a clear path back, accessing water sources or the food you planned for your hike can become difficult. Energy depletion leads to poor decision-making. Consistent hydration and proper nutrition are key.
- Injury: In a panic or disoriented state, you’re more likely to stumble, fall, or twist an ankle. This can immobilize you and compound the situation.
- Psychological Stress: Fear and anxiety can cloud judgment, making rational problem-solving much harder. Prolonged stress can lead to exhaustion.
- Search and Rescue Strain: When someone is lost, it initiates a potentially resource-intensive search and rescue operation, putting others at risk.
What This Guide Covers
We’ve organized this information to give you a clear path to becoming a more confident and safer hiker. We’ll cover everything from the essential gear you should always have to the mental skills that keep you oriented. Think of it as building your personal navigation system, both with tools and your own awareness.
Your Pre-Hike Safety Checklist
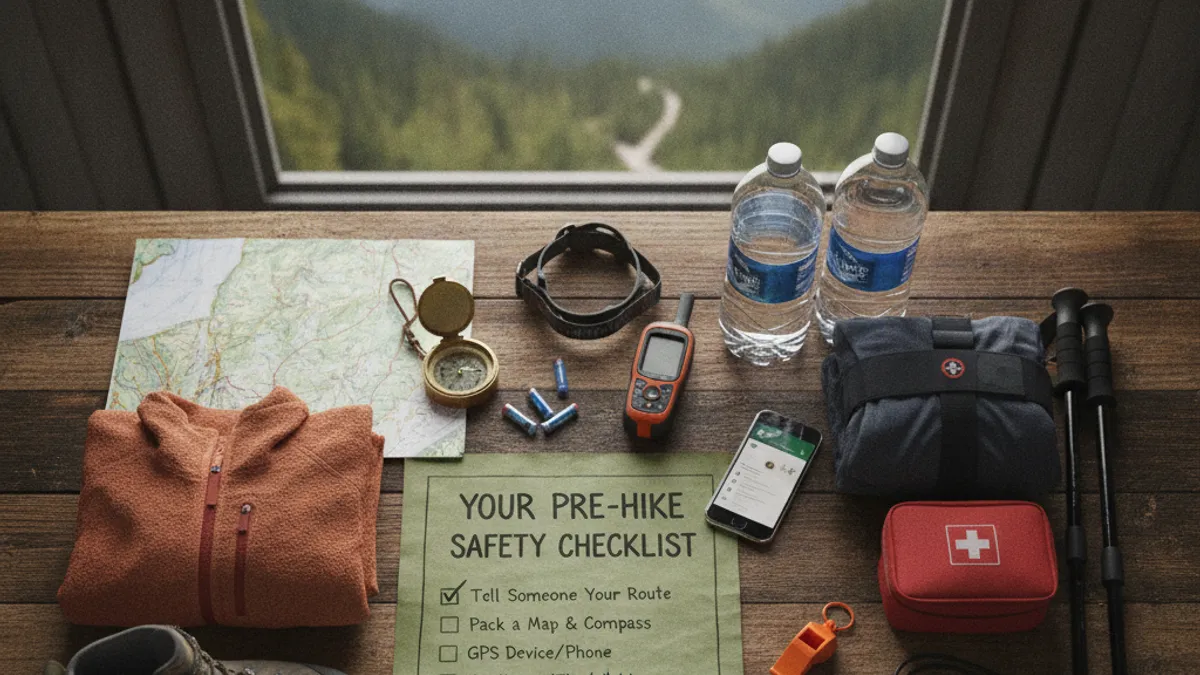
The safest hikes begin long before you step onto the trail. Proper preparation is your first and most crucial line of defense against getting lost. This is where you build the foundation for a successful and enjoyable outing.
Knowing Your Route: Maps, Trails, and Terrain
Familiarizing yourself with your planned route is non-negotiable. Don’t just assume a trail is well-marked or straightforward.
- Study Your Map: Before your hike, spend time with your chosen map. Understand its scale and symbols. Identify key features like trailheads, junctions, summits, water sources, and potential bailout points or roads. Knowing what major landmarks, like creeks, ridgelines, or distinct rock formations, should be visible helps immensely.
- Trail Conditions: Research recent trail reports if available. Is the trail well-maintained, or is it likely to be overgrown? Are there recent closures or detours?
- Terrain and Elevation: Look at the elevation profile. A short distance on a map can become a grueling hike with significant elevation gain. Understanding this helps you gauge your physical exertion and remaining daylight. For instance, a 5-mile trail with 3,000 feet of elevation gain will take significantly longer to hike than a flat 5-mile trail.
Checking the Weather: When to Hike, When to Wait
Weather can turn a pleasant walk into a hazardous situation in minutes, especially in mountainous or exposed areas.
- Reliable Forecasts: Use multiple reputable weather sources for the specific region you’ll be hiking in. Pay close attention to wind speed, precipitation chances, and temperature fluctuations throughout the day and night.
- Mountain Weather: Remember that mountain weather is notoriously unpredictable. Conditions can change rapidly due to elevation and local microclimates.
- Decision Time: If the forecast predicts severe storms, heavy fog, high winds, or extreme temperatures and you’re not adequately prepared, it’s wise to postpone your hike or choose a different, safer location. Your safety is worth more than a planned trek.
Sharing Your Plans: The Essential Itinerary
Leaving a detailed trip plan with someone reliable is a critical safety measure. This information is vital should you fail to return as scheduled.
- Who to Tell: Inform a trusted friend, family member, or your park ranger if applicable.
- What to Include:
- Your specific hiking location and trail name.
- Your exact planned route, including any intended detours or variations.
- Your estimated start and return times.
- A description of your hiking party (number of people, any specific needs).
- The color and type of vehicle you parked at the trailhead.
- Contact information for local Search and Rescue or the relevant land management agency.
- Follow-Up: Instruct your contact person on what to do if you don’t check in by the agreed-upon time. This usually involves contacting authorities after a set grace period.
Navigation Tools: Your Lifelines in the Backcountry

Technology is great, but it’s not foolproof. A layered approach to navigation, combining reliable tools with your own skills, offers the best protection against getting lost.
Map and Compass: The Classic, Reliable Duo
These are the bedrock of backcountry navigation. They don’t rely on batteries or signals, making them essential even if you carry other devices.
- Topographic Maps: These are essential for understanding terrain. A good map will show contour lines indicating elevation, water features, trails, and points of interest.
- Baseplate Compass: Your compass needs to be a baseplate model with a rotating bezel and a clear baseplate marked with directional lines. It should also have a declination adjustment feature to account for magnetic north vs. true north.
- Practice is Key: Simply owning a map and compass isn’t enough. You must learn how to orient the map to your surroundings, take bearings, and follow a compass course. Many outdoor organizations offer orienteering courses, or you can find tutorials online and practice in a familiar park.
GPS Devices & Smartwatches: Technology’s Role
Modern GPS devices and smartwatches can be invaluable navigation aids, but they should be used as supplements, not replacements, for map and compass skills.
- Functionality: GPS units and smartwatches can display your current location on a digital map, track your route, and provide proximity alerts.
- Battery Dependence: The primary drawback is their reliance on batteries. Manufacturer specifications for GPS devices often cite battery life ranging from 10 hours for basic units to over 40 hours for advanced models on a single charge or with replaceable batteries. However, continuous use, especially with screen brightness high, drains power faster. Always carry extra batteries or a reliable power bank.
- Signal Issues: While GPS signals are generally good, they can be degraded in deep canyons, dense forests, or during severe weather.
- Offline Maps: Ensure any device you use allows for downloading maps for offline use, as cell service is often non-existent in the backcountry.
Knowing How to Use Your Tools: Practice Makes Perfect
The most sophisticated navigation tool is useless if you don’t know how to operate it. This is where your preparation pays off.
- Map Skills: Learn to read contour lines, identify symbols, and use the map’s scale to estimate distances. Practice orienting the map with your compass, so you can see how it lines up with the actual terrain around you.
- Compass Skills: Master taking a bearing from the map to determine your direction of travel, and taking a bearing in the field to identify your location. Understanding how to offset for magnetic declination is critical for accuracy; incorrect declination can throw your bearing off by several degrees, leading you miles astray over distance.
- Device Proficiency: Before your hike, spend time with your GPS device or smartwatch. Understand its menus, how to mark waypoints, track your route, and use the breadcrumb trail feature to backtrack if needed. Download the relevant maps for your intended hiking area.
Trail Awareness: What to Look and Listen For

Navigation isn’t just about tools; it’s about actively engaging with your environment. Constant, subtle observation will help you stay oriented and catch potential problems before they escalate.
Recognizing Landmarks: Your Natural Compass
Landmarks are your visual anchors in the landscape. They help confirm your position on the map and provide clues if you deviate from the intended path.
- Distinctive Features: These could be unusually shaped trees, prominent rock formations, a bend in a river, a clearing, or a distinct mountain peak.
- Mapping Landmarks: As you study your map before the hike, note significant landmarks that should be visible along your route. If you see them, you reinforce your location; if you don’t see them when you expect to, it’s a red flag to stop and reassess.
- Consistent Observation: Make it a habit to glance up and around every few minutes, not just at your feet or your device. What do you see? Does it match what your map suggests?
Paying Attention to the Sun’s Position
Even on a cloudy day, the sun can provide valuable directional clues. It rises in the east and sets in the west, providing a consistent reference point.
- General Direction: Without a precise reading, a general sense of where the sun is relative to your body can help you maintain a consistent direction of travel or confirm your position relative to a known east-west feature on your map.
- Time of Day: The sun’s position changes throughout the day, with the highest point generally occurring around noon. This can also help you estimate how much daylight you have left.
Trail Markers: What to Spot and What They Mean
Trails are often marked to guide hikers, but the type and frequency of markers vary greatly. Understanding what to look for is key.
- Blazes: These are typically painted symbols on trees or rocks. Colors and shapes often indicate different trails or directions. For example, a white blaze might mark a main trail, while blue might indicate a spur trail. Always know the specific blaze system for the area you’re hiking.
- Cairns: Piles of rocks, often used in alpine or desert environments where trees are scarce. They are intentionally constructed to mark a trail.
- Signs and Posts: Many trails have wooden signs at junctions indicating trail names, distances, and directions.
- Consistency: Look for consistent patterns of marking. If you suddenly stop seeing markers, or if they change dramatically, it could mean you’ve strayed from the path.
Listening for Clues: Sounds of Civilization
Sometimes, your ears can be just as useful as your eyes. Sounds that don’t belong in the natural environment can signal your proximity to roads, buildings, or other areas of human activity.
- Distant Traffic: The hum of cars on a distant highway can indicate you’re not as far off the beaten path as you might think, and following that sound might lead you back towards civilization.
- Voices or Music: Hearing human voices, even faintly, can suggest you’re near a park boundary, a picnic area, or a more frequently used trail.
- Water Sources: While not civilization, the sound of running water can be a useful landmark, especially if it’s marked on your map and you know it leads to a known location.
Navigating Trail Junctions and Choices
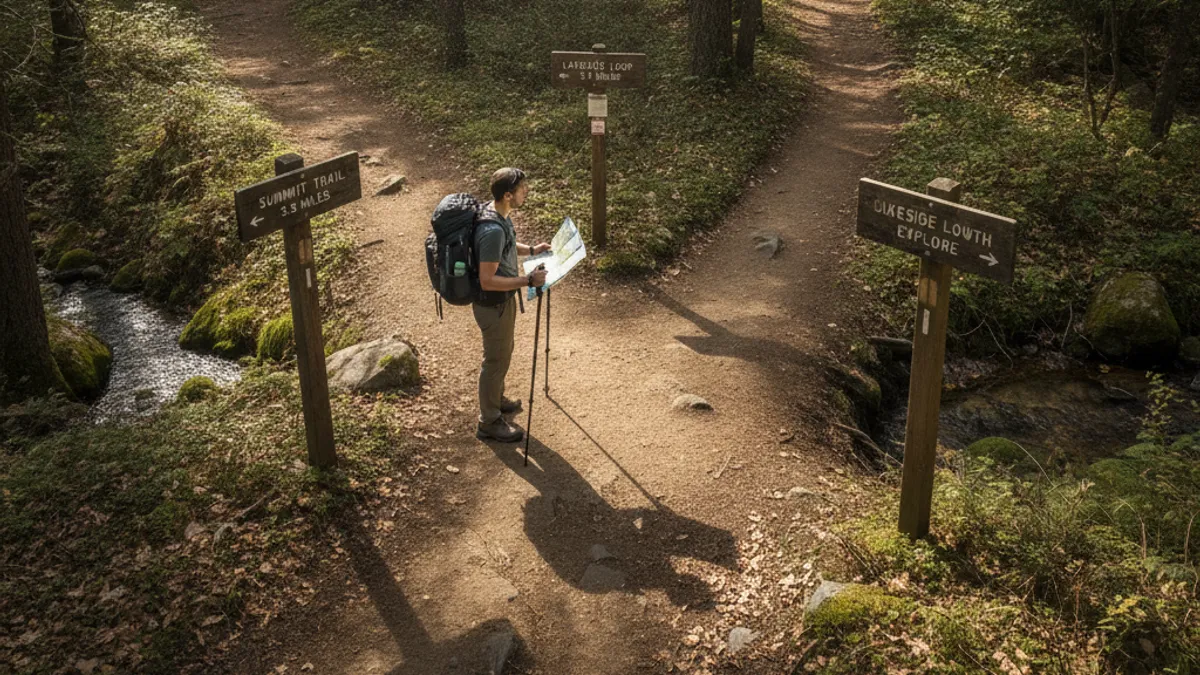
Trail junctions are points where your navigation becomes critical. It’s incredibly easy to take the wrong path if you’re not paying close attention or referring to your map.
Making the Right Turn: Avoiding Common Mistakes
Many hikers get lost precisely at these points because they’re tired, distracted, or assume they know the way.
- Assumption is the Enemy: Never assume a junction is obvious. Always stop and consult your map.
- Don’t Follow the Most Used Path Blindly: Sometimes, the most well-worn path at a junction isn’t the one you need. Your map is the definitive guide.
- Check Signage: If there are signs, read them carefully to confirm you’re headed toward your intended destination. Compare the names and distances on the sign to your map.
When to Double-Check Your Map
It’s better to stop and check your map more often than not enough. The moments before and immediately after a junction are prime opportunities to verify your position.
- Upon Approaching a Junction: As you see a junction appear ahead, pull out your map and compass. Orient the map and try to pinpoint your exact location.
- After Making a Choice: Once you’ve chosen a path at the junction, take a few steps and then pause. Look around. Does the terrain and surrounding landscape match what your map shows for the trail you’ve taken? If not, it’s time to backtrack to the junction and reassess. This verification step can save you hours of travel in the wrong direction.
The STOP Method: What to Do If You Feel Unsure

At some point, you might have a moment of doubt. You could feel that you’re not quite where you should be on the map, or the trail ahead doesn’t look right. This is precisely when you need a structured approach to regain control.
Stop: Don’t Panic, Just Halt
The absolute first thing to do is stop moving. Your instinct might be to push forward, hoping to find the trail, but this often leads you further astray. Plant your feet. Take a deep breath.
Your ability to think clearly depends on halting your movement immediately upon noticing an issue.
Think: Recall Your Last Known Point
Once stopped, calmly try to remember the last place you were absolutely certain of your location. What landmarks did you see? What was the terrain like? When did you last check your map and compass, and what did they indicate?
This mental playback helps re-contextualize your situation.
Observe: Scan Your Surroundings
Look around with intention. Are there any familiar trees, rock formations, or water features that you can correlate with your map? Can you hear any sounds, distant roads, rivers, or even voices? What is the general slope of the land?
Combining these observations with your map is crucial.
Plan: Re-orient and Decide
Now, consult your map and compass. Try to orient the map to the terrain you see. If you have a working GPS device or smartphone with offline maps, this is the time to check your current coordinates. Based on your observations and your navigational tools, form a plan.
This might involve backtracking to the last known point, attempting a bearing to a known feature, or, if staying put is safer, preparing to signal for help.
Essential Gear for Staying Found

Having the right equipment is a critical component of preventing trouble. These aren’t luxury items; they are core pieces of safety equipment for any hike where getting lost is a possibility.
Navigation Essentials
These are the tools that directly help you know where you are and where you’re going.
- Map: A detailed topographic map of the area. For backcountry use, manufacturer specifications generally recommend maps at a scale of 1:24,000 or 1:50,000 for good detail.
- Compass: A reliable baseplate compass with a rotating bezel.
- GPS Device or Smartphone with GPS: Ensure it has offline maps downloaded for your region.
- Extra Batteries/Power Bank: Crucial for any electronic navigation device. A typical power bank might offer 2-3 full charges for a smartphone.
Survival Basics: Water, Food, Shelter, and More
These items are for your immediate safety and comfort, which indirectly helps you maintain focus and make better decisions if you are delayed or lost.
- Water: Carry more than you think you’ll need. Per guidelines on hydration for hikers, a common recommendation is about half a liter per hour of moderate activity in moderate temperatures. Factor in higher needs for strenuous activity or heat. Always ensure you know how much water to drink hiking for your conditions.
- Food: High-energy snacks are vital for maintaining concentration and physical strength. Think best energy bars for hiking or calorie-dense options. You can find excellent hiking meal prep ideas to plan ahead.
- Shelter: An emergency bivy sack or space blanket can provide critical protection from the elements if you’re unexpectedly stuck overnight.
- Headlamp/Flashlight: Essential if your hike extends past sunset. Many headlamps offer 50-100 hours of runtime on low settings, but always carry spare batteries. You can find hiking headlamp reviews for specific models.
- First-Aid Kit: A well-stocked kit for treating injuries.
- Fire Starter: Waterproof matches or a reliable lighter.
Common Hiking Mistakes That Lead to Getting Lost
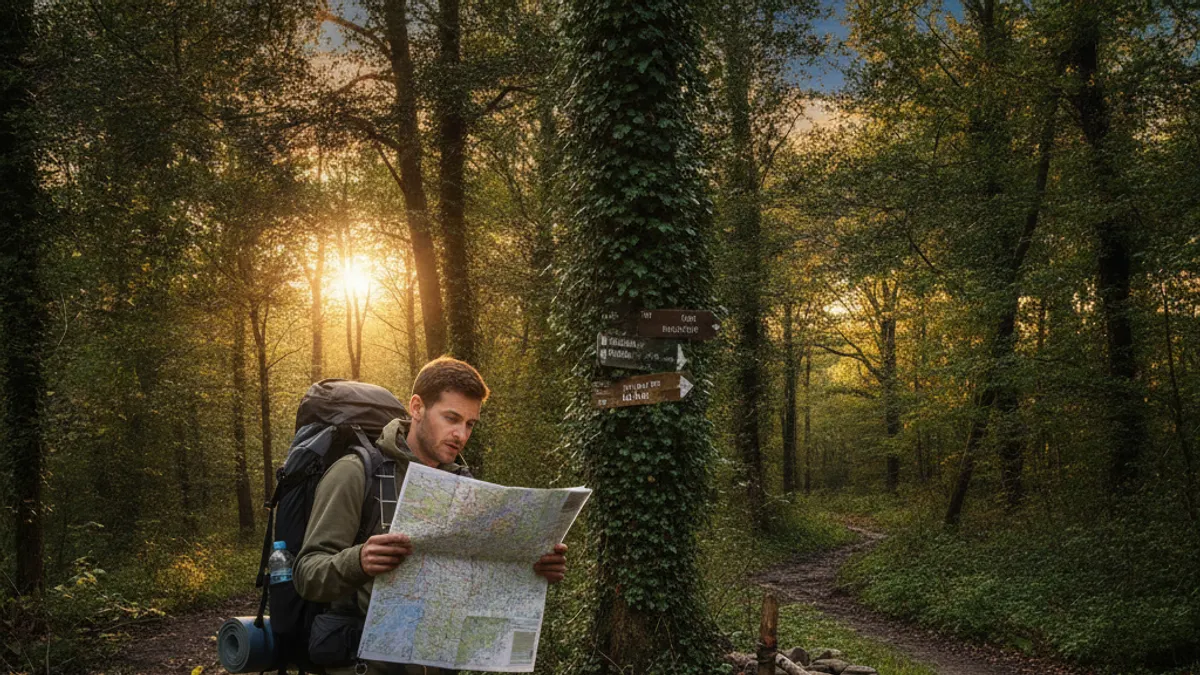
Even with good intentions and some gear, certain common missteps can significantly increase your risk of disorientation. Awareness of these pitfalls is your first step in avoiding them.
Over-Reliance on Technology
Many hikers nowadays depend solely on their smartphone’s GPS. While incredibly convenient, this approach has severe limitations.
- Battery Failure: As mentioned, batteries die. A phone or GPS that runs out of power leaves you with no electronic navigation, potentially with no backup skills.
- Signal Loss: GPS signals can be weak or unavailable in canyons, dense forests, or during certain weather events, rendering your device useless.
- False Sense of Security: Technology can make you less observant of your surroundings, as you might stop actively looking for landmarks or trail markers.
Ignoring Subtle Trail Changes
Trails aren’t always perfectly clear, especially as seasons change or in less-maintained areas. Small shifts can lead you astray.
- Overgrown Sections: A trail might become partially obscured by vegetation. It’s crucial to look for subtle signs like bent grass, disturbed earth, or faint trodden paths.
- Faint or Fading Markers: If trail blazes or cairns become infrequent or hard to spot, it’s a signal to slow down and be extra vigilant.
Wandering Off-Trail for “Views”
It’s tempting to step off the defined path for a better photo or a closer look at something interesting. However, this is a quick way to lose your bearings.
- Disorientation: Even a short distance off-trail can make it hard to find your way back, especially if the terrain looks similar in all directions.
- Ecological Impact: Venturing off-trail can also damage sensitive vegetation and contribute to erosion. Sticking to marked paths is part of responsible hiking.
Underestimating Time and Distance
Hikers often misjudge how long a trail will take, especially when factoring in breaks, difficult terrain, or unexpected delays.
- Pacing Errors: A common rule of thumb is to estimate 30 minutes per mile plus 30 minutes for every 1,000 feet of elevation gain, but this is just a guideline. Actual pace depends heavily on fitness, the trail, and pack weight.
- Sunrise/Sunset: Failing to account for sunset can result in hiking in the dark, which dramatically increases the risk of missteps and getting lost. Dusk can arrive much faster than anticipated.
Expert Tips for Unwavering Confidence on the Trail
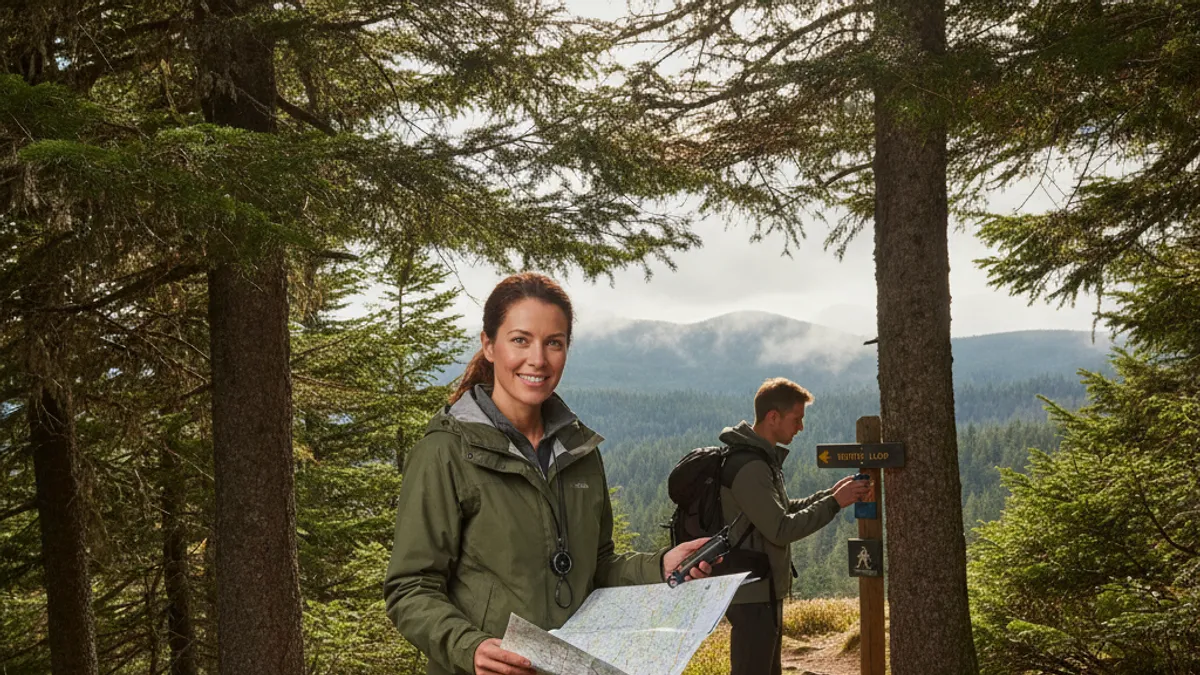
Beyond the tools and basic rules, developing a certain mindset and consistent habits will make you a much more competent and confident hiker. These are the practices that seasoned outdoorspeople rely on.
Practice Your Skills Regularly
Like any skill, navigation with map and compass requires practice to maintain proficiency. Don’t wait for a critical moment to try using them for the first time.
- Familiar Areas: Use your map and compass on shorter, familiar hikes first. This builds confidence and reinforces your understanding in a low-stakes environment.
- Orienteering Exercises: Participate in local orienteering events or practice specific skills like taking bearings or identifying features from a distance. This keeps your skills sharp.
Hike Within Your Limits
Know your own physical capabilities and experience level. Pushing too hard can lead to exhaustion, which impairs judgment and makes you more susceptible to mistakes.
- Physical Preparedness: As suggested in a hiking workout plan for beginners, ensure you’re physically conditioned for the hike’s demands. You might also find resources on what to wear hiking for beginners helpful for overall readiness.
- Experience Progression: Don’t attempt highly technical or remote trails until you have built up experience on easier routes. This gradual progression ensures you develop skills and judgment appropriately.
Trust Your Gut, But Verify With Tools
That nagging feeling that something isn’t quite right is often your intuition tapping into subtle environmental cues. Don’t ignore it.
- Intuition Trigger: If your gut tells you you’re off, it’s usually a sign to stop and use your tools. Your brain might have processed something your conscious mind hasn’t registered yet.
- Tool Confirmation: Use your map and compass or GPS to confirm or dismiss your gut feeling. This combination of intuition and objective data is powerful for staying found.
When to Call for Help: Recognizing True Emergencies
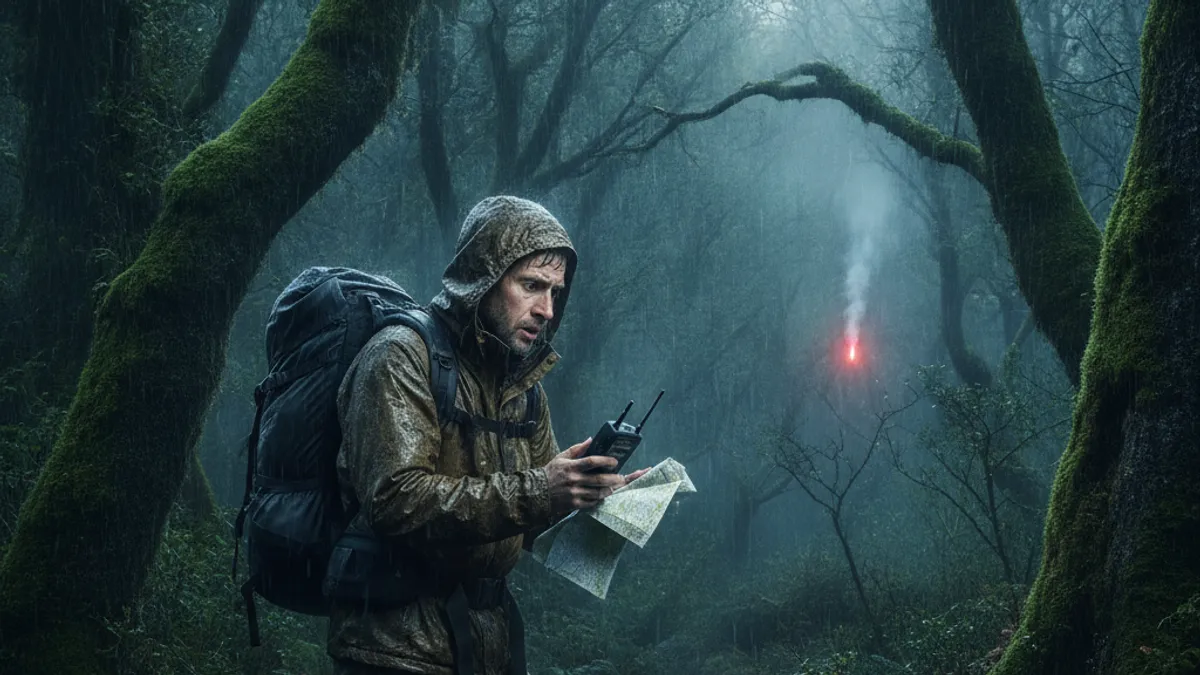
Sometimes, no matter how prepared you are, you can find yourself in a situation where you need external assistance. Knowing when to make that call is as important as knowing how to navigate.
Immediate Danger vs. Minor Detour
Not every wrong turn is an emergency. A slight deviation that you can easily correct by backtracking or using your map and compass doesn’t warrant a rescue call. An emergency usually involves immediate threats to your safety.
Indicators for Calling for Help
- Injury: If you or someone in your group is seriously injured and cannot move, rendering self-rescue impossible.
- Exposure: If you are caught in severe weather without adequate shelter or warm clothing, and hypothermia or heatstroke are imminent threats.
- Lost for Extended Period: If you’ve been lost for more than a couple of hours (depending on conditions and your preparedness) and cannot re-orient yourself, it may be time to enact your “tell someone your plans” protocol.
- No Resources: If you’ve run out of water or essential food and are in a situation where resupply is impossible.
How to Signal for Help
- Cell Phone: If you have service, call emergency services immediately (911 in the US, for example). Be prepared to give your location as precisely as possible. Conserve battery; turn off unnecessary features.
- Whistle: Three short blasts is a universal distress signal. Repeat at regular intervals.
- Mirror: In daylight, a signal mirror can be seen for miles. Flash it towards any aircraft or distant searchers.
- Bright Clothing/Shelter: If you are staying put, make yourself as visible as possible. Spread out brightly colored gear.
