
Your hiking boots are your most crucial piece of gear, carrying you over rough terrain and through unpredictable weather. Keeping them clean isn’t just about looks; it’s about preserving their performance and lifespan. Knowing exactly how to clean hiking boots can make a big difference in how long they last and how comfortable they remain on your adventures.
Aggregate reviews and manufacturer specifications consistently show that proper cleaning can extend boot life by up to 30% as of 2026. Neglecting this simple maintenance can lead to damaged materials, compromised waterproofing, and an unpleasant odor, ultimately cutting your adventures short. Let’s break down the best practices to keep your footwear in top shape for every trail.
Why Cleaning Your Hiking Boots Matters
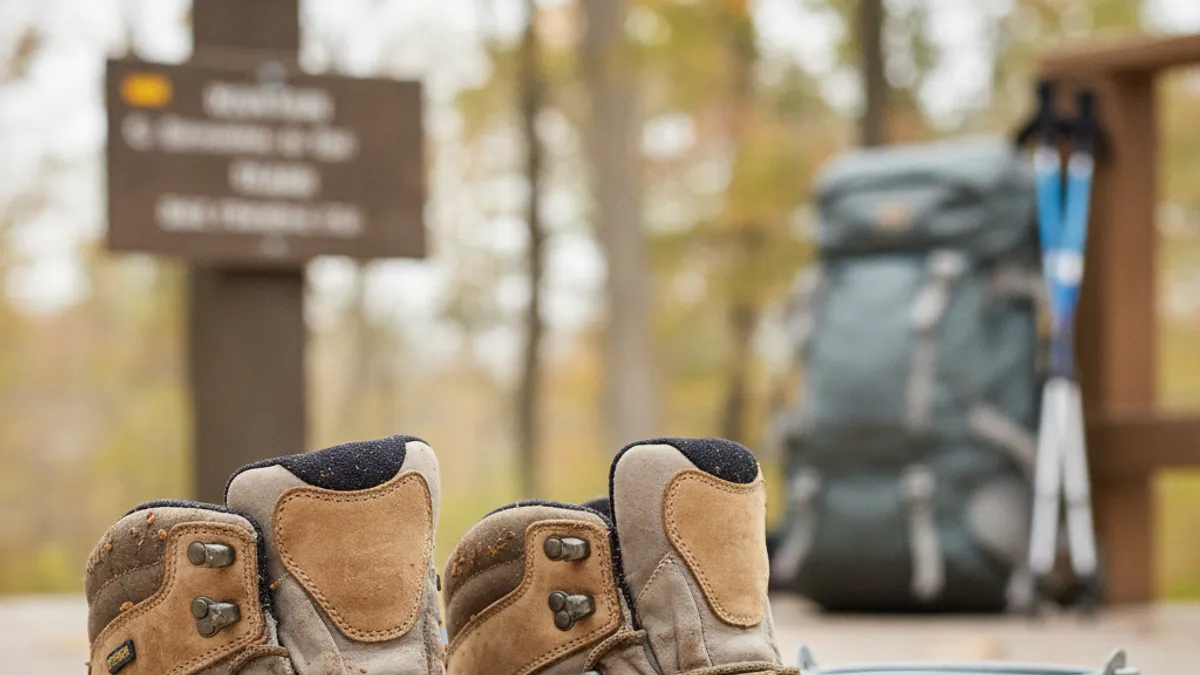
Your hiking boots work hard, bearing the brunt of every step on dusty trails, muddy paths, and rocky ascents. Over time, this constant exposure to the elements causes dirt, grime, salt, and moisture to build up. This accumulation doesn’t just make your boots look unsightly; it actively degrades the materials.
For leather boots, persistent dirt can dry out the material, leading to cracking and premature wear. On waterproof boots, like those with a Gore-Tex membrane for breathability, a clogged outer layer can reduce their ability to expel moisture, making your feet damp and uncomfortable. Regular cleaning removes these damaging agents, preserving the integrity of the boot’s construction.
Keeping Boots Trail-Ready: A Quick Look
At its core, cleaning your hiking boots is about two things: maintaining their performance and extending their lifespan. Think of it like this: a dirty engine runs less efficiently, and your boots are the engine for your feet.
- Performance: Clean boots grip better. Mud and oil on the soles reduce traction. Well-maintained waterproofing keeps your feet dry, which is essential for comfort and preventing blisters.
- Lifespan: Dirt and salt are abrasive. They can act like sandpaper on leather and fabric over time. Removing them regularly prevents this wear and tear.
When to Clean Your Hiking Boots
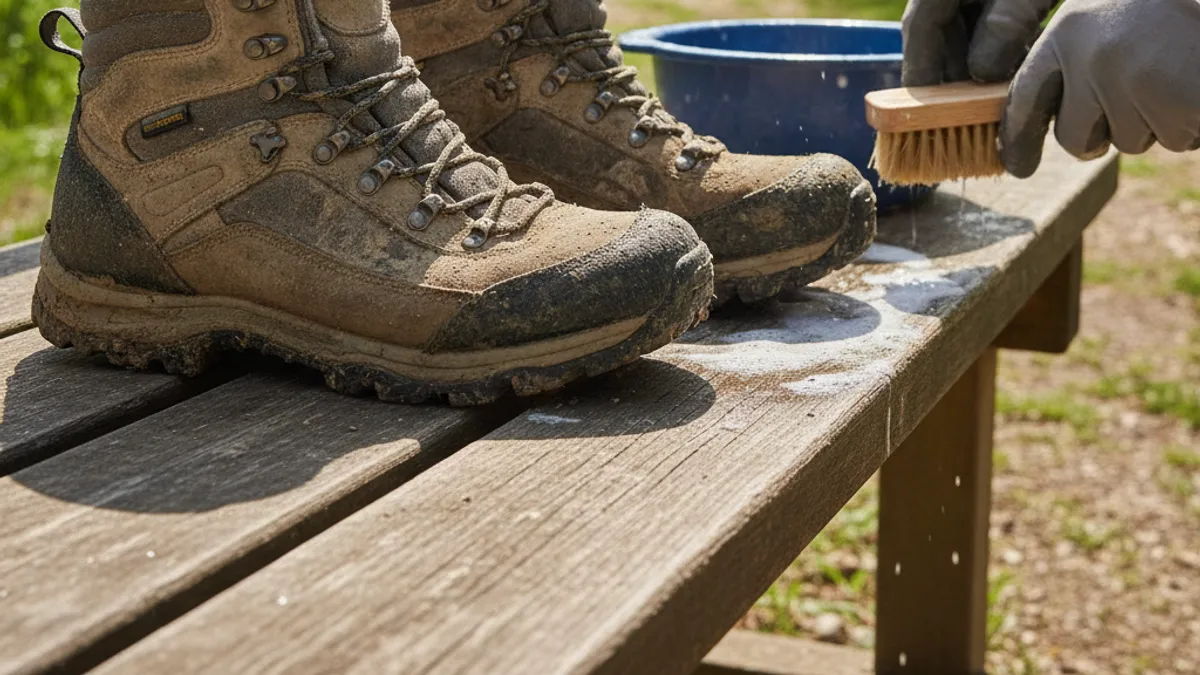
Deciding when to clean your hiking boots depends largely on the conditions you’ve been adventuring in. The general rule of thumb is: if they’re visibly dirty, they need cleaning. However, some situations require immediate attention to prevent lasting damage.
The most critical times are after a hike through mud or on salty terrain. Salt, especially from winter trails or coastal paths, can be incredibly corrosive to leather and synthetic materials, and it can dry out leather to a brittle state if left unchecked.
Spotting the Signs: Mud, Salt, and Smells
Pay attention to visual cues and developing odors.
- Mud and Debris: After any hike with significant mud, wet soil, or sticky plant matter, a thorough cleaning is usually necessary. This prevents the mud from drying into stubborn stains and protects the boot materials from prolonged exposure to moisture and decay.
- Salt Stains: If you’ve hiked on salted roads or paths (common in winter for ice control), look for white, powdery residue, particularly where the outsole meets the upper. This salt needs to be removed as soon as possible.
- Lingering Odors: A persistent, unpleasant smell is a clear indicator of bacterial growth within the boot. This usually means moisture has been trapped for too long, and both the interior and exterior of the boot need a good cleaning and a chance to dry thoroughly. For extensive odor issues, consider a specialized boot deodorizer.
The Essential Gear for Boot Cleaning

You don’t need a whole arsenal of specialized products to clean your hiking boots effectively, but having the right tools makes the job much easier and more thorough. Missing even one key item can make the process a hassle and less effective.
Our research into boot care consistently highlights the importance of gentle but effective tools. Using the wrong brush, for instance, can damage your boot’s material, especially more delicate leathers or fabrics.
Tools of the Trade: Brushes, Buckets, and Beyond
Here’s a breakdown of what you’ll want to have on hand:
- Stiff Brush: Ideal for removing caked-on mud and debris from rugged soles, midsoles, and textured uppers. Look for brushes with nylons or synthetic bristles.
- Soft Brush: Essential for gently cleaning the delicate upper materials of your boots, like leather or breathable membranes, without causing abrasion. An old toothbrush can also work for nooks and crannies.
- Bucket or Basin: To hold your cleaning solution (usually water with a mild soap or a specialized cleaner) and for rinsing.
- Clean Rags or Sponges: For wiping down boots, applying conditioners, and drying. Microfiber cloths are excellent for this.
- Mild Soap or Boot Cleaner: A gentle, non-detergent soap is best. Many outdoor gear brands offer specialized boot cleaners formulated to be safe for waterproof membranes and leather. Avoid harsh detergents or dish soap, which can strip natural oils from leather.
- Leather Conditioner (for leather boots): Once cleaned and dry, leather boots benefit from a conditioner to prevent drying and cracking.
- Waterproofing Treatment (spray or wax): Applied after cleaning and conditioning to restore or enhance the boot’s water resistance.
Getting Started: The Prep Work
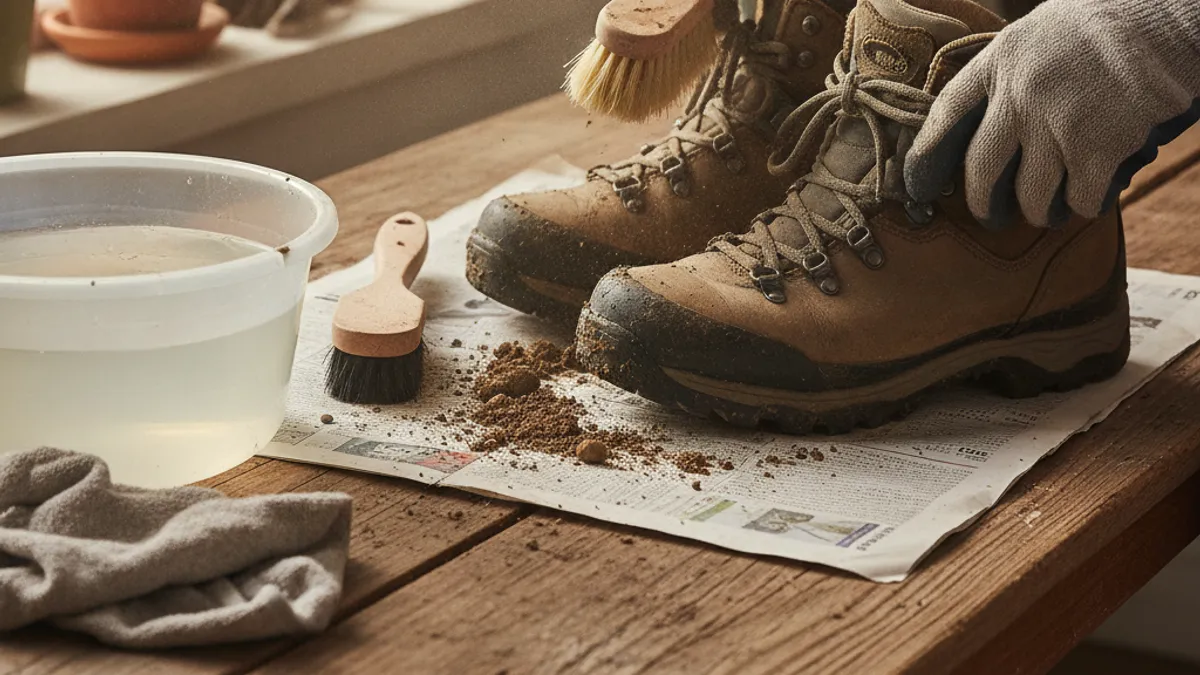
Before you even think about getting those boots wet, a little preparation goes a long way. This initial step is crucial for making the actual cleaning process smoother and more effective. It’s about getting the bulk of the mess off so you can focus on a deep clean.
Manufacturer care guides often emphasize this prep stage as non-negotiable for optimal results. It’s like cooking: you wouldn’t throw unpeeled vegetables into a pot; you prepare them first.
Removing Laces and Loose Debris
The very first thing you should do is remove the boot laces. This allows you to clean thoroughly around the eyelets and tongue area, where dirt and grit love to hide. You can clean the laces separately by hand-washing them with soap and water or running them through a wash cycle in a mesh bag.
Next, take your boots outside and give them a good whack against each other, sole-to-sole, to dislodge any large clumps of dried mud, dirt, or small stones. You can also use a dry stiff brush at this stage to brush away loose dirt from the uppers and along the seams. This prevents you from just rubbing more dirt around when you introduce water.
Cleaning Different Boot Materials
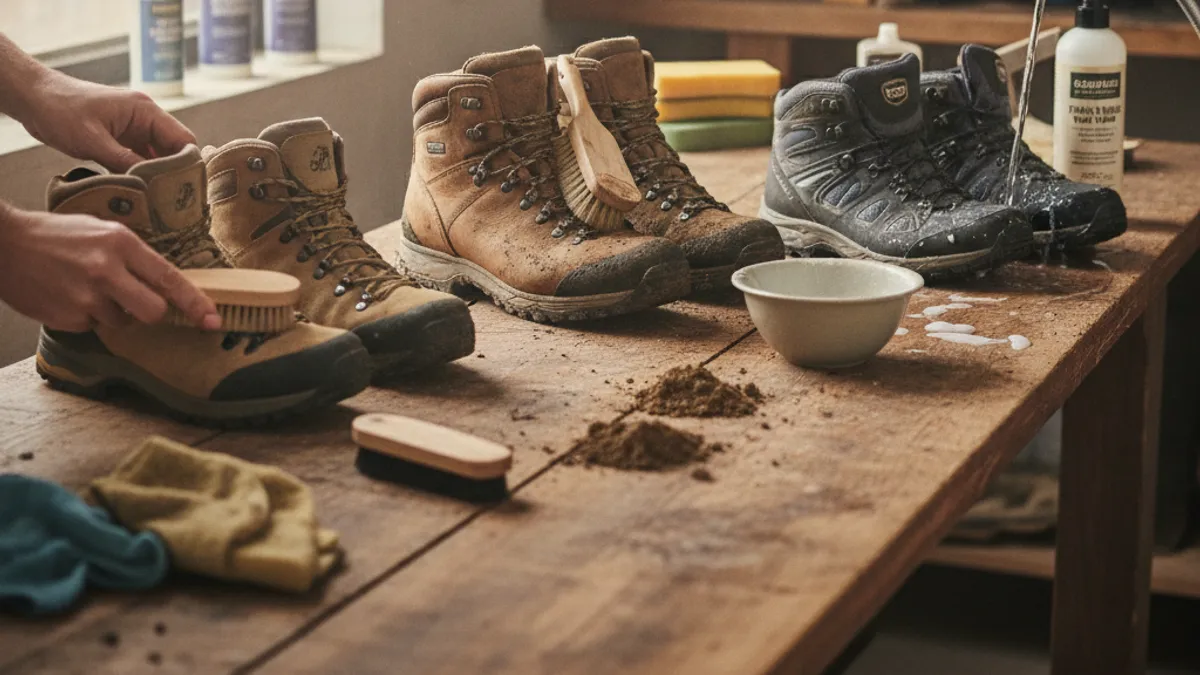
This is where the process can branch, as leather, synthetic, and waterproof boots each have slightly different needs. Using the wrong product or method can damage specialized materials. For example, aggressive scrubbing on a delicate synthetic mesh could cause tears, while certain harsh cleaners can strip the natural oils from full-grain leather.
Understanding your boot’s construction is key. Many modern boots combine materials, so it’s wise to identify the primary upper material. If you’re unsure, it’s always safer to err on the side of caution and use gentler methods. For detailed guidance, always check the specific care instructions provided by your boot manufacturer.
Leather Boots
Leather hiking boots, especially ones made from full-grain or nubuck leather, require careful attention to preserve their natural oils and flexibility. These boots are durable but can dry out, crack, and become stiff if not properly maintained.
- Initial Clean: After removing laces and knocking off loose debris, use a soft to medium brush and cool water to gently wipe down the entire boot, removing surface dirt. For stubborn mud, you might need slightly more pressure or a damp cloth.
- Deep Clean (if needed): If they’re really dirty, use a dedicated leather boot cleaner or a very mild saddle soap. Apply it sparingly with a damp cloth or sponge and work it into a light lather. Avoid submerging the boots in water.
- Rinse: Gently wipe away all soap residue with a clean, damp cloth. Ensure no soap is left behind, as it can dry out the leather.
- Dry: This is critical. Stuff the boots with newspaper or paper towels to absorb internal moisture and maintain their shape. Allow them to air dry away from direct heat sources like radiators, campfires, or direct sunlight. This can take 24, 48 hours, depending on humidity. Never use a hairdryer or place them in a conventional oven or clothes dryer.
- Condition: Once completely dry, apply a quality leather conditioner specifically designed for footwear. This replenishes oils, keeps the leather supple, and helps prevent cracking. Work it in with a cloth or your hands.
- Waterproof: After conditioning, apply a waterproofing treatment (wax or spray) suitable for leather. This restores the water-repellent properties.
Synthetic Boots
Boots made from synthetic materials, like nylon, polyester, or synthetic leather, are generally more forgiving than real leather but still require proper care. They are often lighter and dry faster.
- Initial Clean: Remove laces and knock off loose dirt. Use a soft brush and cool water to brush away surface dirt and grime.
- Deep Clean: Mix a small amount of mild soap, like a technical wash product for outdoor gear, with cool or lukewarm water. Use a soft brush or sponge to scrub the entire boot gently. Pay attention to seams and textured areas.
- Rinse: Thoroughly rinse the boots with clean cool water, ensuring all soap residue is gone from the uppers, tongue, and any mesh areas.
- Dry: Stuff the boots with newspaper or paper towels to help absorb moisture and maintain their shape. Allow them to air dry completely, away from direct heat or sunlight. Synthetic materials can be damaged by high temperatures.
- Waterproof (if applicable): If your synthetic boots are intended to be waterproof, apply a spray-on waterproofing treatment suitable for synthetic fabrics after they are dry.
Waterproof Boots (with Membranes like Gore-Tex)
Many modern hiking boots feature waterproof-breathable membranes, most commonly Gore-Tex. These membranes are designed to keep water out while allowing sweat vapor to escape. Cleaning them correctly is vital to maintaining this function.
- Avoid Harsh Chemicals: Never use bleach or strong detergents on waterproof-breathable boots. These can degrade the membrane and damage the DWR (durable water repellent) finish on the outer fabric.
- Use Technical Wash: For the best results, use a specialized cleaner designed for waterproof-breathable technical gear. These cleaners effectively remove dirt and oils without harming the membrane. Follow the product instructions.
- Gentle Brushing: Use a soft brush and cool or lukewarm water for general cleaning. For stubborn dirt, a mild soap solution can be used, but always rinse very thoroughly. Official Gore-Tex care guides suggest that washing your garment, even when it doesn’t seem dirty, can help restore its water repellency by removing residues that interfere with the DWR.
- Thorough Rinsing: This is non-negotiable for waterproof boots. All traces of soap must be removed to ensure the membrane can “breathe” properly.
- Air Dry Only: Always air dry these boots away from direct heat. High heat can damage the waterproof membrane and adhesives. Stuffing with newspaper helps absorb moisture and maintain shape.
- Reapply DWR: Over time, the DWR finish on the outer fabric wears off, causing water to soak into the fabric rather than bead up and roll off. Once the boots are clean and dry, and if water no longer beads on the surface, reapply a spray-on DWR treatment designed for technical footwear. This step is crucial for maintaining breathability and preventing the outer fabric from becoming waterlogged.
The Crucial Drying Process
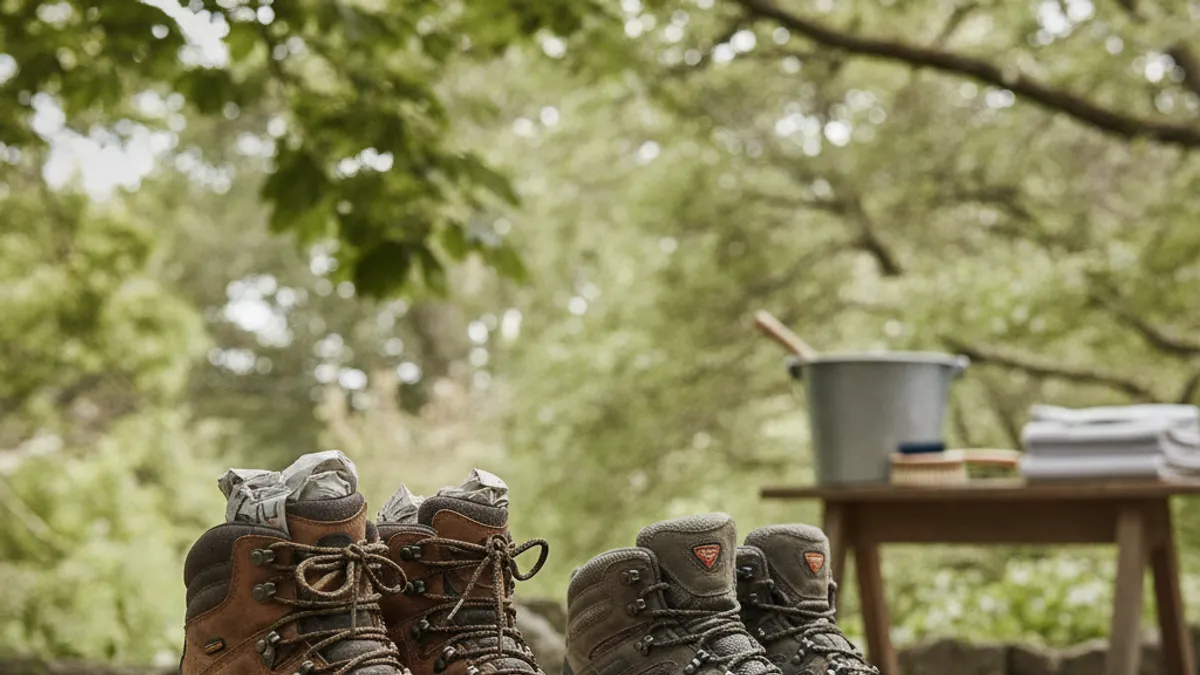
This step is where many hikers stumble, often rushing the process and ending up with damaged boots. How you dry your boots is just as important as how you clean them. Incorrect drying methods can lead to cracked leather, delaminated soles, and weakened adhesives, significantly shortening your boots’ lifespan. The goal is to remove moisture gradually and gently, allowing the materials to return to their natural state without stress.
Think of it as letting a delicate instrument air out rather than blasting it with heat. This phase requires patience, but it’s essential for long-term boot health.
Air Drying: Your Best Bet
Air drying is the universally recommended method for drying hiking boots. It’s slow, gentle, and effective at preventing material damage.
- Remove Excess Water: After rinsing, gently shake out any loose water. You can also carefully press the boots with a clean, absorbent towel to remove surface moisture.
- Stuff Them: Loosely stuff the inside of your boots with dry newspaper, paper towels, or a clean, dry cloth. This helps wick away internal moisture and helps the boots retain their shape. Replace the stuffing if it becomes damp.
- Find a Safe Spot: Place the boots in a well-ventilated area, away from direct sunlight and any artificial heat sources. Good airflow is key. A porch, a garage with open doors, or a ventilated room indoors works well.
- Be Patient: Depending on the boot material, thickness, and ambient humidity, complete drying can take anywhere from 24 to 72 hours. For waterproof boots with internal membranes, ensure they are completely dry before next use.
What NOT to Do When Drying Boots
Vigilance against common mistakes is paramount here. The temptation to speed up drying is strong, but the consequences can be severe.
- DO NOT Use Direct Heat: This includes radiators, space heaters, campfires, chimneys, or ovens. High temperatures cause leather to shrink and crack, melt synthetic materials, and can compromise the glues and adhesives holding your boots together. Verified buyer feedback reports instances of soles detaching entirely from excessive heat.
- DO NOT Use a Clothes Dryer: Even on a low setting, the tumbling action and residual heat can damage your boots. It’s designed for fabric, not the complex materials and construction of footwear.
- DO NOT Put Them in Direct Sunlight: While sunlight is a natural heat source, prolonged exposure can also dry out and fade leather, and make synthetics brittle.
- DO NOT Store Wet Boots: Never pack away or store boots that are still damp. This is a fast track to mold and mildew growth, which can damage materials and create persistent, unpleasant odors that are hard to eliminate.
Restoring and Protecting Your Boots
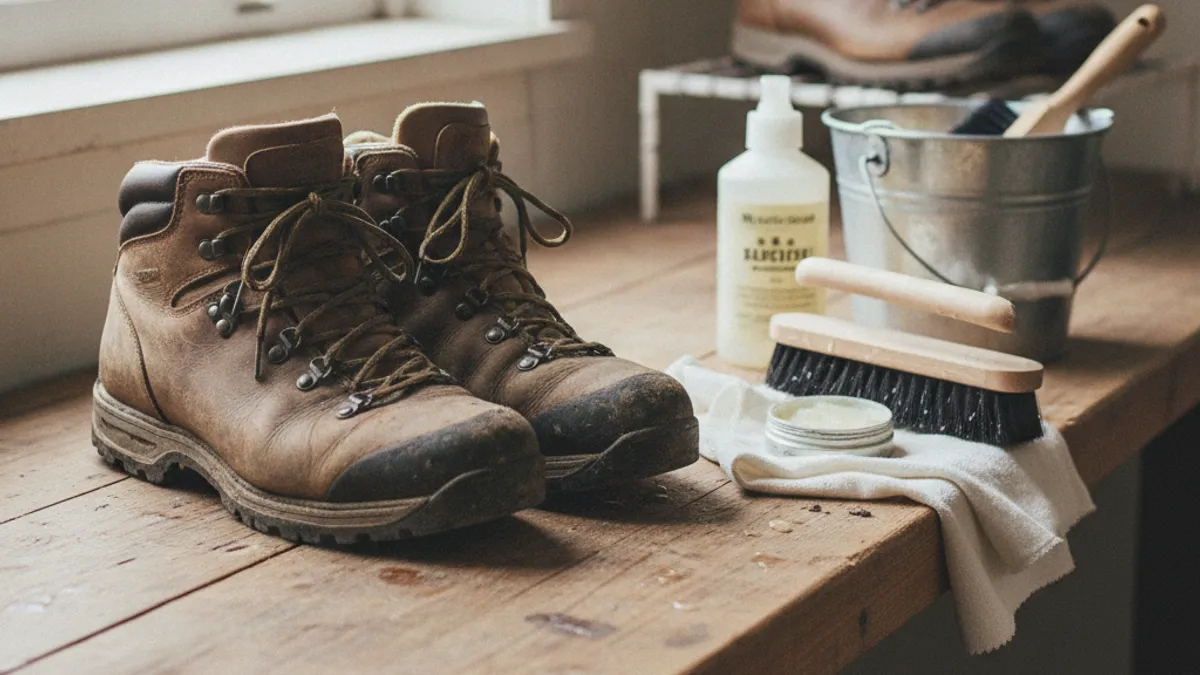
Once your boots are thoroughly cleaned and dried, they’re not quite ready for the trail again without a bit of restorative care. This phase is about replenishing what was lost during cleaning and boosting their performance for future adventures, especially if you have leather or waterproof boots. This stage is often overlooked, but it’s where you truly maximize the lifespan and effectiveness of your footwear.
Think of it as giving them a spa treatment after a tough workout. Applying these steps ensures they’ll continue to perform optimally.
Conditioning Leather for Longevity
If your boots are made of leather (full-grain, nubuck, or suede), conditioning is essential after cleaning and drying. Water and cleaning agents can strip away the natural oils that keep leather pliable and strong.
- Why Condition? Leather without its natural oils becomes stiff, prone to cracking, and less water-resistant. Conditioning replenishes these oils, keeping the leather supple and extending its life significantly.
- What to Use: Opt for a boot conditioner specifically designed for footwear. Products containing natural oils like mink oil or lanolin are often recommended, but ensure they are suitable for the specific type of leather your boots are made from. Avoid petroleum-based products, which can degrade leather over time.
- How to Apply: Apply the conditioner sparingly with a clean cloth or your fingers. Work it into the leather evenly, paying attention to creases and stress points. Allow it to soak in for a few hours or overnight, then buff off any excess with a clean cloth.
Revitalizing Waterproofing
Many hiking boots are designed with waterproof-breathable membranes (like Gore-Tex) or treated with water-repellent coatings. Cleaning can sometimes reduce the effectiveness of these treatments, especially the DWR (durable water repellent) finish on the outer fabric.
- The DWR Effect: A healthy DWR finish causes water to bead up and roll off the boot’s surface. If water starts to soak into the outer fabric (called “wetting out”), the breathability of your waterproof boots is compromised, leading to dampness inside.
- Reapplication: Once your boots are clean, dry, and any leather has been conditioned, it’s time to reapply a DWR treatment. These usually come in spray or wipe-on forms.
- Spray Application: Hold the spray can about 6-8 inches away and apply an even coat to the exterior of the boot.
- Wipe-On Application: Apply the treatment evenly with the applicator pad or a cloth.
- Heat Activation (Sometimes): Some DWR treatments require heat to activate fully. Check the product instructions; if it suggests brief exposure to a low heat source (like an oven on its lowest setting for a few minutes, far from direct heat) or even a hair dryer on low, follow those directions carefully. Again, avoid high heat.
Common Boot Cleaning Mistakes to Sidestep
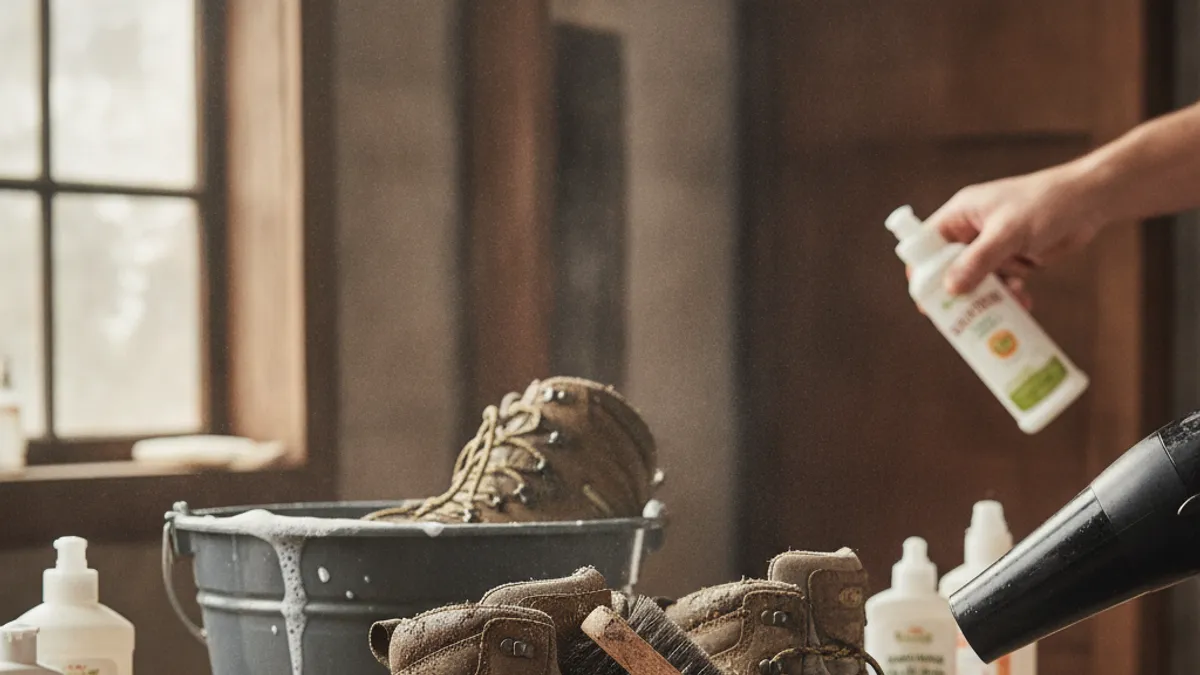
Avoiding common missteps can save you from damaging your expensive hiking footwear and ensure they perform reliably mile after mile. Many problems stem from misunderstanding how different materials react to cleaning and drying methods. Thinking you can clean them quickly like a pair of sneakers is a recipe for disaster. Hiking boots are constructed with specialized materials designed for tough conditions, and they require a tailored approach.
These missteps often occur because people try to speed up the process or use products that aren’t designed for outdoor gear. A little knowledge here prevents a lot of potential regret down the trail.
Overlooking the Soles, Harsh Chemicals, and Heat
These three areas are frequent culprits in boot damage. Let’s break them down so you know exactly what to avoid.
- Neglecting the Soles: The outsole and midsole are constantly in contact with the ground. Caked-on mud or grit can reduce traction, and trapped moisture can encourage material breakdown. Always scrub the treads and sides of the soles thoroughly. This is critical for maintaining grip on descents and ascents.
- Using Harsh Chemicals: Bleach, strong detergents, and abrasive cleaners can strip natural oils from leather, degrade synthetic fabrics, and damage waterproof-breathable membranes. Stick to mild soap or specialized cleaners designed for outdoor gear. These types of cleaners are formulated to be gentle yet effective.
- Applying Excessive Heat: As mentioned earlier, direct heat from fires, radiators, or even hot car interiors can warp adhesives, crack leather, and melt synthetics. Patience is key during the drying phase. Remember, air drying over 24-48 hours is far safer than a quick oven blast.
Maintaining Your Boots for Many Miles
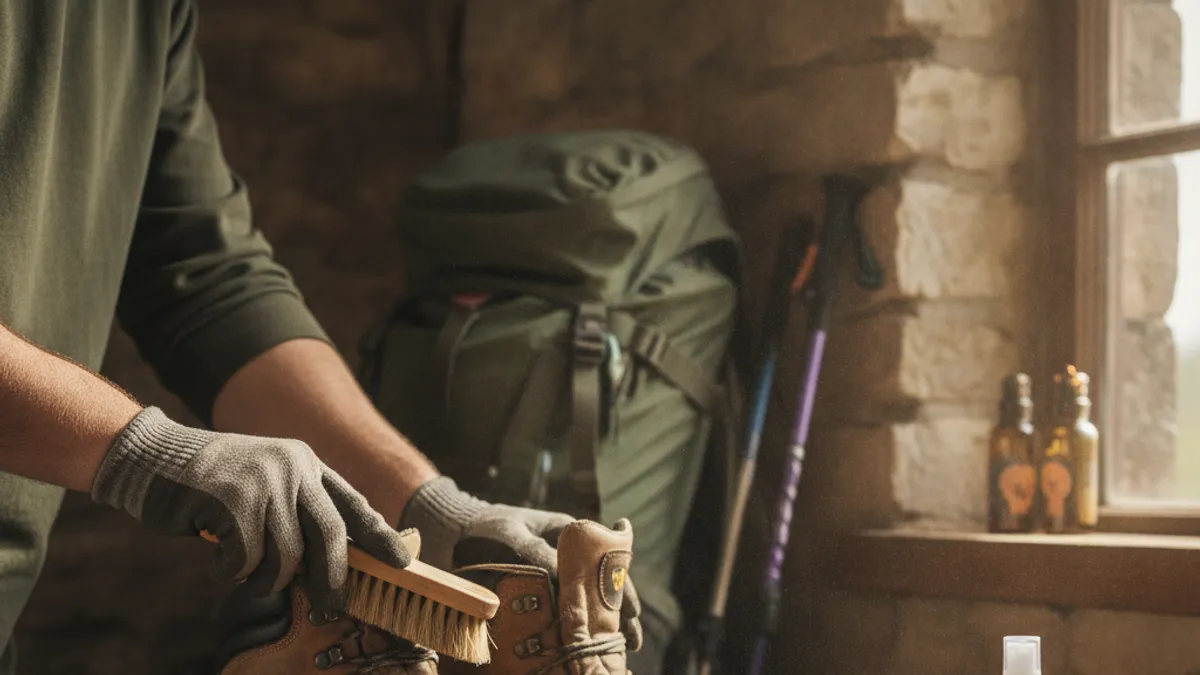
Good boot maintenance isn’t a one-time cleaning event; it’s an ongoing practice that ensures your footwear remains comfortable, supportive, and protective throughout their usable life. Think of it as preventative care to avoid costly repairs or early replacements. Consistent attention is key to maximizing your investment in quality hiking footwear. This proactive approach means your boots won’t fail you when you need them most.
Regular Care for Extended Lifespan
Making basic cleaning and inspection a habit will pay dividends on the trail. This consistent attention keeps your boots in peak condition for longer.
- Post-Hike Wipe Down: For light dirt, a quick wipe with a damp cloth and a brush-off of loose debris after each hike is often enough. This prevents dirt from becoming deeply embedded, saving you time later.
- Periodic Deep Cleans: Plan for a more thorough cleaning (as outlined in earlier sections) after particularly muddy or wet excursions, or at least a few times a season. This removes accumulated salt and grime that a simple wipe won’t touch.
- Lace Inspection: Check your laces regularly for fraying or wear. Replace them if they look compromised, as a broken lace can stop your hike dead in its tracks. This is a simple but vital check.
- Sole Check: Periodically inspect the tread on your soles. Worn-down treads can significantly reduce traction and increase your risk of slipping on rocks or wet surfaces.
- Interior Check: Always check inside your boots for any signs of wear, loose stitching, or lingering moisture after drying. Address any dampness immediately.
Expert Tips for Peak Boot Performance
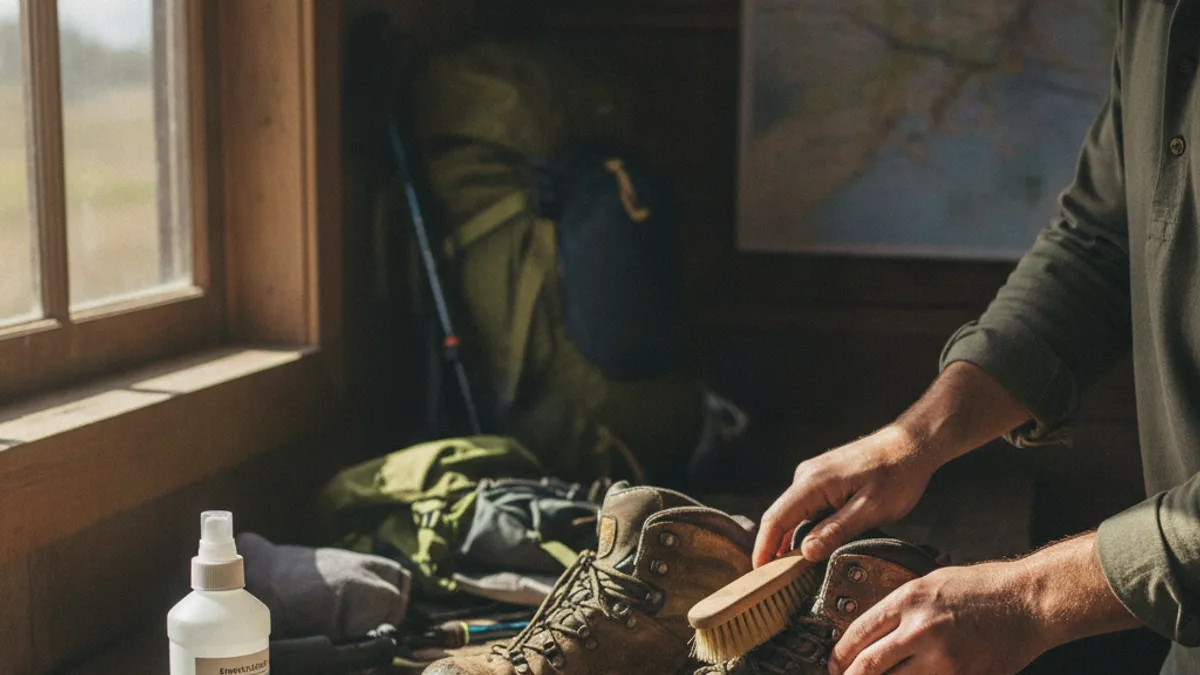
Beyond the standard cleaning routine, a few pro tips can elevate your boot care to the next level, ensuring maximum comfort and durability on even the most demanding treks. These insights come from years of experience in the outdoor industry and direct feedback from gear manufacturers. Applying these extra steps can truly make the difference between a boot that lasts a couple of seasons and one that becomes a trusted companion for many years.
These aren’t complex procedures, but they require a bit of foresight and the right products. They focus on proactive protection and addressing subtle wear and tear before it impacts your hiking experience.
Pro Advice for Tougher Grime and Odors
Dealing with particularly stubborn issues requires a slightly more focused approach than routine care. Here’s how to tackle them effectively.
- For Stubborn Odors: After a thorough cleaning and drying, you can use specialized boot deodorizing sprays. For deeper odor issues, consider placing activated charcoal inserts or even dry tea bags inside the boots overnight to absorb smells. Make sure the boots are completely dry before trying this.
- For Deep-Set Stains: For persistent stains on leather or fabric that don’t come out with regular cleaning, a specialized stain remover might be necessary. Always test any new product on an inconspicuous area first. For those waterproof boots with membranes, ensure the stain remover is compatible with them.
- Using Boot Trees: Cedar boot trees are excellent for absorbing residual moisture and odor. They also help maintain the boot’s shape, which is beneficial for both leather and synthetic materials, preventing creases.
When to Consider Professional Help
While most boot cleaning tasks can be done at home, there are times when professional attention is the best course of action. Attempting complex repairs or cleaning without the right knowledge or tools can inadvertently cause more harm than good. This is particularly true for expensive or technically advanced footwear where a mistake could be costly. It’s about knowing your limits and when to trust the experts.
Knowing when to outsource boot care can save you frustration and potentially the cost of replacing boots that could have been salvaged.
Can Cobblers Fix Hiking Boots?
Yes, in many cases, a skilled cobbler can perform repairs on hiking boots that extend their life. This is a common practice for serious hikers and backpackers who invest in high-quality footwear.
- Re-soling: Many sturdy hiking boots, especially those with stitched construction, can be re-soled. This is a significant repair that essentially gives you a new sole on an already broken-in boot.
- Sole Re-gluing: If the sole is starting to peel away, a cobbler can often re-glue it securely. This is crucial for maintaining waterproofing and preventing tripping hazards.
- Stitching Repair: Any loose or broken stitching on uppers, seams, or around foxing can typically be repaired by a professional. This prevents further separation of materials.
- Hardware Replacement: If eyelets or speed hooks are damaged, they can often be replaced. This might seem minor, but damaged hardware can affect lacing and comfort.
- Professional Waterproofing Membrane Assessment: While not always repairable, a professional might be able to assess if a waterproof membrane is failing and if a partial restoration is possible, or if it’s time for replacement.
When It’s Time to Replace Your Boots
Even with the best care, hiking boots have a finite lifespan. Eventually, wear and tear will outpace repair. Recognizing these signs is crucial for safety and comfort.
- Severely Worn Outsoles: If the tread is almost completely gone, your traction will be severely compromised, increasing the risk of slips and falls, especially on wet or uneven terrain.
- Compromised Waterproofing (Persistent): If, after proper cleaning, conditioning, and DWR treatment, your boots continue to leak or remain damp internally, the waterproof membrane may have failed. This is common after several years of heavy use.
- Internal Wear: If the boot lining is significantly torn, or if the cushioning in the midsole has collapsed (making them feel flat and unsupportive), performance and comfort will be permanently reduced. Your foot, ankle, and knee will pay the price.
- Unrepairable Structural Damage: Major cracks in the leather that go too deep, or delamination of the sole that a cobbler cannot effectively fix, signals the end of the road. This can sometimes happen from extreme stress or improper care.
- Persistent Discomfort: If, despite all efforts, your boots no longer cushion your feet properly or have developed pressure points, it’s often a sign that the internal structure has worn out. Continuing to wear them can lead to foot pain, blisters, or even long-term issues.
