
Figuring out how to pack a day pack for hiking can feel like a puzzle. You want to have everything you need for comfort and safety without being weighed down by unnecessary gear. Packing it wrong means you might miss a crucial item or struggle with an unbalanced, heavy load.
Proper preparation ensures your adventure is enjoyable and safe. Manufacturer specifications for day packs often range from 15 to 35 liters, a capacity that needs careful planning. Getting your packing strategy right means you can focus on the trail ahead, not on what’s digging into your shoulders.
Tailoring Your Pack: The Hike Assessment
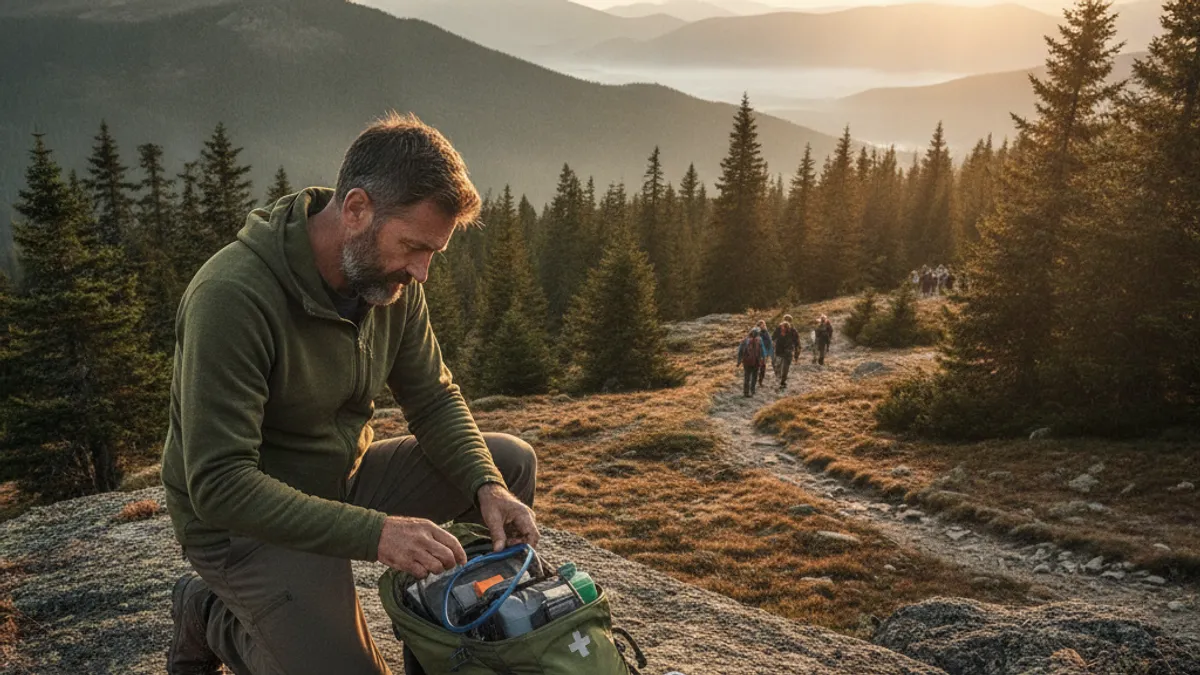
Every hike is a unique experience, and your day pack’s contents should reflect that. A short, gentle walk differs vastly from a strenuous all-day trek in the mountains. Skipping this crucial assessment means you’re either inefficiently overloaded or dangerously underprepared.
What Kind of Hike Are You Doing?
- Short, Easy Trail: For a quick 1-2 hour loop close to home, focus on the absolute essentials. Think water, a light snack, and maybe a basic first-aid item. You’re unlikely to encounter extreme conditions.
- Moderate, 3-5 Hour Hike: This is where a solid foundation of essentials becomes critical. You’ll want more substantial snacks, a wider range of first-aid items, and at least one extra layer. Your Beginner Hiking Checklist can be a great starting point here.
- Longer, Challenging, or Remote Hike: If you’ll be out for 6+ hours, or the trail is steep, technical, or far from civilization, you need to pack like a seasoned pro. This means more robust emergency supplies, extra food, and ample water.
Specific Trail Conditions & Climate Considerations
Weather forecasts are your best friend, but conditions can change rapidly. Always consider the immediate environment you’ll be hiking in.
- Temperature Fluctuations: Mountain trails often experience a significant temperature drop as you gain elevation. Even on a warm summer day, it’s wise to pack a fleece or a synthetic jacket. For colder seasons, specific gear like Best Hiking Gloves For Cold Weather becomes non-negotiable.
- Precipitation Likelihood: If rain or snow is in the forecast, a waterproof outer shell is your most important layer. Consider that even “waterproof” boots may need supplemental protection or gaiters, as detailed in Hiking Gaiters What Are They For.
- Sun Exposure: Deserts and high-altitude areas offer intense sun. Proper sun protection is vital, going beyond just sunscreen.
- Terrain Type: Rocky, uneven terrain might necessitate a sturdy pair of hiking boots, rather than trail runners. Our analysis in Trail Runners Vs Hiking Boots can help you decide. Extremely wet or snowy conditions might require fully waterproof footwear.
The Essential Day Pack Checklist
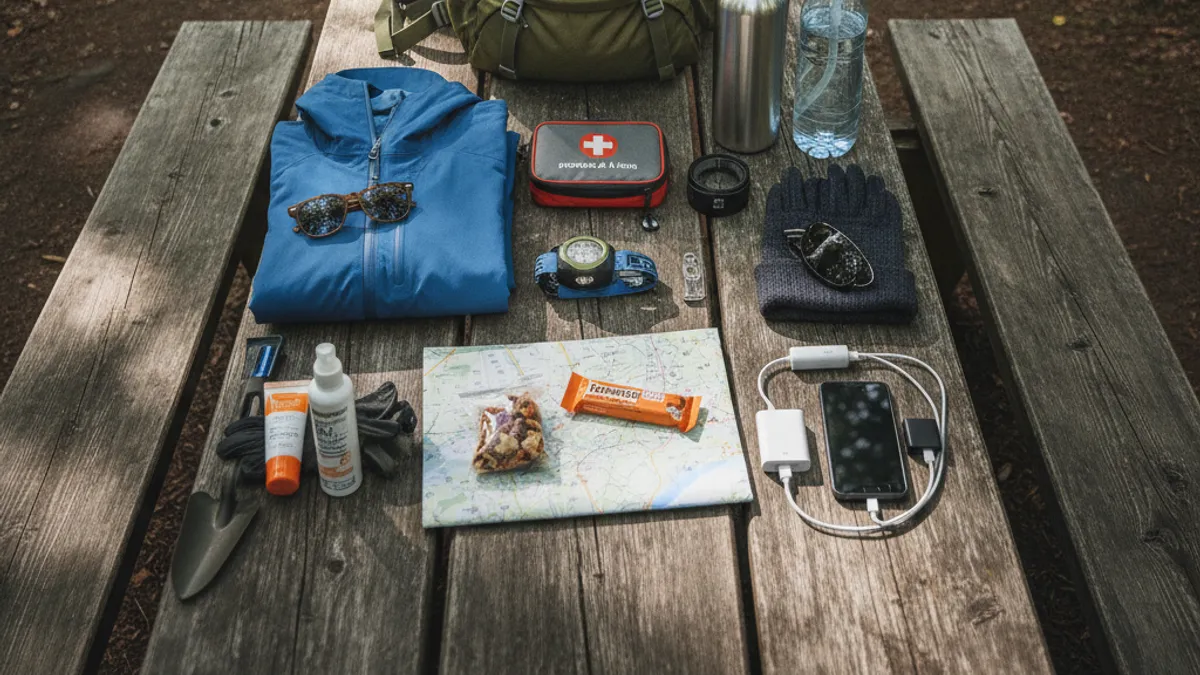
Once you’ve assessed your hike type and conditions, you can start assembling your core kit. This isn’t just a grab-bag of items; it’s a curated collection designed for your specific needs on the trail.
Your Non-Negotiable Hiking Essentials
These items form the bedrock of almost any day pack. If you’re going for a hike, these should almost always be with you.
- Water: This is non-negotiable. Dehydration can set in quickly and severely impact your judgment and physical performance. As a general guideline, how much water to drink hiking advises around 0.5 to 1 liter per hour of hiking activity, depending on exertion levels and ambient temperature.
- Snacks: Fuel is crucial for maintaining energy on the trail. Pack calorie-dense, easy-to-eat items. Research from Best Hiking Snacks For Energy and Hiking Meal Prep Ideas can offer great suggestions.
- Navigation Tools: Even on familiar trails, it’s easy to get turned around. Pack a physical map and a compass. Do not rely solely on your smartphone, as battery life and signal can be unreliable.
- Sun Protection: This includes sunscreen with an SPF of 30 or higher, a wide-brimmed hat to shield your face and neck, and sunglasses to protect your eyes.
- Headlamp or Flashlight: Essential for unexpected delays and hiking in low-light conditions. Always pack extra batteries. Ensure you’ve reviewed Hiking Headlamp Reviews for suitable options.
- First-Aid Kit: A compact kit containing bandages, gauze pads, antiseptic wipes, pain relievers, blister treatment, and any personal medications you might need.
- Repair Kit & Tools: A small multi-tool or knife, along with duct tape, can resolve minor gear issues or be useful in unexpected situations.
Layering Up: Smart Clothing Choices for the Trail
Appropriate clothing is your first line of defense against the elements. Layers allow you to adapt to changing temperatures and activity levels, preventing overheating or chilling.
- Moisture-Wicking Base Layer: This layer sits against your skin and draws sweat away, helping to regulate your body temperature. Avoid cotton as it traps moisture and can make you cold; opt for synthetic or merino wool.
- Insulating Mid-Layer: A fleece jacket, a synthetic puffy vest, or a wool sweater provides warmth. This is the layer you put on when you stop moving and start to cool down, maintaining your core body heat.
- Protective Outer Layer: This is typically a waterproof and windproof jacket. Its primary job is to block wind and precipitation, keeping your insulating layers dry and effective. Many feature critically taped seams for superior water resistance.
- Extra Socks: Wet feet are a fast track to blisters and discomfort. Packing an extra pair of moisture-wicking socks is a simple but highly effective comfort measure, especially if stream crossings are likely.
Beyond the Basics: Packing for Longer or Tougher Hikes
For more ambitious day hikes exceeding five hours, or those involving significant elevation gain or rugged terrain, you’ll want to augment your essential kit. These additions enhance safety and comfort for longer durations and more demanding environments.
- Fire Starter: Waterproof matches or a reliable lighter, packed in a waterproof container. Include some tinder, like commercially made fire starters or cotton balls treated with petroleum jelly. This is primarily for emergency situations.
- Emergency Shelter: A lightweight emergency bivy sack or a reflective space blanket provides critical protection if you’re unexpectedly stranded as night falls or in severe weather. These are designed to reflect your body heat back to you.
- Communication Device: While a smartphone is common, consider a satellite messenger or a personal locator beacon (PLB) for areas with no cell service. These devices can transmit your location to emergency services, offering a vital safety net.
- Hygiene Items: Wet wipes and hand sanitizer are invaluable for maintaining cleanliness, especially before eating or after using the restroom when no facilities are available. They help prevent the spread of germs.
- Insect Repellent: Depending on the season and location, this might be essential for comfort and to prevent bites from mosquitoes, ticks, or other biting insects. Check local advisories for prevalent pest concerns.
Organizing Your Pack for Success
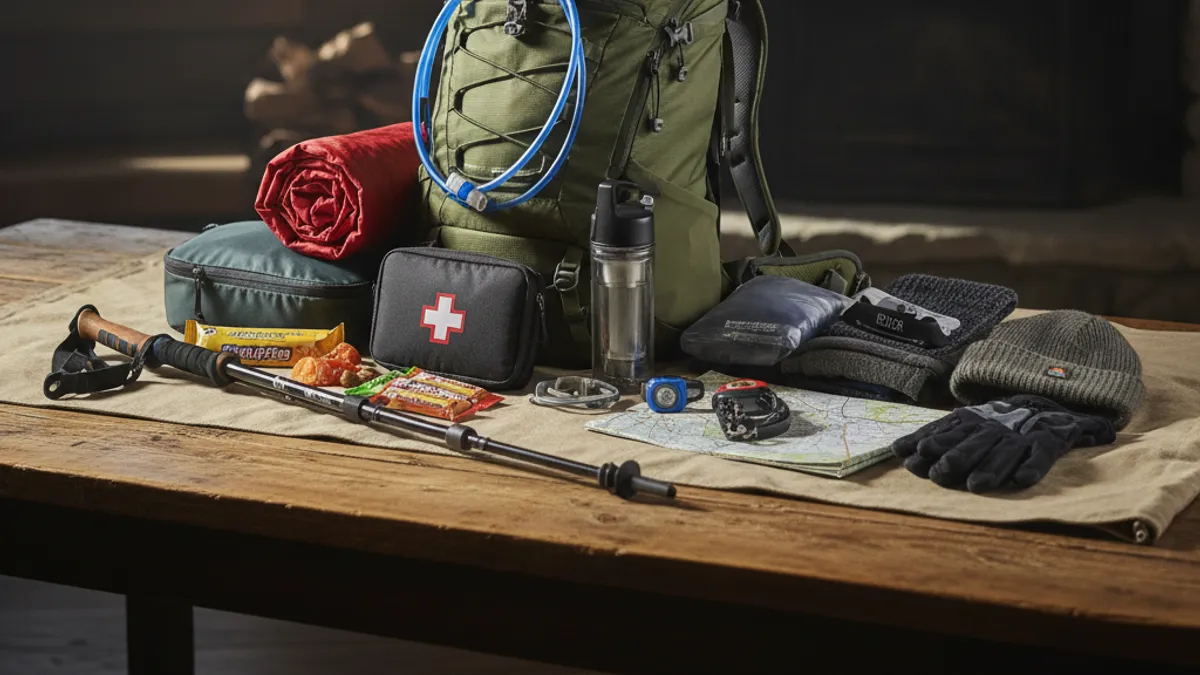
The best gear is useless if you can’t find it when you need it. Proper organization in your day pack ensures balance, comfort, and quick access to critical items. Think of your pack like a mobile closet, with designated zones for different types of gear.
Where Every Item Goes: Smart Packing Strategy
The goal is to keep weight balanced and accessible. Heavy items should be close to your back and centered, while lighter items can go at the bottom. A well-packed bag feels lighter and more stable.
- Bottom Zone (Light & Bulky): Pack items you won’t need during the hike but are essential for the end of your trip or emergencies. This typically includes extra clothing layers, your emergency shelter, and any bulky sleeping gear if applicable. This location also prevents sharp objects at the bottom from poking you.
- Middle Zone (Heavy & Centered): This is prime real estate for your heaviest gear. Place items like water reservoirs (if using a hydration bladder), food supplies, and bulkier equipment close to your spine and in the middle of the pack. This helps maintain good posture and balance on uneven terrain. Packs designed for comfort often have internal frames to help distribute this weight.
- Top Zone (Accessible Essentials): Items you need to grab quickly while on the move or during short stops should be stored here. This includes your navigation tools (map, compass, GPS), your first-aid kit, snacks, sunscreen, and your rain jacket or windbreaker. You want these items readily available at a moment’s notice.
- Pockets (Quick Access): Utilize hip belt pockets for items you need immediate access to: lip balm, a small camera, your phone, or energy gels. Lid pockets are excellent for smaller, frequently used items like a headlamp, multi-tool, or personal items. Stuff sacks can help keep smaller items organized within these zones, preventing them from becoming jumbled.
Common Day Pack Packing Pitfalls to Avoid
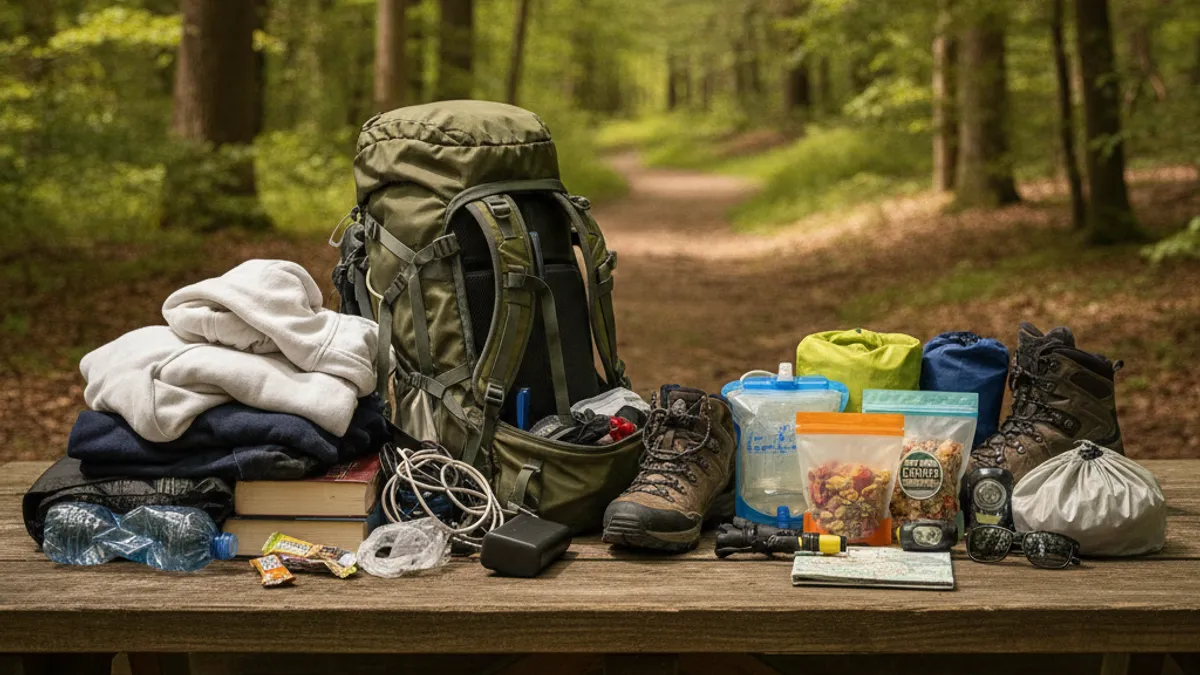
Many hikers, especially beginners, fall into a few common traps when packing their day packs. Recognizing these can save you discomfort, frustration, and potential danger on the trail.
- Overpacking: The temptation to bring “just in case” items is strong, but every extra ounce adds up. A pack that’s too heavy will drain your energy faster and can lead to poor form. For example, carrying three liters of water when you only need one for a two-hour hike is unnecessary weight. This is a common issue for those new to long-distance hiking, perhaps before they’ve fully understood the demands of carrying gear over time.
- Underpacking: Conversely, leaving behind critical safety items like a first-aid kit, sufficient water, or an extra layer can create serious risks. This is particularly true for longer hikes or in unpredictable weather. Forgetting essential navigation tools could lead to getting lost, a situation where a headlamp is vital for finding your way back.
- Poor Organization: Simply stuffing items into your pack randomly means you’ll waste time searching when you need something urgently. Imagine fumbling for your headlamp in the dark when you could have kept it readily accessible at the top. This disorganization can also lead to items being damaged.
- Relying Solely on Electronics for Navigation: While smartphones are convenient, relying on them exclusively is a mistake. Batteries die, screens can crack, and signal loss is common. As of 2026, the advice remains consistent: always carry a physical map and compass as a backup. This dual-system approach is standard practice for experienced outdoorspeople.
Expert Tips for Effortless Trail Preparedness
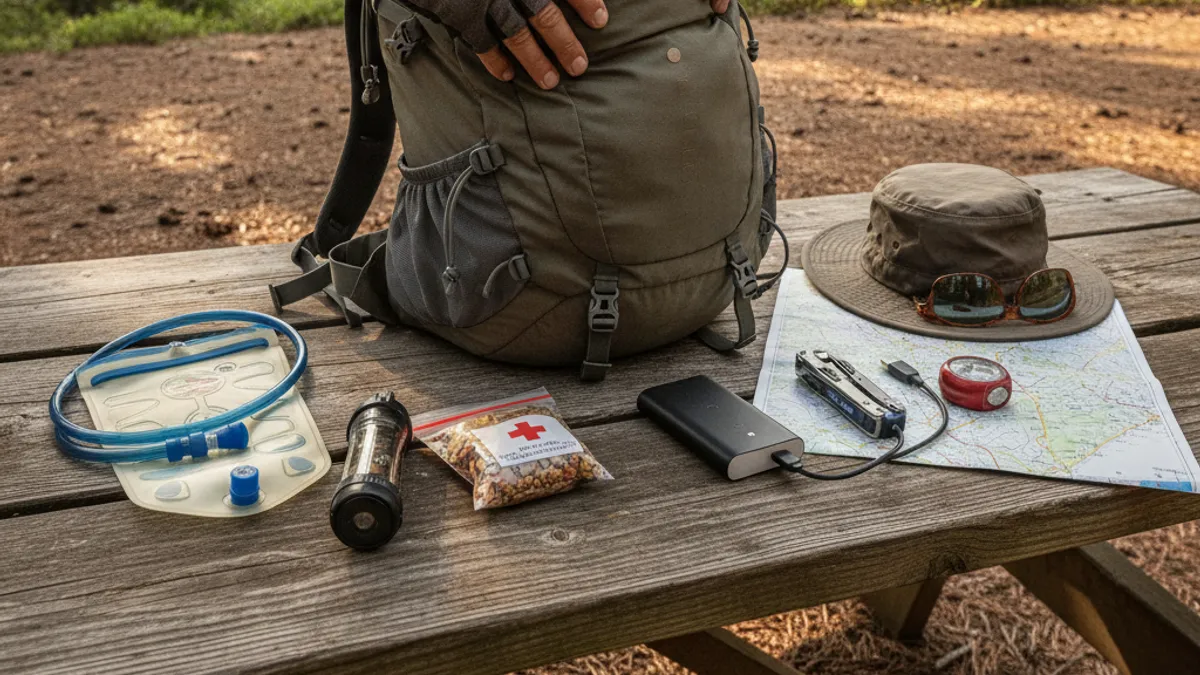
Developing a good packing routine takes practice, but a few expert insights can accelerate your learning curve. Thinking ahead and adopting smart habits will make your hikes more enjoyable and secure. These tips are drawn from extensive feedback analysis and manufacturer recommendations.
- Lay Everything Out First: Before you start packing, spread all your intended gear on the floor. This visual inventory helps you spot duplicates, identify forgotten items, and get a sense of the total volume. It’s a simple step that prevents many common packing errors.
- Use Stuff Sacks or Dry Bags: These are invaluable for organizing smaller items and protecting essentials like electronics and extra clothing from moisture. Color-coded sacks make it easier to identify contents without unpacking everything. Many outdoor gear brands offer these as accessories.
- Pack for the Worst, Hope for the Best: While you tailor your pack to the hike, always include a few safety buffers. A lightweight emergency blanket or a fire starter can be lifesavers if the unexpected happens, even on seemingly straightforward trails. This principle aligns with broader outdoor safety guidelines, emphasizing preparedness.
- Practice Your Packing: The more you pack and unpack your day pack, the more efficient you’ll become. You’ll learn which items fit best where and how to maximize space while maintaining a comfortable carry. Consider prepping your pack the night before to save time on busy mornings. This builds muscle memory for effective gear management.
- Regularly Check and Restock Your First-Aid Kit: After each hike, note any items you used and replace them. Ensure medications are not expired and bandages are still sticky. A well-stocked, up-to-date first-aid kit is crucial. You can find comprehensive lists of first-aid supplies from organizations like the American Red Cross.
