Hiking poles can seriously upgrade your outdoor adventures, but only if you get the size right. Many hikers overlook this crucial step, leading to discomfort and less effective support on the trail. Figuring out how to size hiking poles correctly ensures they become your best allies, reducing strain and boosting your endurance.
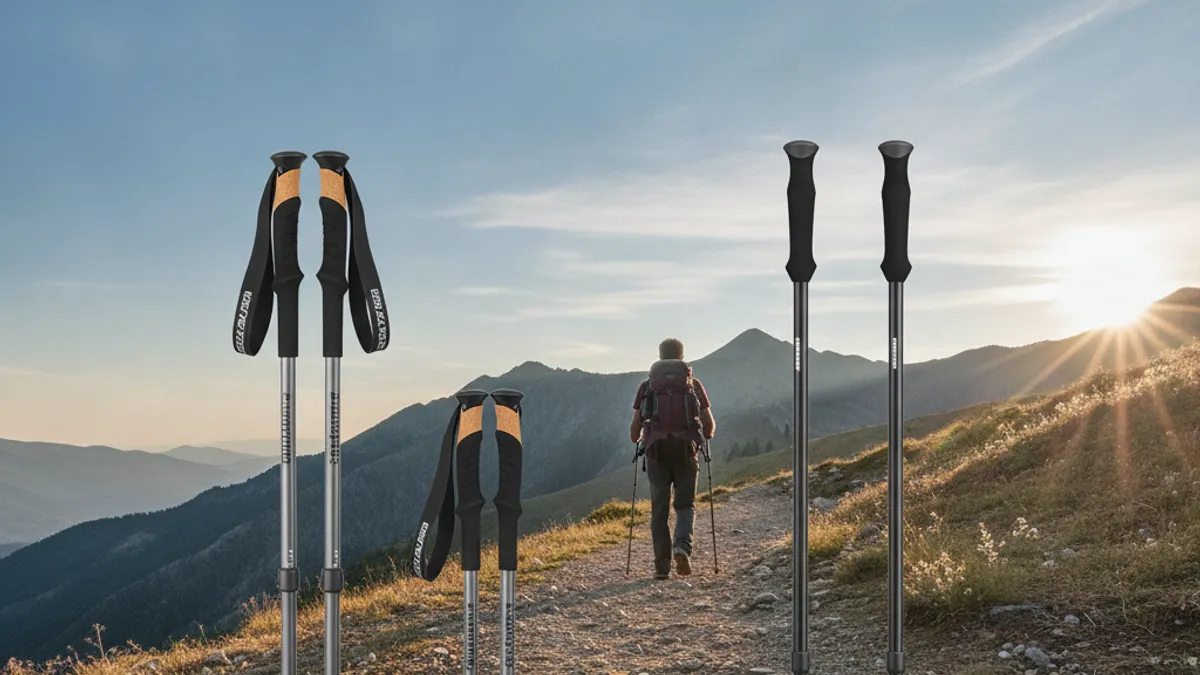
It’s not a complicated science, and understanding a few key measurements will set you up for success. Most adjustable poles allow for a range of lengths, typically from 95cm up to 130cm, catering to a wide variety of heights and preferences. Getting this dialed in means your poles will work with you, not against you.
Why Pole Length is a Big Deal on the Trail
The right length for your hiking poles isn’t just about feeling right; it directly impacts your performance and physical well-being. When poles are too long, they can throw off your natural stride and force you to hunch, creating strain in your shoulders and back. Conversely, poles that are too short mean you’re constantly reaching, which can make ascents harder and uphill propulsion less effective.
Our research indicates that even a few centimeters difference can affect how your body handles the miles. Properly sized poles help distribute your body weight more evenly. This means less direct impact on your knees and ankles, especially when descending steep slopes. It’s all about leveraging the poles to support your movement, not hinder it.
The Easy Way to Measure: Your Arm Tells the Tale
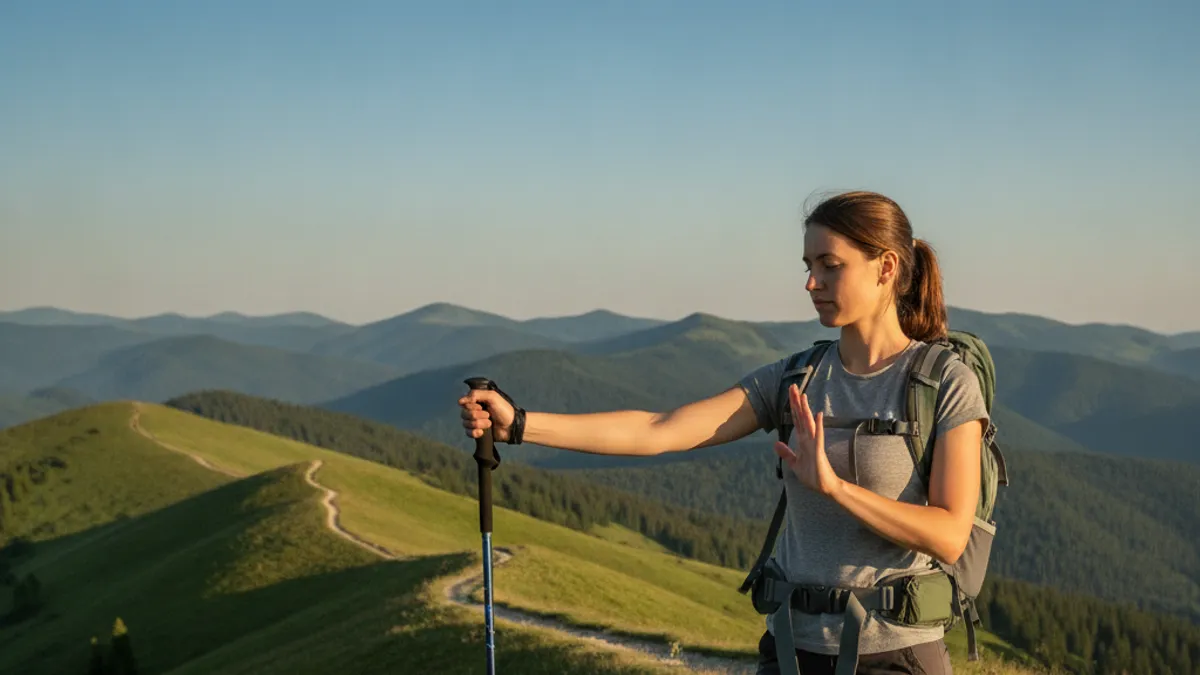
Forget complex calculations or needing a specialized measuring tape. The most straightforward method for sizing hiking poles relies on a simple, intuitive check involving your own body. This technique has been widely adopted by manufacturers and embraced by hikers for its accuracy across different body types.
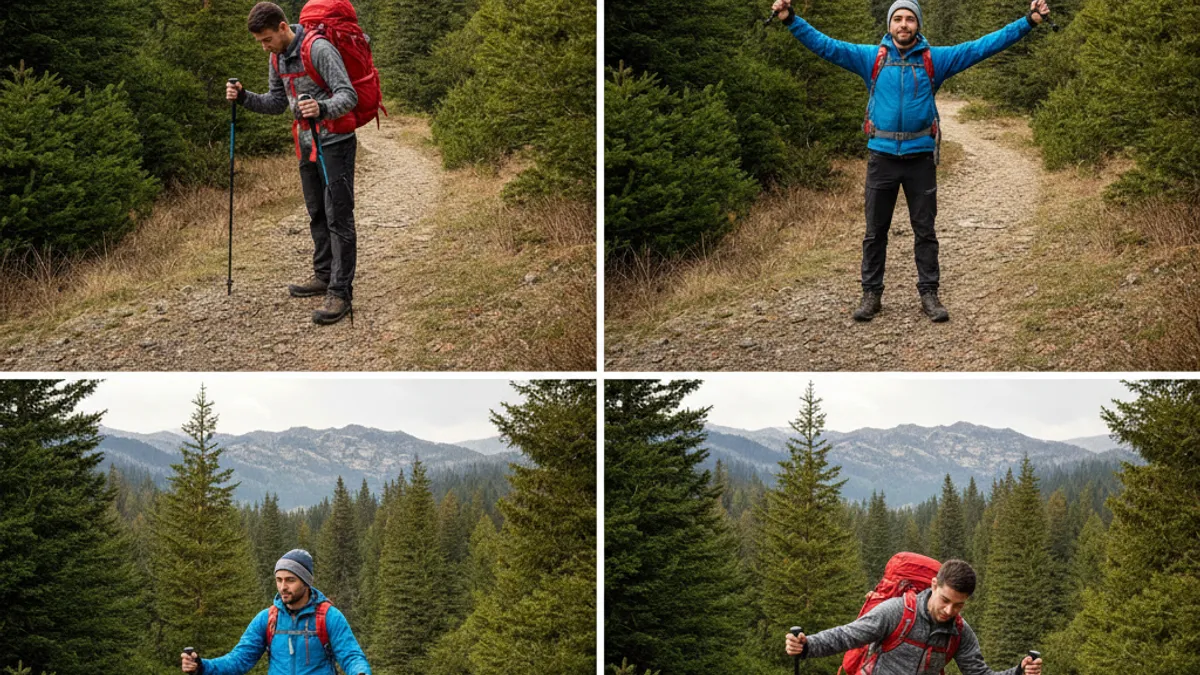
You’ll want to stand up straight, as you normally would when walking. Then, bend your elbow so it forms roughly a 90-degree angle at your side. Imagine you are holding a pole that is resting on the ground at your feet. The ideal length usually places the pole’s grip at about your wrist bone.
Your Height and Pole Length: A Quick Starting Point
While the 90-degree elbow test is the most precise for individual fitting, your overall height provides a solid baseline for choosing adjustable poles or understanding where you’ll likely start. Manufacturer specifications often provide charts that correlate height ranges with recommended pole lengths.
- Under 5’0″: Generally, poles in the 95-110 cm range are suitable.
- 5’0″ to 5’4″: Look for poles that offer adjustment between 100-115 cm.
- 5’4″ to 5’8″: A common range is 105-120 cm.
- 5’8″ to 6’0″: Most hikers in this height bracket will find poles adjustable from 110-125 cm work well.
- 6’0″ and taller: You’ll likely need poles with an extended range, often 115-130 cm or more.
These are starting points, and fine-tuning is key. This initial sizing helps you select an adjustable pole where your ideal length falls comfortably within its set range. If you’re choosing fixed-length poles, consulting the specific brand’s sizing chart for your height is paramount.
How Polling Length Changes From Trail to Trail
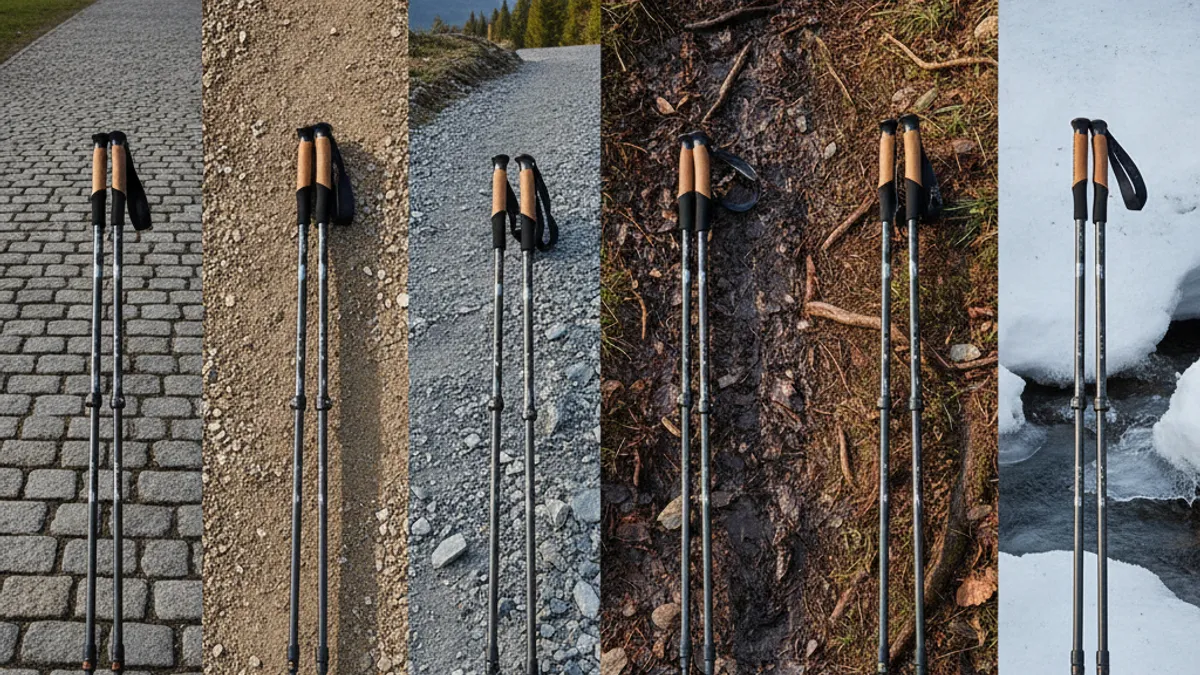
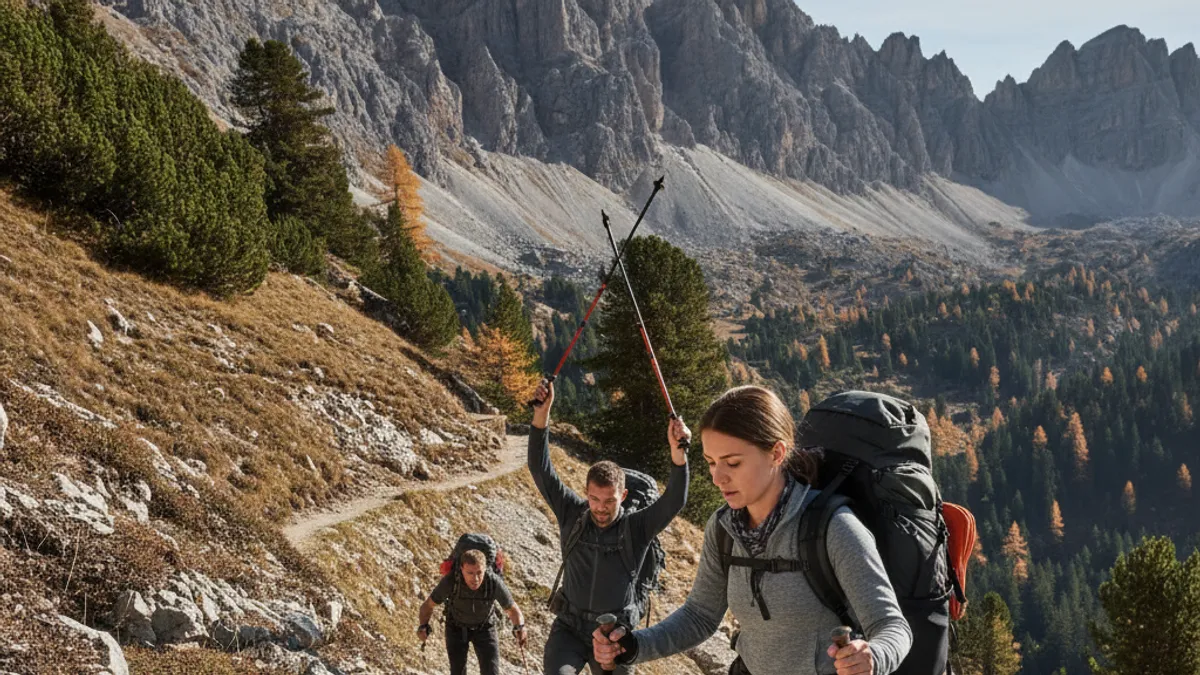
The beauty of adjustable hiking poles lies in their ability to adapt to changing terrain. You won’t be using the exact same length for every part of your hike. Understanding how to modify your pole length for different gradients transforms them from simple walking sticks into sophisticated tools that enhance stability and efficiency.
Aggregated reviews and editorial analysis of user feedback consistently highlight the importance of these adjustments. It makes sense intuitively: you need different leverage and support when climbing a steep incline versus navigating a slippery descent. Your pole length should reflect that.
Uphill Adjustments: Shorten Up for Power
When you’re heading uphill, the goal is to use your poles for propulsion, pushing yourself forward with each step. To do this effectively, you’ll want to shorten your poles. This adjustment brings your elbow bend to slightly more than the 90 degrees you use on flat ground.
Why does this work? Shorter poles mean your arms are more underneath you, allowing for a more direct push. Think of it like taking shorter, more powerful strides. If your poles are too long when climbing, you’ll find yourself overreaching, which is tiring and less effective.
Proper adjustment here can make a noticeable difference in how quickly you gain elevation and how much energy you conserve. This technique is fundamental for anyone looking to improve their uphill hiking performance.
Downhill Adjustments: Lengthen for Stability
Navigating downhill sections can be tough on your knees and joints. Your hiking poles become crucial shock absorbers and stability providers here. To maximize their benefit on descents, you’ll want to lengthen your poles. This adjustment will mean your elbow bends slightly less than 90 degrees.
Longer poles allow you to plant them further ahead, creating a more stable base and giving you more leverage to control your descent. They act like extra legs, helping to slow your momentum and distribute impact. Per instructions from leading outdoor gear manufacturers, this extension allows your arms to remain more upright, reducing strain on your upper body as it works to stabilize you. By lengthening your poles, you gain confidence and reduce the jarring impact associated with downhill travel.
Settling In: Testing Your Pole Length for Comfort
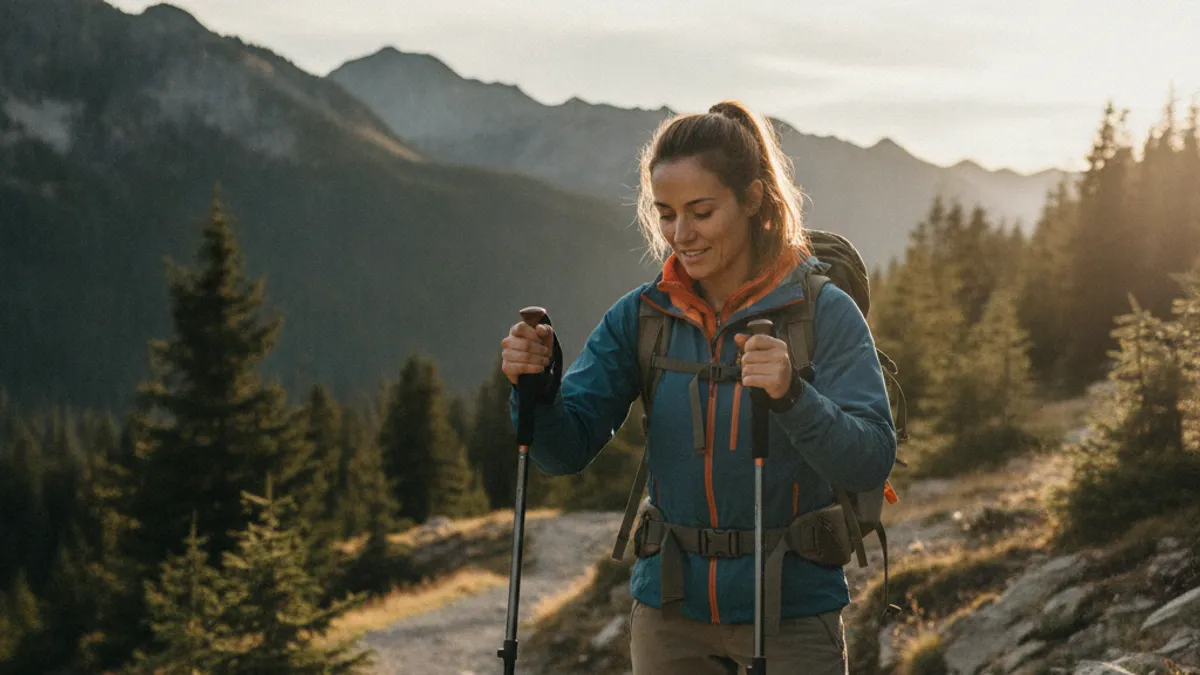
After making your initial adjustments based on your height and the terrain, the real test is how they feel as you move. This is where you fine-tune them to your personal stride and comfort level. Our research into user experiences shows that many hikers initially set their poles and then forget about them, but continuous minor adjustments are key for optimal performance.
The goal is a natural, supportive feel. On flat ground, your elbow should consistently remain around that 90-degree bend. If you find yourself reaching too far down or feeling like you have to lean heavily on the poles, they are likely too long. Conversely, if your arms feel cramped, or you can’t quite get the purchase you expect, they might be too short.
It’s also worth noting how your upper body feels. Are your shoulders hunched? Is there any strain in your wrists or forearms? Small adjustments can alleviate these issues, transforming a potentially uncomfortable hike into a smooth, enjoyable experience.
Pay attention to the feedback your body gives you; it knows best.
Adjustable vs. Fixed-Length Poles
When you’re looking at hiking poles, you’ll usually encounter two main types: adjustable and fixed-length. Each has its place, and understanding the difference is crucial for making the right choice for your hiking needs. The choice often comes down to versatility versus simplicity.
Adjustable poles are the most common and, for most people, the most practical. They feature a mechanism, often a twist lock or a lever lock system, that allows you to change the length. This versatility means you can fine-tune them on the fly for different terrains, as we discussed earlier. This is incredibly useful for hikers who tackle varied landscapes or for backpackers who might pack their poles differently depending on the trip.
Fixed-length poles, on the other hand, come in a specific size and cannot be adjusted. These are generally simpler, often lighter, and can be more robust because they lack the mechanical locking parts that could potentially fail. However, since they can’t be altered, you need to be absolutely certain you’re buying the correct length for your height and typical hiking style from the outset. If you know you always hike on very specific types of trails and have a consistent stride, a fixed-length pole might be an option, but most experts recommend the adaptability of adjustable models.
Common Mistakes When Sizing Hiking Poles
Even with the right information, it’s easy to fall into a few common traps when sizing your hiking poles. These errors might seem minor, but they can lead to significant discomfort and reduced effectiveness on the trail. Recognizing these pitfalls is half the battle.
One of the most frequent mistakes is relying solely on your height without considering personal stride length or body positioning. While height provides a good starting point, individual stride varies. Another error is not accounting for terrain changes; many hikers set their poles once and forget to adjust them for uphill or downhill sections, missing out on peak performance.
Here are some other common missteps to watch out for:
- Assuming all poles are the same: Not all locking mechanisms are created equal. Lever locks can be more intuitive for some, while twist locks appeal to others. Both can loosen if not properly engaged, so understanding your pole’s mechanism is key.
- Ignoring the basket: The trekking baskets at the tip of poles can be crucial for preventing them from sinking too deep into soft ground. Forgetting to ensure they don’t interfere with your grip or movement while sized is a minor oversight that can affect comfort.
- Over-tightening adjustable poles: While you want them secure, excessively tightening adjustable poles can sometimes make them harder to adjust later or even damage the locking mechanism over time.
- Not testing for a full range of motion: Simply checking the 90-degree bend isn’t always enough. Try a few steps, simulate uphill and downhill movements, and see how the poles feel throughout your natural stride.