
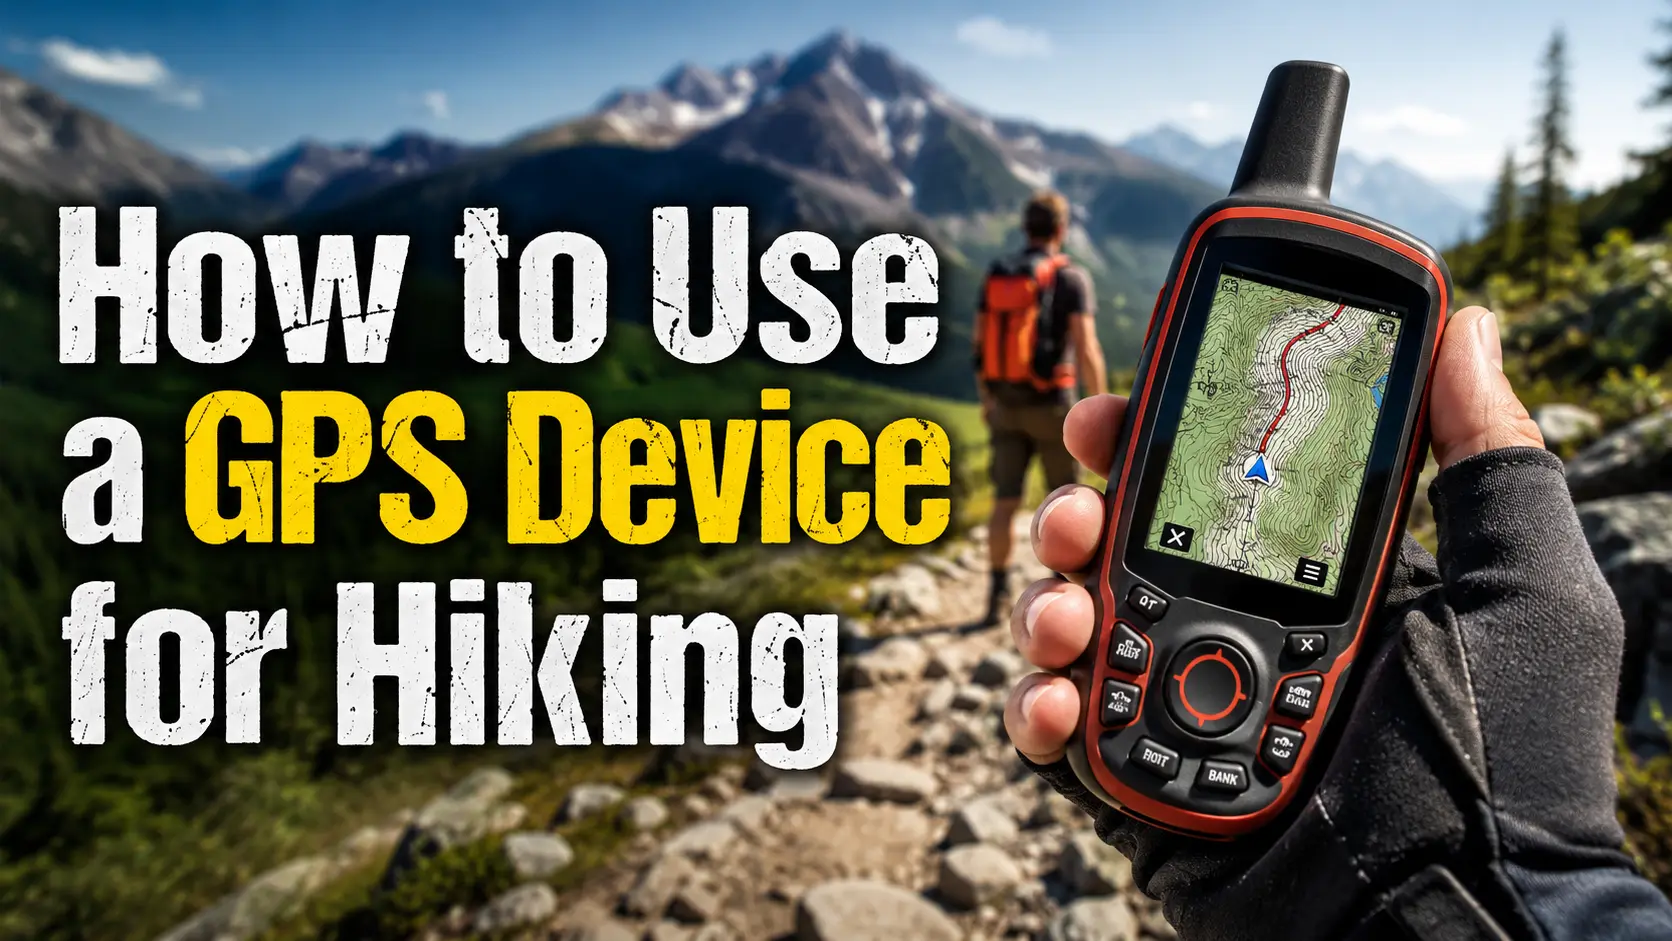
Getting turned around on a trail is a stressful feeling. We have all been there. You are walking along enjoying the trees, and suddenly, the trail markers disappear. While smartphone map apps are great for everyday use, their batteries drain fast, and touchscreens do not always play nice with rain or cold fingers. That is exactly why learning how to use a GPS device for hiking is such a smart move for your outdoor safety.
I am Oscar, and I have spent countless hours mapping out day hikes and weekend backpacking trips. Handheld GPS units look a bit old-school with their chunky buttons and thick antennas, but they are built to survive drops, water, and days without a plug-in charge. If you have just bought your first hiking GPS or borrowed one for a weekend trip, it might feel a little overwhelming to set up.
Do not worry. You do not need to be a tech expert or a professional expedition guide to figure this out. Let me explain the basics of setting up your device, marking your trail, and ensuring you can always find your way back to your car.
Quick Answer
What Hikers Should Know About GPS Navigation
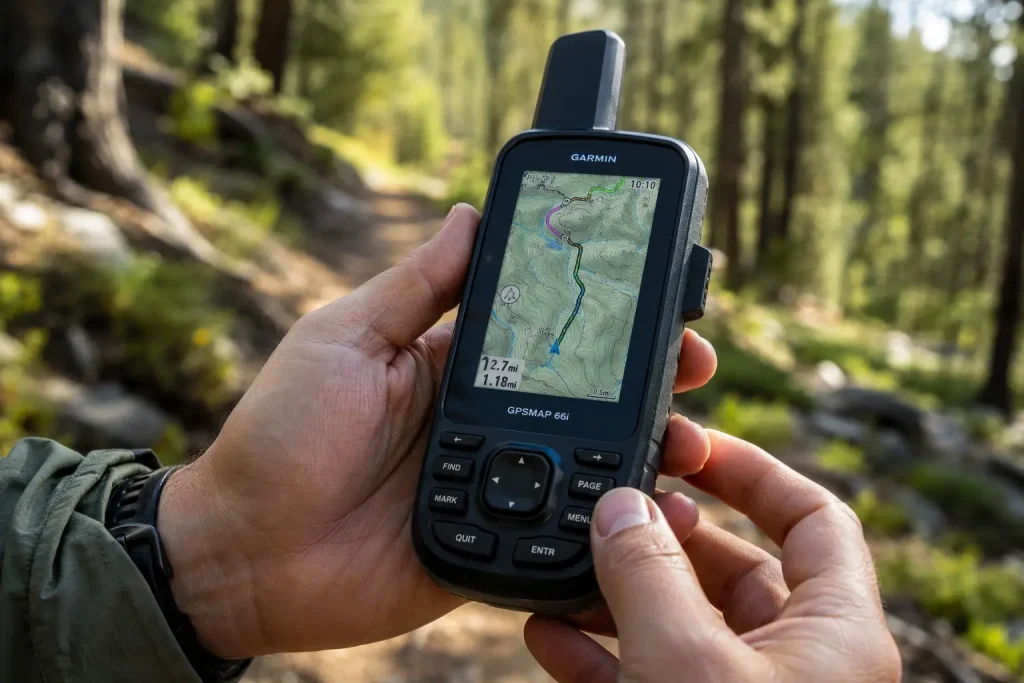
Before you hit the dirt, it helps to understand what your handheld GPS is actually doing. Unlike your cell phone, which relies heavily on cell towers to figure out where you are, a dedicated GPS device talks directly to a network of satellites orbiting the Earth. This means it works deep in the wilderness where you have zero cell service.
However, your GPS is only as good as the information you put into it and the power keeping it alive. Here are a few basics you should know:
- Waypoints: These are specific, saved locations on your map. Think of them like digital pushpins. You can mark your car, a water source, or a trail junction.
- Tracks: This is the digital breadcrumb trail your device leaves as you walk. It shows exactly where you have been.
- Routes: This is a pre-planned path you load into the device before you leave home. It tells you where you intend to go.
- Satellites: Your device needs a clear line of sight to the sky to connect to satellites. Deep canyons and thick tree cover can sometimes slow this connection down.
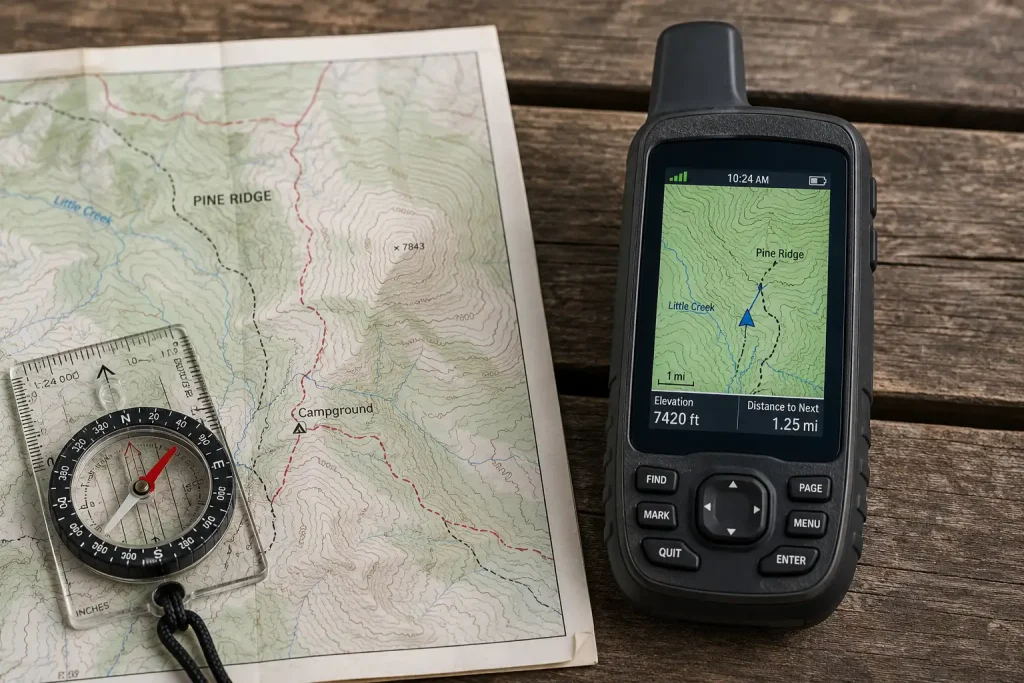
Even with the best technology, you should never leave your traditional navigation tools behind. The National Park Service highly recommends carrying a physical topographic map and a magnetic compass as backups for any hiking trip, just in case your electronics fail.
Signs You Should Adjust Your Hiking Plan or Gear
Your GPS is a rugged piece of gear, but it is not magic. Sometimes, the trail conditions or your device will tell you that you need to change your plans. If you ignore these signs, you could find yourself lost or stuck in bad weather.
Watch out for low battery warnings. Handheld GPS screens use a lot of power, especially if you keep the backlight on high. If your battery drops below 25% and you are only halfway through your hike, you need to adjust your screen settings or swap in fresh batteries immediately.
Another sign to adjust is a weak satellite signal. If you are hiking in a deep gorge or a dense, wet forest, your GPS might struggle to pinpoint your location. When your location dot starts jumping wildly around the screen, that is your cue to stop walking, pull out your paper trail map, and verify where you are before continuing.
| Situation on the Trail | What Your GPS Does | What You Should Do |
|---|---|---|
| Clear sky, open ridge trail | Strong signal, high accuracy (within 10 feet) | Navigate normally with your GPS. |
| Deep, narrow slot canyon | Weak or lost signal, jumping location dot | Switch to your paper map and compass. Do not blindly follow the GPS. |
| Low battery warning flashes | Screen dims, tracking may pause to save power | Stop and put in fresh lithium batteries immediately. |
| Approaching a confusing fork in the trail | Shows your exact position relative to the loaded route | Stop, check the screen, mark a waypoint, and confirm the right path. |
How to Use a GPS Device for Hiking Step by Step
So, what should you do when it is time to actually use the device? Following a routine every time you hike will build good safety habits. Here is the safest, most practical way to use your GPS on a day hike or backpacking trip.
- Charge up and update maps at home: Plug your device into your computer the night before. Make sure the battery is at 100% and download the specific topographic maps for the area you are hiking. An empty screen with no map data is useless on the trail.
- Pack extra lithium batteries: Always carry spare batteries in a waterproof bag. Lithium batteries handle cold weather much better than standard alkaline batteries and last longer.
- Turn it on at the trailhead: Do not wait until you are lost to turn it on. Stand in an open area at the trailhead, power it up, and give it 2 to 3 minutes to find satellites and lock onto your location.
- Calibrate the compass: Most modern devices have an electronic compass. Go to the settings menu and follow the instructions to calibrate it. Usually, this involves spinning the device in a figure-eight motion. This ensures your map faces the right direction when you turn your body.
- Mark your starting waypoint: Before you take a single step on the trail, save your current location as a waypoint. Name it “Car” or “Trailhead.” If everything else goes wrong, you can always ask the device to navigate you back to this exact spot.
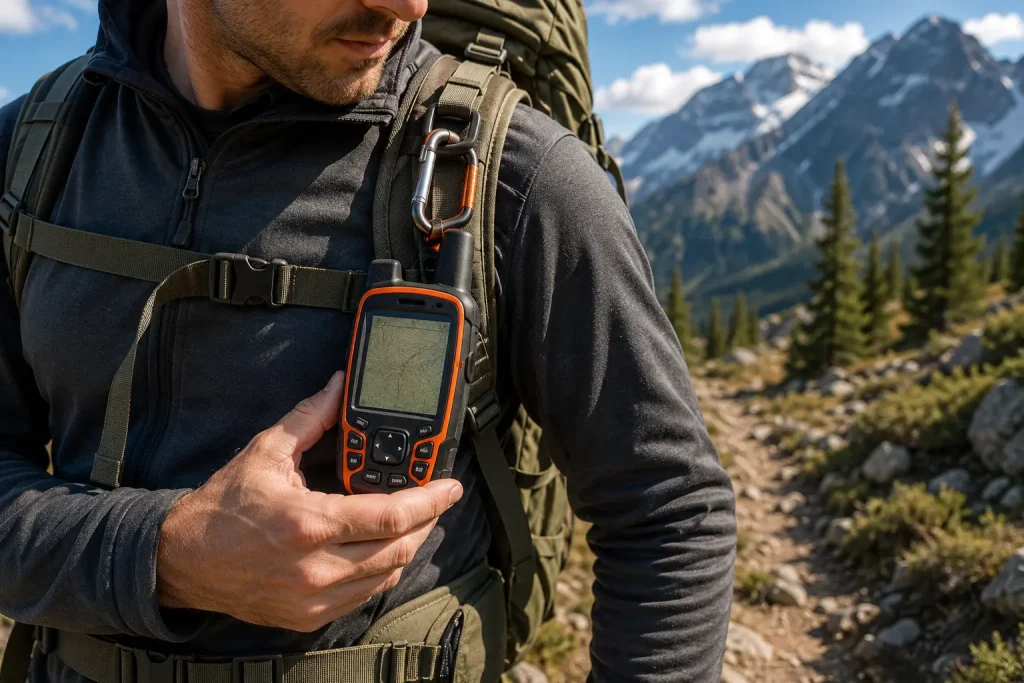
- Keep the device accessible: Clip it to your backpack shoulder strap using a carabiner, or put it in a hip belt pocket. If you bury it in the bottom of your pack, it might lose its satellite signal, and you will not check it as often as you should.
- Use the Trackback feature to return: When it is time to head home, or if you lose the trail, open your device’s tracking menu and select “Trackback” (or “TracBack” depending on the brand). The device will turn your recorded breadcrumb trail into a route, guiding you step-by-step back to where you started.
Common Mistakes to Avoid
Even experienced hikers make navigation mistakes. Avoiding these common errors will make your outdoor travel much safer and less stressful.
- Leaving the paper map at home: Electronics break. Batteries die. Never rely 100% on a screen. Always carry a waterproof paper map and a compass, and know how to use them.
- Forgetting to clear old tracks: If you do not clear your track log from your last hike, your screen will be cluttered with old lines, making it very hard to see your current path.
- Using alkaline batteries in the cold: Standard batteries drain incredibly fast when the temperature drops. Always use lithium batteries for hiking gear.
- Looking at the screen while walking: Tripping over a tree root because you were staring at your GPS is a quick way to twist an ankle. Always stop walking before looking at your screen.
- Ignoring local trail signs: If your GPS tells you to go straight, but an official park sign says the trail is closed for wildlife protection or rockfalls, trust the physical sign.
Practical Tips from Oscar
After years of wandering around state parks and national forests, I have picked up a few habits that make using a GPS much easier. Here are a few practical tips to keep in mind.
Key Takeaways
- Turn your GPS on at the trailhead and let it lock onto satellites before you start walking.
- Always mark your starting point (like your car or camp) as your first waypoint.
- Carry extra lithium batteries, as GPS screens and cold weather will drain power fast.
- Keep the device clipped to the outside of your pack for a better satellite signal.
- Never rely solely on electronics. Always pack a paper map and compass as a backup.
Frequently Asked Questions
Do I need a monthly subscription to use a hiking GPS?
No, basic GPS navigation does not require a subscription. The device connects to free global satellites. However, if your device includes satellite messaging or SOS emergency features, you will need a paid subscription to activate those specific communication tools.
Will my GPS device work deep in the woods?
Yes, a dedicated GPS works in the woods because it relies on satellites, not cell towers. However, very dense tree canopies or steep, narrow canyons can temporarily block the line of sight to the sky, which may weaken your signal accuracy.
Is a handheld GPS better than a smartphone app?
For rugged, long-distance hiking, a handheld GPS is usually better. They are fully waterproof, can survive being dropped on rocks, and run on replaceable AA batteries, making them more reliable for multi-day trips than a fragile smartphone.
What is a waypoint on a GPS?
A waypoint is a specific set of coordinates that you save in your device’s memory. Hikers use waypoints to mark important locations like trailheads, water sources, campsites, or confusing trail intersections so they can easily find them later.
What should I do if my GPS dies on the trail?
If your GPS dies, stop walking immediately. Sit down, pull out your backup paper map and compass, and determine your location based on your surroundings. If you are completely lost and unable to navigate safely, stay put to make it easier for search and rescue teams to find you.
Wrapping Up Your Navigation Skills
Learning how to use a GPS device for hiking takes a little bit of practice, but the peace of mind it brings is absolutely worth the effort. By simply remembering to turn it on early, marking your car as a waypoint, and letting it track your path, you give yourself a digital safety net for your outdoor adventures.
Here is the thing: a GPS is a fantastic tool, but it is just one part of your hiking kit. Being a responsible hiker means following the Leave No Trace principle of planning ahead, which includes packing the right gear, checking the weather, and knowing your route before you leave.
Now that your electronics are sorted, it is a great time to brush up on your traditional navigation skills. Check out our guide on basic map and compass skills for beginners to make sure you are fully prepared for whatever the trail throws your way. Stay safe, trust your preparation, and enjoy the hike!
