
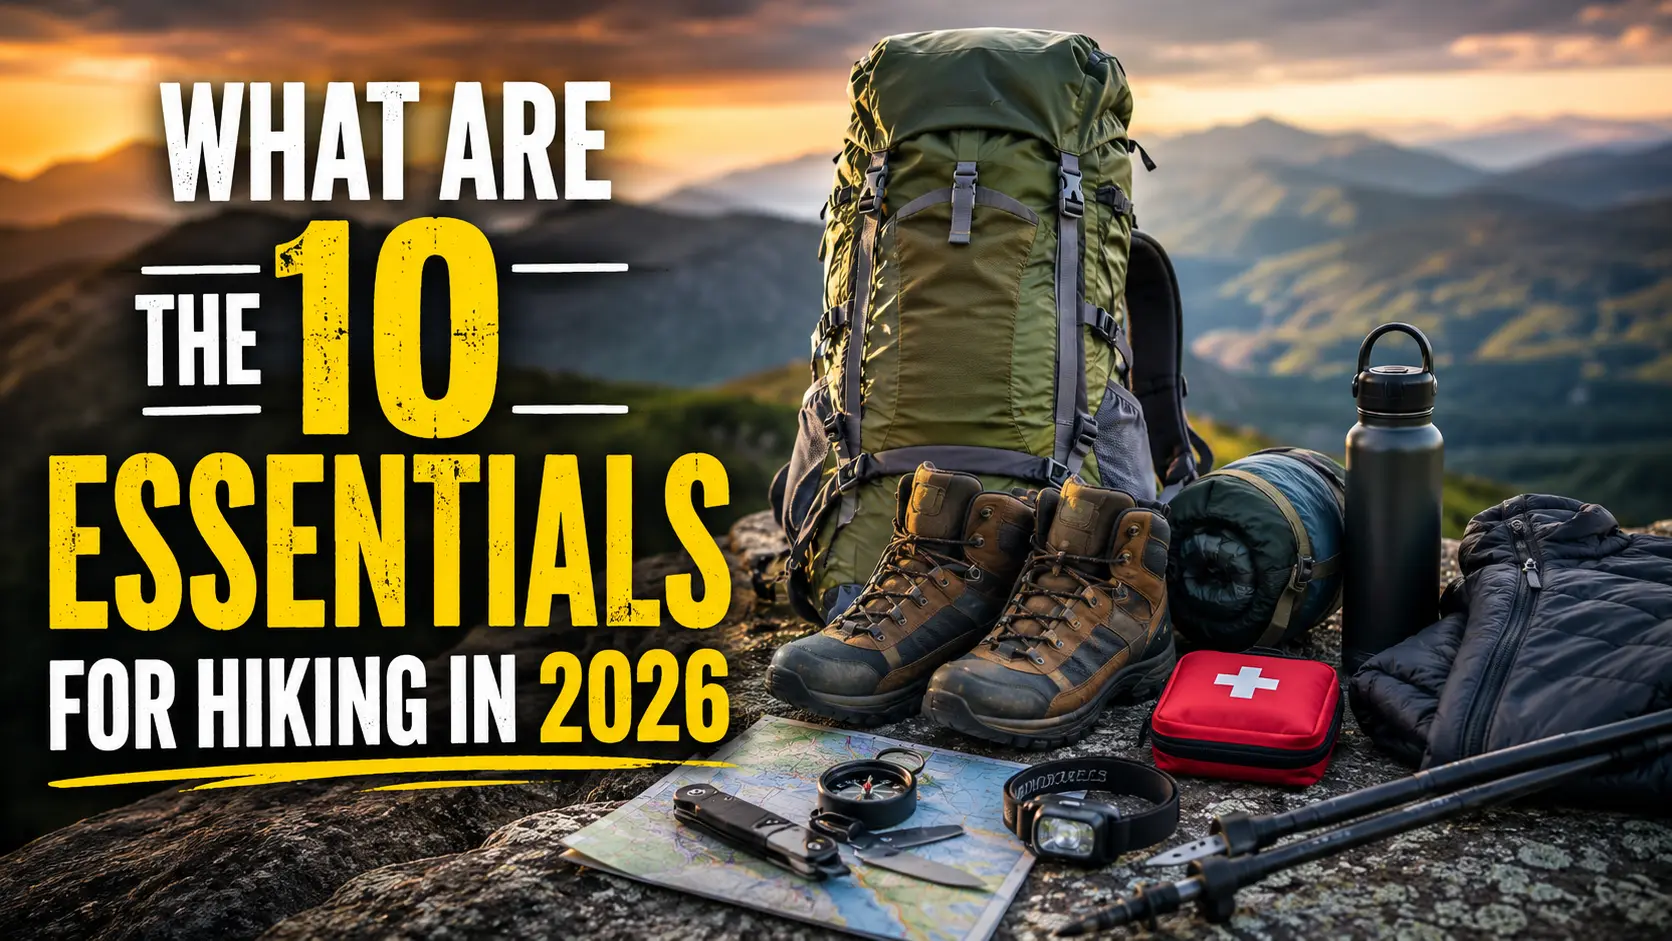
Figuring out what to pack for a hike can feel like a guessing game, especially when you hear about the “Ten Essentials.” But it’s not some rigid checklist that applies to every single stroll in the woods. The truth is, what constitutes an “essential” shifts dramatically depending on where you’re going and what you’re doing.
Our research shows that understanding the why behind each item is far more critical than just ticking boxes. For instance, while a basic first-aid kit is always wise, its contents might vary wildly from a short nature walk to an overnight backpacking trip where you’re miles from any help. Manufacturer specifications for navigation devices often list accuracy within a few meters, but that precision matters most when you’re truly off-trail.
What Hikers Should Know About the 10 Essentials
The original list of ten essentials was created decades ago by climbing groups to help people survive emergency situations. But hiking gear has changed a lot since then. In 2026, we look at the essentials as “systems” rather than just single objects. Here is a breakdown of each system and why you need it in your pack.
1. Navigation System
Getting lost is one of the most common ways hikers end up in trouble. A good navigation system tells you where you are and how to get back. While phone apps are amazing today, batteries die. Your navigation system should include a downloaded offline map on your phone, a physical paper map of the area, and a basic compass. Knowing how to use them is just as important as carrying them.
2. Sun Protection
The sun can drain your energy faster than you realize. Sunburn also increases your risk of dehydration. Always pack sunglasses with UV protection, broad-spectrum sunscreen, and a wide-brimmed hat. A lightweight, long-sleeve sun shirt is also a great modern essential for hot summer hikes.
3. Insulation (Extra Clothing)
Weather can change fast, especially in the mountains. The rule here is to pack one extra warm layer that you don’t plan to use. This could be a lightweight puffy jacket, a warm fleece, and a reliable rain jacket. Avoid cotton clothing, as it stays wet and makes you cold. Stick to wool or synthetic fabrics.
4. Illumination
Every hiker should carry a light source, even for a morning hike. Trails can take longer than expected, and you do not want to be caught in the dark. A headlamp is the best choice because it keeps your hands free. Always check your batteries before you leave the house.
5. First-Aid Supplies
You do not need a massive medical kit, but you do need the basics to handle blisters, scrapes, and minor cuts. A simple kit should have bandages, blister tape, antiseptic wipes, a pair of tweezers for splinters or ticks, and basic pain relievers. You can find excellent guidelines for first aid and safety on the official National Park Service website.
6. Fire Starter
If you get stranded overnight in the cold, a fire can save your life. Pack waterproof matches, a small lighter, and a few fire starter cubes in a dry, waterproof bag. Even in wet conditions, a good fire starter can help you get warm quickly.
7. Repair Kit and Tools
Gear breaks. A backpack strap might tear, or a shoelace might snap. You should carry a small multi-tool or a basic pocket knife. I also highly recommend wrapping a few feet of duct tape around your water bottle or trekking pole. Duct tape fixes almost anything on the trail.
8. Nutrition (Extra Food)
Always pack more food than you think you will eat. Hiking burns a lot of calories. Bring your planned lunch and snacks, plus an extra day’s worth of high-energy, no-cook food. Trail mix, energy bars, and jerky are perfect for this. It keeps your energy up if you are out longer than expected.
9. Hydration (Extra Water)
Water is heavy, but it is the most critical item in your pack. Carry enough water for your planned route, plus extra in case of delays. A hydration bladder or sturdy water bottles work great. If you are hiking a long trail with water sources, bring a small water filter so you can safely refill along the way.
10. Emergency Shelter
This sounds intense, but it is actually very simple. If you are injured and have to wait for help, you need to stay warm and dry. A reflective space blanket or a lightweight emergency bivy sack takes up almost no room in your pack, but it traps your body heat and blocks the wind in a survival situation.
Signs You Should Adjust Your Hiking Plan, Gear, or Trail Choice
Having the 10 essentials is a great start. But the best gear in the world won’t help if you ignore dangerous trail conditions. Being a smart hiker means knowing when to change your plans or turn around. You should always check the local weather, trail updates, and ranger alerts before heading out.
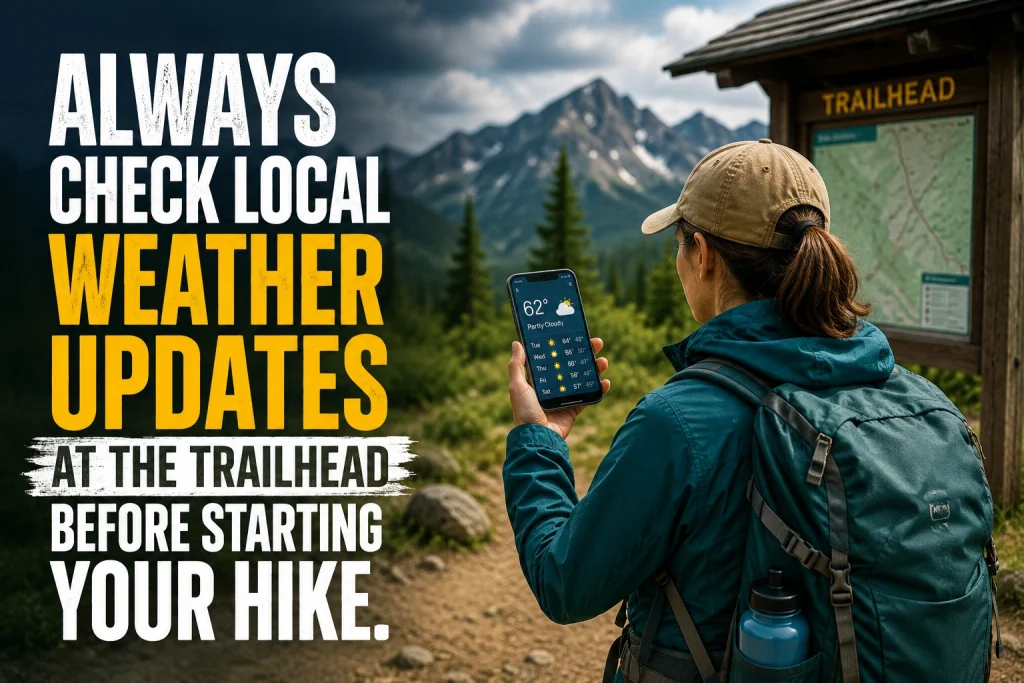
Here are a few signs that you need to adjust your gear or rethink your hike entirely:
- Dark clouds are building fast: If you see a thunderstorm rolling in, especially above the tree line, turn back. Lightning is extremely dangerous on exposed trails.
- You feel hot spots on your heels: This is a sign a blister is forming. Stop immediately, take off your boot, and apply blister tape from your first-aid kit. Do not wait for it to get worse.
- The trail is washed out or flooded: Never try to cross fast-moving floodwaters. It is safer to turn around than to risk being swept away.
- You are drinking water faster than expected: If you are halfway to your destination and you have already drank more than half your water, it is time to turn around.
- Official closure signs are posted: If a trail is closed for wildlife activity, fire danger, or maintenance, do not ignore the sign. These closures are for your safety.
To make things easier, I have put together a simple table comparing safe gear and planning choices with risky ones.
| The Safe Choice | The Risky Choice | Why It Matters |
|---|---|---|
| Packing a dedicated headlamp | Relying on a cell phone flashlight | Phone batteries die quickly in the cold, and you need your phone for emergency calls. |
| Wearing wool or synthetic layers | Wearing a basic cotton t-shirt and jeans | Cotton traps sweat and rain against your skin, increasing the risk of hypothermia. |
| Bringing a paper map as backup | Trusting only a digital map app | Phones can break, freeze, or lose GPS signal in deep canyons. |
| Checking the weather forecast morning-of | Assuming the weather will be nice | Mountain weather changes rapidly; early planning helps you pack the right layers. |
| Turning back when fatigued | Pushing through extreme exhaustion | Most hiking injuries happen on the way down when legs are tired and focus is low. |
How to Handle This Hiking Topic Step by Step
Now that you know what the 10 essentials are, how do you actually use them? Packing your backpack does not have to be a stressful chore. Here is a step-by-step guide to organizing your gear for a safe and comfortable day on the trail.
- Step 1: Start with your route plan. Before you pack, know where you are going. Check the mileage, elevation, and weather forecast. This tells you how much water, food, and clothing you actually need. Tell a friend or family member where you are going and when you expect to return.
- Step 2: Pack the emergency bottom layer. Put the items you hope not to use at the bottom of your pack. This includes your emergency shelter, fire starter kit, and repair tools. They stay out of the way but are there if you need them.
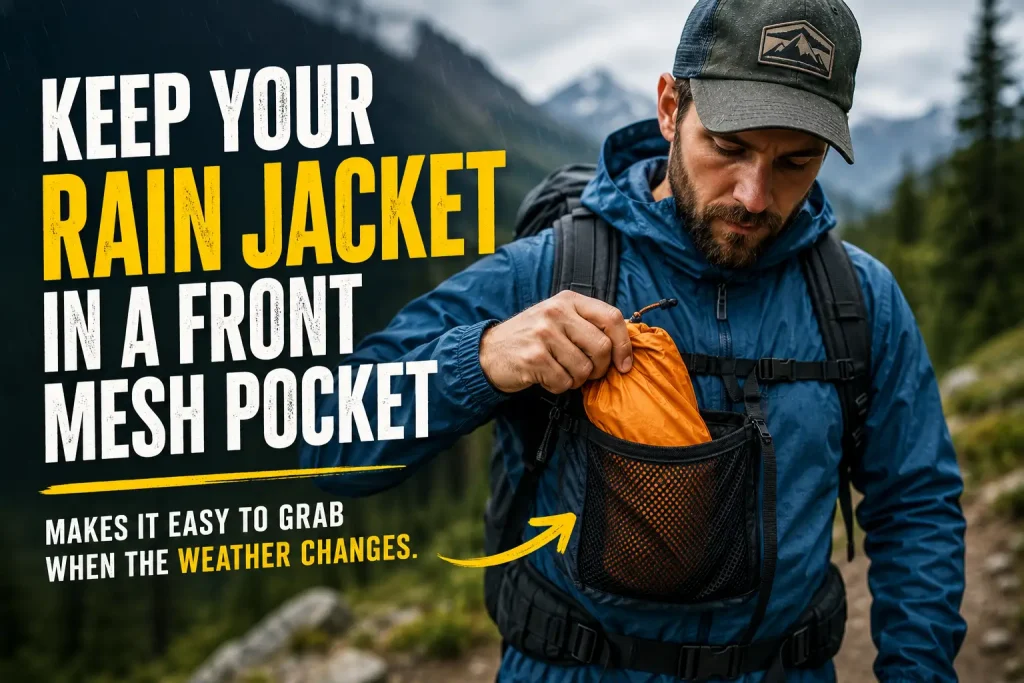
- Step 3: Organize your weather protection. Pack your extra clothing layers and rain jacket in the middle of your pack. I like to keep my rain jacket near the top just in case a sudden shower hits. Add your sunscreen and sunglasses to an easy-to-reach pocket.
- Step 4: Load your food and water. Fill your hydration bladder or water bottles and secure them. Keep your snacks and lunch near the top of the pack. You want easy access to food so you remember to eat regularly and keep your energy high.
- Step 5: Keep navigation and safety handy. Your map, compass, headlamp, and first-aid kit should be in the top pocket or an outside mesh pocket. You need to be able to grab these quickly without digging through your entire backpack.
Common Mistakes to Avoid
Even experienced hikers make mistakes when packing. When I first started, I made almost all of these errors. Here are a few common pitfalls to avoid so you can enjoy your hike without worry.
- Thinking the essentials are only for long trips: Many rescues happen on short, popular day hikes because people think they don’t need gear for a two-mile trail. Always bring the basics.
- Forgetting to check gear condition: A first-aid kit with expired medicine or a headlamp with dead batteries will not help you. Check your gear at the start of every hiking season.
- Packing heavy, useless items: You do not need a massive hatchet, a heavy camping lantern, or a full glass jar of peanut butter. Keep your gear lightweight and practical.
- Ignoring Leave No Trace principles: Part of being prepared is knowing how to protect the trail. Always pack out your trash. You can review the official outdoor ethics guidelines at the Leave No Trace Center for Outdoor Ethics.
- Not drinking enough water early on: Don’t save your water for the end of the hike. Drink consistently from the moment you step on the trail to prevent dehydration.
Practical Tips from Oscar
Over the years, I have picked up a few simple habits that make carrying the 10 essentials much easier. You don’t need to be a wilderness survival expert to pack smart. You just need a little bit of organization.
Oscar’s Trail Tip: Use the Ziploc Bag Trick
I keep my first-aid kit, fire starter, and headlamp in separate waterproof freezer bags. It is a cheap, easy way to make sure my most critical emergency gear stays completely dry, even if my backpack gets soaked in a storm.
Trail Safety Note: The Emergency Whistle
Most modern hiking backpacks have a small plastic whistle built right into the chest strap buckle. Check yours! If you get lost or injured, blowing a whistle takes far less energy than yelling, and the sound carries much further through the trees. The universal distress signal is three sharp blasts.
Oscar’s Trail Tip: The Water Weight Rule
Water is heavy, roughly two pounds per liter. If you are hiking in a dry area with no streams, you must carry it all. But if you are hiking next to a clean mountain river all day, just carry one liter and bring a lightweight water filter to refill as you go. It saves your back a lot of strain!
Key Takeaways
- The 10 essentials are gear systems designed to keep you safe if the unexpected happens on the trail.
- Always carry reliable navigation, including a paper map, and do not rely strictly on phone batteries.
- Extra clothing, a headlamp, and a basic first-aid kit are absolute must-haves, even for short day hikes.
- Check the weather, pack extra food and water, and organize your backpack so safety gear is easy to reach.
- Good gear is important, but making smart, safe decisions on the trail is your best defense against emergencies.
Deciphering Each Essential: What It Is and When It Matters
Now let’s break down what each of the ‘Ten Essentials’ actually means in practice and when it moves from “nice-to-have” to “must-have.” This isn’t just about listing items; it’s about understanding their purpose and how to wield them effectively.
Navigation: Map, Compass, and Your Gut (Plus GPS?)
This is arguably the most critical category for avoiding getting lost. Relying solely on your phone’s GPS is a risky strategy, as batteries can die, reception can fail, or the device itself can break. Manufacturer specifications for popular GPS devices, like those from Garmin, often show battery lives ranging from 20 hours in GPS mode to several weeks in power-save, but this is highly variable with usage and signal strength. Learning to use a physical map and compass is a foundational skill.
The Mountaineers organization, which helped popularize the Ten Essentials, emphasizes these traditional tools as primary.
- When It Matters Most: Any hike where you might leave established trails, in unfamiliar territory, or in conditions that reduce visibility (fog, snow).
- Components: Topographic map of the area, a baseplate compass, and knowledge of how to use them together. A dedicated GPS device or a reliable navigation app on your smartphone (with downloaded offline maps) serves as a valuable supplement or backup.
Illumination: Beyond A Dying Phone Screen
Getting caught out after dark without a reliable light source is a quick way to turn a pleasant hike into a stressful, potentially dangerous situation. Your phone’s flashlight is a very last resort; dedicated lights are far more efficient and robust. For instance, per its technical specifications, a quality headlamp can offer 100+ lumens of output and run for 50+ hours on its lowest setting, whereas a smartphone’s LED typically offers less consistent brightness and drains battery much faster.
- When It Matters Most: Even for day hikes, an unexpected delay can mean you’re walking back in the dark. Essential for overnight trips to navigate camp, find items in your pack, or signal.
- Components: A headlamp is generally preferred because it keeps your hands free. Pack extra batteries or ensure a full charge before you leave. Editorial analysis of user reviews for popular headlamp models shows battery life is a consistent factor in satisfaction.
Sun Protection: More Than Just Sunscreen
Sun exposure isn’t just a summer concern. UV rays can be strong year-round, especially at higher altitudes where the atmosphere is thinner. Protecting your skin and eyes from sunburn and long-term damage is a key part of staying comfortable and healthy on the trail. While sunscreen’s SPF rating is common knowledge, the Ultraviolet Protection Factor (UPF) for clothing provides a quantifiable measure of fabric’s ability to block UV rays; a UPF of 30 or higher is generally recommended.
- When It Matters Most: Anywhere you’ll be exposed to direct sunlight for extended periods. This includes open trails, above treeline, and even on cloudy days when UV can penetrate.
- Components: High SPF sunscreen (at least SPF 30), lip balm with SPF, sunglasses that offer full UV protection (look for 100% UVA/UVB protection), and a wide-brimmed hat or a cap with a neck flap. Long-sleeved shirts and pants made of quick-drying, UPF-rated fabric are also excellent.
First-Aid: Be Ready for Spills and Blisters
You don’t need to be a doctor to carry a basic first-aid kit. The goal is to handle minor injuries and stabilize more serious ones until you can get professional help. Our research indicates that many hikers carry kits that are either too sparse or overly complex. Knowing how to use what you pack is as important as having it.
- When It Matters Most: On any hike. Even short walks can result in blisters, cuts, scrapes, or insect bites. For longer trips, the stakes are higher if an injury occurs far from assistance.
- Components: Adhesive bandages in various sizes, sterile gauze pads, medical tape, antiseptic wipes, pain relievers (like ibuprofen or acetaminophen), blister treatment (moleskin or specialized bandages), tweezers, and any personal medications. It’s wise to tailor this to the length and remoteness of your hike.
Fire: Your Comfort and Survival Tool
Being able to start a fire is a fundamental survival skill that offers warmth, a way to purify water through boiling (if you have a metal container), and a psychological boost. While you might not plan on needing a fire on a day hike, unexpected chilly weather or an emergency overnight situation makes this essential. Fire starters are tested for reliability in various conditions; manufacturer data often shows performance in wind up to 20 mph.
- When It Matters Most: In any situation where you might need warmth, to boil water, or signal for help. Particularly vital if you’re unexpectedly forced to spend a night out.
- Components: Waterproof matches in a sealed container, a reliable lighter, and a reliable fire starter material (like commercially produced fire starter cubes or cotton balls soaked in petroleum jelly). Bringing a striker with a ferrocerium rod is also a durable and effective option.
Repair Kit & Tools: Duct Tape to the Rescue
Stuff happens on the trail. A strap breaks, a buckle fails, or a piece of gear rips. Having a small repair kit can mean the difference between a minor inconvenience and a trip-ending problem. Think of this as your trailside toolkit for making quick fixes that keep you moving or comfortable.
- When It Matters Most: Any hike where gear failure could compromise your safety or comfort. This is especially true for longer outings where you’re far from civilization.
- Components:
- Duct Tape: Wrap a few feet around a trekking pole or pencil. It can fix tents, packs, shoes, and even clothing in a pinch.
- Safety Pins: Versatile for quick fixes to clothing or gear.
- Multi-tool or Knife: A small, reliable tool with a blade is invaluable for countless tasks. Some multi-tools offer pliers, screwdrivers, and other handy functions.
- Cordage: A few feet of strong cord (like paracord) can be used for repairs, building shelters, or securing items.
- Gear Patches: Small adhesive patches for inflatable sleeping pads or jackets can be a lifesaver.
Nutrition: Extra Fuel for the Unexpected
You pack food for your hike, but what about food for when things go sideways? Extra, high-energy food is a key component of preparedness. This isn’t just about satisfying hunger; it’s about maintaining your energy levels, body temperature, and mental focus if you get delayed or have to spend an unplanned night outdoors. Our research into hiking nutrition suggests that calorie needs can increase significantly under stress.
For ideas on what to bring, check out Best Food To Bring On A Long Hike.
- When It Matters Most: Always, but especially on longer hikes, in remote areas, or when weather forecasts are uncertain. If you have to extend your trip by even a few hours due to an unexpected obstacle, your planned food might run out.
- Components: Non-perishable, high-calorie, and easy-to-eat items. Think energy bars (like those discussed in Best Energy Bars For Hiking), nuts, dried fruit, jerky, or meal replacement bars. Aim for items that won’t freeze or spoil easily. A good rule of thumb is to pack at least one extra day’s worth of food for longer trips.
Hydration: Staying Properly Watered
Dehydration can sneak up on you quickly, leading to fatigue, headaches, and impaired judgment. Carrying enough water is crucial, but so is having a way to treat additional water sources if you run low. The amount you need varies greatly, as detailed in guides like How Much Water To Drink Hiking.
- When It Matters Most: On any hike, but absolutely critical in warm weather, at high altitudes, or during strenuous activity. Always factor in potential delays.
- Components:
- Water Bottles/Reservoirs: Carry enough water for your planned trip, plus a buffer. Many hikers prefer hydration reservoirs for easy sipping on the go.
- Water Filter or Purifier: A lightweight filter (like Sawyer Squeeze) or purification tablets are essential if you might need to replenish your supply from natural sources like streams or lakes. Per the US Environmental Protection Agency (EPA), filtered water should be clear of sediment and particulates.
- Electrolytes: Especially important for longer hikes or in hot conditions, electrolyte supplements can help your body retain water and function properly. Learn more about why they matter in Electrolytes For Hiking.
Extra Layers: Insulation for the Cold Snap
Hypothermia is a serious risk, even in mild conditions, if you get wet and cold. Wearing too few layers or having inadequate insulation means your body could struggle to maintain its core temperature. Carrying an extra insulating layer is a straightforward way to combat this.
- When It Matters Most: Anytime the temperature could drop significantly, especially if you might get wet from rain or sweat. This is critical for shoulder seasons (spring/fall) and higher elevations.
- Components: This isn’t about your base layers or your main jacket, but an additional insulating item. Think of a lightweight fleece jacket, a puffy insulated jacket (down or synthetic fill), or even a warm hat and gloves, especially if you didn’t start the hike with them. As of 2026, synthetic insulation materials continue to offer excellent warmth even when damp, a key advantage over down in wet climates. Consider materials like best hiking gloves for cold weather for comprehensive hand protection.
Packing It Smart: The Workflow for Your Backpack
Having the right gear is only half the battle; knowing how to pack it is essential for efficiency and safety. This workflow helps ensure that what you need most is accessible when you need it. It’s about creating an organized system within your backpack.
Step 1: Assess Your Hike’s Variables
Revisit the questions from earlier: how long, weather, terrain, and who you’re with. This assessment dictates which of the Ten Essentials are truly critical and to what degree. For example, a sunny, short day hike might mean packing just a small sunscreen and a water bottle, while a multi-day trip needs a full water filter and extra insulation.
Step 2: Select the Right Gear for Each Essential
Based on your assessment, choose the specific items for each essential. Don’t just grab a map; grab the correct topographic map for the area you’ll be hiking. Ensure your first-aid kit has supplies relevant to potential issues you might encounter. Verify your headlamp has fresh batteries or a known charge level.
Step 3: Pack Strategically for Accessibility
Think about when you’re most likely to need something.
- Frequently Used Items: Keep these near the top or in easily accessible pockets. This includes snacks, water, sunscreen, and your map if you’re navigating actively.
- Emergency Items: Things like your first-aid kit, fire starter, and extra layers should be within easy reach, not buried at the bottom. A brightly colored stuff sack can make your first-aid kit stand out.
- Less Frequently Used: Items like repair kits or perhaps your emergency shelter can be stored deeper in the pack.
Common Hiking “Essentials” Mistakes (And How to Fix Them)
Many hikers make similar oversights when preparing. Understanding these pitfalls can help you pack smarter and stay safer. The most common error is simply not adapting the Ten Essentials to the specific trip.
- Mistake: Relying solely on a phone for navigation.
- Fix: Always carry a physical map and compass and know how to use them. Download offline maps on your phone as a backup.
- Mistake: Underestimating water needs.
- Fix: Carry more water than you think you’ll need, and pack a filter or purification method for longer hikes or uncertain water availability. This ties into resources like How To Stay Hydrated On A Hike.
- Mistake: Packing a first-aid kit with no knowledge of its contents.
- Fix: Familiarize yourself with each item in your kit and learn basic first-aid. A well-stocked kit is useless if you don’t know how to use it.
- Mistake: Overpacking non-essentials at the expense of true essentials.
- Fix: Prioritize safety and survival items. Every ounce matters, especially on longer treks. Hiking Backpack Essentials can offer guidance on pack weight management.
Are You Overpacking? When to Scale Back the Ten
While preparedness is key, carrying unnecessary weight can be just as detrimental as being underprepared. The “Ten Essentials” are a framework, not a mandated list of items to carry on every single excursion. If you’re going on a short, well-trafficked trail and conditions are ideal, you might not need a full emergency shelter or a robust fire-starting system.
Consider the variables:
- Short, easy hike: Focus on essentials like navigation (map/compass), sun protection, water, snacks, and a basic first-aid kit. An emergency shelter might be replaced by simply planning to turn back if conditions worsen.
- Well-maintained trail: Less risk of complex navigation issues.
- Ideal weather: Lower chance of needing extensive insulation or fire.
It’s about finding the balance between being prepared and being overburdened. If your pack feels excessively heavy for the planned activity, re-evaluate each item. For beginner hikers, it’s often better to err on the side of caution, but as you gain experience, you’ll learn to tailor your load effectively. Guides like What To Wear Hiking For Beginners can help with managing your overall gear weight.
Emergency Scenarios: Putting Your Essentials to the Test
Imagine a few hypothetical situations to understand the real-world application of the Ten Essentials. These scenarios aren’t meant to scare you, but to illustrate why preparedness matters. Understanding these possibilities helps you appreciate the value of each component.
- Scenario 1: Unexpected Night Out: You’re on a day hike, enjoying the scenery, but lose track of time. The sun is setting faster than you anticipated, and you realize you won’t make it back before dark.
- Essentials in Play: Your navigation tools help you find a safe place to hunker down, your illumination (headlamp) allows you to see and set up a basic emergency shelter, extra layers keep you warm, fire starter can provide heat and a morale boost, and nutrition/hydration keep you fueled.
- Scenario 2: Minor Injury, Major Delay: While descending a rocky trail, you take a fall and sprain your ankle. You can hobble, but it’s slow going, and you’re now much farther behind schedule.
- Essentials in Play: Your first-aid kit allows you to dress the sprain and manage pain. Your navigation tools help you figure out the best alternate route or the best way to signal if necessary. Your phone (if charged) can be used for communication. Your repair kit might even help patch up torn clothing.
Final Decision Guide: Tailoring the Ten for Your Next Adventure
Ultimately, the Ten Essentials are a smart guideline to ensure you’re ready for the unexpected. The key is context. Don’t just pack the full list for every walk; instead, use it as a checklist to consider what’s truly necessary for your specific hike.
Think about these decision points:
- If your hike is short, familiar, and the weather is perfectly stable: You might focus on navigation basics, water, snacks, and sun protection.
- If your hike is long, remote, or the weather is unpredictable: Pull out the full spectrum, navigation, illumination, sun protection, first-aid, fire, repair kit, extra food, water treatment, emergency shelter, and extra layers.
By thoughtfully assessing each hike and packing accordingly, you transform the Ten Essentials from a rigid rulebook into a powerful system for safe and enjoyable adventures. For those starting out, consulting resources like a Beginner Hiking Checklist can be a great first step in building your packing confidence.
