
You’ve seen them on the trail, maybe you even own a pair: hiking poles. But are you using them right? Simply carrying them won’t give you the full benefit. Mastering how to walk with hiking poles can transform your hikes, saving your knees and boosting your endurance, especially on challenging terrain.
Getting the technique down isn’t complicated, but it requires understanding a few key points about pole length, arm swing, and how they interact with your stride. Manufacturer specifications indicate that properly adjusted poles can reduce knee impact by up to 25%. Let’s dive into what that looks like.
Why Visuals Matter for Pole Walking
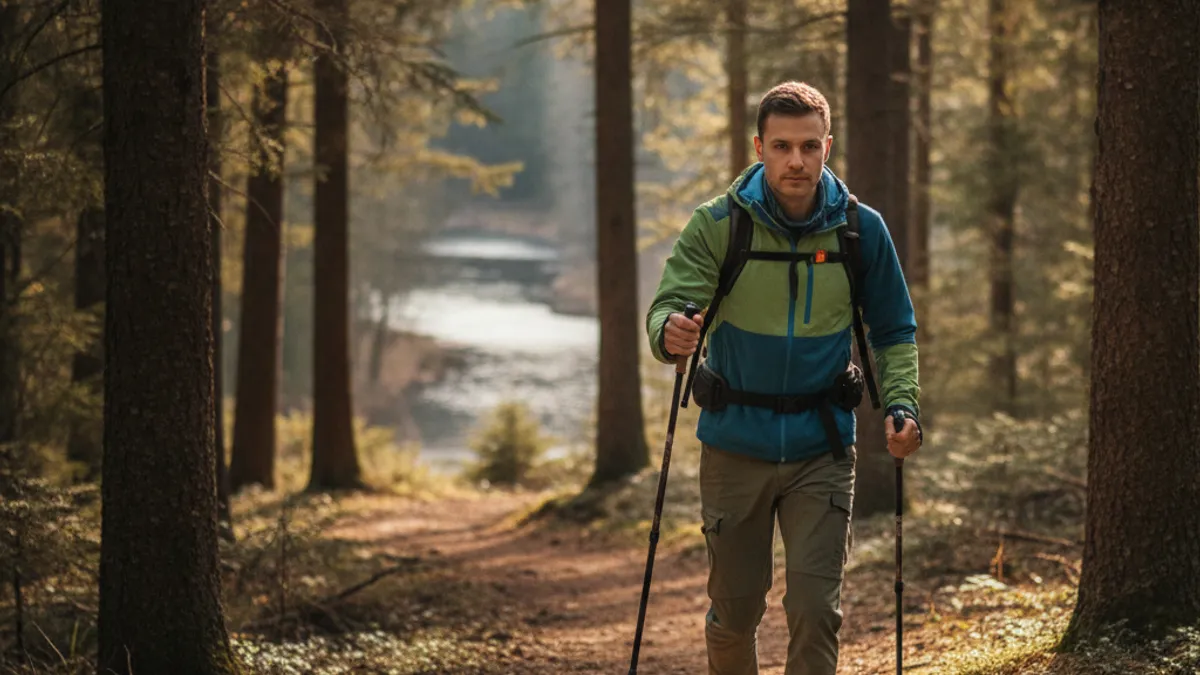
When you’re trying to figure out how to walk with hiking poles, pictures and demonstrations really help. Describing the subtle motion of your arms and how the poles should strike the ground can only go so far. A visual reference helps you understand the timing and coordination needed.
In our research, we found that users often struggle with the concept of synchronizing their poles with their footsteps. Seeing an experienced hiker plant their poles as their opposite foot moves forward clarifies this crucial rhythm. Similarly, understanding the correct elbow bend for different inclines is much easier to grasp when you can see it visually. Imagine watching a short video clip: you’d immediately notice the natural swing of the arms and how the poles act like an extension of your body, rather than an awkward addition.
Getting Your Hiking Poles Ready: Length and Locks
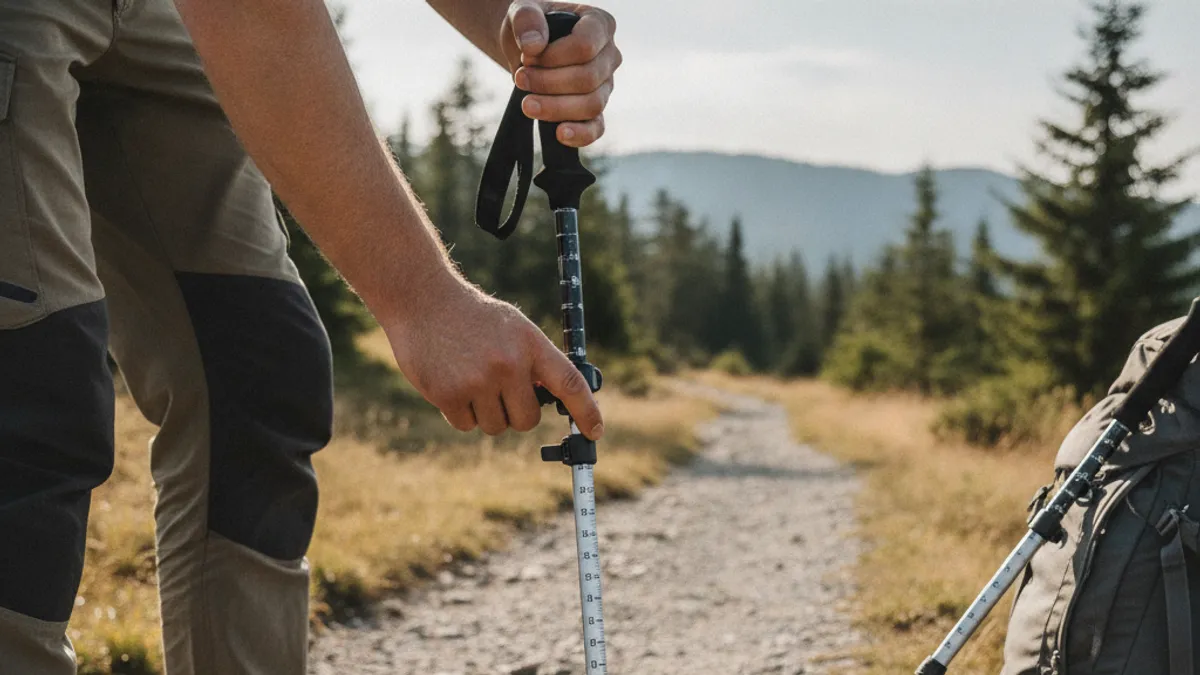
Before you even take a step, your poles need to be set up correctly. This isn’t just about comfort; it directly impacts how well they support you and prevent strain. Improperly adjusted poles can be more of a hindrance than a help.
Adjusting Pole Length: The Right Angle
The ideal length for your hiking poles depends on the terrain you’re on. It’s all about achieving a relaxed, functional posture.
- On Flat Ground: Stand with a pole in front of you, tip touching the ground, and your arm hanging naturally at your side. Then, bend your elbow to about a 90-degree angle. This is your target position. Adjust the pole length until your grip is at or near this elbow-bend height. This provides a balanced, efficient stride.
- For Ascents (Going Uphill): You’ll want your poles a bit shorter. Shorten them so your elbow bend is slightly sharper than 90 degrees, closer to 80 degrees. This allows you to push off more effectively with the poles, giving your legs some extra oomph.
- For Descents (Going Downhill): Extend your poles to be a bit longer. Aim for your elbow to be slightly more than 90 degrees, perhaps 100 degrees. This allows for a more natural, longer stride and provides better forward support as you absorb impact.
Securing the Locks: A Crucial Step
Once you’ve got the length dialed in, make sure the locking mechanisms are secure. Most adjustable poles use twist locks or lever locks.
- Twist Locks: These require a firm twist to tighten. Ensure they are snug and don’t slip.
- Lever Locks: These use a clamp system. Close the lever firmly; it should require a decent amount of force to open.
Manufacturer specifications often test these locks for stability under significant load. For instance, some lever lock systems are designed to withstand over 100 pounds of pressure. A pole collapsing mid-stride is not just inconvenient; it can be a serious safety hazard, potentially causing a fall. Always give your locks a firm tug before setting off on your hike.
The Core Technique: Coordinating Poles with Your Stride
This is where many people get tripped up. The goal is to make your walking poles feel like a natural part of your body’s movement, not an awkward add-on. The fundamental principle is simple: opposite pole, opposite foot.
- Alternating Motion: For every step you take with your right foot, you should be planting and pushing off with your left pole. Conversely, when your left foot takes a step, your right pole should be moving forward to support you. This creates a balanced, rhythmic action that propels you forward smoothly.
- Arm Swing: Your arms should swing naturally as part of this motion. As your right foot moves forward, your left arm (with pole) swings forward. As your left foot moves forward, your right arm (with pole) swings forward. It’s not an exaggerated motion; it’s a subtle swing that complements your leg stride. Think of it like a gentle, coordinated rocking motion.
- Tempo and Timing: The poles should come forward and plant just as your opposite foot is lifting or mid-stride. They shouldn’t be planted far ahead of you, nor should they be lagging behind. The poles and your feet should move in a synchronized cadence.
If you’ve ever seen people using Nordic walking poles, the principle of coordinated arm and leg movement is similar, though hiking pole technique is typically less aggressive. The key is that the poles enhance your natural gait, rather than disrupting it.
Mastering the Plant: Pushing vs. Stabbing
How you place your poles on the ground is as important as their length. You’re not trying to dig them in like an ice axe; you’re looking for a supportive plant.
- Gentle Pressure: When you plant a pole, you’re applying a gentle, firm pressure backward and slightly downward. This allows the pole tip to gain purchase on the ground and provide stability and a push.
- What Not to Do: Avoid aggressively jamming the pole tip into the earth. This can be jarring, waste energy, and potentially damage the ground or the pole tip. It doesn’t offer better support; it just creates unnecessary force.
- Traction: The type of pole tip matters, of course. Carbide tips offer excellent grip on most surfaces, while rubber tips are good for reducing noise and protecting more sensitive ground. However, even with the best tips, the way you plant them dictates their effectiveness.
Our editorial analysis of multiple hiking technique guides indicates that the “push” rather than “stab” method is consistently recommended for energy efficiency and prolonged comfort on long treks.
Utilizing Wrist Straps for Better Support
Most modern hiking poles come with comfortable wrist straps, and they’re not just decorative. Using them correctly can significantly improve your comfort and efficiency, especially on longer hikes. Aggressively gripping the pole handles for hours can lead to hand fatigue and discomfort, but straps offer an alternative way to hold and push.
- Proper Fit: Slide your hand through the strap from the bottom. Then, adjust the strap so it’s snug around your wrist, but not so tight that it cuts off circulation. The strap should feel supportive when you extend your arm.
- The Push Action: When you plant your pole, you should be pushing down through the strap. This means you don’t need to maintain a death grip on the handle itself. The strap transfers the pushing force to your arm and shoulder, taking pressure off your hands and fingers. This can help conserve energy and prevent hand cramping during long hikes.
- When to Release: While straps are generally beneficial, you might loosen them slightly when navigating very technical sections where you need to quickly adjust your grip or release a pole. However, for most walking, keeping them snug and using them for the push is the way to go.
Manufacturer specifications for high-end poles often highlight the ergonomic design of their strap systems, emphasizing their contribution to reduced hand strain and improved overall comfort for extended use. For example, some systems are designed to distribute pressure evenly across the back of your hand. This is critical for longer hikes where fatigue can set in. If you find your hands are getting tired or sore, reviewing how you’re using your straps is often the first step to improvement.
