
Getting your gear right is the biggest part of making sure your hiking trip is enjoyable, not a struggle. Learning how to prepare for hiking means understanding that a little planning goes a long way, turning potential discomforts into smooth sailing on the trail. It’s less about having the most expensive equipment and more about having the right equipment for your specific outing.
Our research shows that preparation can be broken down into a series of smart, conditional choices. For instance, a hike in the Rockies in July requires drastically different preparations than a walk through a local forest in October. These decisions aren’t random; they follow a logical flow based on trail type, duration, weather, and your own experience.
How Your Hike Prep Changes: The Core Decisions
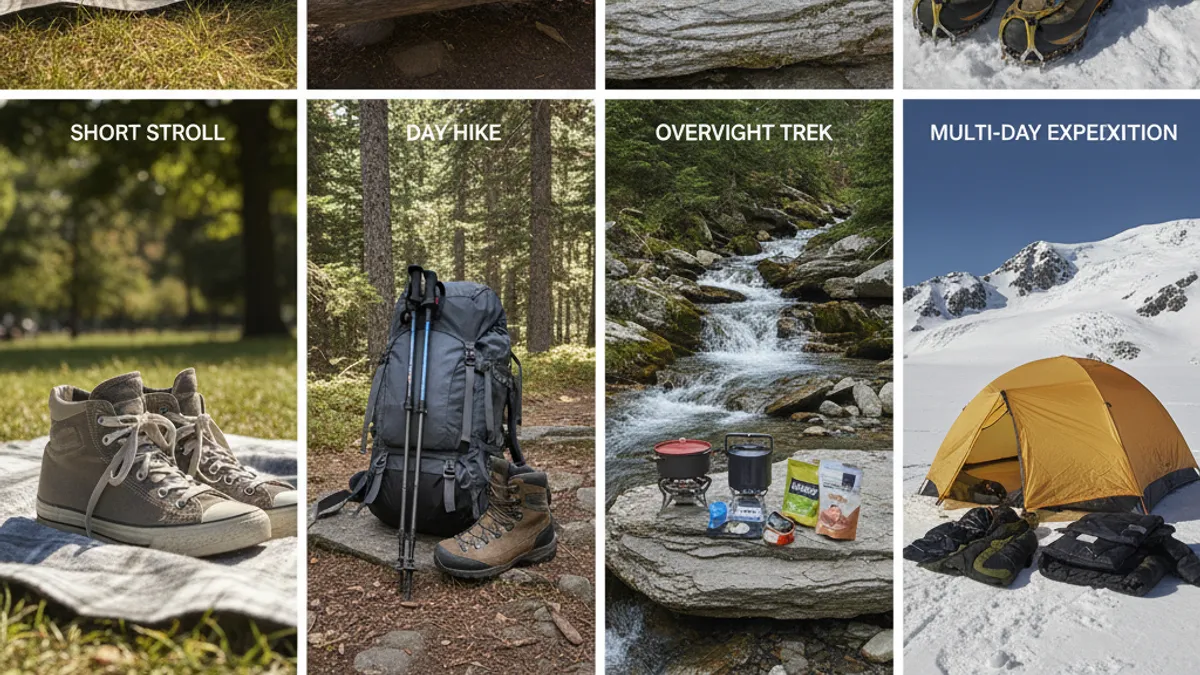
Deciding what to bring for a hike isn’t a one-size-fits-all equation. It’s a dynamic process that changes based on where you’re going and what you expect. Getting this right means you’ll be comfortable and safe, no matter the trail.
Quick Answer: Trail Prep is About Choices
The core of how to prepare for hiking hinges on making informed decisions about your gear, clothing, and supplies based on specific environmental and personal factors. It’s a branching process, not a static checklist.
Your Trail Decision Tree: Key Questions to Ask
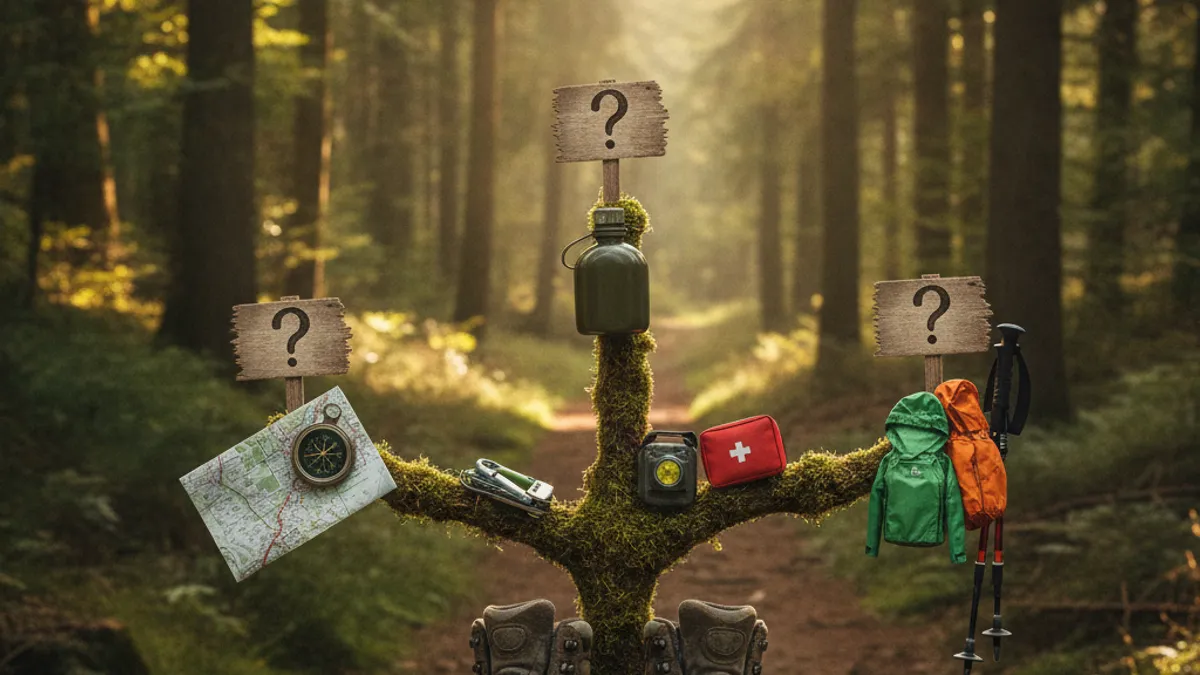
Think of preparing for a hike like navigating a series of important questions. Your answers to these direct you to the gear and planning steps that truly matter. This approach ensures you’re not overpacking or, more importantly, under-prepared.
What Kind of Trail Are You Tackling?
The nature of the trail itself is your first major decision point. This factor influences everything from footwear to the type of navigation you’ll need.
- Familiar, Easy Trails: These are often well-maintained, clearly marked paths in local parks or nature preserves. Your prep here might focus more on comfort and convenience, like bringing a small snack and a water bottle. You can find great information on trail conditions and accessibility through resources like the National Park Service (NPS) site.
- New or Moderate Trails: These trails might be longer, have more varied terrain (some inclines, rough patches), or be in less populated areas. Here, you need to step up your preparation. Checking recent trail reports and understanding the potential for changing weather becomes important. A good understanding of What is Hiking can help you gauge the effort involved.
- Challenging or Remote Trails: These are your mountain peaks, backcountry routes, or long-distance treks where you might see few people. Extensive preparation is non-negotiable. This includes detailed route planning, carrying robust navigation tools, and being ready for significant weather shifts and emergencies. For these, gear like waterproof hiking boots worth it becomes a serious consideration.
How’s the Weather Forecast?
Weather is perhaps the most unpredictable and influential factor in hiking preparation. Ignoring it can lead to serious discomfort or danger.
- Sunny and Warm: Sun protection is paramount. This means a wide-brimmed hat, sunglasses with UV protection, and plenty of sunscreen with an SPF of 30 or higher. You also need to prioritize hydration; learn how to stay hydrated on a hike and consider packs with built-in hydration reservoirs or easily accessible water bottles.
- Cool or Mild: Layering is your best strategy. You’ll want a base layer to wick away moisture, an insulating mid-layer for warmth (like fleece), and a windbreaker as an outer shell. This setup allows you to adjust your body temperature as you hike.
- Chilly or Cold: Focus on high-quality insulation. A down or synthetic-fill jacket, warm gloves, a winter hat, and merino wool socks become essential. Manufacturer specifications for outdoor gear often detail temperature ratings, which can guide your selection. For cold weather, best hiking gloves for cold weather are a must.
- Rainy or Stormy: Waterproof and windproof outer layers are critical. This includes a jacket and pants made from breathable waterproof fabrics, like Gore-Tex. Consider waterproof footwear or hiking gaiters (hiking gaiters what are they for) to keep your feet dry from splashes and puddles.
- Windy: Even on a mild day, strong winds can drop your effective temperature significantly. A good windbreaker is a core piece of equipment. It prevents convective heat loss, keeping you warmer.
How Long Will You Be Out?
The duration of your hike directly impacts the amount of food, water, and potentially emergency supplies you’ll need.
- A Few Hours: For short excursions, especially on well-trafficked trails, focus on essentials. A liter of water and a couple of energy bars or a piece of fruit should suffice. A basic first-aid kit and a charged phone are still smart additions.
- Half a Day: As your time on the trail increases, so should your supplies. Bringing 1.5 to 2 liters of water is advisable. A more substantial snack or a pre-made hiking meal prep ideas option is a good idea. Expand your first-aid kit to include blister treatment.
- Full Day or Longer: This requires more serious planning. You’ll need extra water, potentially a way to purify more water, and more calorie-dense food. Consider packing items like a headlamp or flashlight, even if you plan to be back before dusk, as delays can happen. For longer trips, reviewing hiking calorie calculator data can help you determine energy needs.
Who’s Hiking With You?
The composition of your hiking group is a critical factor in determining pace, difficulty, and necessary provisions.
- Solo: If you’re hiking alone, you’re solely responsible for your safety. This means a robust first-aid kit, reliable navigation (a GPS device or map and compass you know how to use), and informing someone reliable exactly where you’re going and when you expect to return. Extra emphasis on communication devices, like a satellite messenger, might be warranted.
- With Experienced Friends: You can often rely on the collective knowledge and preparedness of the group. However, everyone should still carry personal essentials. Sharing group gear, like a larger first-aid kit or a water filter, can be efficient.
- With Beginners or Children: Adjust your plans significantly. Choose shorter, less strenuous routes, pack extra snacks and water for them, and be prepared for breaks. Ensure clothing is comfortable and offers protection from the elements. For kids, simple blister care items are a must.
The Absolute Must-Haves: Your Baseline Pack
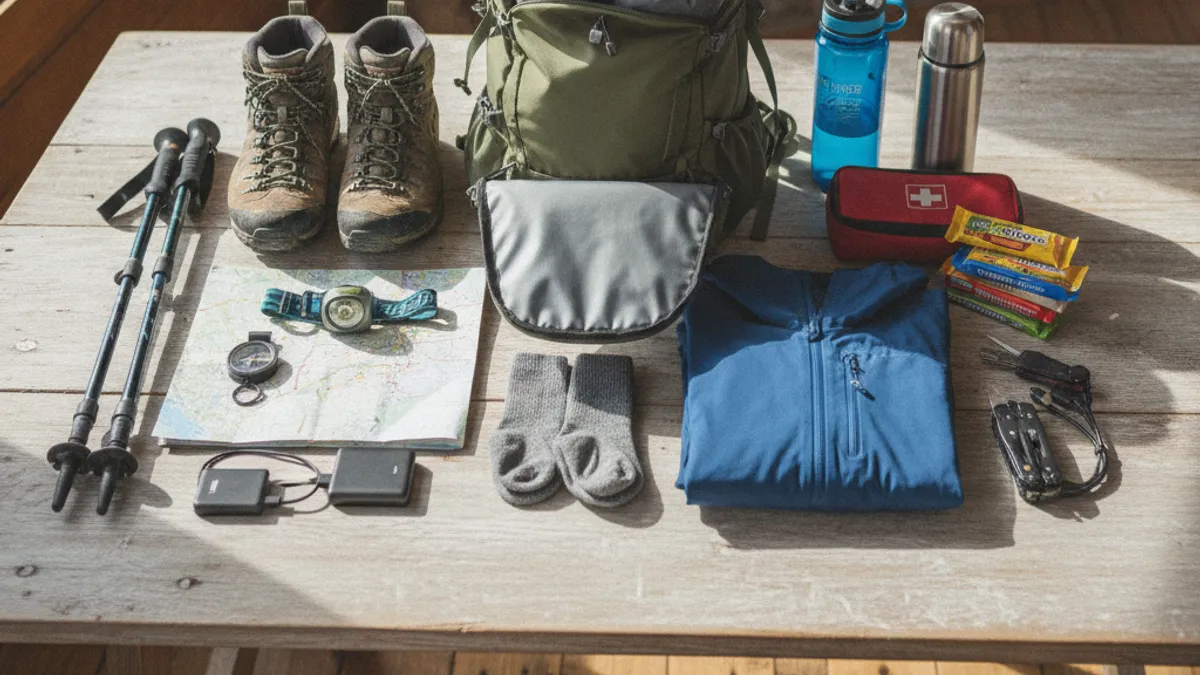
Regardless of the trail type, duration, or weather, there’s a core set of items that every hiker should consider carrying. These are your foundational safety and comfort items. Think of this as your non-negotiable starter kit.
- Water: Non-Negotiable Hydration
You absolutely cannot skimp on water. Dehydration can set in quickly, leading to fatigue, headaches, and poor decision-making. Aggregate user reviews and manufacturer specifications for hydration packs consistently emphasize carrying sufficient water. For how much water to drink hiking, a general guideline is about half a liter per hour, but this varies greatly with exertion and temperature.
For longer hikes, consider bringing a water filter or purification tablets as a backup. Learn more about how much water to drink hiking to fine-tune your needs.
- Snacks: Fueling Your Adventure
Your energy levels will dip on the trail, and snacks are your key to maintaining stamina. Pack energy-dense foods that are easy to eat on the go. This could include trail mix, best energy bars for hiking options, dried fruit, or jerky. The goal is to provide sustained energy, not a sugar rush and crash.
For great ideas, check out best food to bring on a long hike resources.
- Footwear: The Foundation of Comfort
Your feet are your connection to the trail. Wearing the wrong shoes can lead to blisters, sprains, and general misery. Ensure your footwear is broken in and appropriate for the terrain. Whether you opt for trail runners, sturdy hiking boots, or even best hiking sandals review options for specific conditions, comfort and grip are paramount.
Editorial analysis shows many hikers prefer footwear that supports the ankle on uneven ground. Understand the differences between trail runners vs hiking boots to make the best choice for your needs.
- Navigation: Know Where You’re Going
Getting lost is a serious risk. Even on well-marked trails, it’s wise to have a navigation backup. This can be a physical map and compass (and knowing how to use them!) or a GPS device or smartphone app with pre-downloaded maps. Relying solely on your phone signal is a mistake, as service can be spotty or non-existent.
The U.S. Forest Service (USFS) strongly advises carrying a map and compass in addition to any electronic devices.
- Sun Protection: Guarding Against the Rays
Sunburn and heatstroke are real dangers, even on cloudy days. A wide-brimmed hat offers shade for your face and neck, while sunglasses protect your eyes. Applying a broad-spectrum sunscreen with an SPF of 30 or higher is crucial, especially for exposed skin. Reapplication is key, particularly if you’re sweating or near water.
- Light: Never Get Caught in the Dark
Always carry a reliable light source, even for day hikes. A headlamp is ideal because it keeps your hands free. Manufacturer specifications for many headlamps indicate battery life ranging from 10 to over 100 hours on low settings. Check out hiking headlamp reviews to find a dependable model.
Delays happen, and a light source can turn a potentially dangerous situation into a manageable one.
- Basic First-Aid: For Minor Mishaps
A compact first-aid kit should include essentials like bandages for cuts and scrapes, antiseptic wipes, pain relievers, blister treatment, and any personal medications. For a more comprehensive guide to what your kit should contain, explore resources like those from the American Red Cross.
- Essential Tools: The Little Things That Help
A multi-tool or a sturdy knife can be incredibly useful for unexpected repairs or tasks. A fire starter (waterproof matches or a reliable lighter paired with tinder) is a critical emergency item. Consider packing a whistle for signaling in emergencies, three short blasts is a universal distress signal.
Dressing for Success: Mastering the Layering System
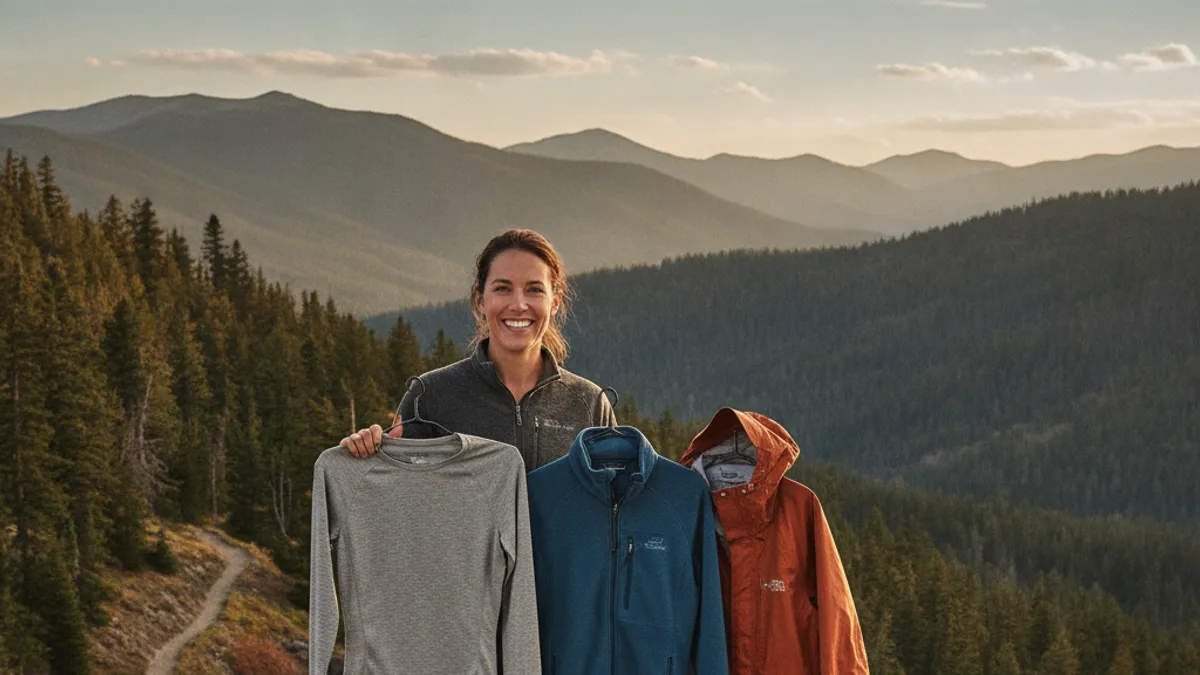
The key to staying comfortable on the trail, no matter the temperature, is using a layering system. This approach lets you add or remove clothing to match your exertion level and changing weather conditions. It’s about adaptability, not just wearing one big jacket.
Base Layer: Wicking Away Sweat
This layer sits directly against your skin. Its main job is to pull sweat away from your body, keeping you dry. When you’re working hard, your body generates a lot of moisture. If that moisture stays next to your skin, it can quickly make you cold, especially if you stop moving or the wind picks up.
- Why it matters: Cotton is a no-go for base layers. While it feels soft, it absorbs moisture and holds onto it, becoming cold and heavy.
- What to look for: Synthetic materials like polyester or polypropylene are excellent at wicking. Merino wool is another top performer, offering warmth even when damp and resisting odor better than synthetics. Manufacturer specifications for performance base layers often highlight moisture-wicking rates, typically measured in grams per hour.
Mid Layer: Trapping Warmth
This is your insulation layer, designed to trap your body heat. It goes on over your base layer and works to keep you warm when the temperature drops. The loft or thickness of this layer determines how much warmth it provides.
- Common Options: Fleece jackets, vests, or down/synthetic insulated jackets are typical mid-layers. A medium-weight fleece provides good warmth without being too bulky.
- Adjustability: You should be able to add or remove this layer easily. If you start sweating too much during a strenuous uphill climb, you can shed the mid-layer temporarily before putting it back on during a rest or descent.
Outer Layer: Battling Wind and Rain
This is your shield against the elements: wind and precipitation. A good outer layer, often called a shell, needs to be both waterproof and breathable. Breathability is crucial because it allows moisture vapor (sweat) to escape from the inside, preventing you from getting clammy.
- Waterproof vs. Water-Resistant: Don’t confuse the two. Water-resistant fabric will shed light mist for a short time, but a truly waterproof garment, often using materials like Gore-Tex or similar membranes tested to standards such as ISO 20972:2019, will keep you dry in sustained rain.
- Windproof Benefits: Even on mild days, wind can make you feel significantly colder. A windproof outer layer is essential for maintaining your core temperature, preventing wind chill. This layer might be a standalone shell or the ‘hard shell’ component of a 3-in-1 jacket system.
Boosting Your Kit: Extra Gear for Specific Hikes
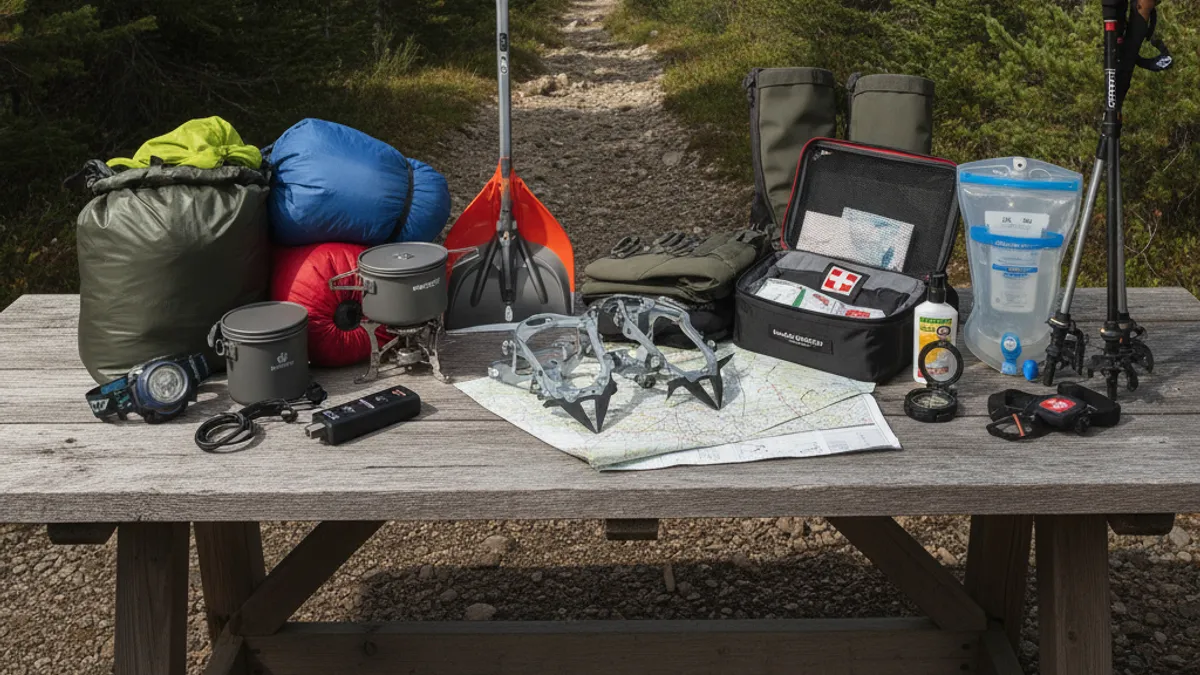
Once you’ve got your absolute basics covered, think about what else might be beneficial depending on the complexity and demands of your chosen hike. This is where you tailor your pack even further.
Backpacks & Trekking Poles
A comfortable backpack is your mobile storage unit for all your gear. For day hikes, a pack in the 15-30 liter range is usually sufficient. For longer trips, you’ll need something larger, between 40-65 liters, or even more for thru-hiking. Look for packs with adjustable straps, padded hip belts, and good ventilation to ensure comfort over long distances.
Trekking poles can be a game-changer, especially on challenging terrain. They help with balance, reduce stress on your knees and ankles during descents, and can provide an upper body workout on climbs. If you plan on using them, it’s worth looking into how to use hiking poles effectively to get the most benefit.
Bug Protection & Bear Safety
Depending on your location and the season, insects can range from a minor nuisance to a serious problem. Carrying an effective insect repellent containing DEET or picaridin can save your hike from being an itch-fest. If you’re hiking in bear country, carrying bear spray and knowing how to deploy it is a crucial safety measure. Manufacturer instructions for bear spray emphasize keeping it accessible and knowing its range, typically 25-30 feet.
Always check local ranger station advisories regarding bear activity.
Emergency Shelter & Water Treatment
For longer or more remote hikes, carrying an emergency shelter can be life-saving if you get caught out overnight unexpectedly. This could be as simple as a lightweight bivy sack or a space blanket, designed to reflect body heat. If you anticipate needing to supplement your water supply, bringing a water filter or purification tablets is essential. These devices remove or neutralize harmful bacteria and protozoa, making natural water sources safe to drink.
Typical filtration systems can process water at rates up to 1 liter per minute.
Wilderness Restroom Essentials
Practicing “Leave No Trace” includes managing human waste responsibly. Pack out all toilet paper and hygiene products in a sealed bag. If you need to dig a cathole for solid waste, it should be at least 200 feet (about 70 paces) away from water sources, trails, and campsites. Bring hand sanitizer, as soap and water might not be available.
Safety First: Telling Someone Your Plans
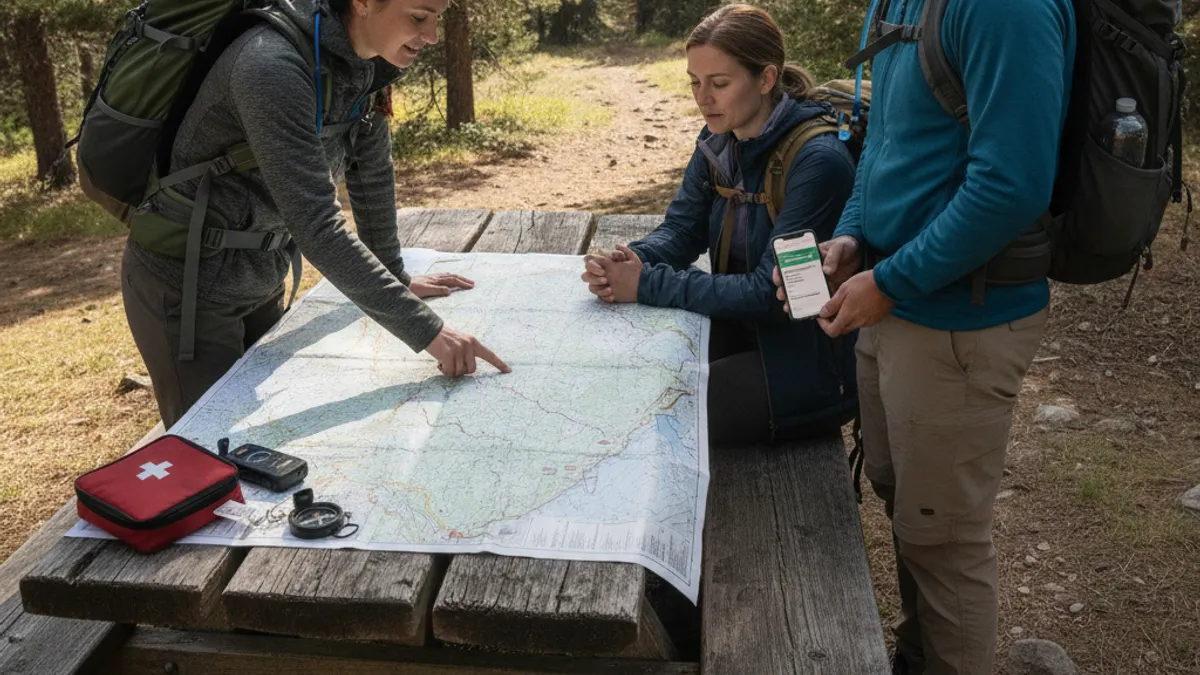
This is one of the simplest yet most critical steps in hiking preparation, especially when going solo or venturing onto less-trafficked trails. Leaving a detailed plan with a reliable contact person can provide invaluable assistance if something goes wrong.
- What to Share: Always inform someone about your intended route, including the trailhead you’ll be using and your expected return time. If you have a specific itinerary with planned stops or camping locations, share that too. It’s also wise to mention who you’re hiking with and the type of gear you’re carrying, as this can help rescuers narrow their search or make educated guesses about your situation.
- Establish Check-In Times: Agree on a specific time you will check in upon your return. If you don’t contact them by a set period after that agreed-upon time (e.g., 2-3 hours later), they will know to initiate contact or, if necessary, alert authorities. This creates a necessary safety net.
The Power of Preparation: Why It Makes Your Hike Better
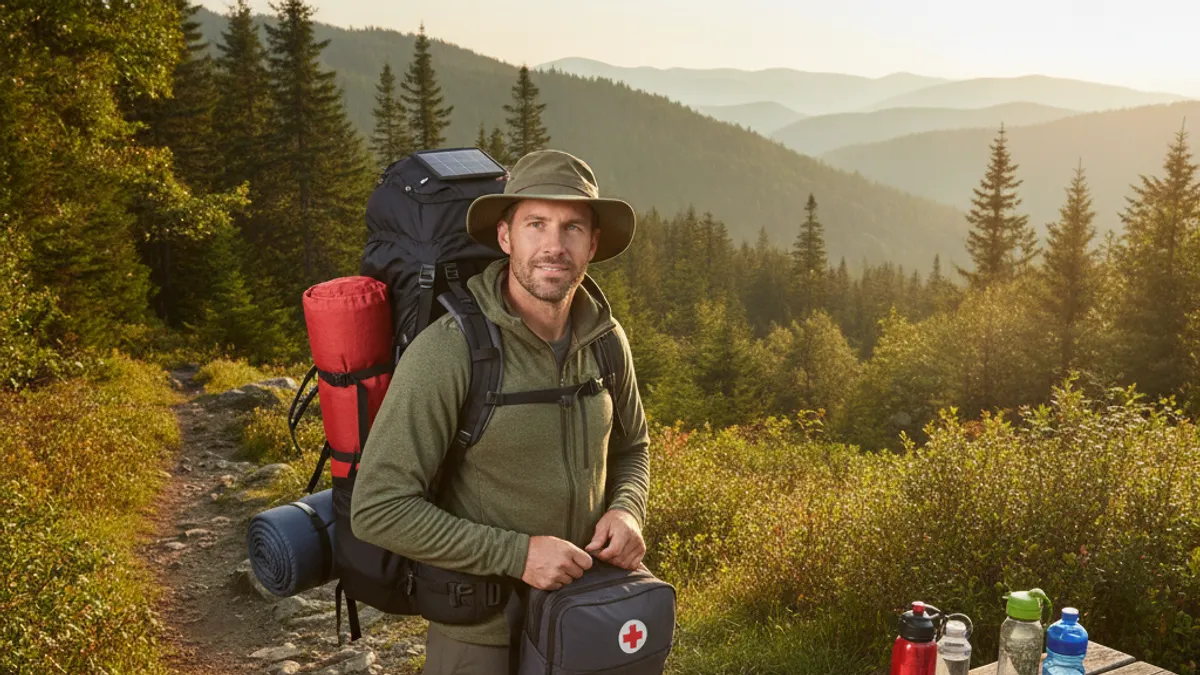
Ultimately, the effort you put into preparing for your hike pays dividends in comfort, safety, and overall enjoyment. It shifts your mindset from reactive problem-solving to proactive enjoyment of the outdoors. Proper preparation builds confidence and allows you to focus on the experience itself, rather than worrying about potential issues.
- Reduced Risk: By anticipating potential problems, such as sudden weather changes or minor injuries, you significantly lower your risk of serious incidents. A well-stocked first-aid kit, for example, can turn a painful blister into a minor inconvenience, not a trip-ending event.
- Enhanced Comfort: Carrying the right clothing and enough food and water means you won’t be dealing with chafing, hunger pangs, or dehydration. This comfort allows you to appreciate the natural surroundings more fully.
- Increased Confidence: Knowing you’ve made smart choices about your gear and plan brings a sense of self-reliance. This confidence is liberating and empowers you to explore more challenging trails over time. For beginners, this systematic approach can be the difference between a positive first experience and one that turns them off hiking for good.
